I get sentimental about things that other people would probably not even think twice about throwing away or donating. I have old ticket stubs, concert programs, newspaper clippings – those things I can put in a scrapbook. But I’ve been known to hoard be sentimental about clothes too, and only recently have I been purging all our closets. Sometimes there’s just that one article of clothing you want to keep. See this old collegiate sweatshirt…
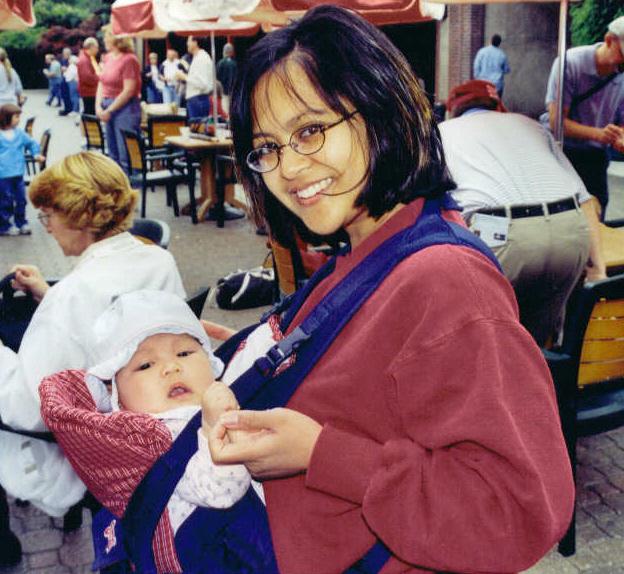
Julie Tiu in 2002
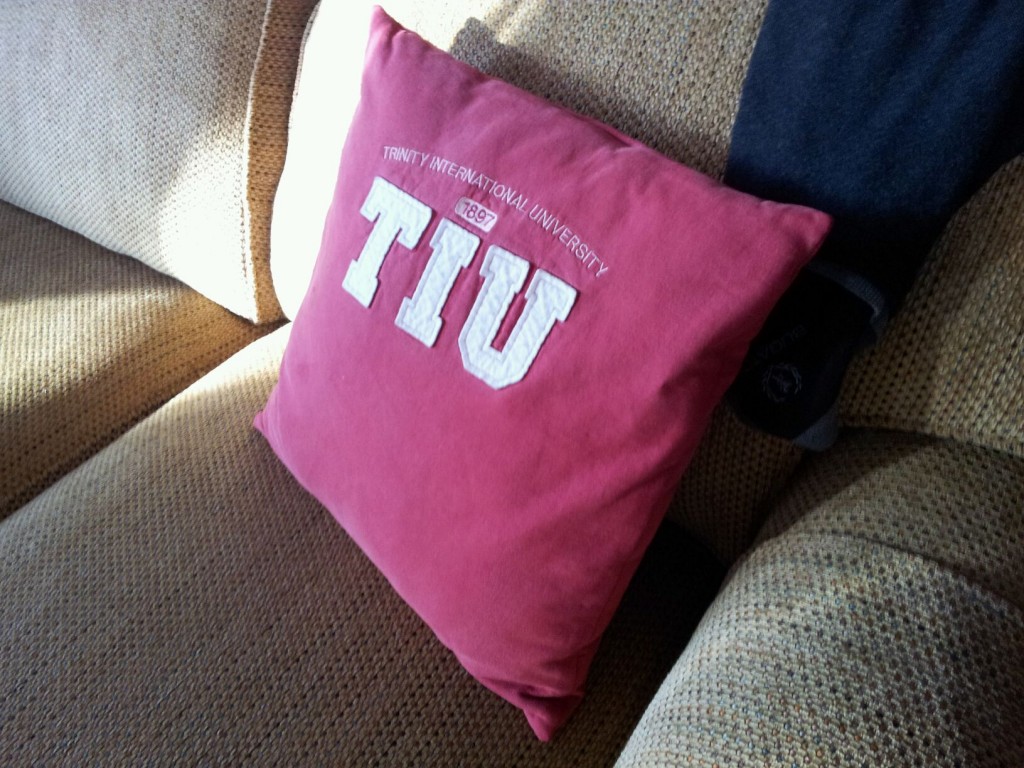
…Became this pillow. (I know, after 10 years, right?)
An upcycled sweatshirt made into an envelope pillow – meaning, you can slip the cover on and off. Very easy for washing. Could be a cute gift for Valentine’s Day, too.
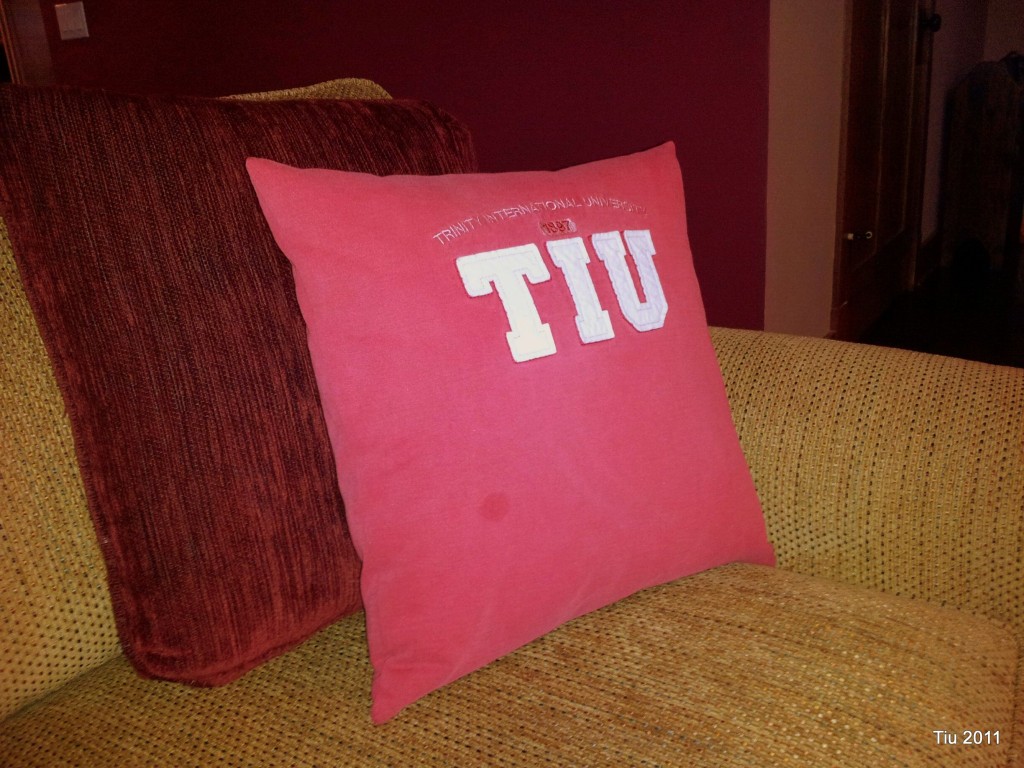
Recycle Your Favorite Sweatshirt (I didn't even attend this school. Got the sweatshirt because it had my last name!)
And here’s how I did it.
- Take your clean sweatshirt of choice and lay it on a table or on the floor.
- I cut the sleeves off first. Then set aside.
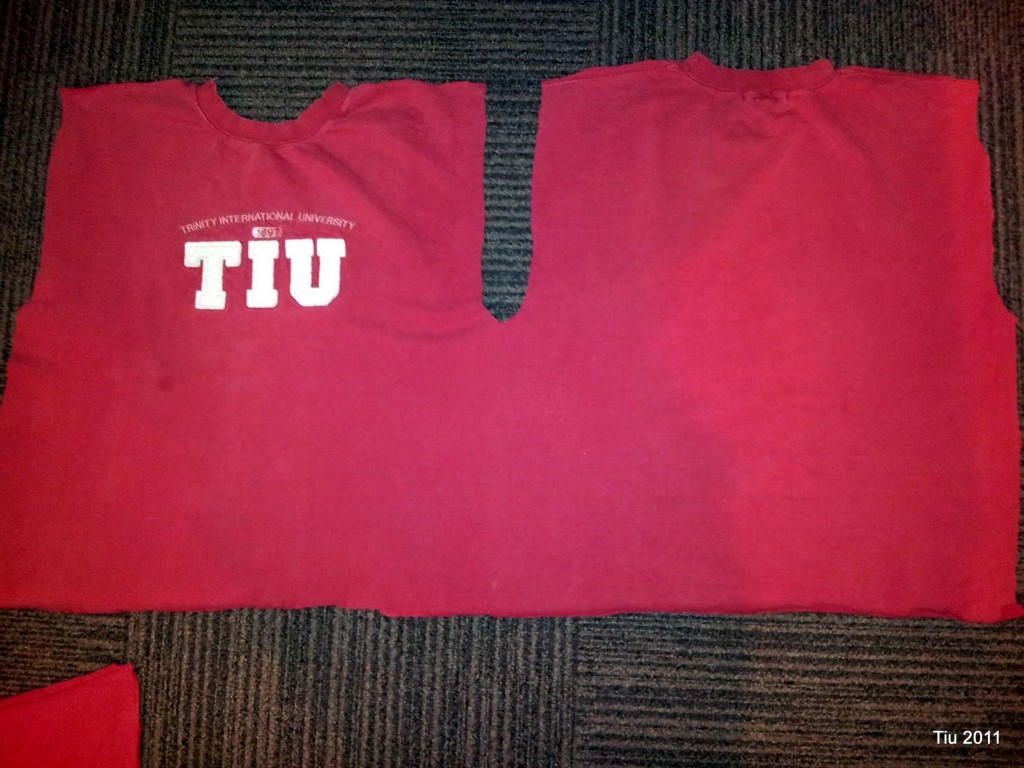
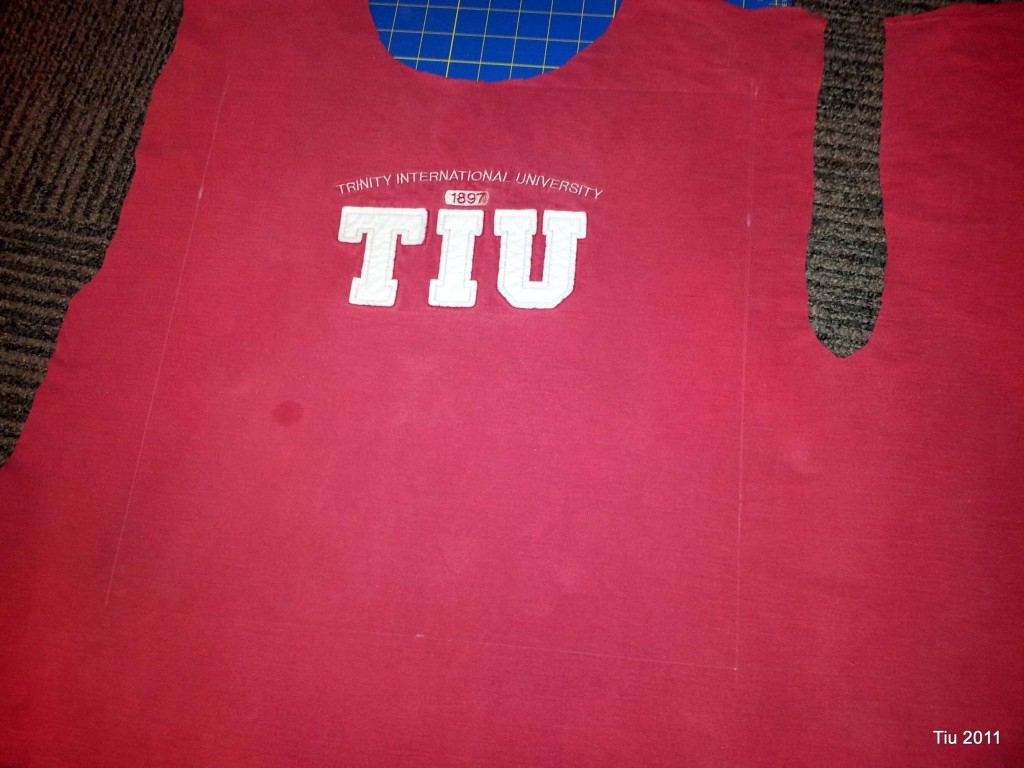
- Next cut along one of the side seams of your shirt and along the shoulder seams. This will open everything up. I did it this way to give the largest piece of continuous fabric.
- Cut off the bottom hem and collar (cuff material) also. At this point you may need to iron the shirt (highly recommended).
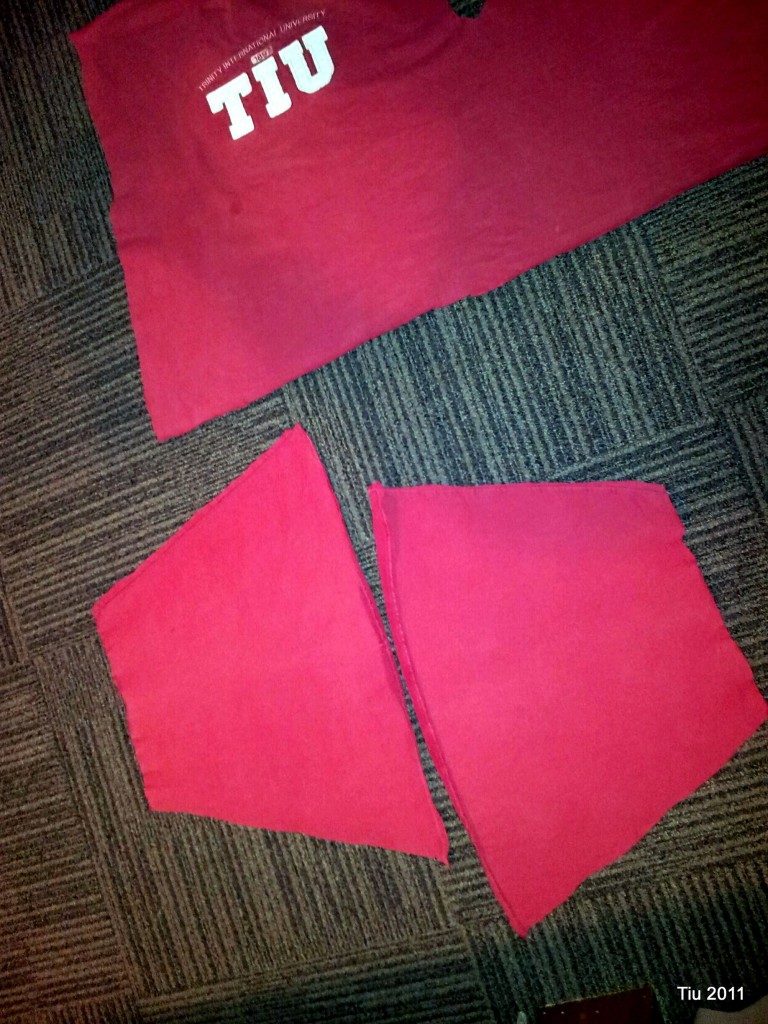
- You may need the sleeves for extra fabric. Cut off the cuffs and cut along either side of the seam.
- For a 16 x 16 pillow, you will need three pieces of fabric: (1) 16-1/2″ x 16-1/2″ for the front, (2) 12-1/2″ x 16-1/2″ for the back. (See my fancy sketch below.) I needed to use the extra sleeve material for one of the back panels. Just piece together if you need to.
- Try to center your focal point. I didn’t have too much choice – just went as high as I could.
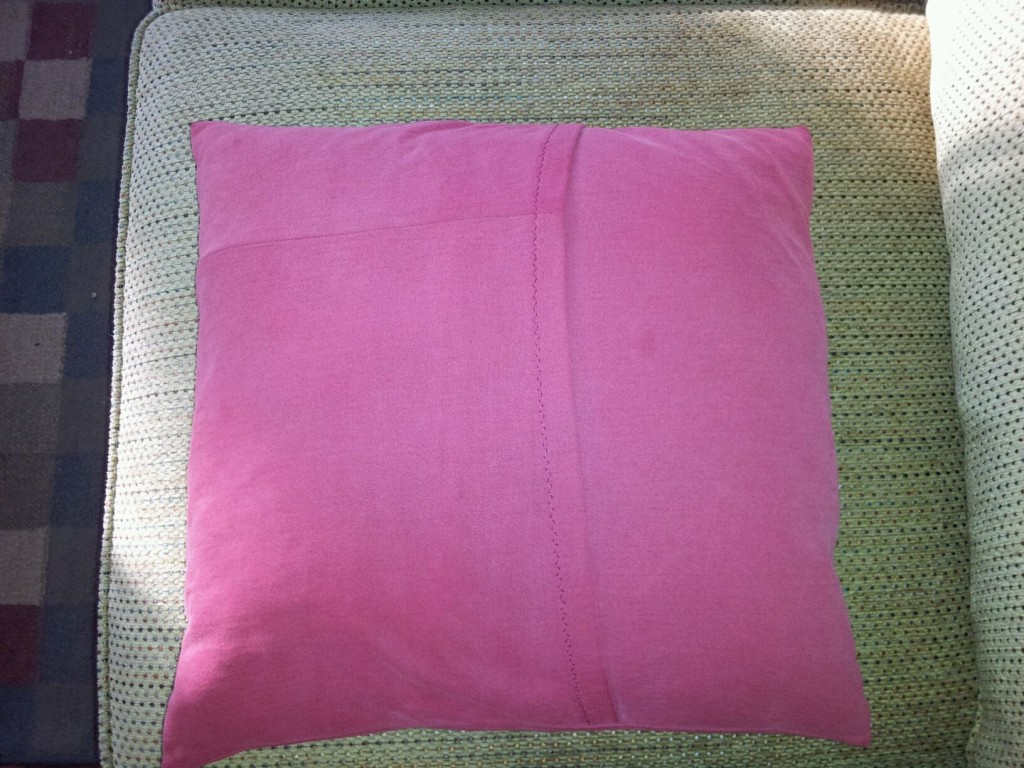
- Prepare the back pieces first. Fold along the length (16-1/2″) and press 1/2″, then fold 1/2″ again, pin and edgestitch. Do this to the other piece. Press both pieces. Note: I found the zig-zag stitch easier to do with the stretchy sweatshirt material.
- Lay the front piece down, right side up. Next lay one of the back pieces, wrong side up, matching the raw edge with your front piece. The finished edge should be somewhere in the center area. Lay the other back piece with its raw edge along the other side of the front piece. Now the finished edges of your back pieces should be overlapping one another.
- Stitch around the perimeter with a 1/2″ allowance. Backstitch as you start and finish. When complete, remove and clip your corners, and turn rightside out.
- Stuff your pillowcase!
So here’s the thing – you can adjust the size of your fabric for any size pillow by just adding 1/2″ to your finished size. The back pieces take a little math.
16″ x 16″ pillow – cut 16-1/2″ x 16-1/2″ (front) and 16-1/2″ x 11-1/4″ (two pieces for the back)
14″ x 14″ – cut 14-1/2″ x 14-1/2″ (front) and 14-1/2″ x 9-1/4″ (two pieces for the back)
12″ x 16″ pillow – cut 12-1/2″ x 16-1/2(front) and 12-1/2″ x 11-1/4″ (two pieces for the back)
12″ x 12″ pillow – cut 12-1/2″ x 12-1/2(front) and 12-1/2″ x 7-1/4″ (two pieces for the back)
Love this! Have often thought of doing the same with the girls old soccer and theater shirts. But I don’t know how to sew….! Perhaps a personal tutorial??
Hiya! Thanks for commenting. I’d be happy to sew with you! Thinking about putting together a craft night, or maybe afternoon. (Hmm, a stitch-n-b****. Hehehe.) Those square pillows don’t take too long. Have another friend interested in pillowcases which might take more time.