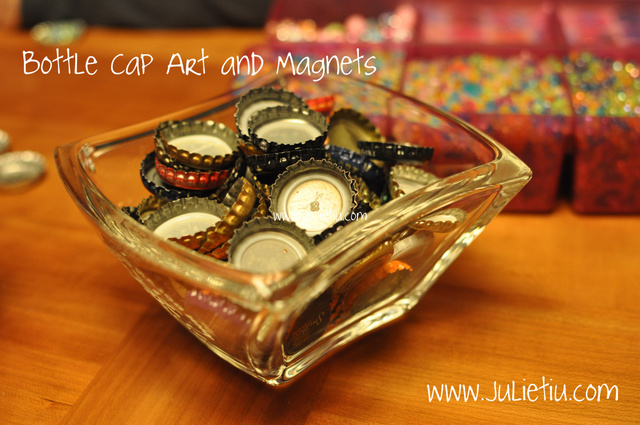
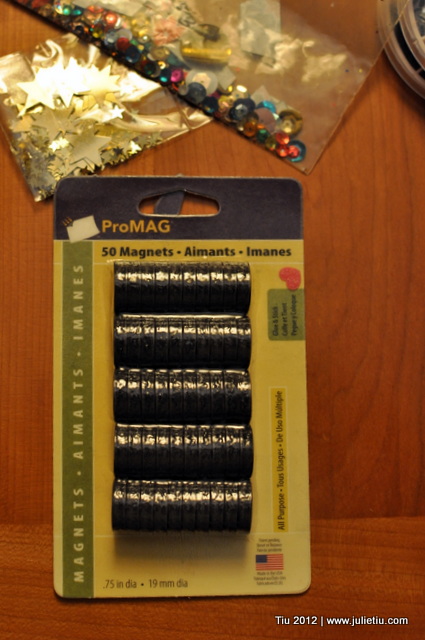
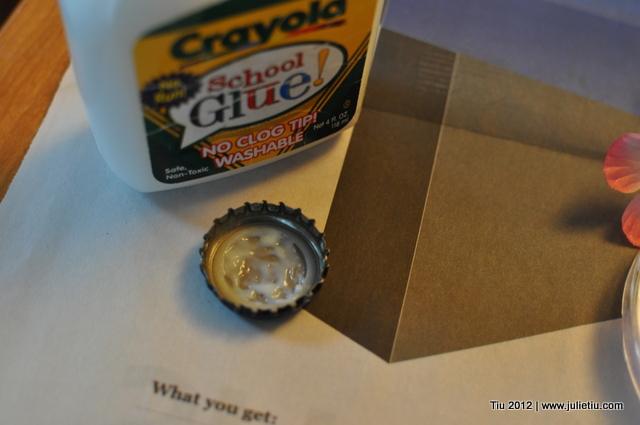
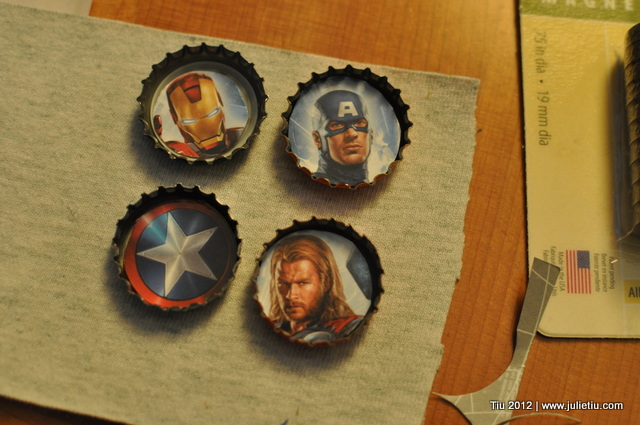
Last week my daughter and I were having fun on Election Night. Here’s the long version of what we were up to. I only call this a mini-tutorial because there’s not a whole lot of science that goes into this. You can make all sorts of miniature art using regular bottle caps… clearly, you can see how much we’ve been holding onto. Stores carry blank bottle caps and bottle cap kits for art and jewelry, too. We gathered all sorts of supplies like sequins, confetti, rhinestones, glitter, scraps of cardstock and patterned paper, newspaper, glue, Mod Podge and magnets.
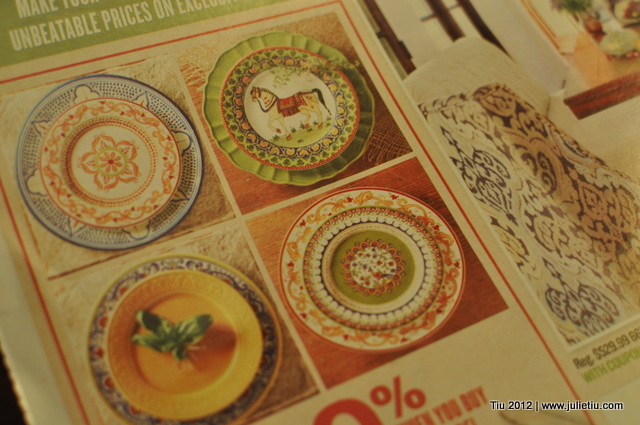
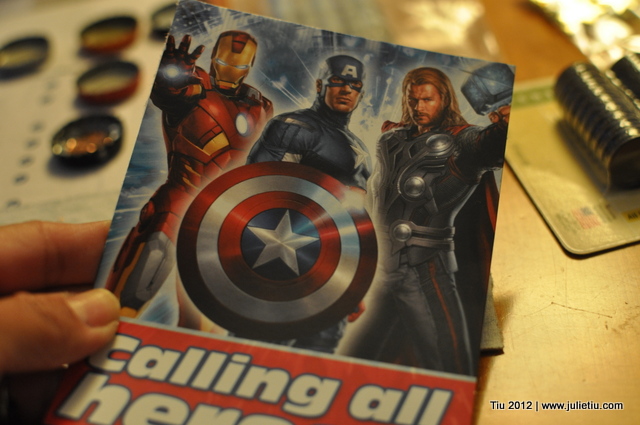
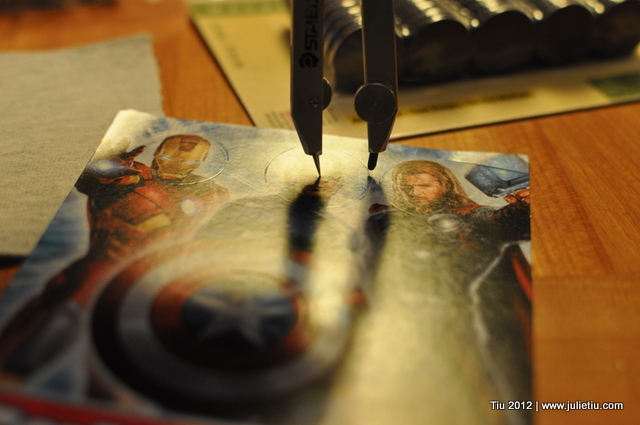
Just glue and stick your doo-dads… recycle cards, even newspaper ads! They all start to look like potential mini-magnets. (It’s probably easier cutting out circles with a round punch, but I went old school and used my engineering compass.)
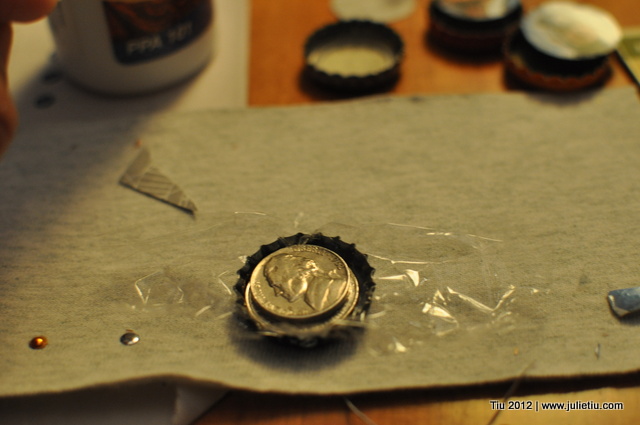
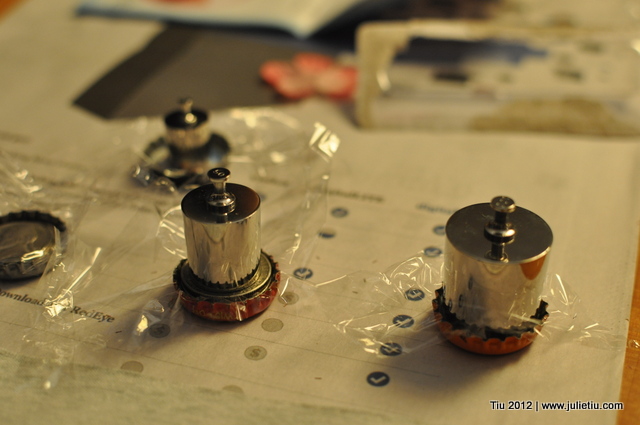
While your art is drying, it’s a good idea to weigh them down if the paper starts curling up. Just use a little plastic wrap and coins or, if you’re nerdy like me, little scale weights.
We let our bottle caps dry overnight, then added some Mod Podge dimensional magic to get them glossy and pretty. Glue your magnets and you’re done! You could package a little set as a gift or party favor… I really like this tutorial on glass magnets for packaging.


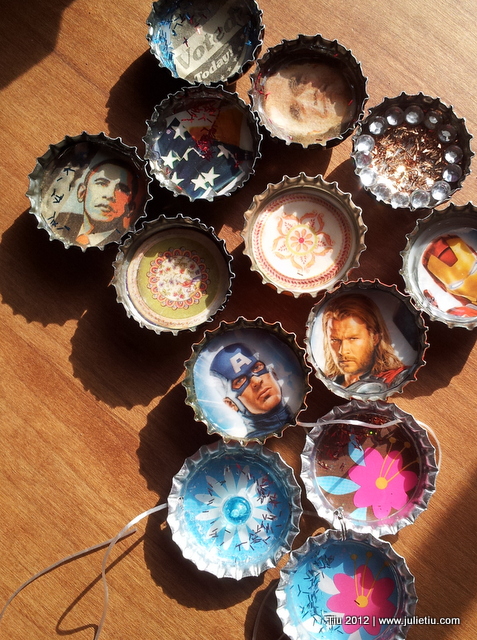
Great tutorial! I especially like the super hero magnets. My Girl Scouts loved making these. I recommend ordering some super strong neodymium magnets online. They don’t cost that much and they really last. I store mine in a stack right on the refrigerator.
Thanks for the tips! Will have to check those magnets out! Sounds like they aren’t kid-friendly?
I don’t think they are any less kid friendly than regular magnets. Of course, they are dangerous if ingested. We glued ours on with e6000 or some other good metal to metal glue. The thing is that with the super strong magnets, they work so much better on the fridge and don’t lose their magnetism when dropped.