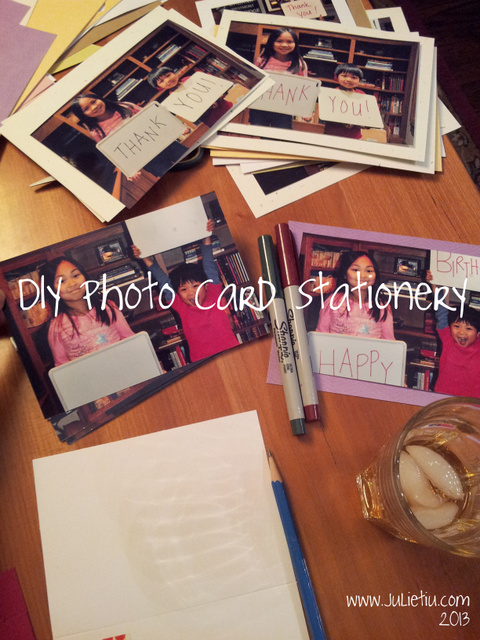
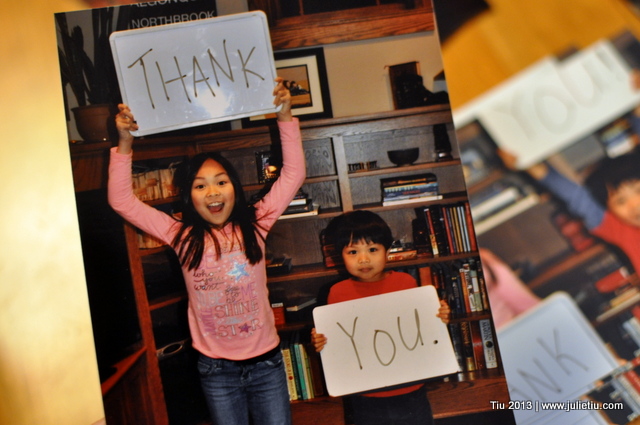
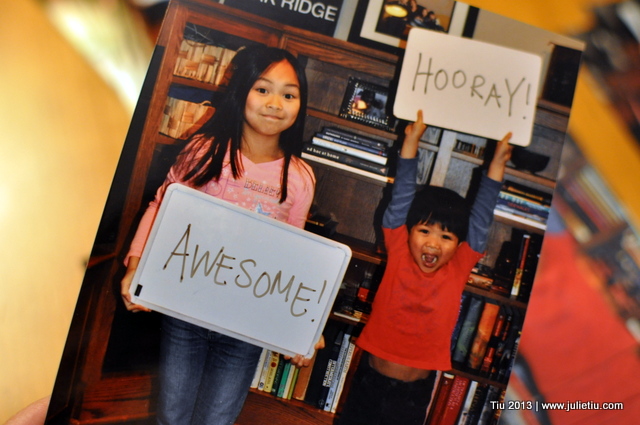
How are we in February already? And, how am I so behind in sending out thank you notes from the holidays? Am I the only one who falls behind? (Probably, because I’m the nutty girl who wants to make everything herself.) But these… these are way cool. I’ve thought about doing this for a while now.
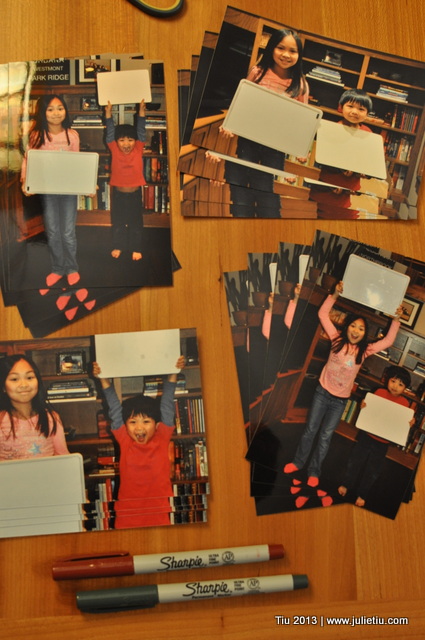
The possibilities are endless with your camera, willing family members (i.e. children), blank white boards or cardboard, Sharpies and blank cards. I took about 10-15 pictures of the kids and picked my favorites. Uploaded and printed them out at the photo center for very little cost. If you print them glossy, you get the coolest effect.
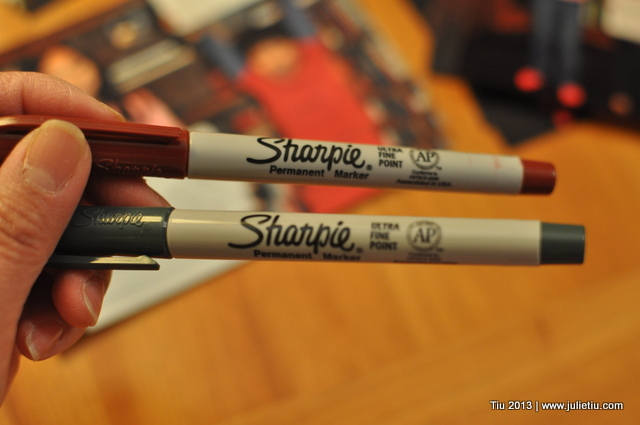
I love my Sharpies. Use them and turn these blanks…
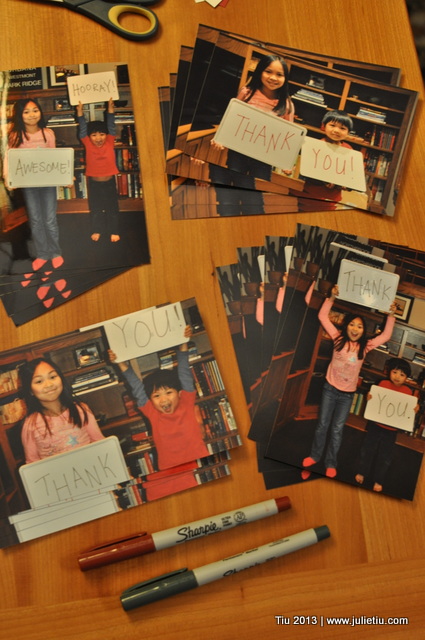
… into any card you want! For 4″ x 6″ pictures, you could purchase empty photo card frames. I have extra cardstock laying around so I just cut it to size for my blank cards. (See first picture.) They measure at 4-3/4″ x 6-3/4″. I get weird when it comes to the borders… I don’t like them too wide.
And to stick them on the card, use double stick tape or glue dots. If you want to get fancy, use photo corners or with an X-acto knife, cut slits on a diagonal at each corner and feed the corners of the photo through.
Don’t limit yourself to just saying “Thank you.” You can split it up like, “Cool! Thanks a bunch!” Or “Happy / Birthday”.
My daughter thought the pictures “freakishly” looked like the words were already printed on the boards.
Yes, I could’ve printed the cards out at the photo center as folded cards (for a whole lot more money), but what’s the fun in that? Enjoy… let me know if you’ve done this or if you might try it!
