Mugshot Monday: Winter

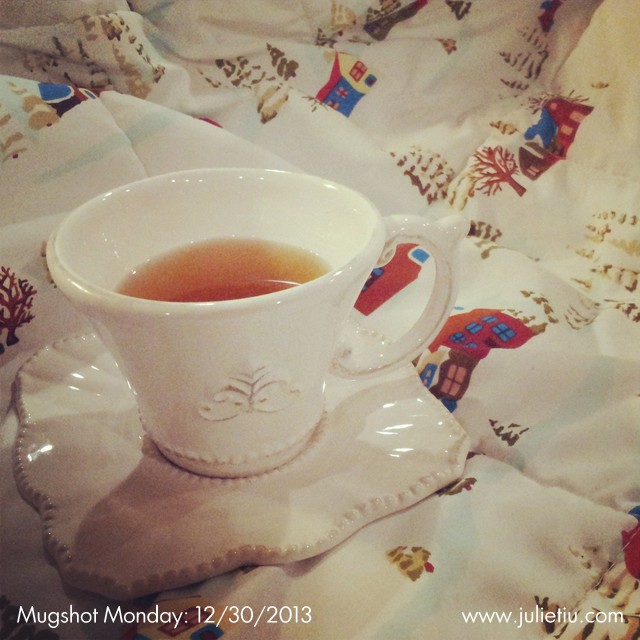
Our last prompt of the year from A Year in the Life of An Art Journal. Hope you’ve all had a wonderful holiday season! You can bet my family has, despite someone me getting sick. Never fails, with all the crowds, late nights… someone’s bound to catch a bug. But, all is good. Nothing a little tea and sleep can’t fix.

Mugshot Monday: 12/30/2013

It’s been a great 2013, and I think I did what I set out to do, more living… less wishing and more making things happen. The website continues to change with hopes for great craft, food, and idea sharing, more timely postings, and not so much self-inflicted pressure.

12/24/2013: Waiting for Santa
From my home to yours, wishes for a craftful, wonderful, blessed 2014.

12 Days of Gift Wrapping: Basic wrapping

I didn’t realize what a polarizing topic this could be. Do you overlap the “tail” over the box, do you fold the “tail” so it just meets the edge of the box, or do you fold so that the “tail” meets in the middle and you have something that looks like an envelope? There is no right answer – I think it’s all personal preference.
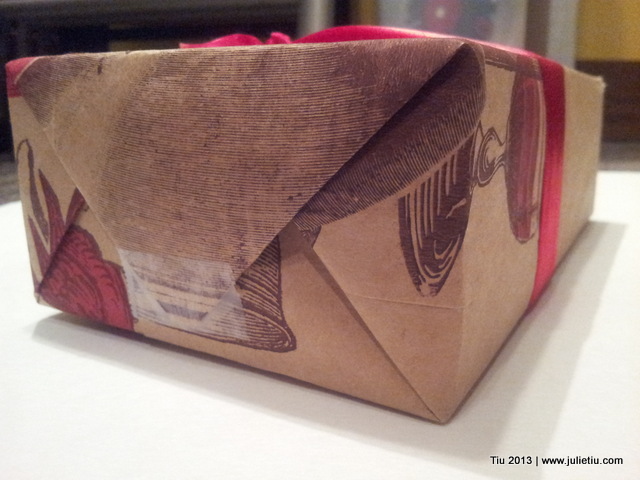
12 Days of Gift Wrapping: Use a store paper bag instead of gift wrap

And the other thing about wrapping – how do you cut just enough paper? Well, you can measure your box, all the way around and then the ends or you could eyeball it like everyone does with some freestyle measuring to insure you have enough paper.
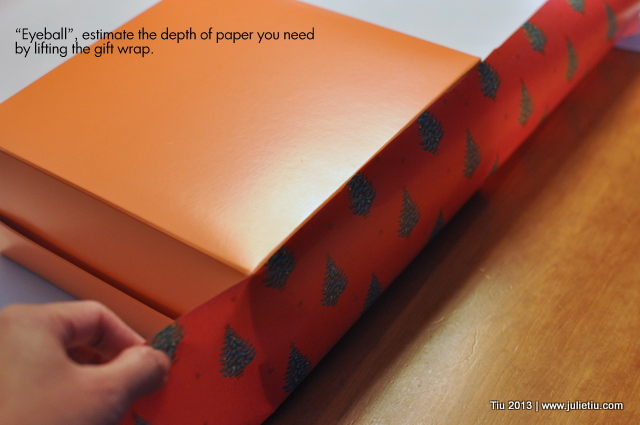
12 Days of Gift Wrapping: Basic Wrapping

Here’s how I like to wrap gifts.

12 Days of Gift Wrapping: Basic Wrapping

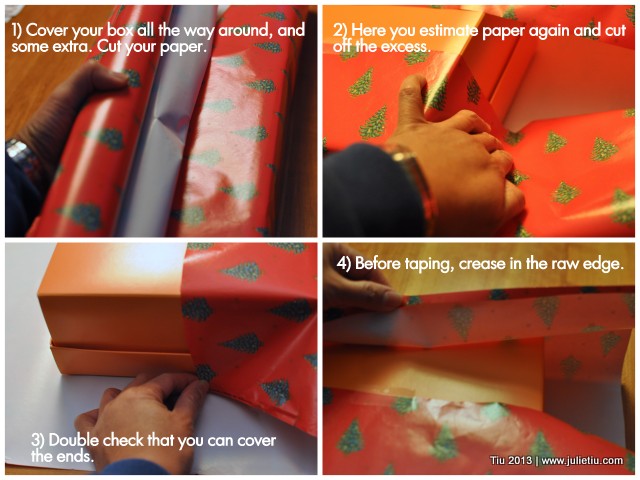
• Lay your box down on your unrolled gift wrap.
• Pull the paper around the box to make sure you have enough to go around plus about an inch. If you don’t, turn your box 90 degrees. You’ll probably have enough that way.
• Before you cut, check for end coverage, and crease lightly with your fingers.
• Cut the paper where you made a crease. If you happen to have a grid on the backside of your paper, you’ll have an easy time cutting straight. Otherwise, follow parallel to the roll and you’ll be pretty straight.
• Tape one edge of the wrapping paper to the box. This is the only way I can make my gift wrapping nice and taut. If you have double-stick tape, by all means use that.
• Wrap around the gift and before you tape your paper down, crease along the raw cut edge. You’ll have a nice finished edge. Tape it down in the center.
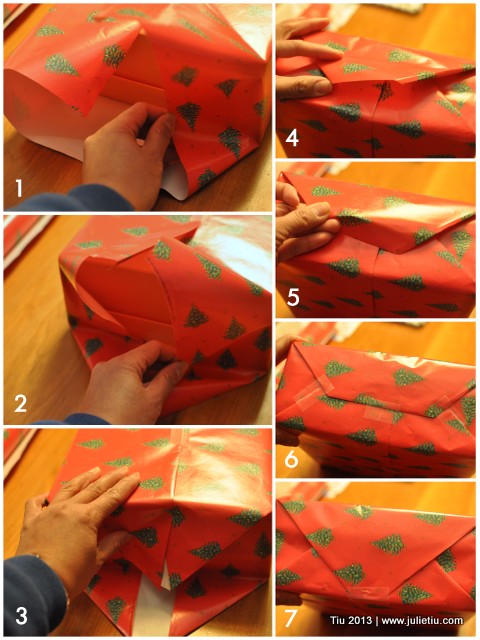
12 Days of Gift Wrapping: Basic Wrapping

• Ends – fold in the sides and when you press inward, you’ll find that the upper and lower flaps will start looking triangular at the ends. Make sharp folds for neater edges. Fold the bottom flap up and then the upper to close up the gift end. Tape in three spots, and repeat on the other side. (Or tape in the just one spot, at the tail.)
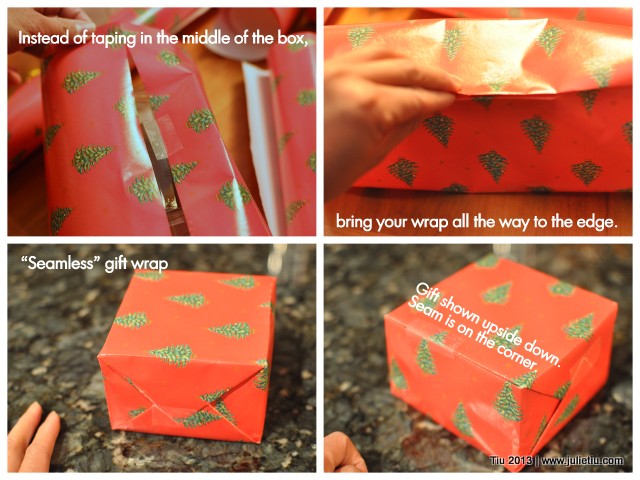
12 Days of Gift Wrapping: Basic Wrapping

You could also make your wrapping look seamless just by taking your wrapping paper all the way over and then taping. Fancy, right? My kids don’t like this method because they can’t find a good spot to start ripping (in their opinion).

Lastly, give all the edges of your gift wrapped box a nice pinch. Just put your thumb and pointer finger together and run along all the edges. Makes for crisp corners.
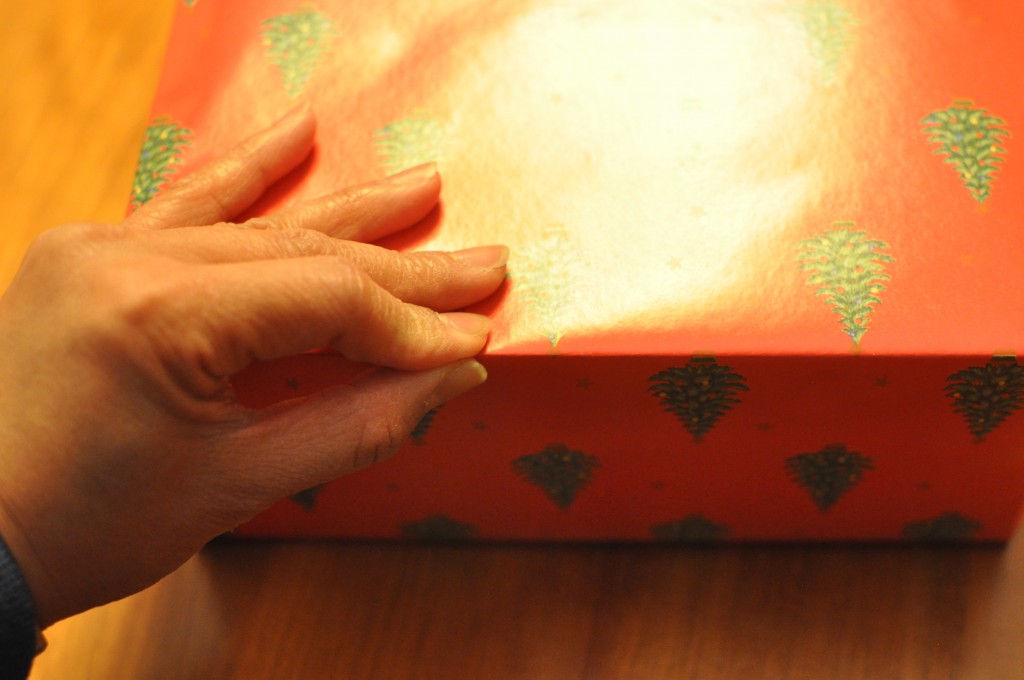
12 Days of Gift Wrapping: Basic Wrapping

If I happen to run out of gift wrap (unlikely, but it happens), I like to use paper bags, craft paper, magazines, newspaper, old phone book pages (yellow, of course), etc. There are some fine looking magazine pages that really serve themed-gift wrapping well (like that small box in the upper left hand corner in the picture – watch ad from a magazine).
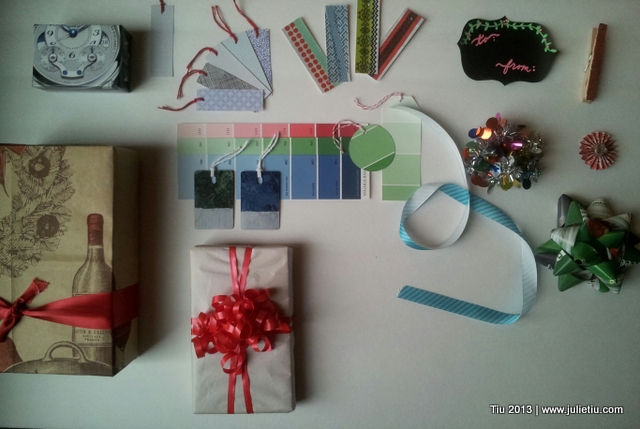
12 Days of Gift Wrapping: Use other paper instead of gift wrap

Endless gift wrapping possibilities…

12 Days of Gift Wrapping: Basic Wrapping

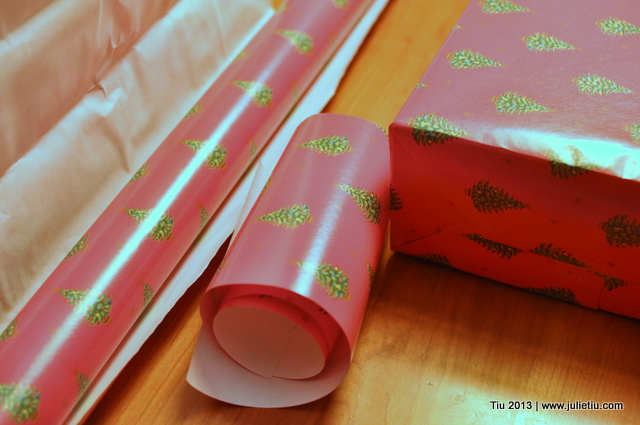
Don’t throw away the small cut pieces of gift wrap, either. You can wrap a small gift, or it can become a curly topper (you’ll see in another post)!

Birthday Part 2: Painting Pottery

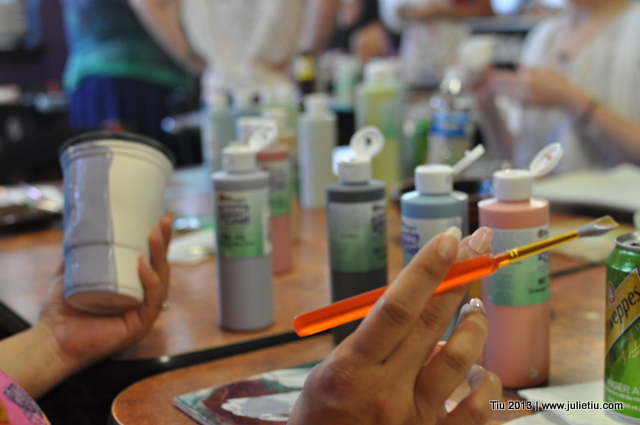
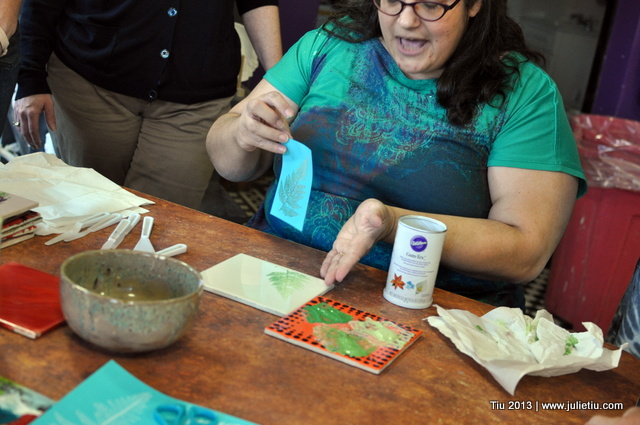
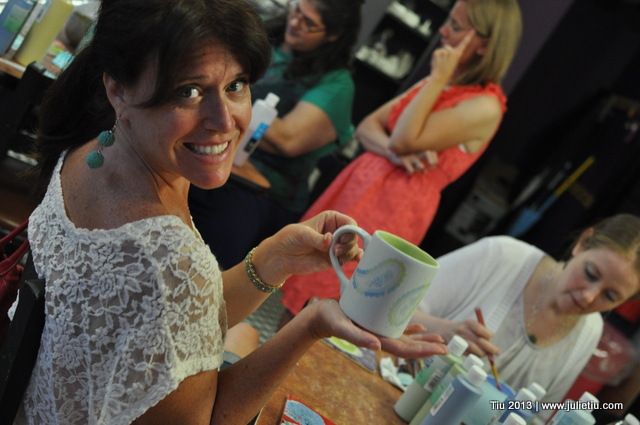
Really, this was “part one”. I kicked off my fabulous 40th birthday weekend with a ladies night out at our local pottery studio, If an Elephant Can Paint. What a treat to be able to sit and paint our own projects (not our kids’), and talk (uninterrupted).

I looked around the table at friends who span my childhood, grade school, high school, post-college and now, from my kids’ school. I am crazy blessed to have these people in my life.

If an Elephant Can Paint

If an Elephant Can Paint silkscreen

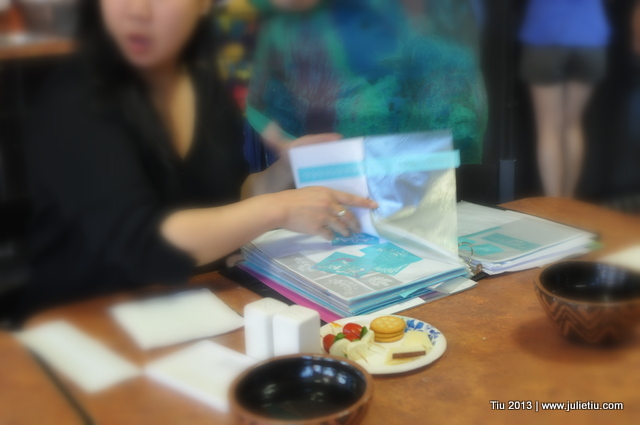
We even learned a silkscreening technique.

If an Elephant Can Paint

If an Elephant Can Paint

If an Elephant Can Paint

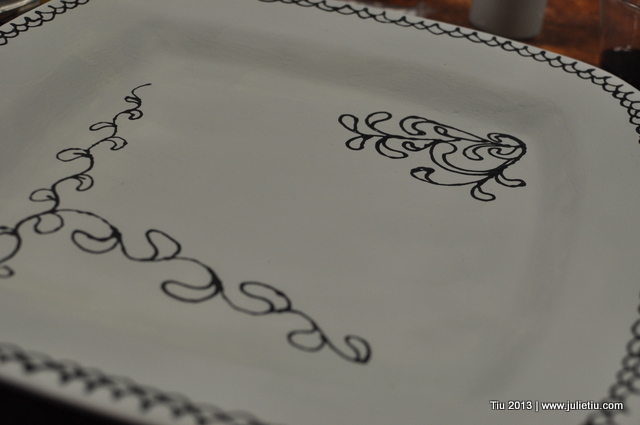
My painted platter in progress

If an Elephant Can Paint

Salt shaker in progress

Special thanks to Vicky and her crew at the studio!! You can check out our finished projects album, too. It’s at my personal Facebook page… until I transfer some pics here. Enjoy!

Mugshot Monday: My birthday

Our Monday Mugshots prompt on July 15 was “Freedom”.

Monday Mugshot: Birthday Bike Ride

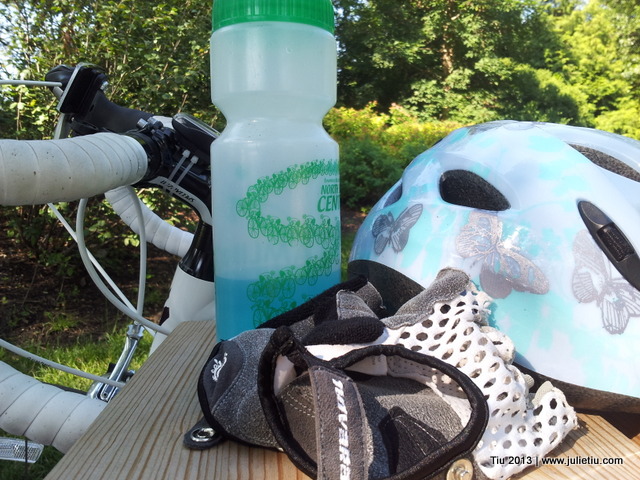
I celebrated my 40th birthday on Monday with a bike ride to the botanic gardens from my home and back (36.5 miles total). Now that’s freedom – to ride with the wind in my face on a bike path with woodland forests and prairies. (Nevermind that it was crazy humid and hot by noon.) Had pastry and fresh fruit for breakfast – hubby and the kids met me at the garden for a picnic.

Forest Preserve Bike Path | North Branch Chicago

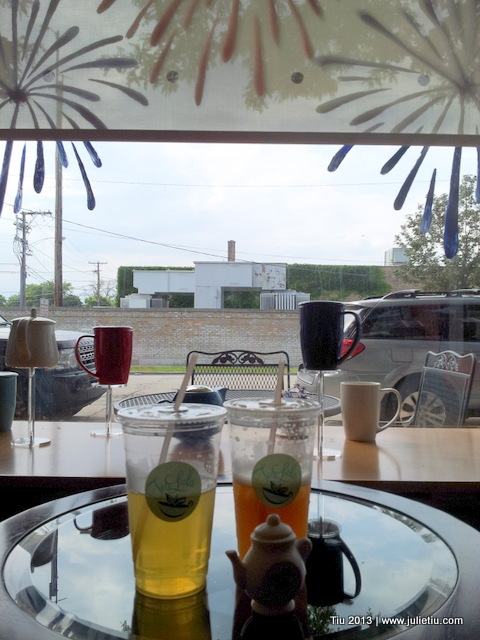
Later, we visited our favorite tea spot – way too hot outside for hot tea. We opted for some iced Samba de Rio (blended green tea with mango, pineapple and yellow rose buds) and an Arnold Palmer. The window decor from July 4th was still up with the red, white, and blue mugs in the background.

Monday Mugshot: Freedom

Making A Memory Pillow

… or you could call it a Keepsake Pillow.

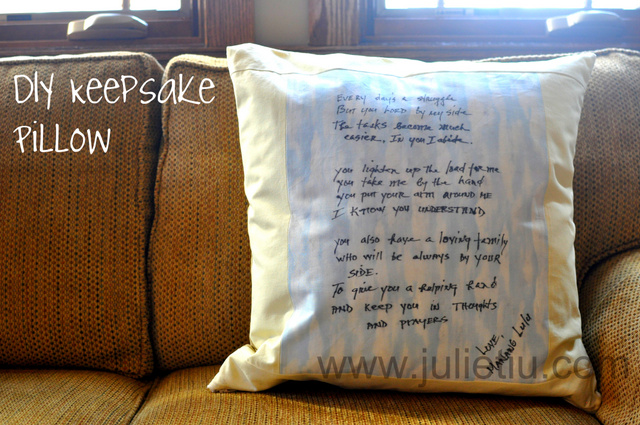
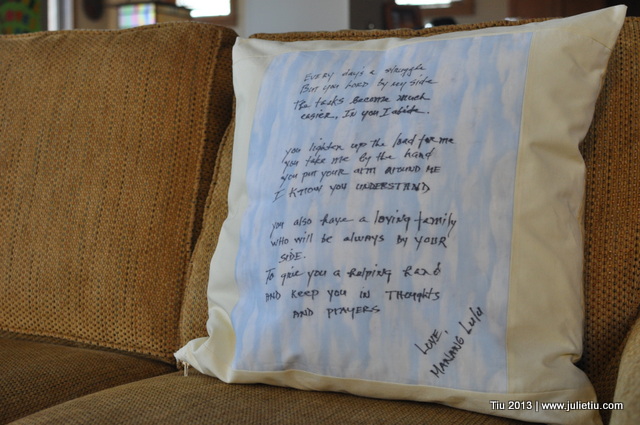
Handcrafted Keepsake Pillow

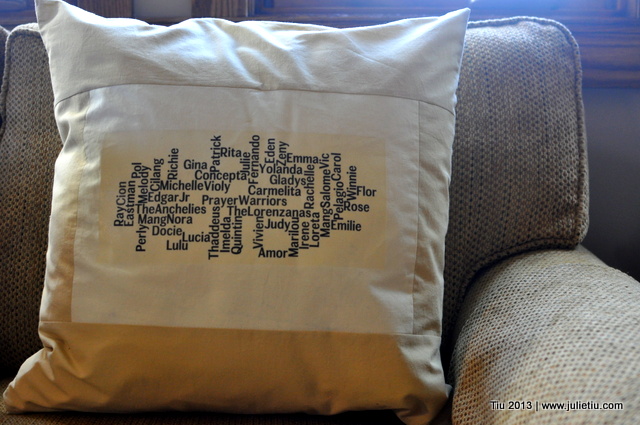
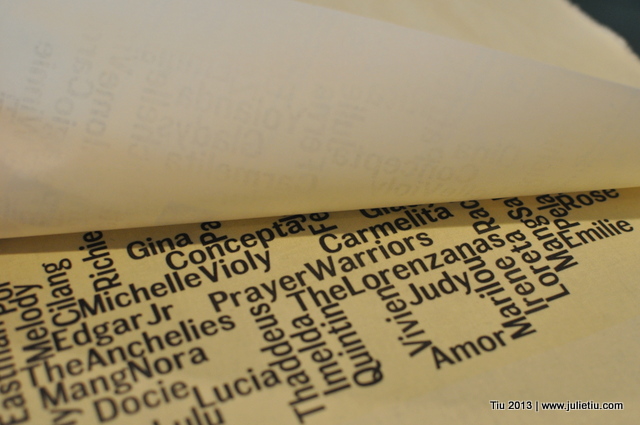
Word Cloud text on a pillow via Iron-On Transfer

Years ago, I wanted to make a memory quilt with prayers and well-wishes for my aunt and uncle. At the time, my uncle was battling an illness. Thankfully, he recovered – and then the project lay in my “to-do” pile. Fast forward to this year. We celebrated his 60th birthday. (Time has been very good to him. He stays active, keeps good company, and stays youthful with his 20-something-year-old kids.)

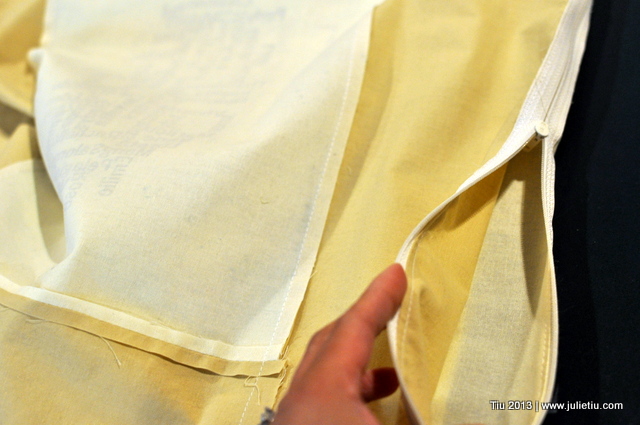
I resurrected the gift idea. You know, something thoughtful… but I downsized it to something manageable, like a pillow. A pillow cover, I could do; this time I added a zipper instead of doing an envelope enclosure.

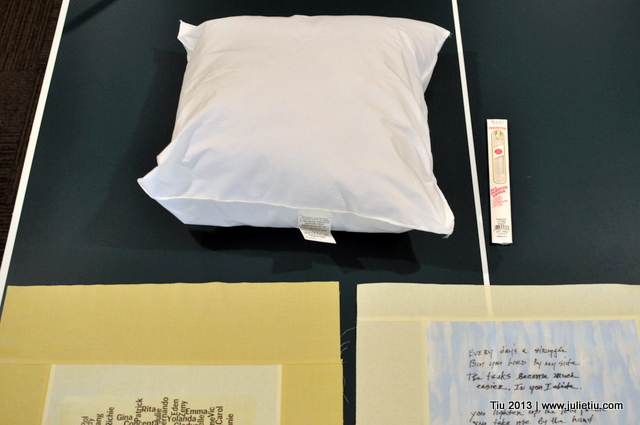
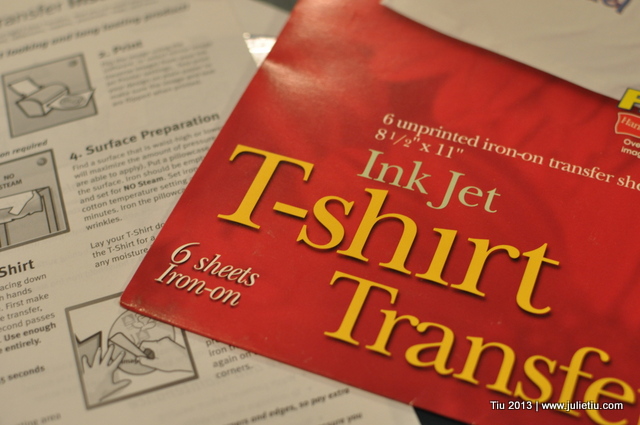
Materials used: 20 in. square pillow form, fabric, iron-on sheets for an ink-jet printer, 22 in. all-purpose zipper

Materials used in the memory pillow project

Handcrafted Keepsake Pillow

Wish I could say I documented all the steps, but this was really a free-flow, stream of consciousness project. No definite measurements, but I could probably go back and figure it out. Should I?

Handcrafted Keepsake Pillow

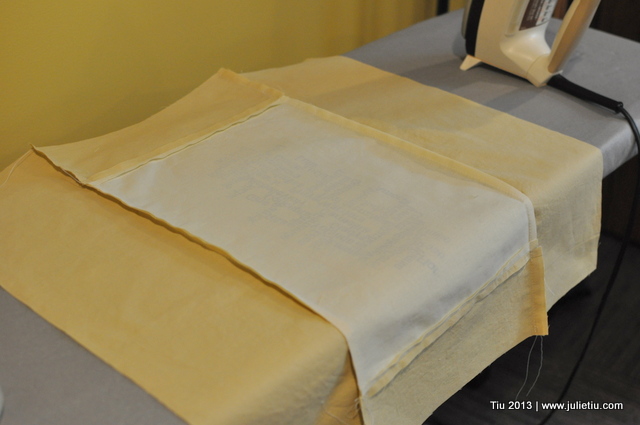
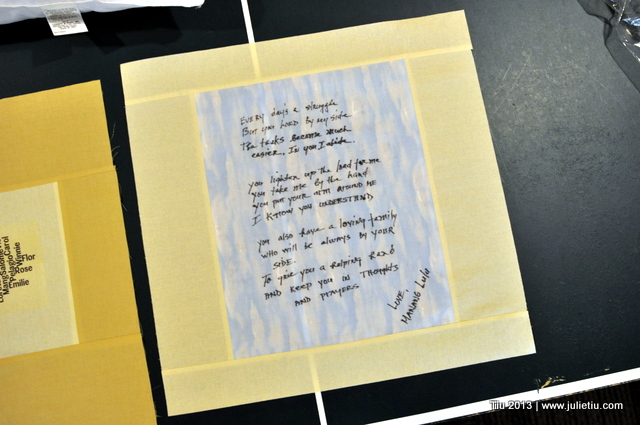
The front and back of the pillow cover are giant quilt squares. 20-1/2” square, to be exact. Something so heartfelt about handwriting on fabric. And, then to pair it with printed text… Kinda wonky, kinda cool. I worked out our family and friends’ names on wordle.net, and while I love color, I just ran out of colored ink for our printer. So black and white, it was.

Handcrafted Keepsake Pillow

Handcrafted Keepsake Pillow

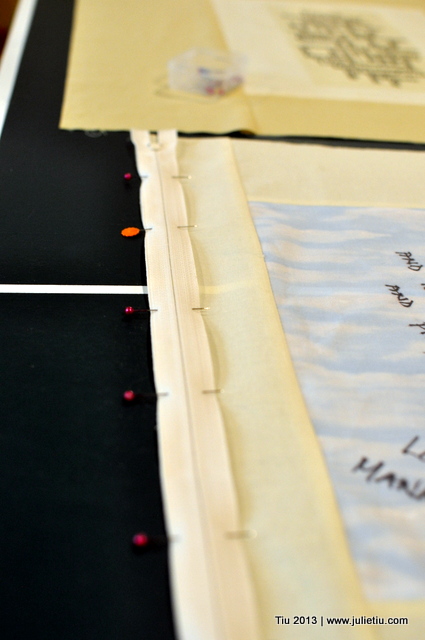
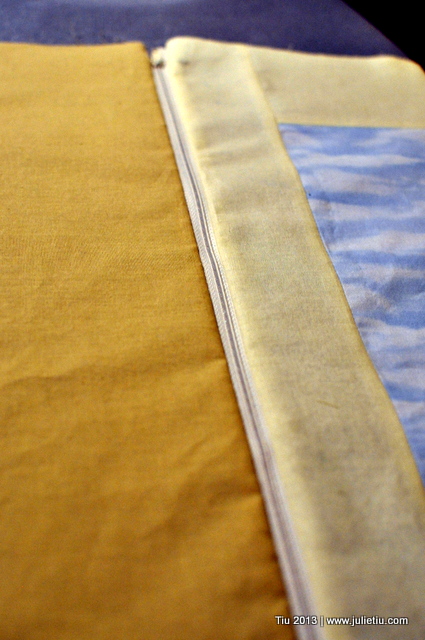
(This zipper tutorial was really helpful.)

Handcrafted Keepsake Pillow

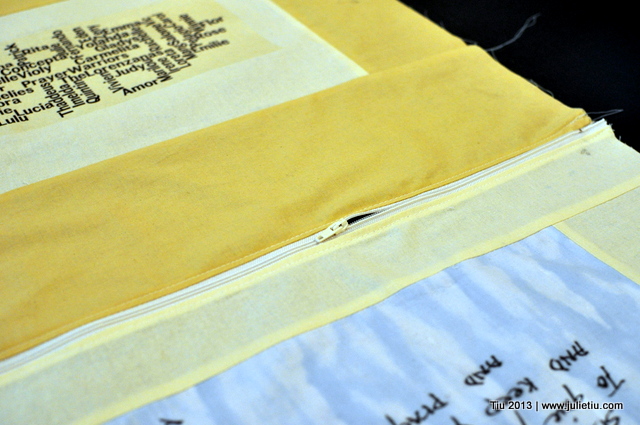
Hooray, it worked!

Handcrafted Keepsake Pillow

Handcrafted Keepsake Pillow

Handcrafted Keepsake Pillow

This is why you unzip before sewing

Keepsake Pillow makes a thoughtful gift

Another thoughtful project completed. On to the next one…

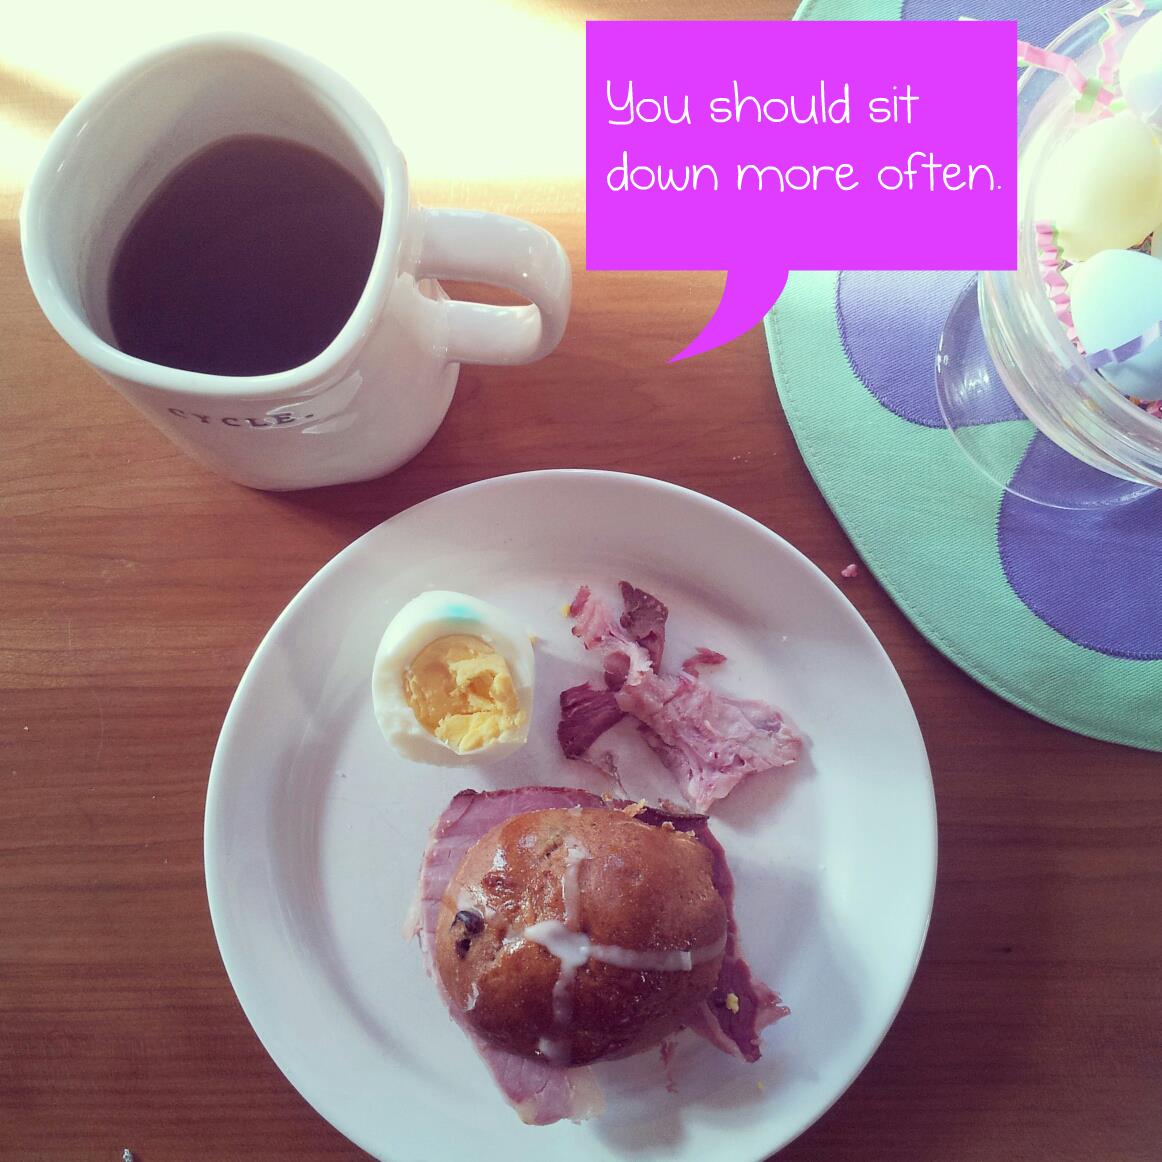
Mugshot Monday: If my mug could talk

Mugshot Monday: If my mug could talk

Yes, I should sit…

I could sit at my sewing machine, at the desk to finish our taxes, at the table with my kids, at the tea bar, on the couch to watch a few shows on the DVR (anyone watching Dallas?!).

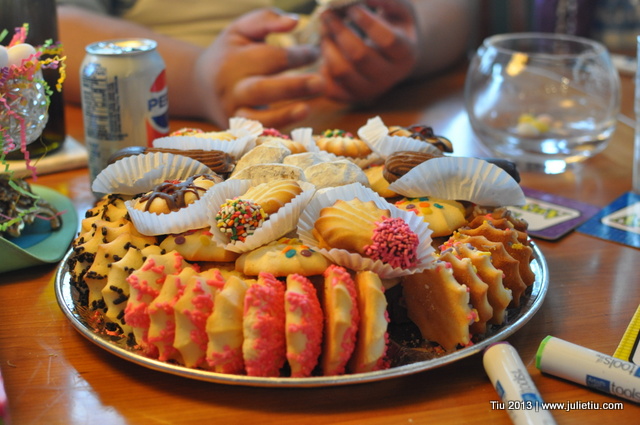
… but yesterday, I sat for a few minutes with my leftovers from a wonderful Easter weekend.

Related Posts with Thumbnails