Making Progress on the Craft Office

The smallest room in our home – the room with the most windows per square feet, with the best lighting – has totally not been used to its potential. Disappointing, isn’t it? It’s the dumping ground. In the last month I’ve alluded on the Facebook page to redoing one of our rooms into an actual, usable craft space. (Yeah, we’ve only lived here for 8-1/2 years?) The room was originally earmarked for a shared home office between my husband and myself. I think I had visions of the kids working at the table. That didn’t happen.

I’m happy to report that in the last few weeks I moved a lot of things around, got rid of a lot, too. I lost some momentum last week because I needed to focus on a workshop my husband and I were presenting at our church, not to mention family stuff. BUT, I’m still encouraged that I’ve made a few more papercrafty things in the last couple of weeks just by having this space available to me! It’s actually a room I’m starting to want to spend time in.

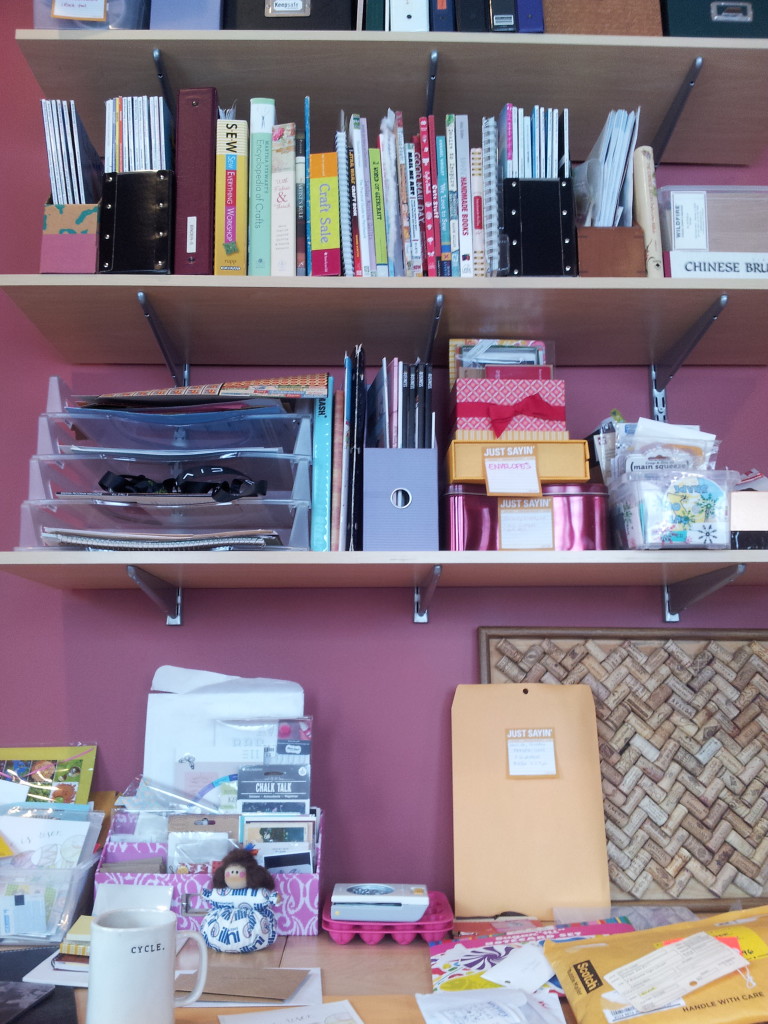
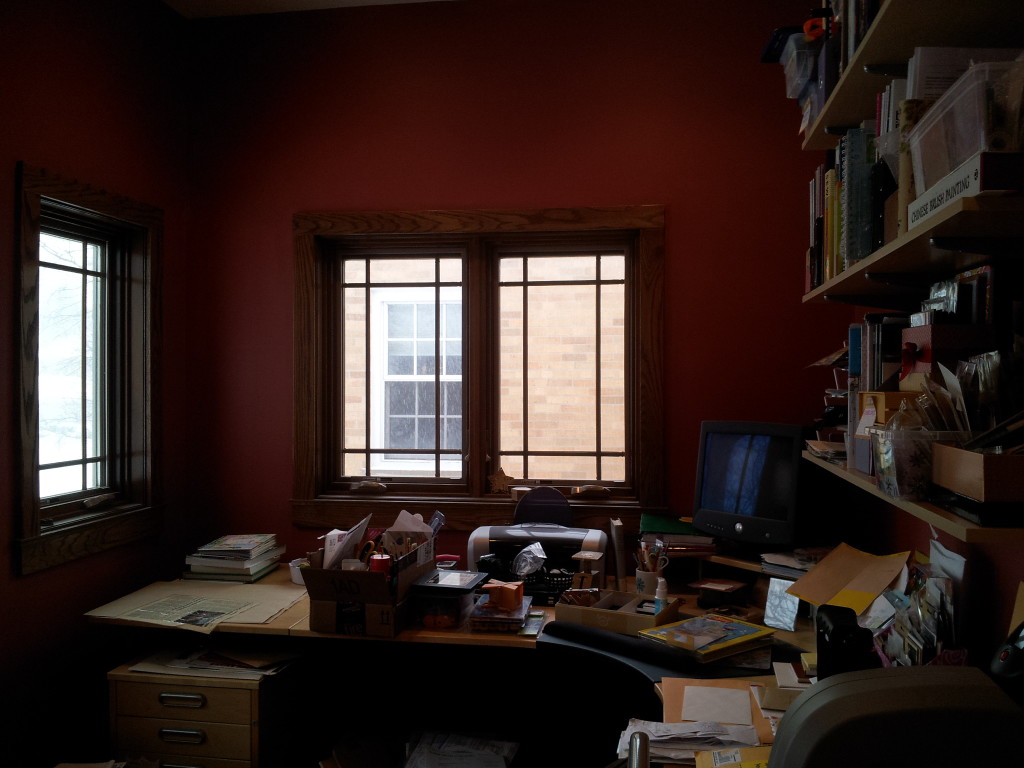
I don’t think I’ve ever shared pictures of this room because I’ve been too embarrassed about the state of it… and, you know what? Who cares?! It’s coming around, and it’ll be awesome.

The mess that is becoming my craft office.

The mess that is becoming my craft office.

This will all come together, I know...

This will all come together, I know…

Have a great Monday, and a great week everyone!

Working on: Prepping for Spring Break, Easter cards, my planner pages, more house clean up.

Developing: A lesson plan for a Zen drawing workshop I’m giving this week at a local art center, and hopefully an Easter article for GeekMom.

Contributing: At Monday Mugshots.

Planning: My son’s First Holy Communion reception for family and friends.
Hello March :: A Simple Sewn Folder for Letters and Notes

Letter writing has been so fun lately. It’s liberating, personal, and gives me an excuse another way to be creative. As a kid, I would write to friends and cousins. When one particular friend traveled, I would write her “letters from the future” and make up games for her to play while she was sitting in the car or flying. When I started college, pen and paper sort of went to the wayside because we were all given e-mail accounts… DOS, even. No windows-based programs yet.

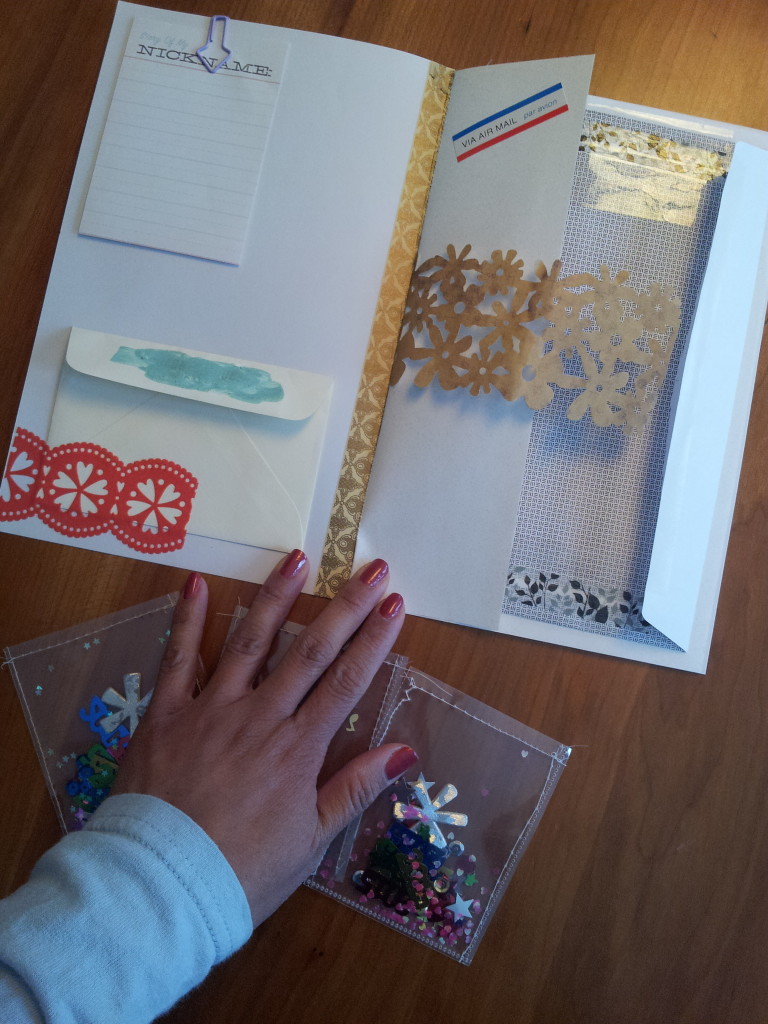
I thought I  would share some pictures of a paper folder I put together for one of my favorite pen pals of all time. She received it recently, so now I can “unveil” it. 🙂 A little paper, a little sewing, some washi tape, envelopes – all things I love playing with!


Inspired by oh, hello friend

Julie-Tiu-letter-noteook-1

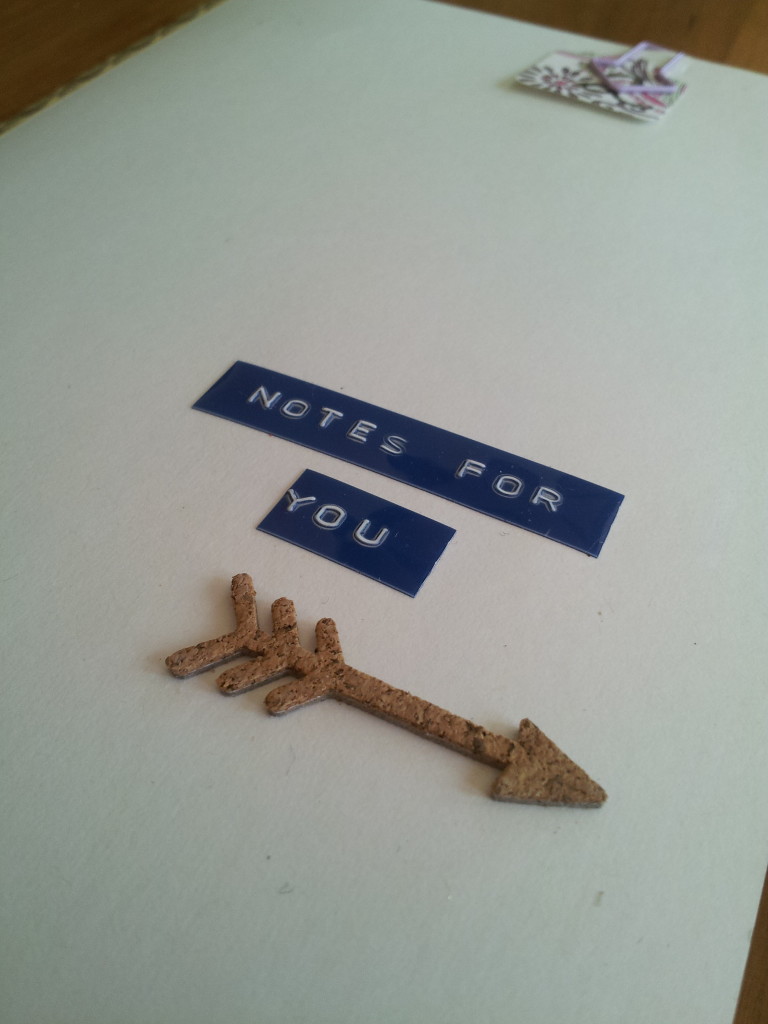
Folder front page

I love mixing paper and stickers. And I’m totally in love with my retro Dymo labeler.

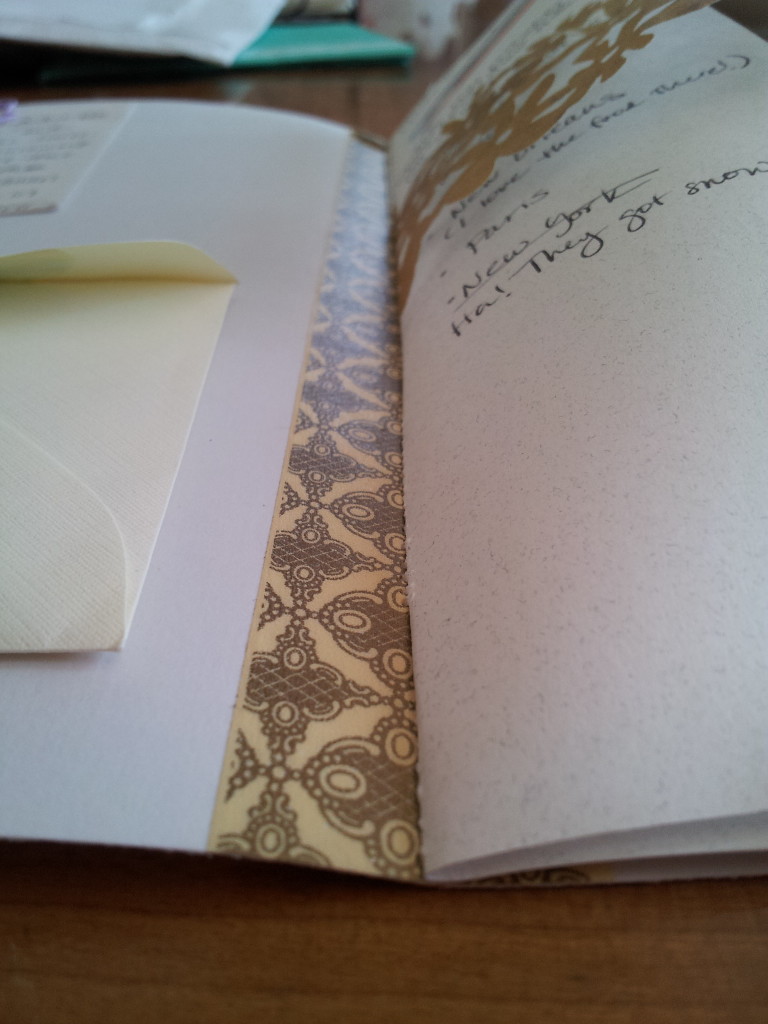
Sewn binding in my paper folder reinforced with washi tape

Sewn binding in my paper folder reinforced with washi tape

I folded a 8-1/2″ x 11″ cardstock in half, and used washi tape to strengthen the fold before sewing the other pages in place.

Julie-Tiu-letter-notebook-4

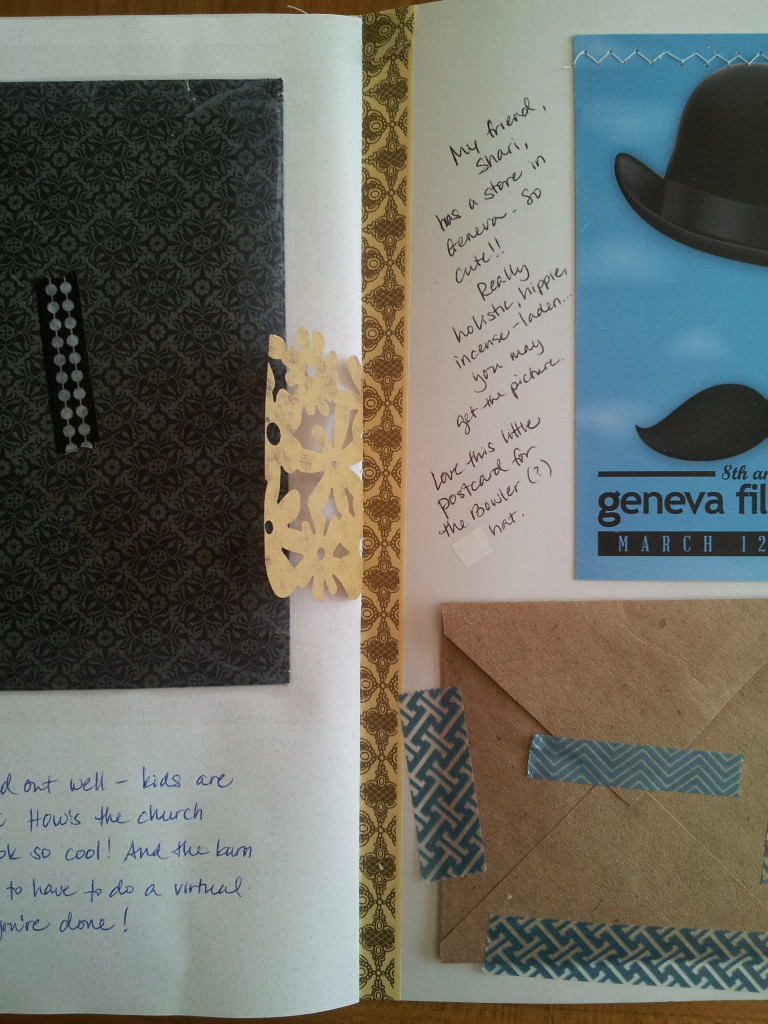
Envelopes and a postcard taped into place

What a fun way to use up bits of paper, postcards and little notes.

Julie-Tiu-letter-notebook-2

Mis-matchy embellishments make me swoon

Mini-envelopes taped into place are perfect for holding tiny treasures.

12 Days of Gift Wrapping: Earrings and Brooches

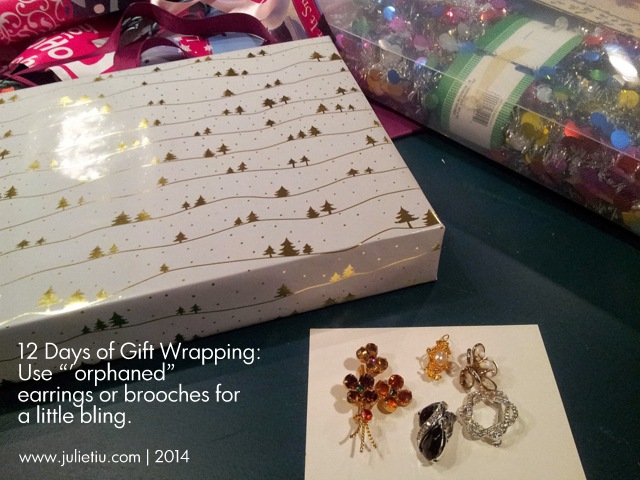
Raid your jewelry box for a little bling on your presents! I have a few orphaned earrings that would make fun embellishments for the fashionistas in my life.

Dig through a stash of jewelry for single earrings or old brooches.

Dig through a stash of jewelry for single earrings or old brooches.

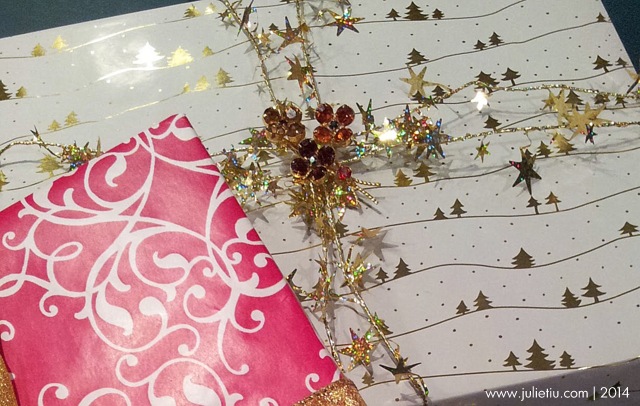
An old brooches can dress up a gift.

An old brooches can dress up a gift.

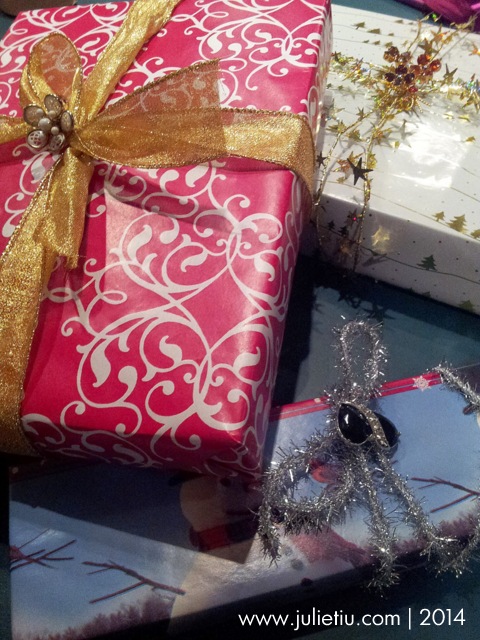
You don't have to throw away single earrings or old holiday pins. Put it on a gift!

You don’t have to throw away single earrings or old holiday pins. Put it on a gift!

12 Days of Gift Wrapping: Paper Medallions, Paper Bows and Pinwheels

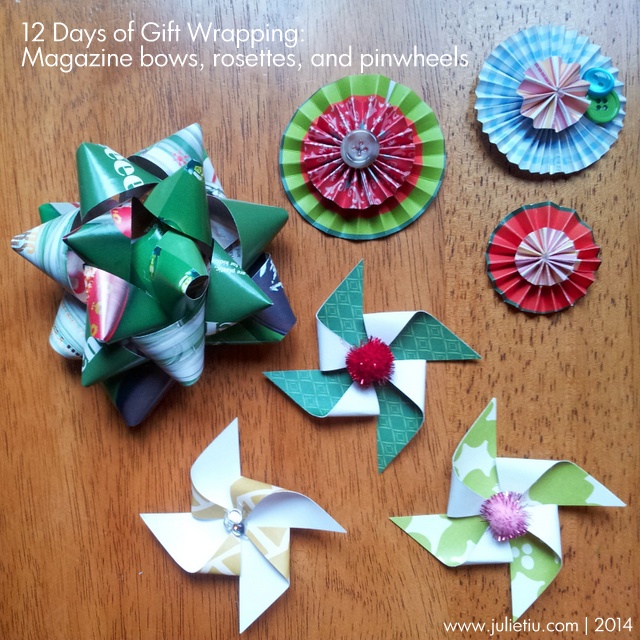
Once in a while, I run out of gift bows (and I don’t feel like running out to the store for the bag o’ bows). I’m probably not the only one… and what’s a gift without a bow or something fun? If you need a gift topper, check out some really cool tutorials and make your own!

Gift wrapping paper scraps, papercrafting scraps, and magazines are great resources for making your own gift toppers!

Gift wrapping paper scraps, papercrafting scraps, and magazines are great resources for making your own gift toppers!

A paper bow tutorial can be found at the end of this linked post.

Rosettes, or paper medallions, are so fun too! I make mine like this paper medallion tutorial on Craftaholics Anonymous.

Pinwheels are timeless… check out the pinwheel tutorial on instructables.com. I make my pinwheels with 3″ to 5″ squares, and then use a pom pom, stickers, buttons, or rhinestones in the center. Use a variety of sizes as gift toppers.

12 Days of Gift Wrapping: Scrap Fabric

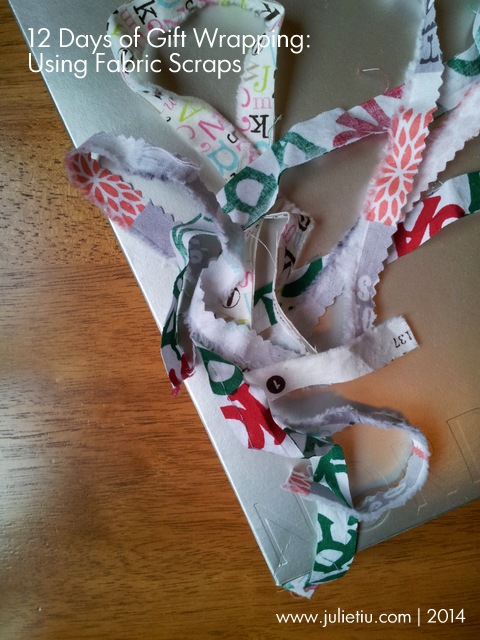
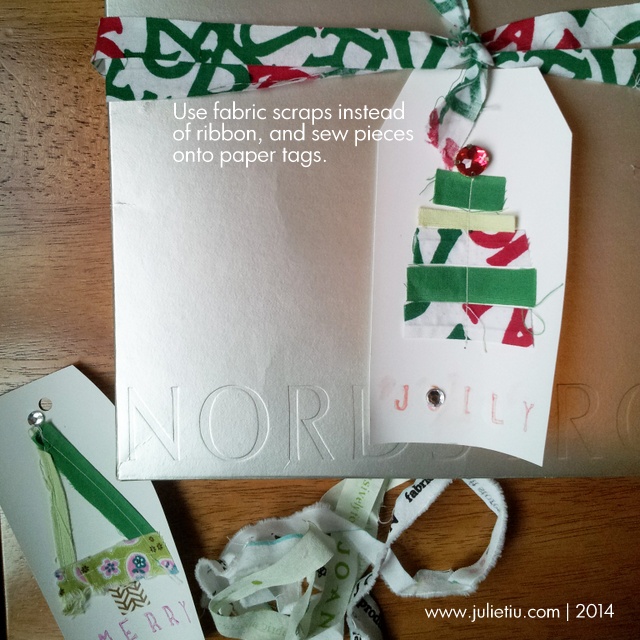
Here’s how you could use some scrap fabric in gift wrapping!

Gift wrapping with fabric as ribbon

Selvedges make a cool ribbon substitute.

Julie-Tiu-fabric-scrap-wrap-2

Instead of ribbon, maybe you have some left over selvedges (the edges of a bolt, or cut, of fabric). Or you can take scraps and sew them directly onto paper tags in the shape of a tree, star, stack of presents… anything seasonal.

12 Days of Gift Wrapping: Quick and Easy Gift Tags from Envelopes

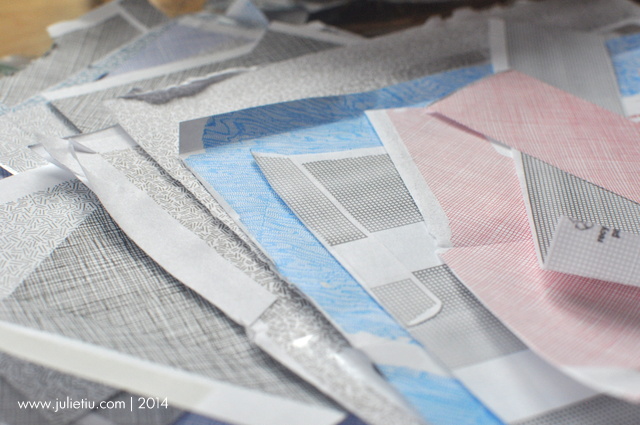
Sometimes, I just cut my own. It’s really handy if you only need a few, and it’s fun! We all still receive junk mail and bills, but before you throw the envelopes away, check the security envelopes. You might be surprised!

Security envelopes turn into scrap paper

Find really cool patterned paper by just looking inside security envelopes!

Lots of pretty patterns!

DSC_0716

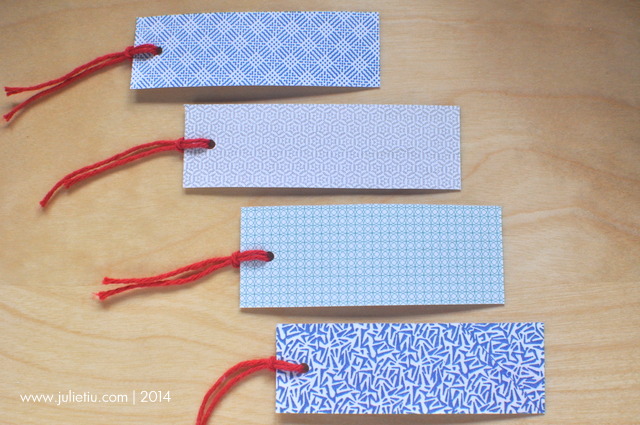
Take plain cardstock (or index cards) and cut them into 1″ x 3″ (approximately 25 mm x 75 mm) strips.

Generously apply glue to the cardstock strips with a glue stick, then adhere the patterned paper.

Using an X-Acto knife or crafting blade, trim the excess paper. The just punch a hole and tie some yarn, ribbon, or baker’s twine.

Related Posts with Thumbnails