Letter writing has been so fun lately. It’s liberating, personal, and gives me an excuse another way to be creative. As a kid, I would write to friends and cousins. When one particular friend traveled, I would write her “letters from the future” and make up games for her to play while she was sitting in the car or flying. When I started college, pen and paper sort of went to the wayside because we were all given e-mail accounts… DOS, even. No windows-based programs yet.
I thought I would share some pictures of a paper folder I put together for one of my favorite pen pals of all time. She received it recently, so now I can “unveil” it. 🙂 A little paper, a little sewing, some washi tape, envelopes – all things I love playing with!
Inspired by oh, hello friend…
Folder front page
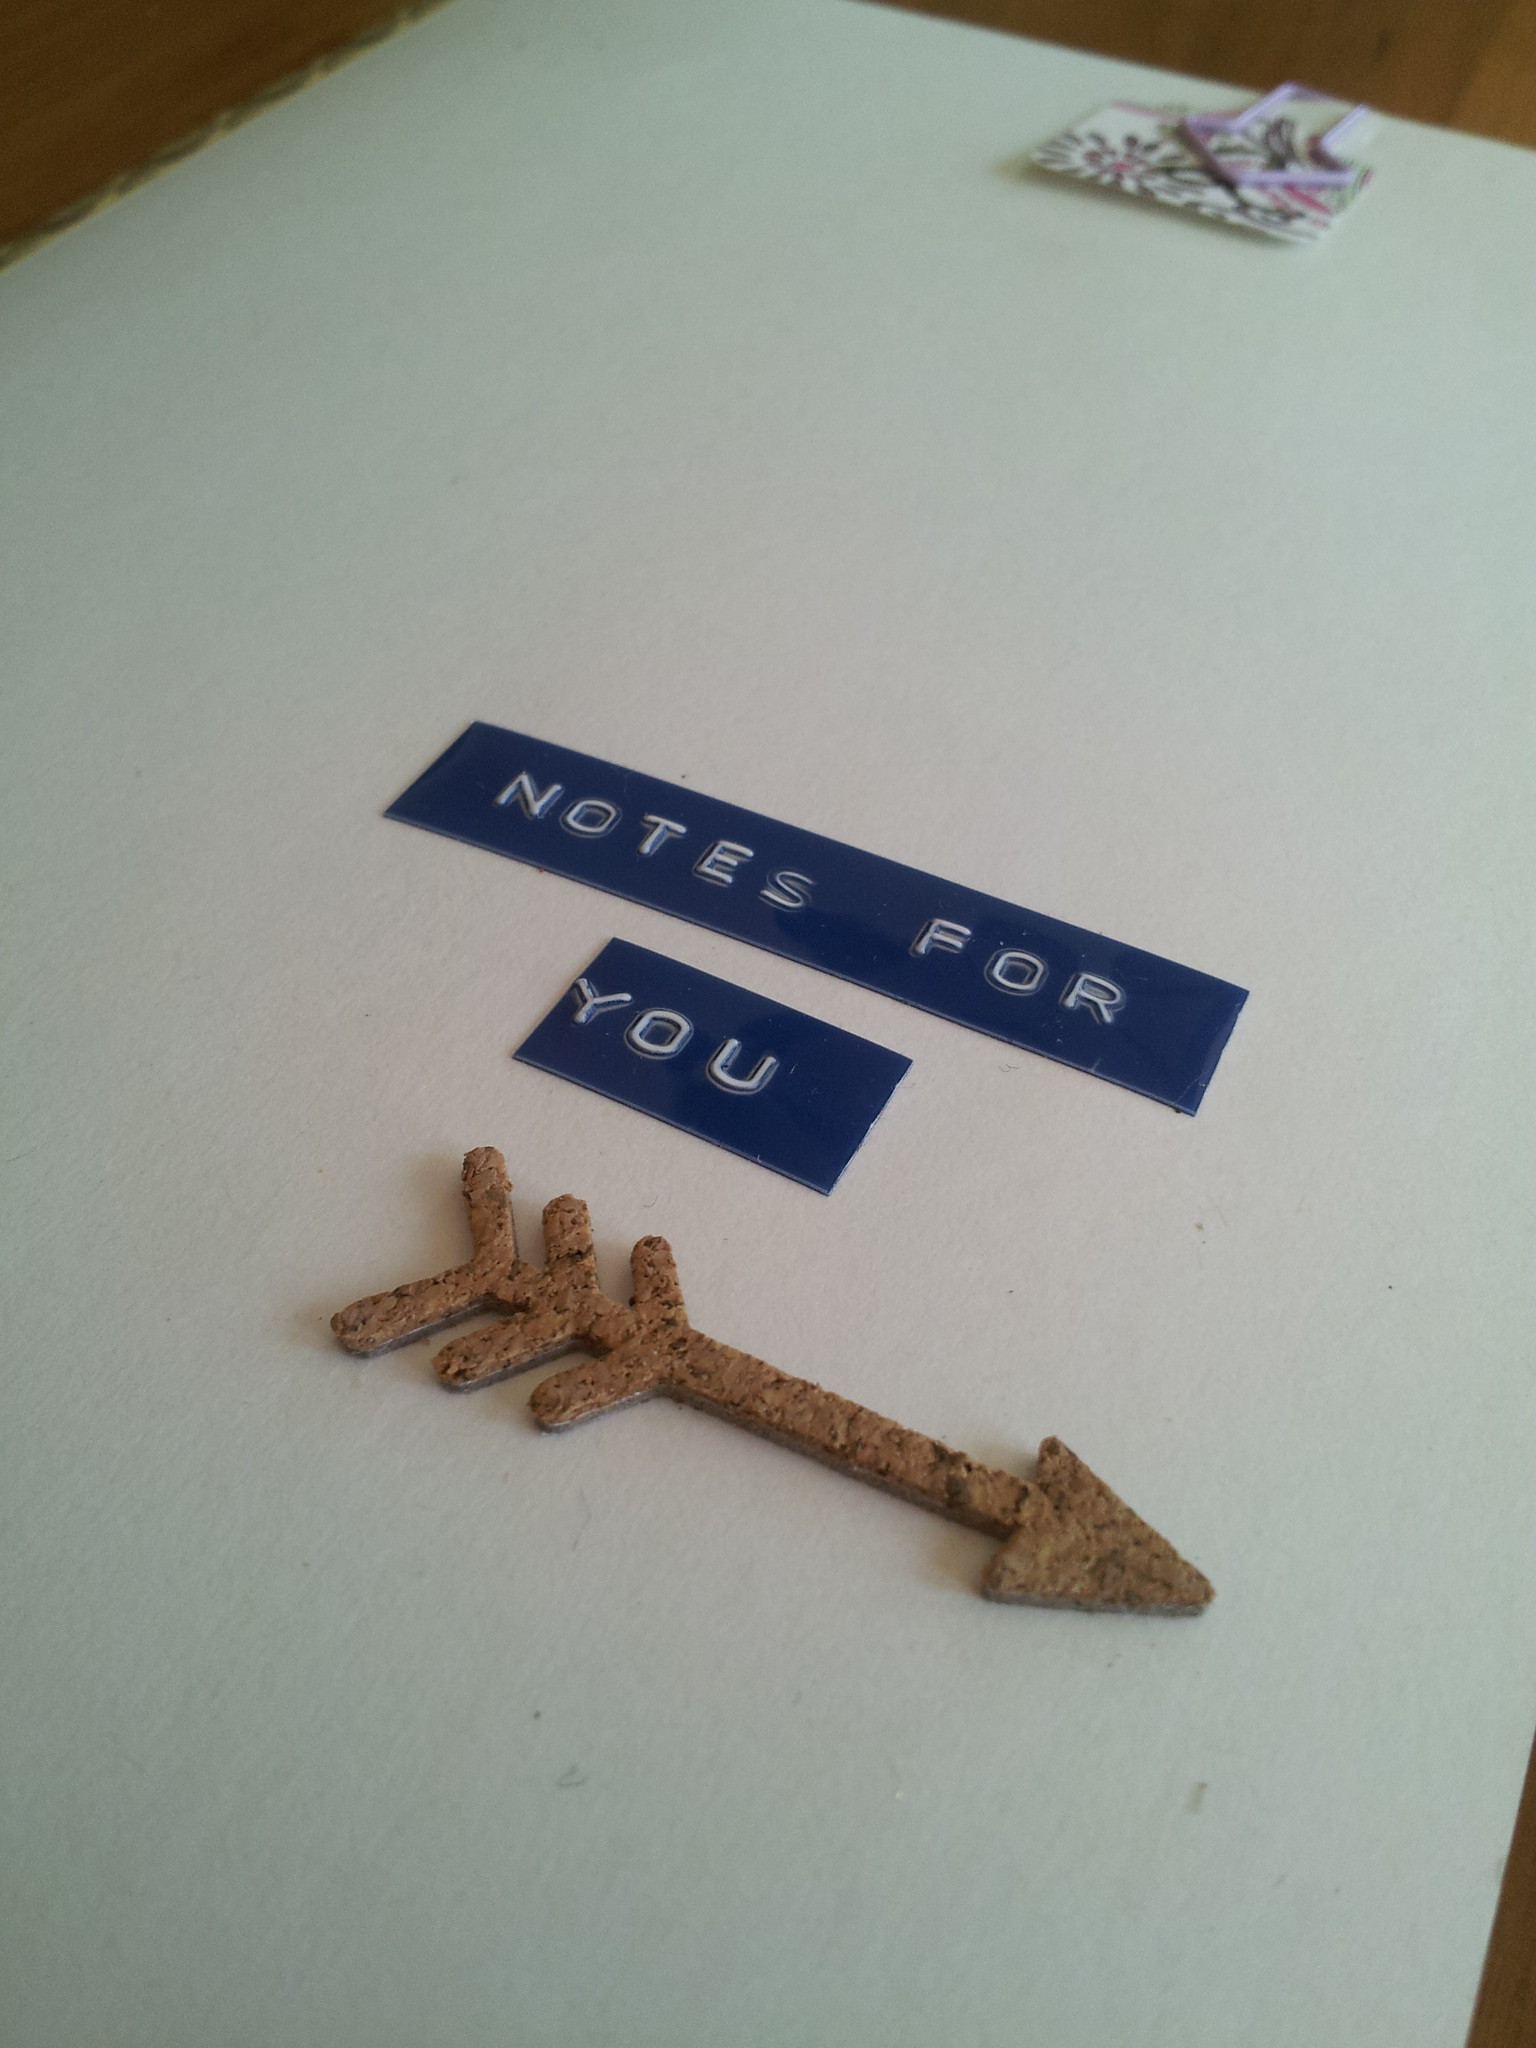
I love mixing paper and stickers. And I’m totally in love with my retro Dymo labeler.
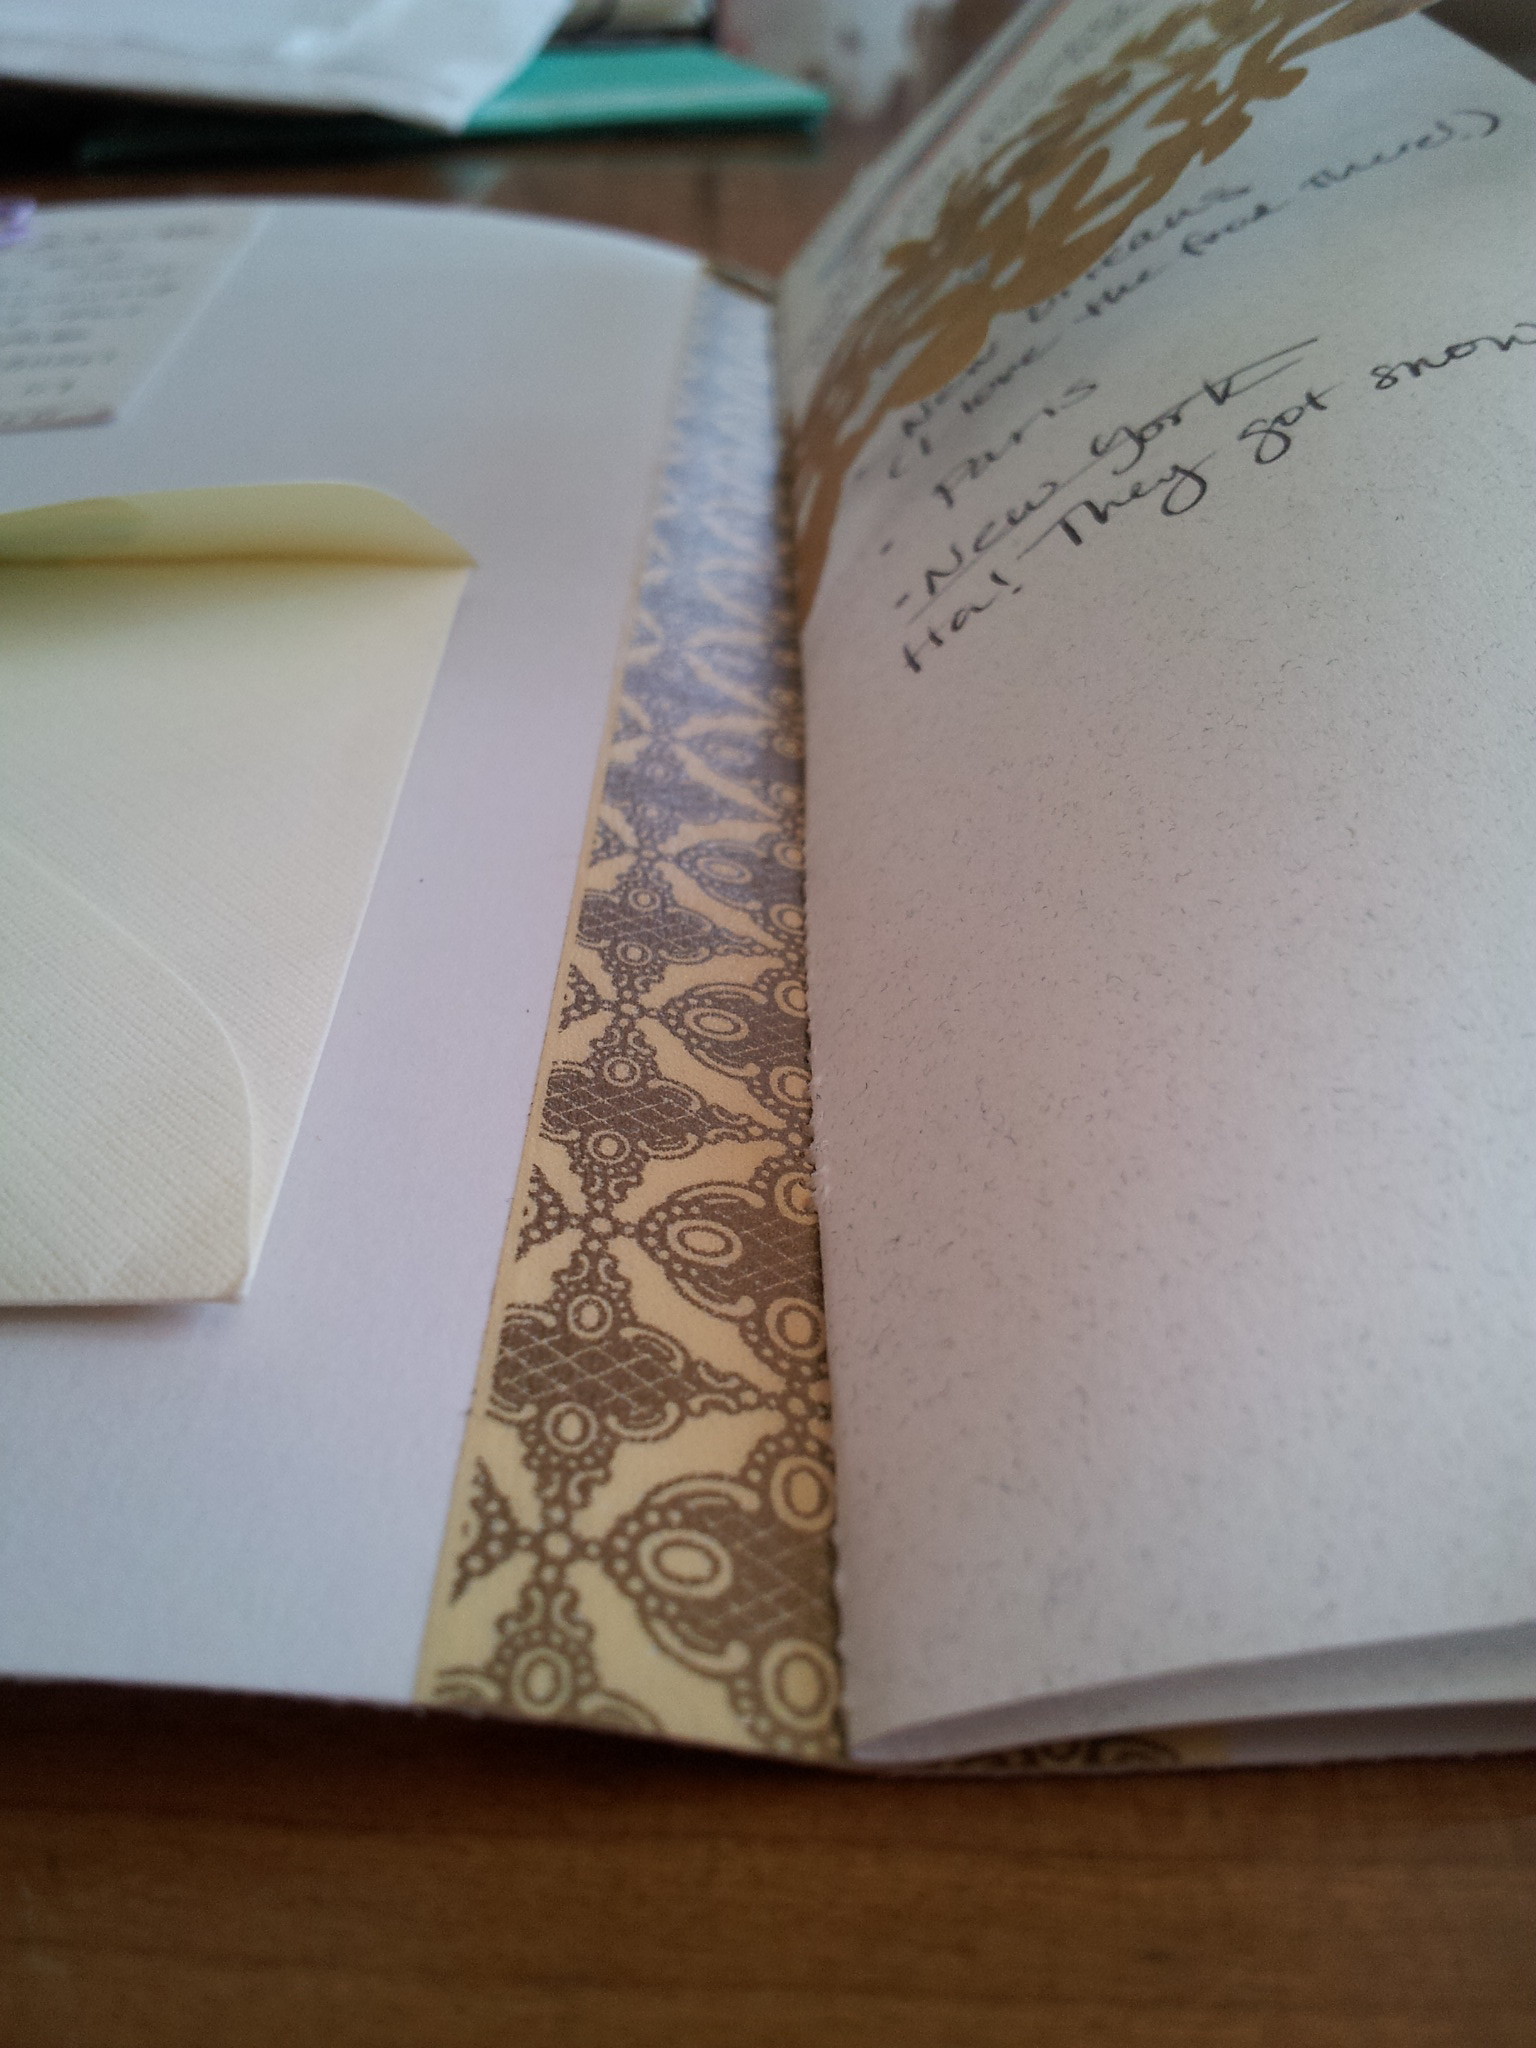
Sewn binding in my paper folder reinforced with washi tape
I folded a 8-1/2″ x 11″ cardstock in half, and used washi tape to strengthen the fold before sewing the other pages in place.
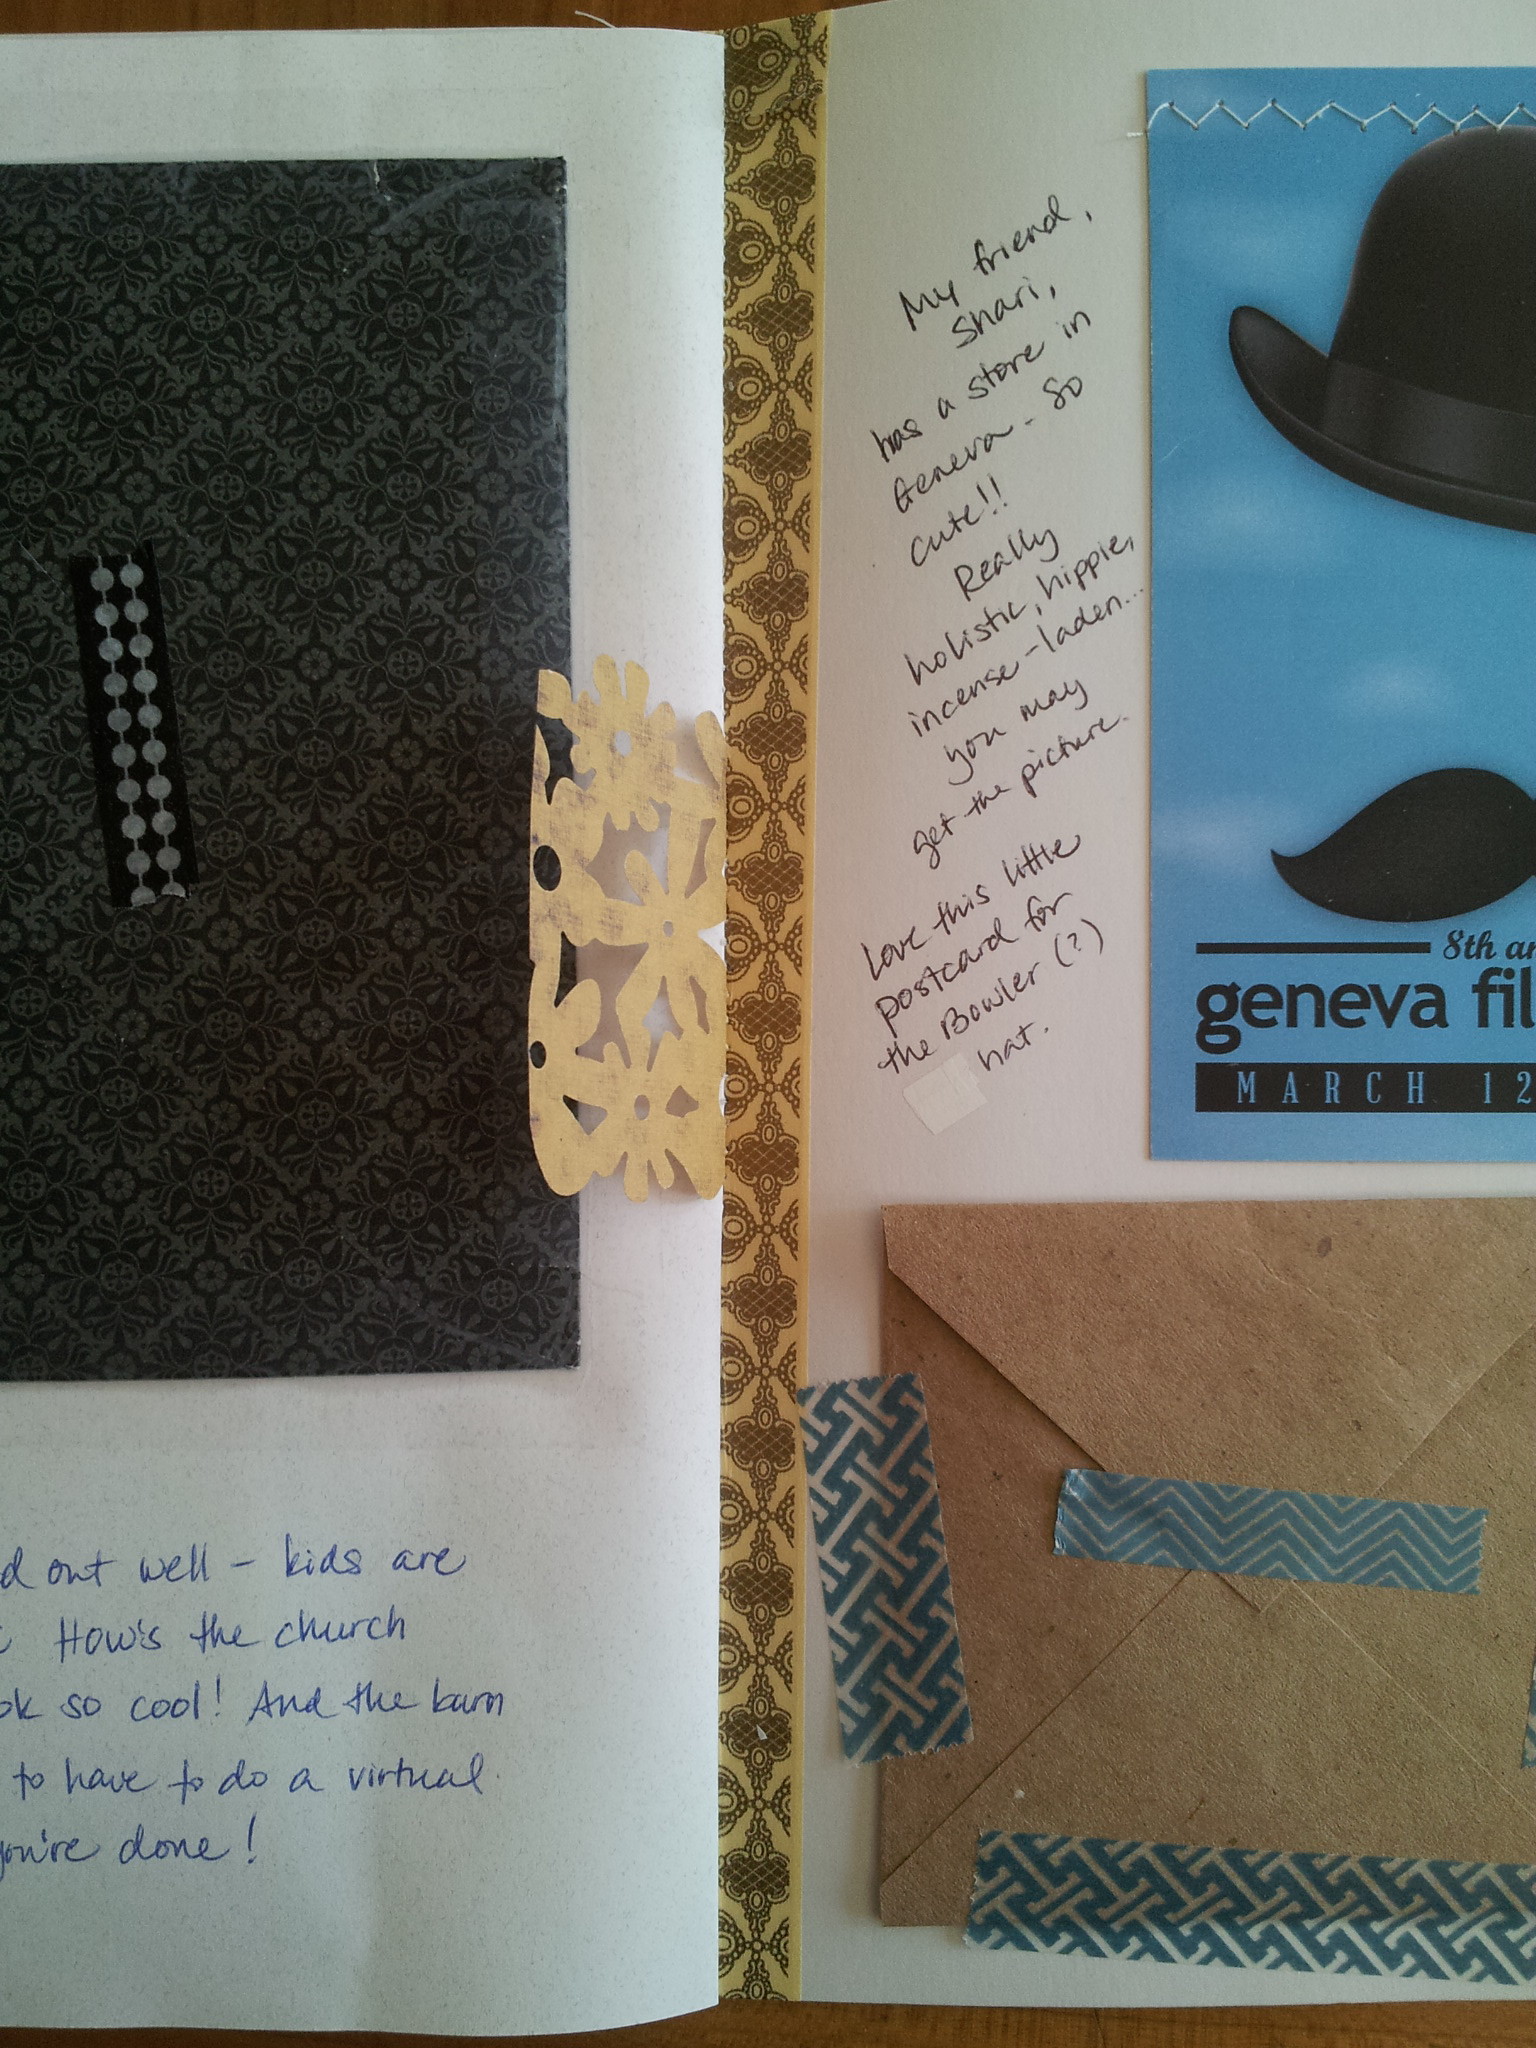
Envelopes and a postcard taped into place
What a fun way to use up bits of paper, postcards and little notes.
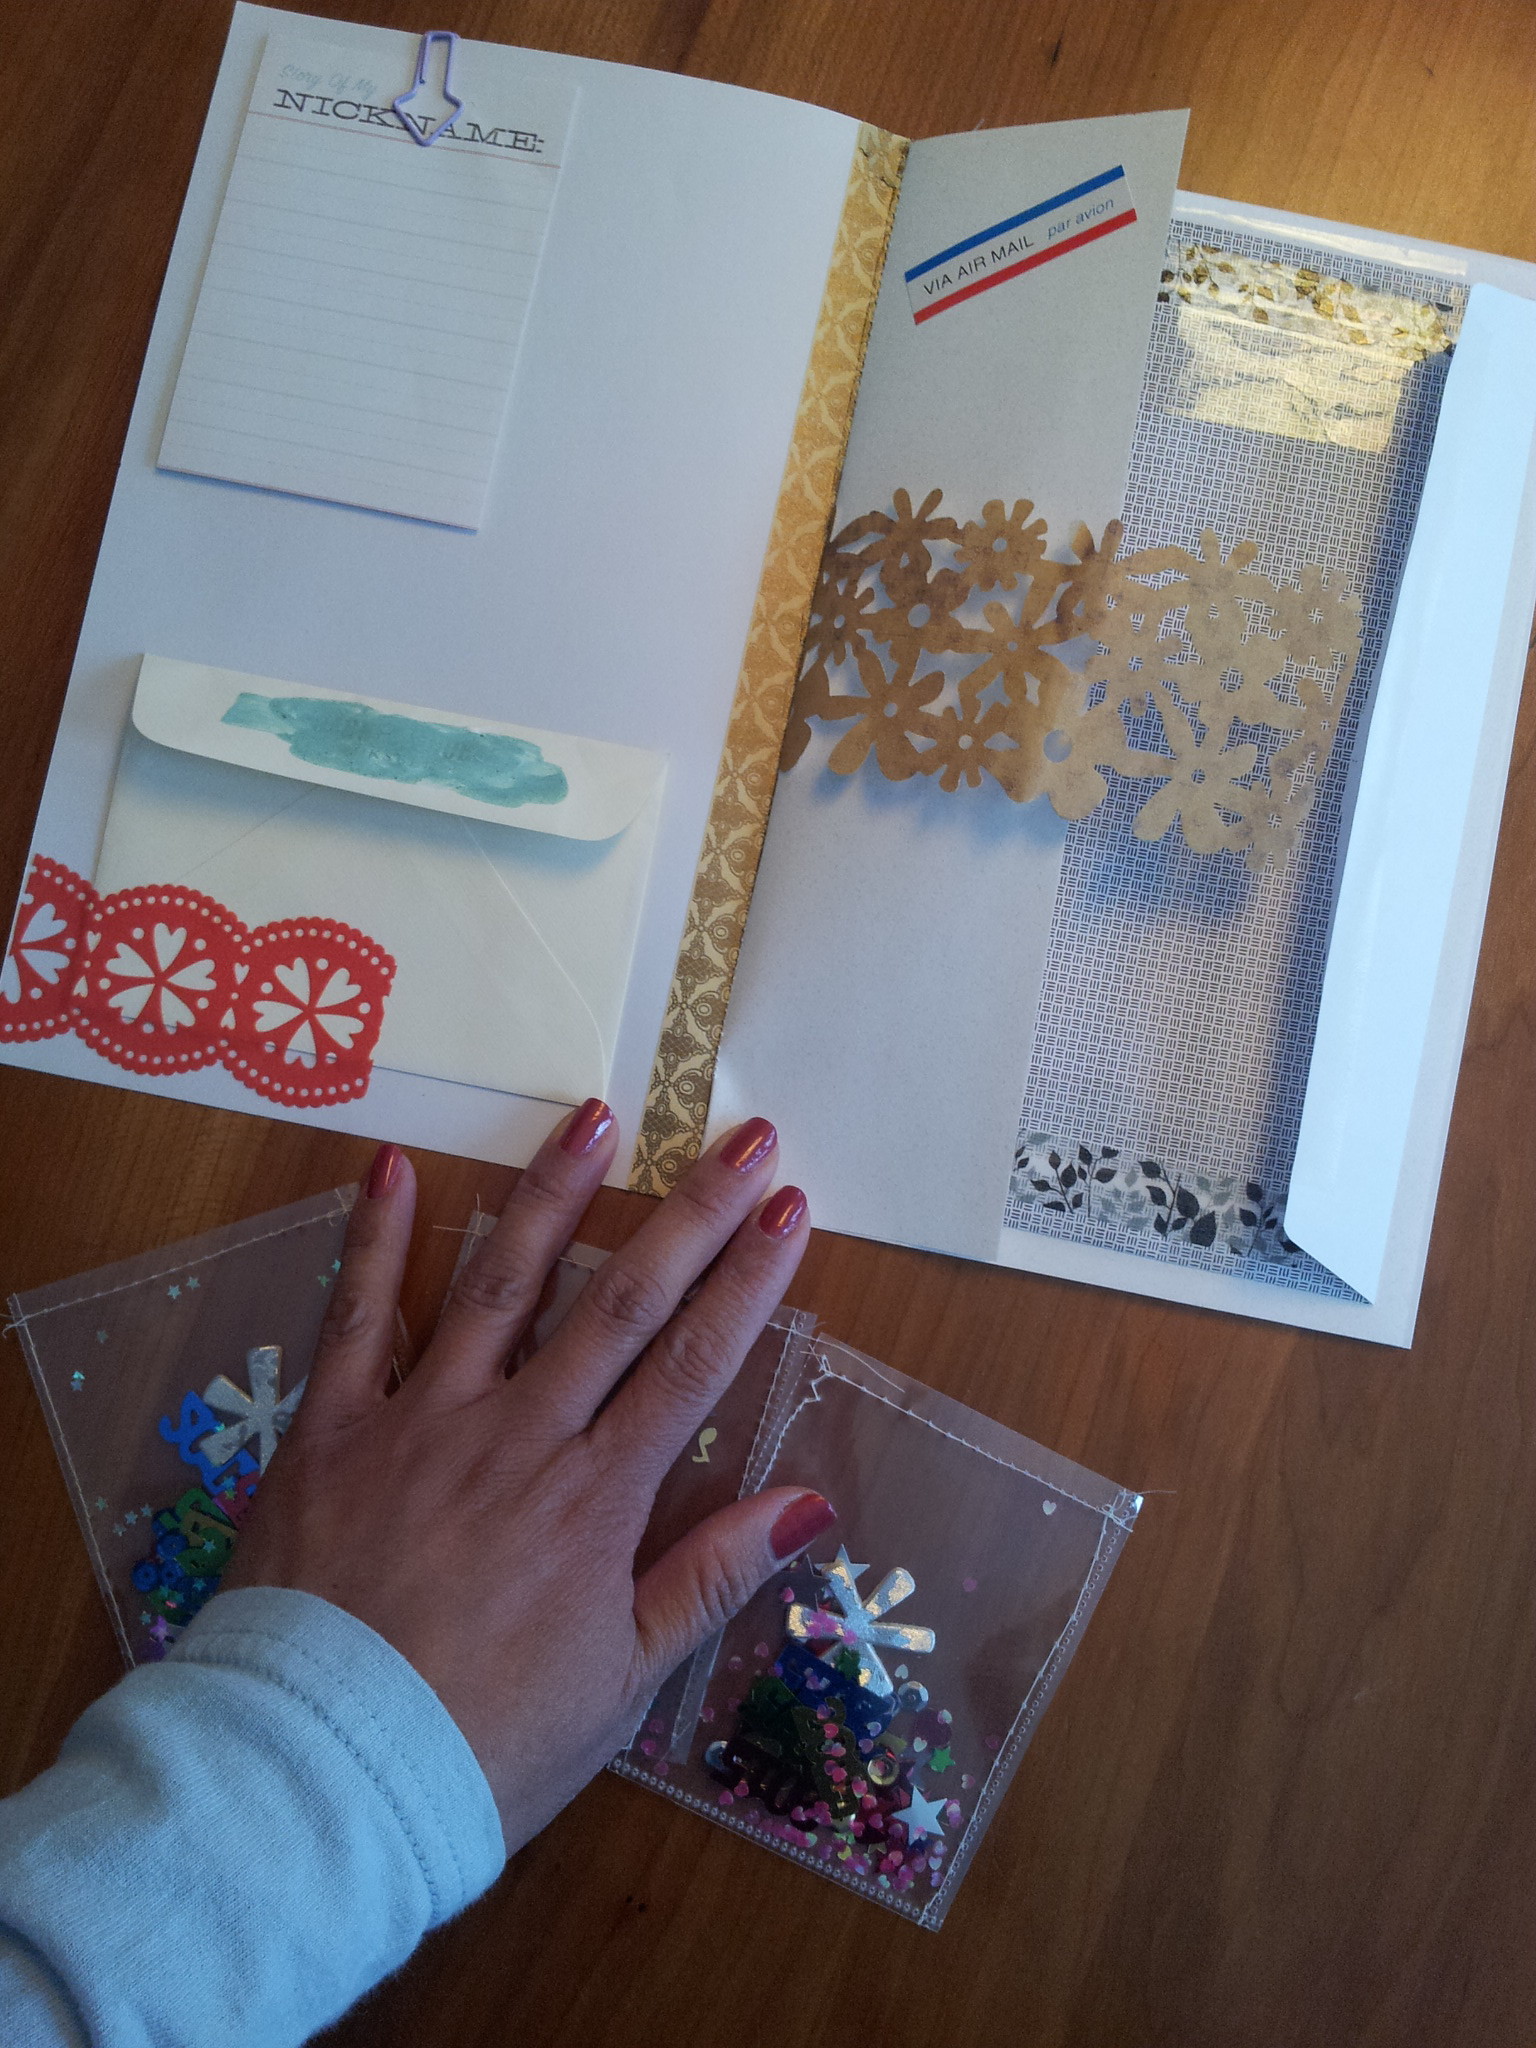
Mis-matchy embellishments make me swoon
Mini-envelopes taped into place are perfect for holding tiny treasures.