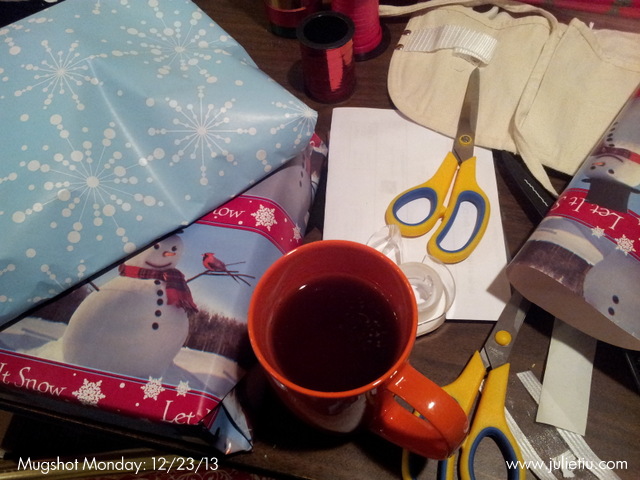
I don’t think there’s much to say here except that I’m behind in just about everything. Is it really Christmas in two days?
Category Archives: gifting
12 Days of Gift Wrapping: Cupcake liners and doilies
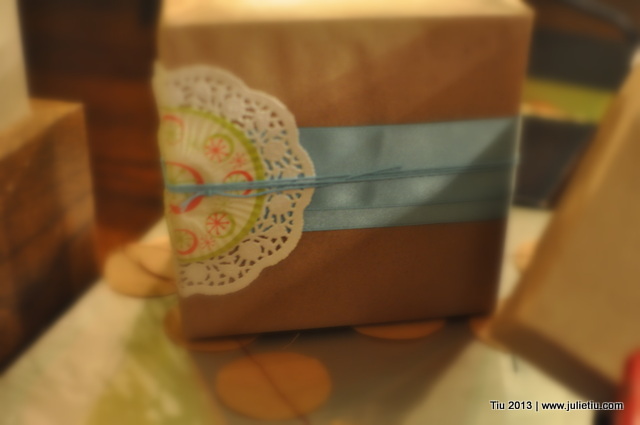
Something useful for those mismatched cupcake liners and extra doilies you might have hanging around in your kitchen drawers. Just wrap your gift with plain, solid paper (I used brown craft paper), wrap some ribbon, layer a doily and cupcake liner, then secure with coordinating bakers twine.
This is super cute used with brown paper bags, too.
12 Days of Gift Wrapping: Yarn or twine
Totally Pinterest-inspired wrapping.
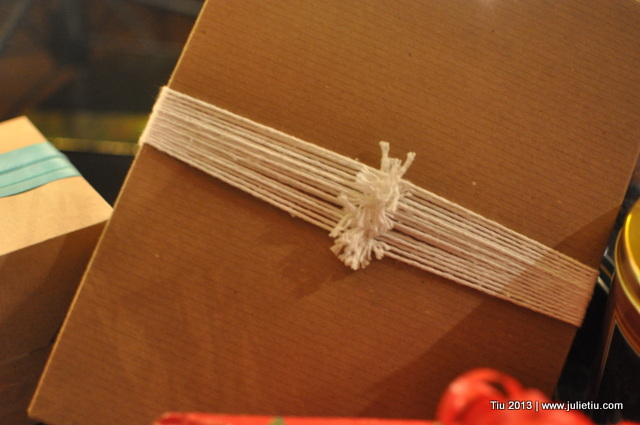
So, in case you don’t have or run out of ribbon, scrounge around your house… maybe you have twine or yarn! Cut ten to twenty lengths of yarn, enough to go around your gift and enough for you to tie tight knots. Tie the yarn one piece at a time around your gift with a double knot. Once you’re done, line up all the knots and then trim the ends to the length you desire. Kind of like a hair cut.
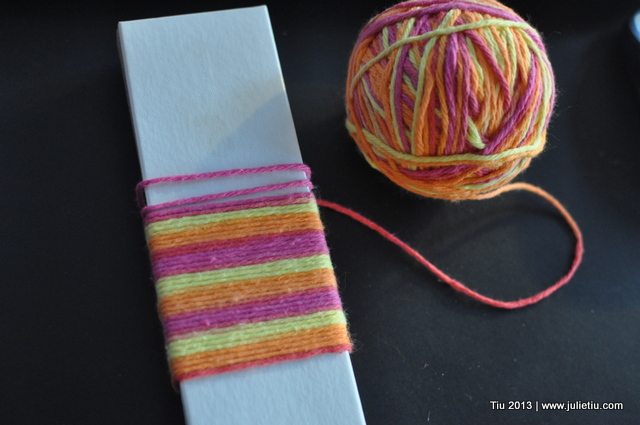
How about a skein of multi-colored yarn? Just take your yarn and apply the same way as above, or tape one end of your yarn and wind around your gift until you get the width you like. Cut and tape the end, tucking it in behind the rest of the yarn. It’s just as much fun unwrapping it as it is winding the yarn around the box.
12 Days of Gift Wrapping: Curling Ribbon Tip
I’ve been obsessed with curling ribbon since I was a kid. I tried and tried to curl fabric ribbon and paper strips by rolling them up around my pen or pencil. (That doesn’t work so well, by the way.) And then I learned there was specific ribbon for curling purposes.
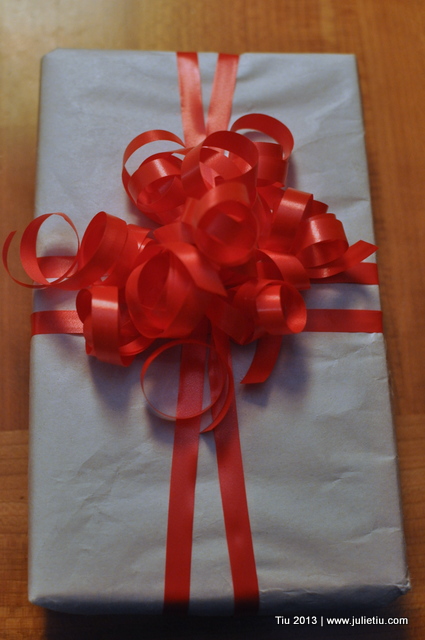
The key to making it all fluffy: don’t curl your ribbon after you tie it to the box – do it before you tie.
Tie one (or two, as shown) pass of ribbon around your gift as you typically would, leaving a few inches of ribbon to tie your gift tags, etc.
Cut several lengths of curling ribbon, anything over 18 inches. Be generous. I like to use about four or five pieces. Curl each ribbon piece just as you would, with the edge of your scissors. You should have a curlicue mess right now.
After you curl the ribbons, take one piece, hold one end in your left hand, hold the other in your right. Bring the ends together, hold them in one hand. Find the center (like folding sheets) with your free hand. Fold the ribbon again by bringing the center to the ends.
Now… you tie the center of that mess of curled ribbons to your gift. Repeat with the other pieces of ribbon.
If you can hold all your ribbons while folding the other pieces, you could fold up all your pieces first and then tie at the end.
12 Days of Gift Wrapping: Tinsel
Tinsel doesn’t have to stay on your Christmas tree, or hang from the mantel or pine garland. Snip off sections of fluffy, fuzzy tinsel and use it to top off your packages. Cut several pieces and tie in the center to make a puff if the tinsel isn’t as puffy as you’d like it to be.
I bought this particular garland at a local drugstore/convenient store for $2.00… for several yards! It’ll last me years. I’m never running out of toppers, hee hee.
12 Days of Gift Wrapping: Basic supplies, tools and how to pack a gift box
How much fun is it to hang out with people who love to wrap gifts as much as you do? Last week I headed up a gift wrapping workshop, craft class… gathering. Lots. Of. Fun! I prepared way more than the two hours would allow, but that’s okay for my first time teaching gift wrapping (HA, a teacher. Me.)! I definitely have learned some lessons now that I have taught two “craft” classes on my own.
So, here we are beyond “Beyond the Bow”. Sort of like Oprah’s “After the Show”. We could call this “Beyond the Bow: After Class”, and I am going to share what we talked about in class, and more.
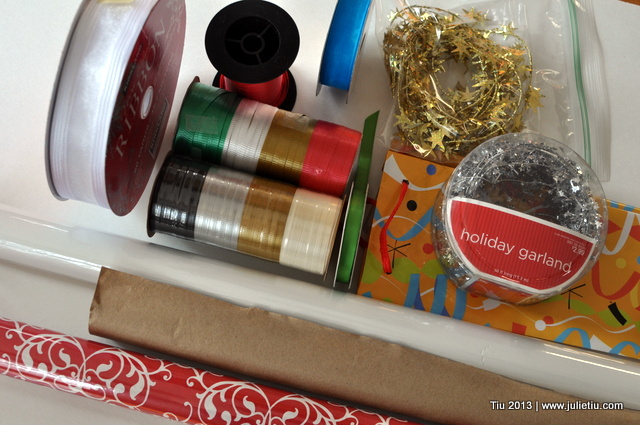
Let’s start with the basic supplies and tools of the trade. Gather your paper, ribbons and trim. (I’ll share some gift tag ideas around Day 11 or 12.) Maybe sooner.
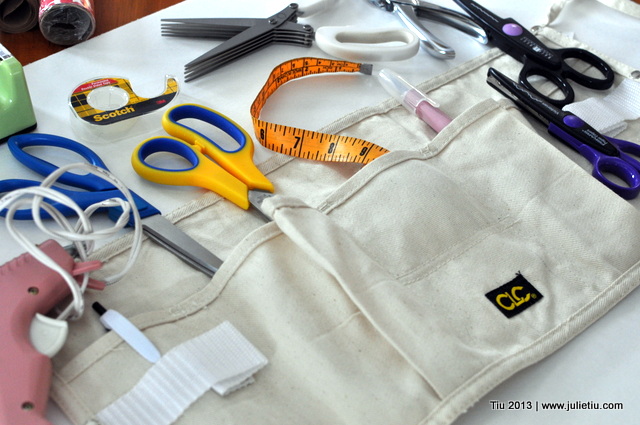
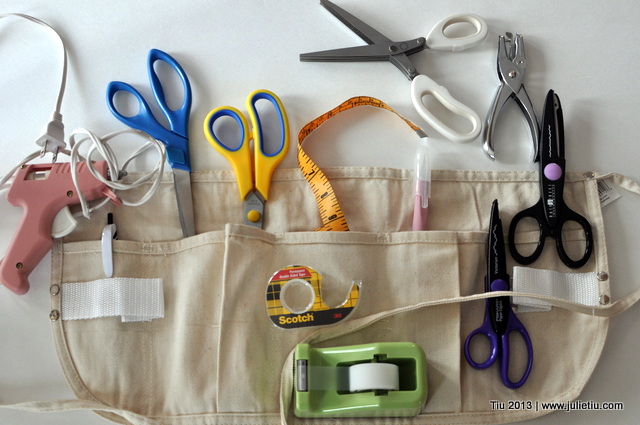
I wore a craft apron during the workshop – SO handy. And, no I did not sew it myself (just because you can, doesn’t mean you have to) but I’ll probably put that on the projects-to-do list.
Think of all the things you might use when you’re wrapping gifts: Sharp scissor for paper only, scissors for fabric only, tape measure, fancy-edge scissors, craft blade, hole punch.
Other things you should have on hand: tape (Scotch brand, double-sided and regular), glue gun (for embellishments, later in the week). Note: Do not put the glue gun in your apron.
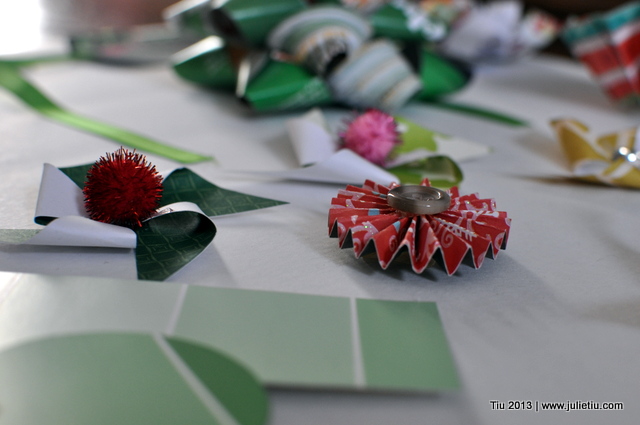
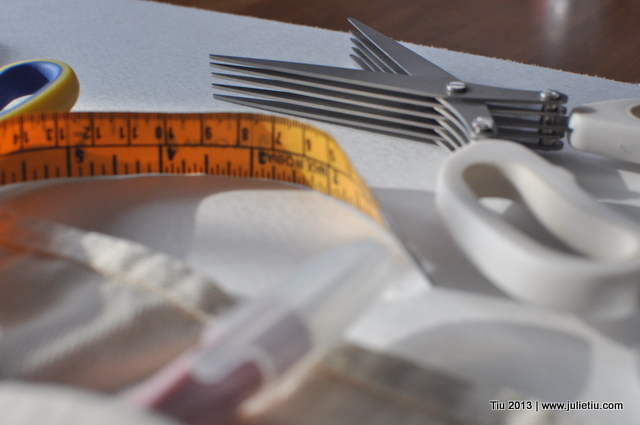
And here is my pair of multi-blade scissors (I made these crepe paper flowers with them last year.).
One of the things that I didn’t think of for the class is – how do you pack a gift box with fragile items? Here’s how I do it. Prepare your gifts and your gift box with plenty of tissue paper (see the following pictures). Continue reading, there’s more!
