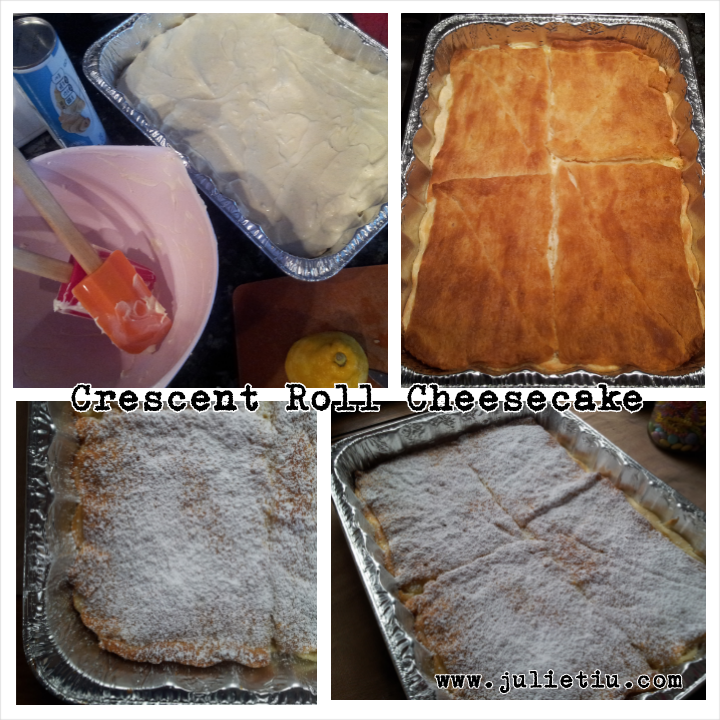
Super-easy Crescent Roll Cheesecake

Lemon Cheesecake Crescent Roll Bars

This might be my quickest dessert offering next to Crazy Cake. I made this all the time with my mom, and eventually it was my responsibility to bake this for the big family dinners. This cheesecake cuts into squares and travels well which means… easy to bring to potluck meals! (I can’t believe how long it’s been since I’ve actually baked this. Maybe 15 years??)

Here’s the breakdown.

2 packages of refrigerated crescent rolls
2 (8 oz.) packages of cream cheese (softened)
3/4 cup sugar
1 large egg
Juice and zest from one lemon
1/2 teaspoon vanilla extract or paste
Egg white (optional)
Powdered sugar (optional)

Preheat oven to 375 degrees. Lightly grease a 9″ x 13″ baking pan. Open one package of crescent rolls, unroll dough leaving it in its rectangular shape. Place the dough on the bottom of baking pan and pat in place, stretching out gently to make into the bottom crust. Set aside.

In a large bowl, combine the cream cheese, sugar, egg, lemon juice, zest and vanilla. Use a hand or stand mixer to blend the ingredients until smooth, then beat on high for two minutes. Spread this mixture on the crust.

Open the remaining package of dough, and in the same manner as the bottom crust, place the dough on top of the cheesecake mixture. At this point, you could beat an egg white and brush on top of the dough. Bake 20-30 minutes, until top is golden brown, and toothpick placed in center comes out clean. Let cool completely. Sift powdered sugar over the cheesecake before serving.

This yields (24) 2″ squares.
Chinese New Year: Year of the Horse and Noodle Recipe

** My original article posted on patch.com a few years ago, but the links are presently broken. Imagine the horror when I thought all my articles were deleted! But, I got in touch with the engineers, and hopefully they will have it up and running in the near future. Until then, I’ve updated a few things.**

Chinese New Year: Year of the Horse and Misua Recipe

This Friday, January 31, marks Chinese New Year, 4712 by the Chinese calendar, which is also known as the Year of the Horse. It’s a special year in our house with my daughter, brother, father, father and mother-in-law all celebrating their year. To set the record straight, I am not Chinese by heritage, but my husband is, and almost everything I know about Chinese New Year, I’ve learned from him and his family.

Chinese New Year: Year of the Horse and Misua Recipe

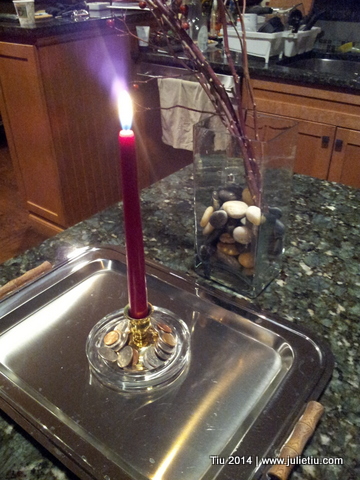
On Chinese New Year’s Eve (and regular New Year’s Eve) we light a red candle

Chinese New Year is based on the date of the second New Moon after the Winter Solstice, so the date changes from year to year, but is usually sometime between late January to early February. Traditionally it is a fifteen-day celebration, so it is acceptable to celebrate anytime within two weeks of the beginning of the New Year.

On Chinese New Year’s Eve, we light a red tapered candle surrounded with coins… the candle symbolizes your parents’ lives, and coins for prosperity. Let the candle burn through the night for long life. (If you think I’m going to burn my house down, you won’t be the first one.)

My family typically has a wonderful brunch at my in-laws home to celebrate Chinese New Year, and sometimes, we wait until the weekend for more convenient scheduling. It’s not a particularly lavish brunch, but steeped in tradition and symbolism. And, we all wear red.

Chinese New Year: Year of the Horse and Misua Recipe

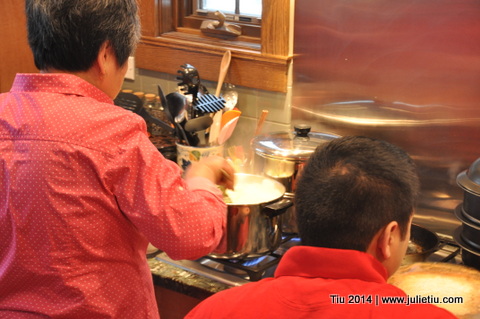
My husband and his mom making misua for New Year’s (2014)

Chinese New Year: Year of the Horse and Misua Recipe

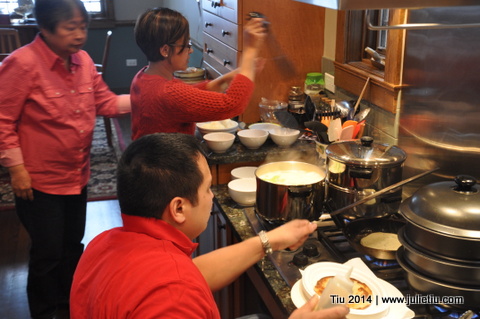
Mom-in-law, hubby and me preparing misua (noodles) for New Year’s

The color red is used whether in clothing, tableware or dishes, and the color was believed to ward off evil spirits. The word for red in Mandarin also means “prosperous”, so lucky word, lucky color – lucky red! Round or circular shapes are found throughout the meal since circular shapes are considered to be good luck.

Chinese New Year: Year of the Horse and Misua Recipe

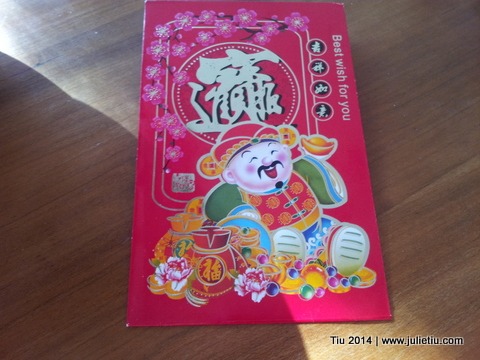
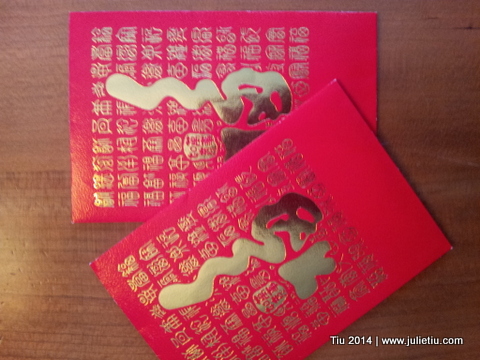
Red envelopes for Chinese New Year

Our kids will receive red envelopes (shown above, and first picture) from their grandparents and us, mom and dad. Again, it’s red symbolizing good luck, and to ward off evil spirits. The envelopes, ang pao (Fukinese) or hong bao (Mandarin), contain money – good fortune. Read on for the misua (noodle recipe)

Mugshot Monday: Winter

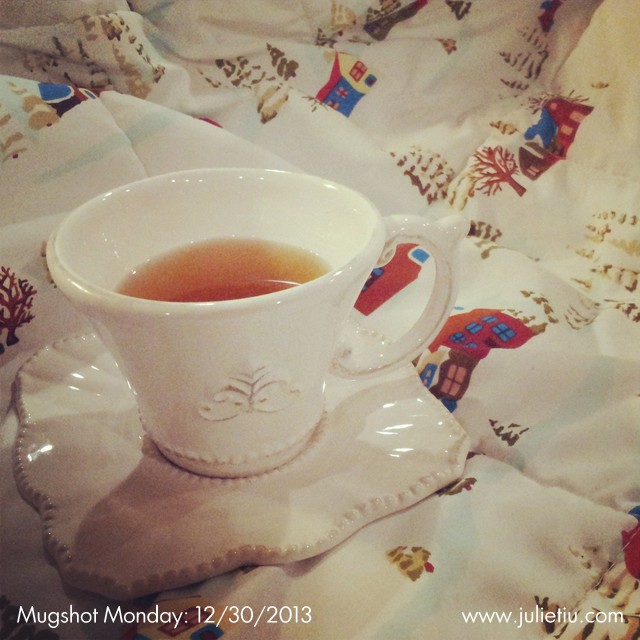
Our last prompt of the year from A Year in the Life of An Art Journal. Hope you’ve all had a wonderful holiday season! You can bet my family has, despite someone me getting sick. Never fails, with all the crowds, late nights… someone’s bound to catch a bug. But, all is good. Nothing a little tea and sleep can’t fix.

Mugshot Monday: 12/30/2013

It’s been a great 2013, and I think I did what I set out to do, more living… less wishing and more making things happen. The website continues to change with hopes for great craft, food, and idea sharing, more timely postings, and not so much self-inflicted pressure.

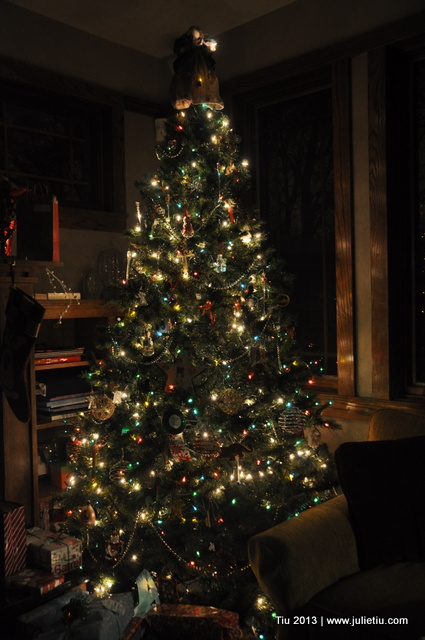
12/24/2013: Waiting for Santa
From my home to yours, wishes for a craftful, wonderful, blessed 2014.

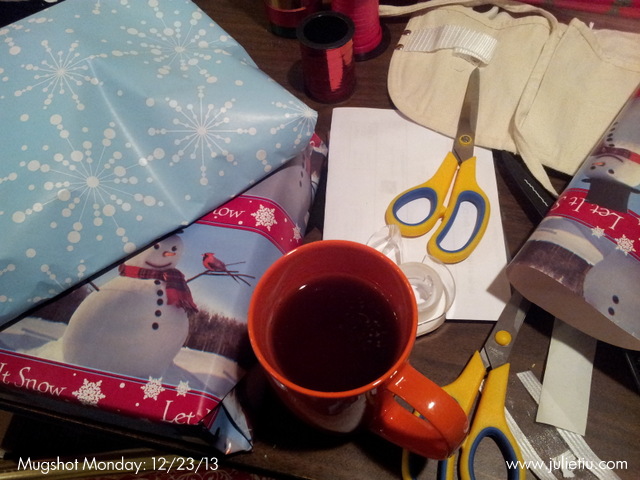
12 Days of Gift Wrapping: Basic wrapping

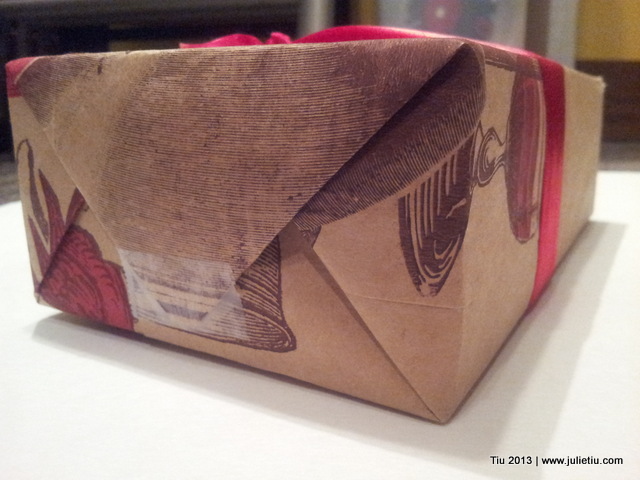
I didn’t realize what a polarizing topic this could be. Do you overlap the “tail” over the box, do you fold the “tail” so it just meets the edge of the box, or do you fold so that the “tail” meets in the middle and you have something that looks like an envelope? There is no right answer – I think it’s all personal preference.

12 Days of Gift Wrapping: Use a store paper bag instead of gift wrap

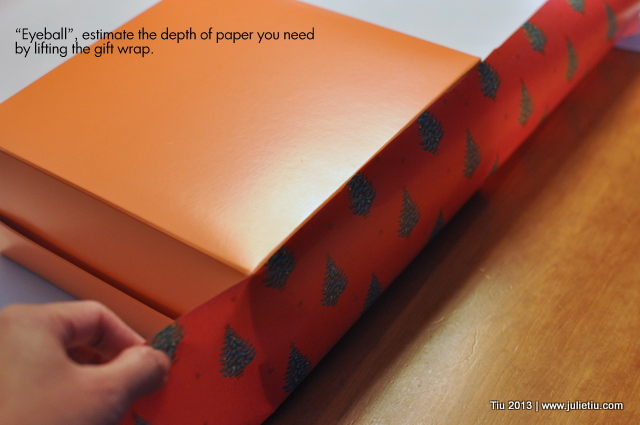
And the other thing about wrapping – how do you cut just enough paper? Well, you can measure your box, all the way around and then the ends or you could eyeball it like everyone does with some freestyle measuring to insure you have enough paper.

12 Days of Gift Wrapping: Basic Wrapping

Here’s how I like to wrap gifts.

12 Days of Gift Wrapping: Basic Wrapping

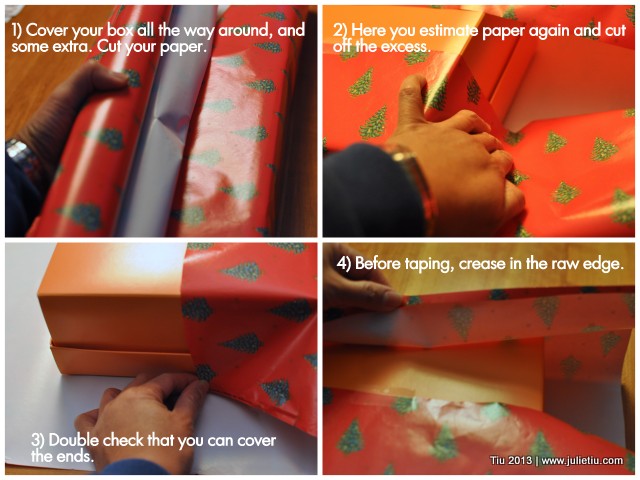
• Lay your box down on your unrolled gift wrap.
• Pull the paper around the box to make sure you have enough to go around plus about an inch. If you don’t, turn your box 90 degrees. You’ll probably have enough that way.
• Before you cut, check for end coverage, and crease lightly with your fingers.
• Cut the paper where you made a crease. If you happen to have a grid on the backside of your paper, you’ll have an easy time cutting straight. Otherwise, follow parallel to the roll and you’ll be pretty straight.
• Tape one edge of the wrapping paper to the box. This is the only way I can make my gift wrapping nice and taut. If you have double-stick tape, by all means use that.
• Wrap around the gift and before you tape your paper down, crease along the raw cut edge. You’ll have a nice finished edge. Tape it down in the center.

12 Days of Gift Wrapping: Basic Wrapping

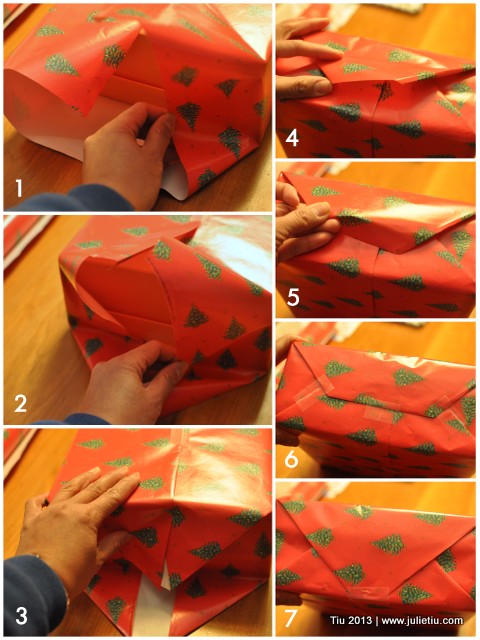
• Ends – fold in the sides and when you press inward, you’ll find that the upper and lower flaps will start looking triangular at the ends. Make sharp folds for neater edges. Fold the bottom flap up and then the upper to close up the gift end. Tape in three spots, and repeat on the other side. (Or tape in the just one spot, at the tail.)

12 Days of Gift Wrapping: Basic Wrapping

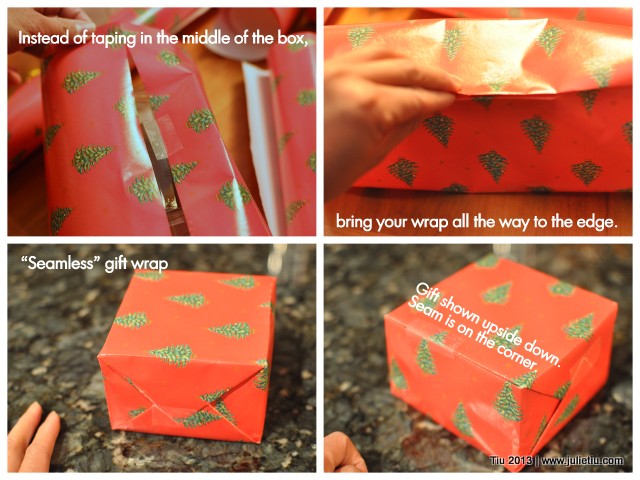
You could also make your wrapping look seamless just by taking your wrapping paper all the way over and then taping. Fancy, right? My kids don’t like this method because they can’t find a good spot to start ripping (in their opinion).

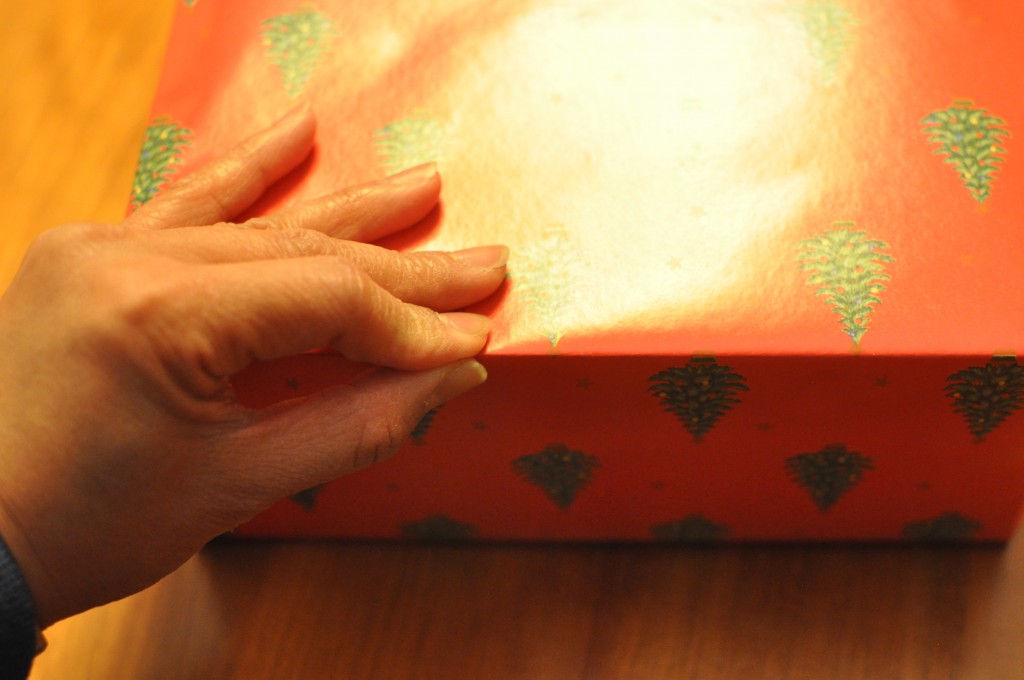
Lastly, give all the edges of your gift wrapped box a nice pinch. Just put your thumb and pointer finger together and run along all the edges. Makes for crisp corners.

12 Days of Gift Wrapping: Basic Wrapping

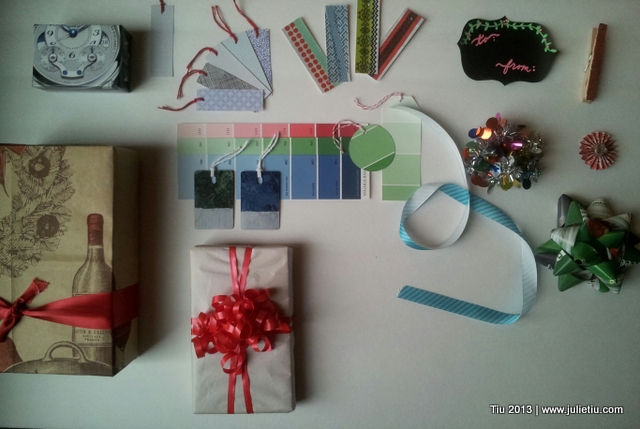
If I happen to run out of gift wrap (unlikely, but it happens), I like to use paper bags, craft paper, magazines, newspaper, old phone book pages (yellow, of course), etc. There are some fine looking magazine pages that really serve themed-gift wrapping well (like that small box in the upper left hand corner in the picture – watch ad from a magazine).

12 Days of Gift Wrapping: Use other paper instead of gift wrap

Endless gift wrapping possibilities…

12 Days of Gift Wrapping: Basic Wrapping

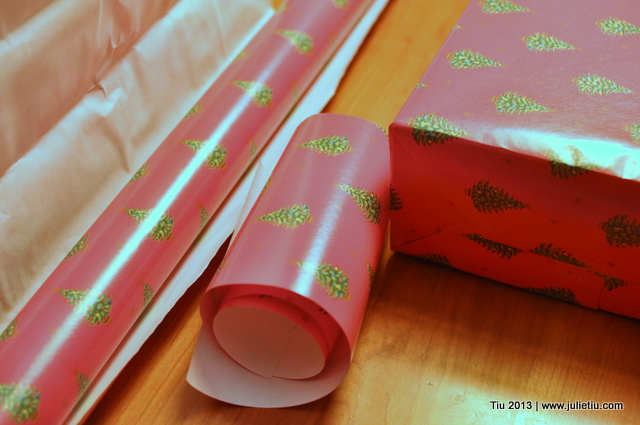
Don’t throw away the small cut pieces of gift wrap, either. You can wrap a small gift, or it can become a curly topper (you’ll see in another post)!

Mugshot Monday: Ornaments

Today’s prompt is “Mistletoe or humbug?”

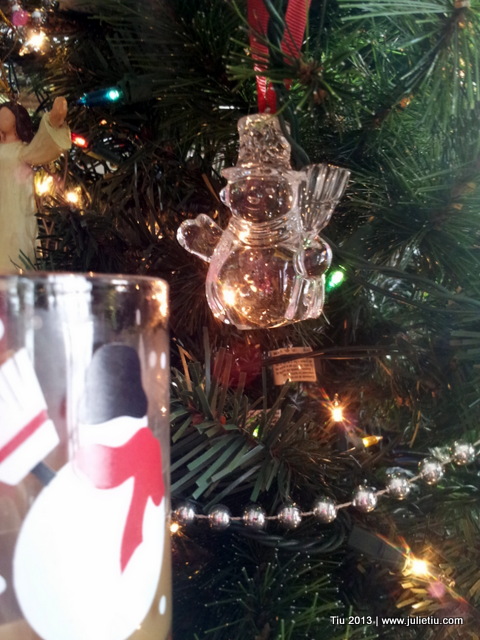
It’s never really humbug around here. Today I’m sharing a couple of cherished ornaments. My favorite ornament is still at my parents’ home, and I look for it every year: a toy soldier girl with a wooden body and white cord limbs. She’s so cute, and actually it was my aunt and uncle’s. I loved it so much when I was little, my aunt let me take it home. It’s amazing I haven’t snagged it for my own home yet.

Mugshot Monday: 12/16/2013

This little crystal snowman came from a lovely family… I used to be their babysitter on Saturday nights. (So glad to say we’re all still in touch.) I look forward to seeing my snowman on the tree every year. The way it looks like pure ice; it’s like magic, and I’m giddy, young all over again.

Mugshot Monday: 12/16/2013

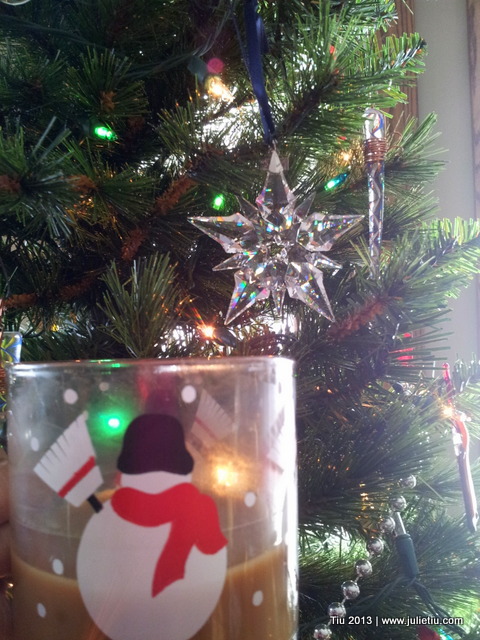
My husband and I bought this Swarovski star together in Seattle… I think the Christmas before our daughter was born. I suppose I could look at the year tag hanging on it. I love how the lights bounce off the points. This one always gets placed high up on the tree and in the front.

Mugshot Monday: 12/16/2013

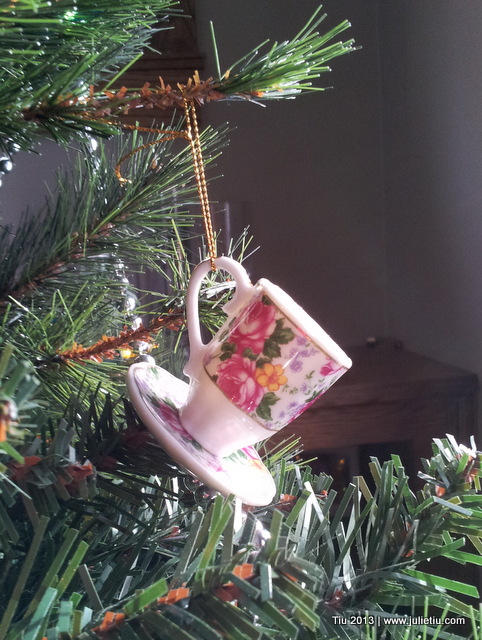
I bought this teacup ornament just a few years ago… thought it was appropriate for today.

Just two more Mugshot Mondays left!

Related Posts with Thumbnails