Since it’s Earth Day, I’m rounding up some past projects that highlight recycling or reusing. The projects range from very easy to more involved. I hope you try some out!
An Accordion Spine Journal with reused envelopes for pages
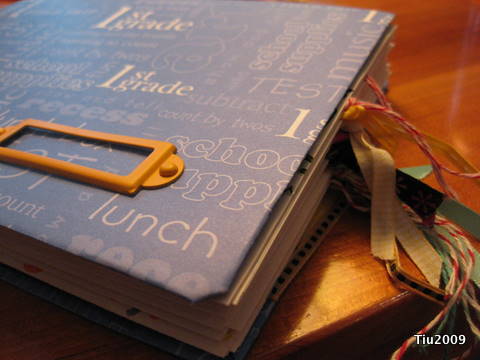
Tutorial: Accordion Spine Journal

Reusing a gift bag by embellishing over a logo

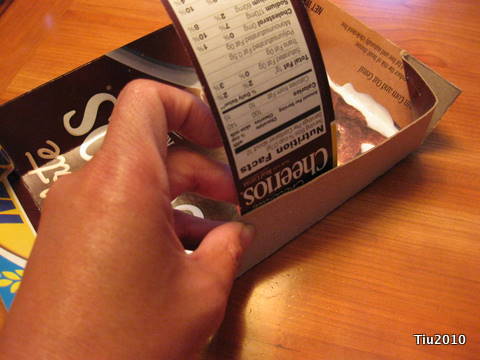
Any cardboard box can become a fun notebook cover.
Newspaper Seedling Pots and a Cardboard Tray
Make a tray to hold all your seedlings.
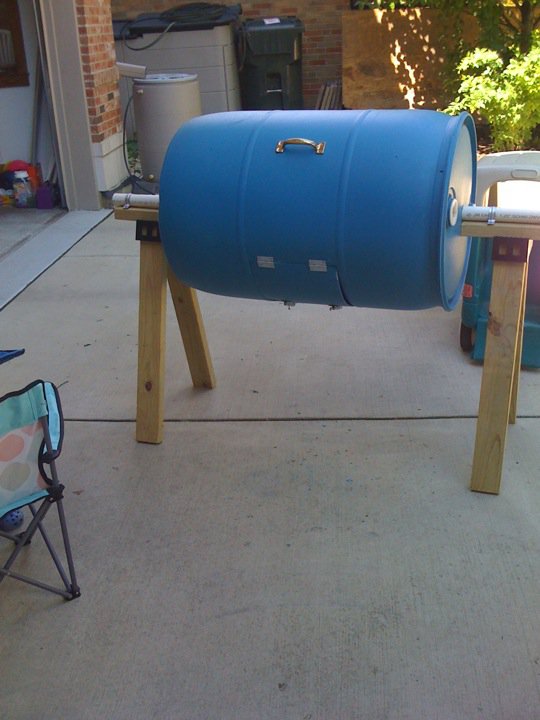
Food grade plastic barrel becomes a composter.
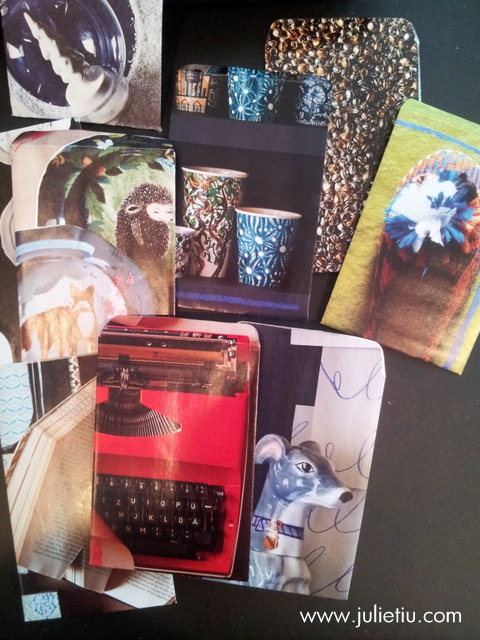
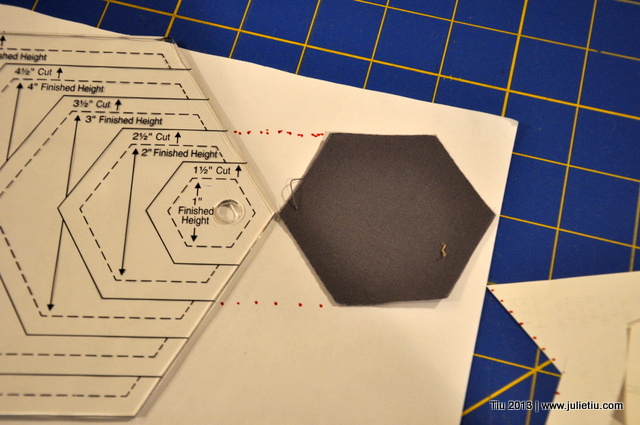
Use pages from a favorite catalog to make mini envelopes
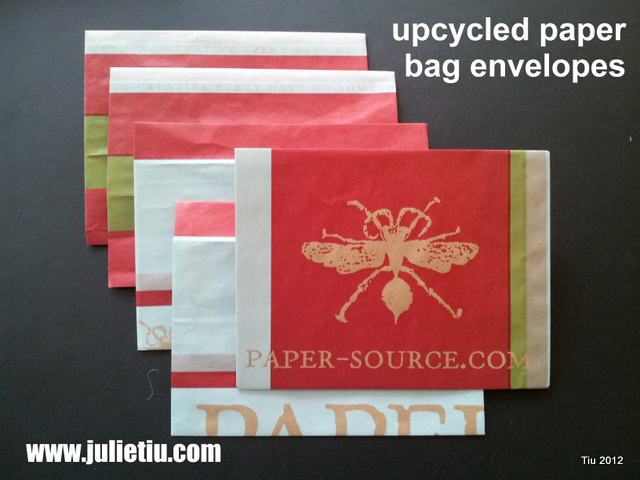
Make envelopes from a paper bag
Magnetic Pin Holder from a mint container
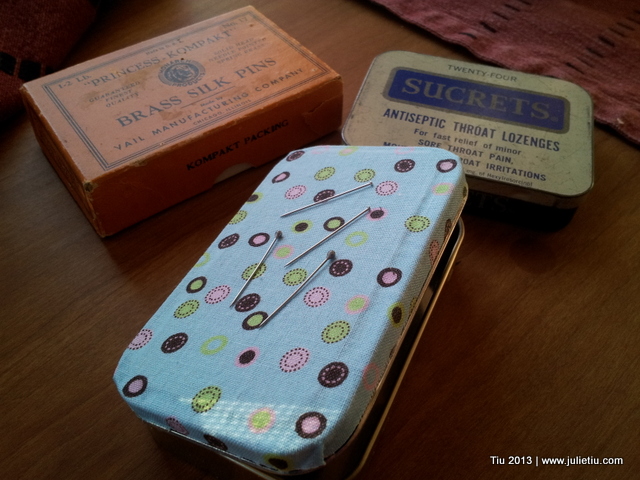
Mint tins can be handy containers
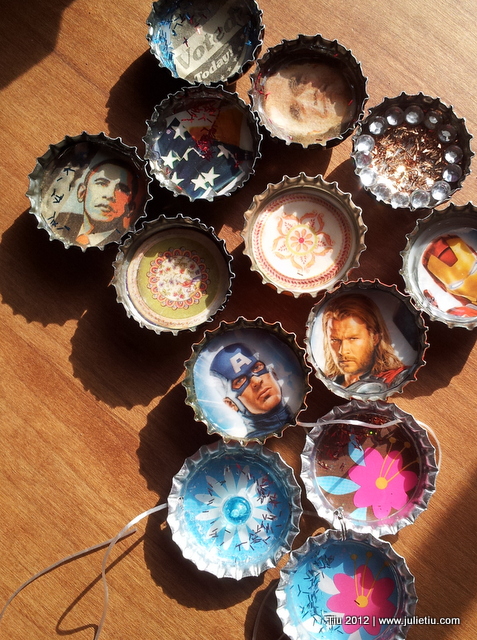
Bottle caps can be fun little frames
Upcycled Sweatshirt Throw Pillow

Upcycled Sweatshirt Pillow
Reusing Wine Bottles as water carafes
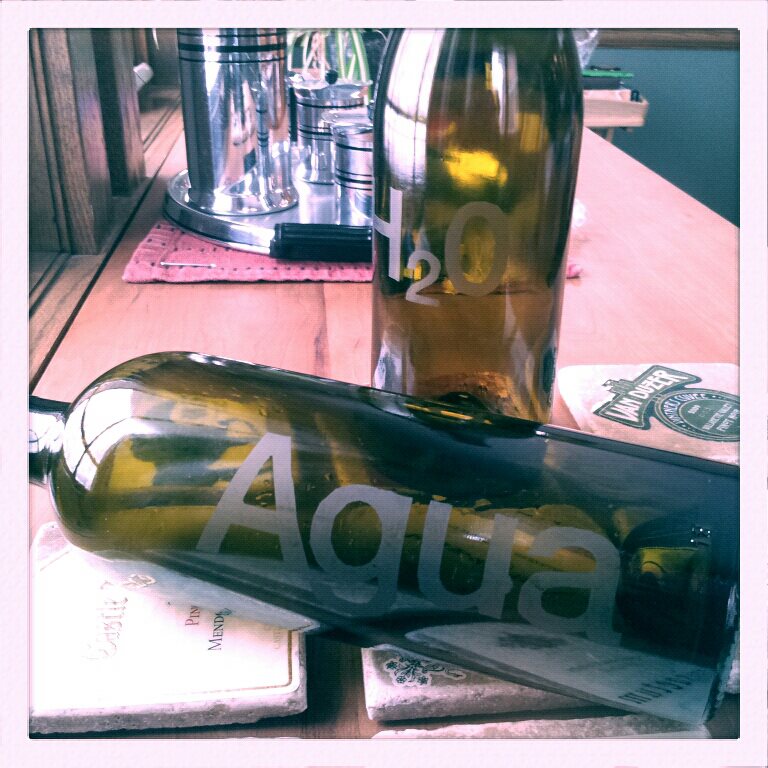
Reuse wine bottles as water carafes
and, I reused a grocery bag as gift wrap in this gift wrapping post.
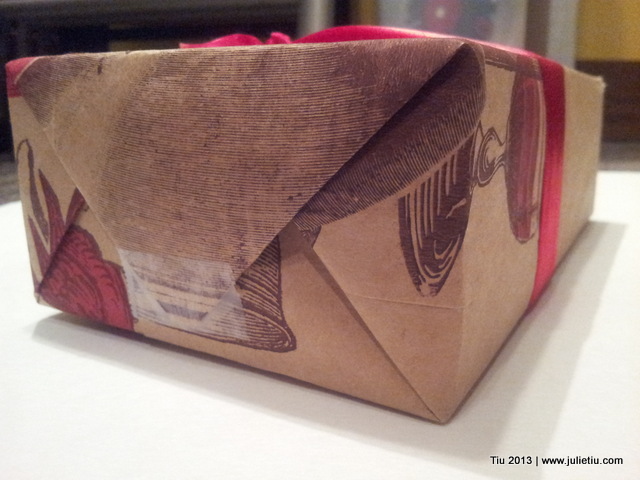
A simple brown paper bag can be a nice gift wrap.
Enjoy your time creating and making!