Monday Mugshot: settling in | January 5, 2015
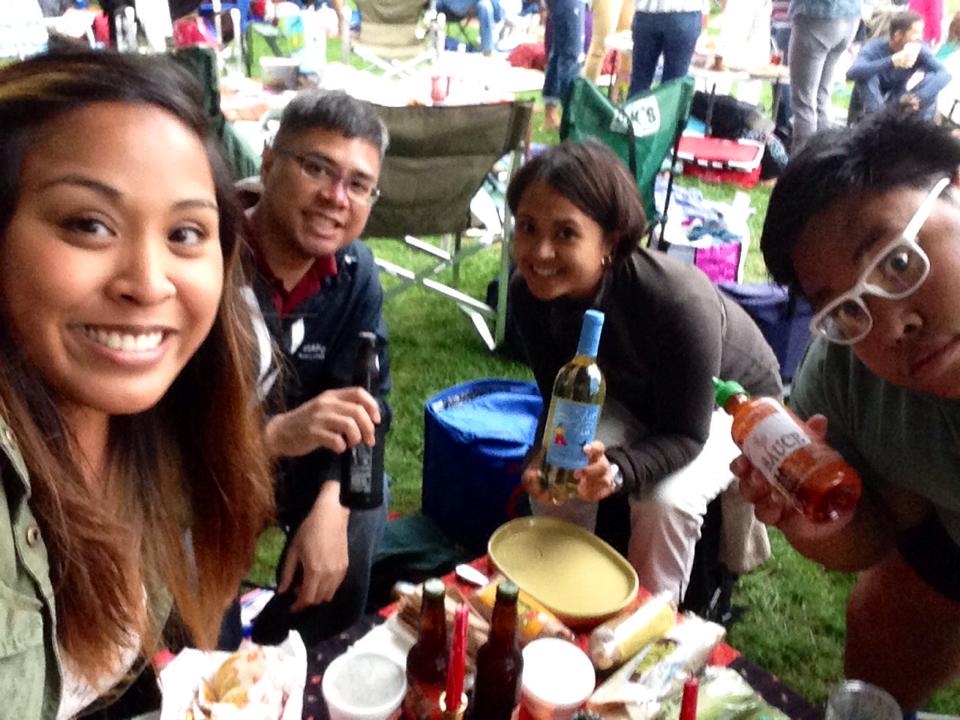
My family and I traveled to Seattle for Christmas and New Year’s! Such a great time with family: losing track of the days, playing late, sleeping in, eating our way through some favorite spots and checking out new places. Coming back was rough only because of the jetlag. I love coming home from a trip, and sleeping in my own bed. And now… the re-entry into our regularly scheduled life. Tough.
I wrote last November about my non-writing. I think that has a lot to do with changes in my focus, and especially with my kids involvement in school and activities. Actually, I just told someone yesterday that I think I took on two volunteer activities too many over the last year. They actually entail big projects, too, so I’m poising myself to step away from them. It’ll be good to release the ideas and work to someone else who can breathe new ideas into the work.
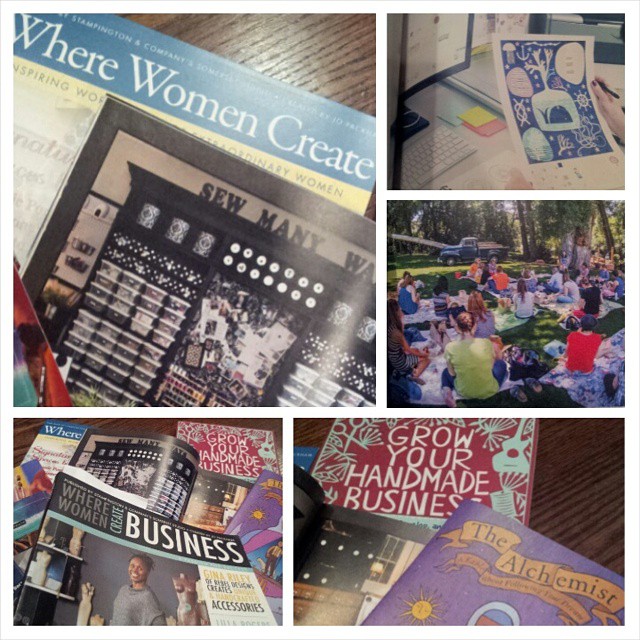
My focus this year will be to continue to share here when I can… showing the progress of projects, workshops and ideas. Still thinking about blog details, but that can come later.
Working on: leading an annual poster contest for our local city hall, social media and PR for my church parish women’s organization, getting my kids to write thank you notes…
Developing: a Valentine’s workshop with a friend, storefront window ideas for said friend’s store
Contributing at: geekmom.com and Monday Mugshots
Planning: a cool drawing theme for March (maybe), my daughter’s birthday
I’m happy for the new, clean slate, and hopeful for what 2015 holds. More dreaming and doing, less complaining and procrastination! Onward…
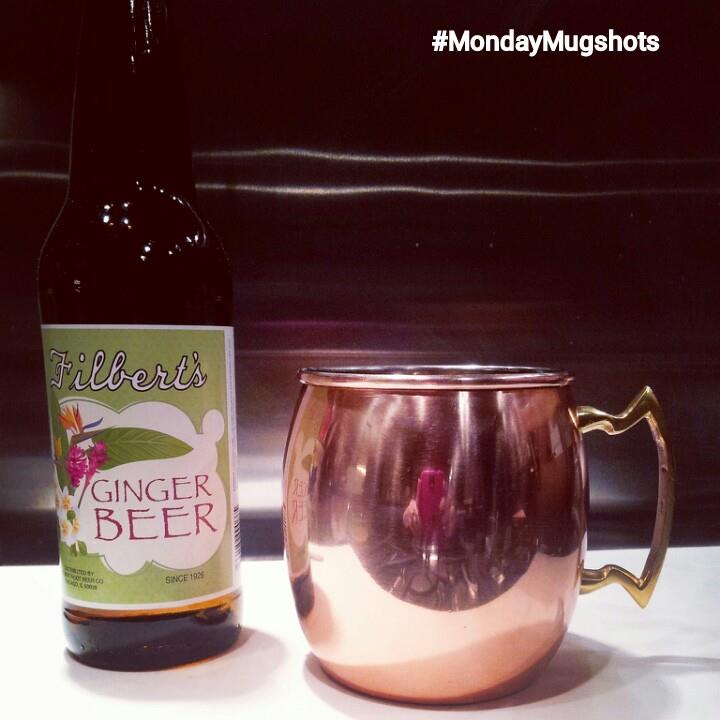
Monday Mugshot: time for a Moscow Mule | January 12, 2015
Find me!
www.facebook.com/SoThisisJulie
www.pinterest.com/julietiu
www.instagram.com/sothisisjulie
Twitter: @SoThisisJulie