This year I joined an online workshop, Ali Edwards’s One Little Word. I’ve wanted to try something like this for a long time, to be part of a creative community even if we’re all miles and miles away.
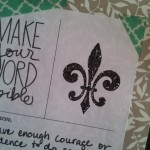
Earlier in the year I worked on intentions, taking a look at different facets of my life: spiritual, physical, emotional, creative, relationships. It took a while, but I also came up with a symbol for this year. The fleur-de-lis. I love this symbol for so many reasons: it reminds me of Montreal, (where my husband and I went on our honeymoon), New Orleans (vacation spot and amazing culture and food), and it reminds me of St. Joan of Arc (incidentally also the name of my elementary school). And if you don’t think she was daring, I don’t know who is.
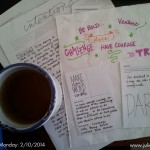
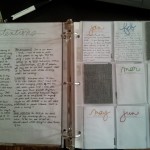
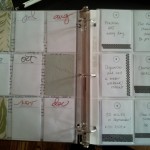

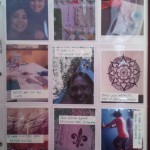
I made actions cards that have goals and ideas for the year. Some have been successful, while others… not yet. I’ve reflected on letting go. One month, I put together pictures that connect with my word. It’s been so much fun making time to be creative and introspective.
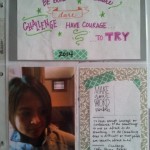
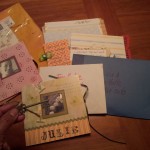
The best part of all of this has been meeting a pen pal and connecting with the community in a private Facebook group. My pen pal was chosen randomly, but holy cow, it’s crazy eerie how we have a lot of similar craft tastes. She and I send happy packages of mail to each other (last picture in the gallery).
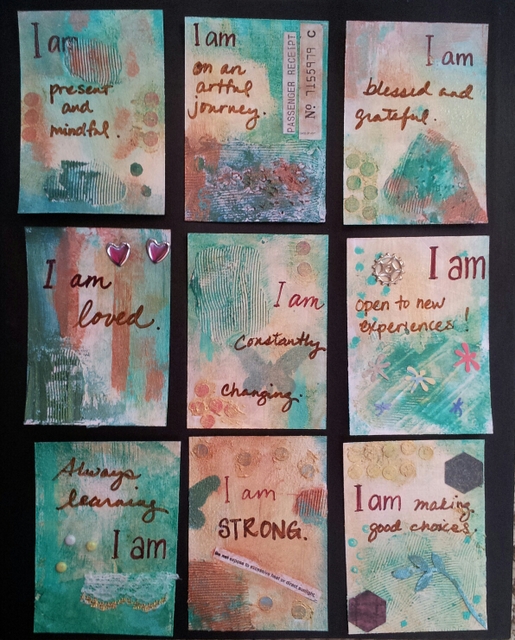
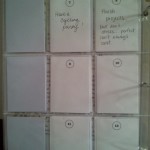
Most recently I created artist trading cards with the phrase “I am” on each of them. I’m looking forward to sharing how I put these cards together.