Let the Lego Birthday Party Planning Begin

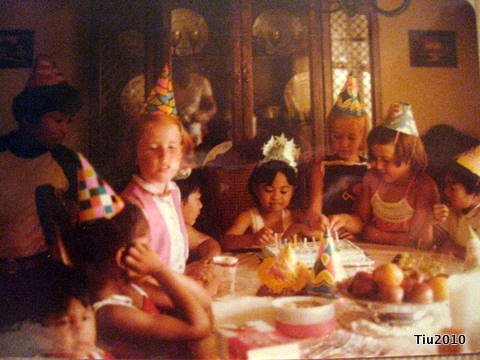
Birthdays have always been a large part of my childhood. My mom and dad hosted birthday parties for me until I was 22 years old, believe it or not. A summer birthday meant picnics, backyard games, lots of family and friends. Sometimes we’d just go out to eat at a nice restaurant.
I always thought I’d give my kids memorable birthdays and fun parties. Just two years ago (almost three) we hosted a Webkinz party for our daughter. Some of her friends still talk about it. And now my son’s turn…it started with him in January of this year. “I wanna Lego theme birthday party!” How strange (or cool) is it that a four-year old thinks about party themes? My planning started two weeks ago since I get worked up over these things. I hope by sharing the process I’ll minimize the amount of Maalox I drink on top of the acid reflux pill I already take.
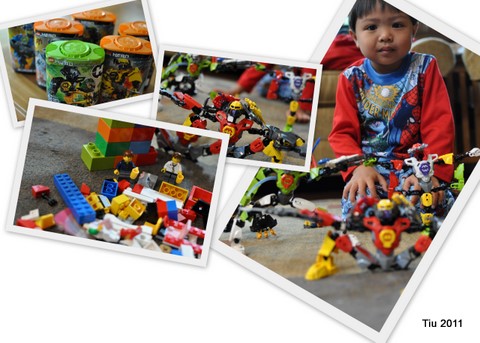
For this Lego birthday invite, I had Ollie pose his Lego figures and we had a little photo shoot. I edited the pictures in Picasa, made a collage and added invitation text in the empty space. Instead of printing the invitations at home, I uploaded the completed picture to a major store (think Walgreens, CVS, Walmart, etc.) and ordered 5 x 7 prints. They turned out so well, and it was very easy to do!

Hope this inspires you to do your own invitations!
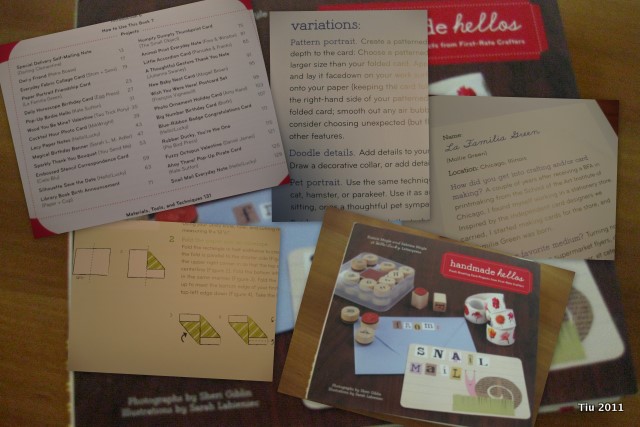
30 Days of Creativity – Day 20: Handmade hellos

Day 20: Read a crafty book or blog and write about it or create something inspired by it!

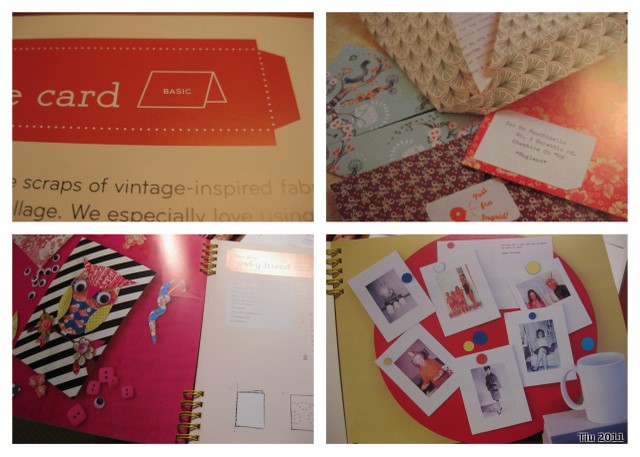
This might be one of my favorite craft books, Handmade hellos: Fresh Greeting Card Projects from First-Rate Crafters.  I grab it when I just need paper and card inspiration – we all need some every once in a while. The book has “…designs ranging from elegant to striking and sentiments both sweet and snarky…” Something for everyone! And how nice is it to get a handmade card from a friend?

I’ve made a few projects from this book, but I’m sorry I didn’t take pictures before I gave them to their chosen recipients. I typically end up creating things just in the nick of time, like minutes before I head out the door, go to a party, etc.

So, the book was published in 2008, but it’s still full of fresh and relevant card ideas. Eunice and Sabrina Moyle pulled together over 25 projects (that’s over 20 international artists) for all crafters to drool over. I love that it’s more than a “how-to” feature; they include artists’ bios, resources and special materials sections, too.

The techniques section has background info like how to make an envelope and a variety of sewing stitches. And, a template envelope in the back of the book is convenient and ready to use. Great photography makes me want to make all the cards, but since the projects are rated as Basic (quick), Moderate, or Advanced (involve), I can figure out what I actually have time to do.Inside Pages and Projects

All instructions have illustrated steps, and at the end of each card “recipe”, variations are included. So if you’re an adventurous (or renegade) crafter like I am sometimes, go with the suggestions for different approaches to the card. And, who doesn’t appreciate “Green Greetings” – you can use post-consumer waste, recycled paper or scraps for your projects, too.

New to me: Gocco printing. I’ve heard of it. Never done it. The book has projects that use it! Makes me want to buy a Gocco machine!

Go check out the Hello!Lucky site, check out this book… Anyone already have it?

Last Minute Mother’s Day Cards

If you’re like me, and life is moving at the speed of light, you’ve realized that you have yet to make a Mother’s Day card. I’ve actually worked ahead and have my mom’s gift ready… personal shadowboxes which I’ll have to share after the fact because I never know when she’ll be reading this!

Here are some great links to last-minute Mother’s Day Cards. If you have anymore links, please feel free to share in the comments! Enjoy the weekend, everyone!

Mother’s Day Printable Squirrel Family Card From Canon’s Creative Park

A Kokeshi Doll Mom’s Day Card from Joy Charde (CreativeMamma.com)

A Mother’s Day Card and Tags with a New Orleans/French feel (at least to me, it does) at Living Locurto

Check out the bookmarks and coloring sheets there too!

Valentine’s Day: Cards and Projects

With only four (or five) more days to Valentine’s Day, there’s still a little time to craft a personal card or gift. Sadly, my children picked some cards from the store and while cute, just isn’t the same as making your own like my daughter did a few years ago.

If you have a few minutes to spare, check out all these wonderful projects! So many to choose from!

Picture courtesy of Craft Critique

An entire list of Valentine crafting is at Craft Critique in the 2010 and 2011 Carnival

Easy-to-Make Valentine’s Day cards at Better Homes & Gardens

A Vintage Typewriter Tin Valentine on Design*Sponge

At The Purl Bee, try your hand at these Valentine Heart Barrettes

Celebrating a Friend’s Engagement

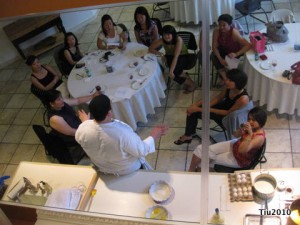
How could you not have fun with a bunch of girlfriends at a cooking class and then karaoke in a private room belting out hits from the 1980’s? There were plenty of treats for us at dinner, and unfortunately, I didn’t make time to bake up a batch of cookies to share. (I really wanted to.)

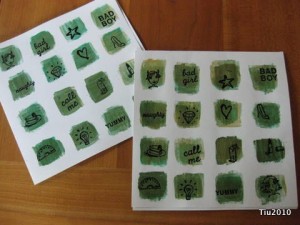
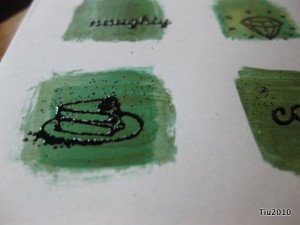
I did make this card for my friend.

Borrowing a line from a Las Vegas commercial, I wrote this in the card, “What happens at the bachelorette party, stays with the bachelorette party.” So with that, I won’t go much into the weekend details (no big debauchery, really), but I’ll say it was so much fun spending time with the ladies. I will share how to make the card!

What you need:

  • The Bad Girl’s stamp kit by Chronicle Books
  • 6″ x 6″ card – white cardstock
  • Two or three coordinating colors in acrylic paint – I used Lumiere paint to coordinate with the bride’s invitation. Feel free to experiment with other colors!
  • Black embossing powder
  • Miscellaneous supplies: paint brush, ink pad, and heat gun
  • I’m assuming there is general knowledge about embossing and rubber stamping… basic techniques can be found by searching for “rubber stamping basic embossing technique“.
  1. If you need guidelines, then use your ruler and lightly pencil out a grid, evenly dividing the card into 16 spaces. I did not do this… just eyeballed the spacing to give it a handcrafted feel.
  2. I then took drops of each color and placed on a foam plate (palette) to mix the colors a bit. This is all very free-range art; mix as much or as little as you want. I like it lightly mixed so you can still see different colors.
  3. Paint 16 squares on your card front, preferably free hand. The squares don’t have to be perfect. Let dry.
  4. When paint is dry, stamp your images within the square. Again, I went for a freehand look and did not align the images in a certain orientation. Off-center is fun and quirky!
  5. NOTE: I stamped four images and then dusted with embossing powder.
  6. Once your card is all dusted with embossing powder and you’ve tapped off the excess, turn up your heat gun and make some embossing magic!

Voila! It’s done and ready for your personal note for your bride-to-be pal.

Some Festive Cards for anytime

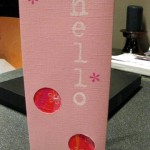
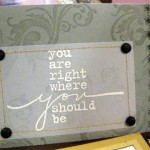
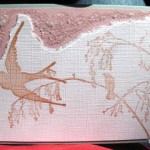
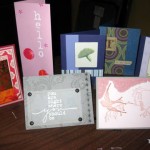
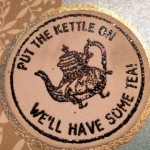
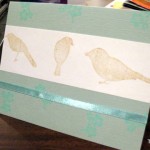
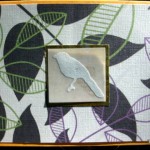
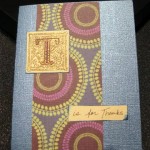
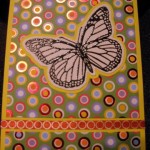
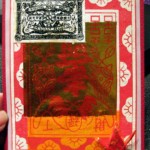
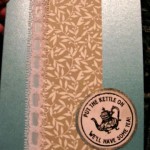
I was busy last week getting a pack of cards ready for a silent auction. I hope the winner enjoys these and actually uses them. (Click on the picture for a better look.) Now I need to get crackin’ on a few mother’s day cards and one birthday card for a friend’s daughter who turns one this weekend!

Related Posts with Thumbnails