Hello March :: A Simple Sewn Folder for Letters and Notes

Letter writing has been so fun lately. It’s liberating, personal, and gives me an excuse another way to be creative. As a kid, I would write to friends and cousins. When one particular friend traveled, I would write her “letters from the future” and make up games for her to play while she was sitting in the car or flying. When I started college, pen and paper sort of went to the wayside because we were all given e-mail accounts… DOS, even. No windows-based programs yet.

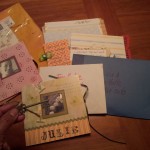
I thought I  would share some pictures of a paper folder I put together for one of my favorite pen pals of all time. She received it recently, so now I can “unveil” it. 🙂 A little paper, a little sewing, some washi tape, envelopes – all things I love playing with!


Inspired by oh, hello friend

Julie-Tiu-letter-noteook-1

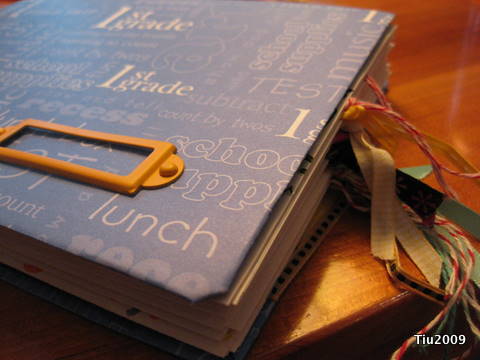
Folder front page

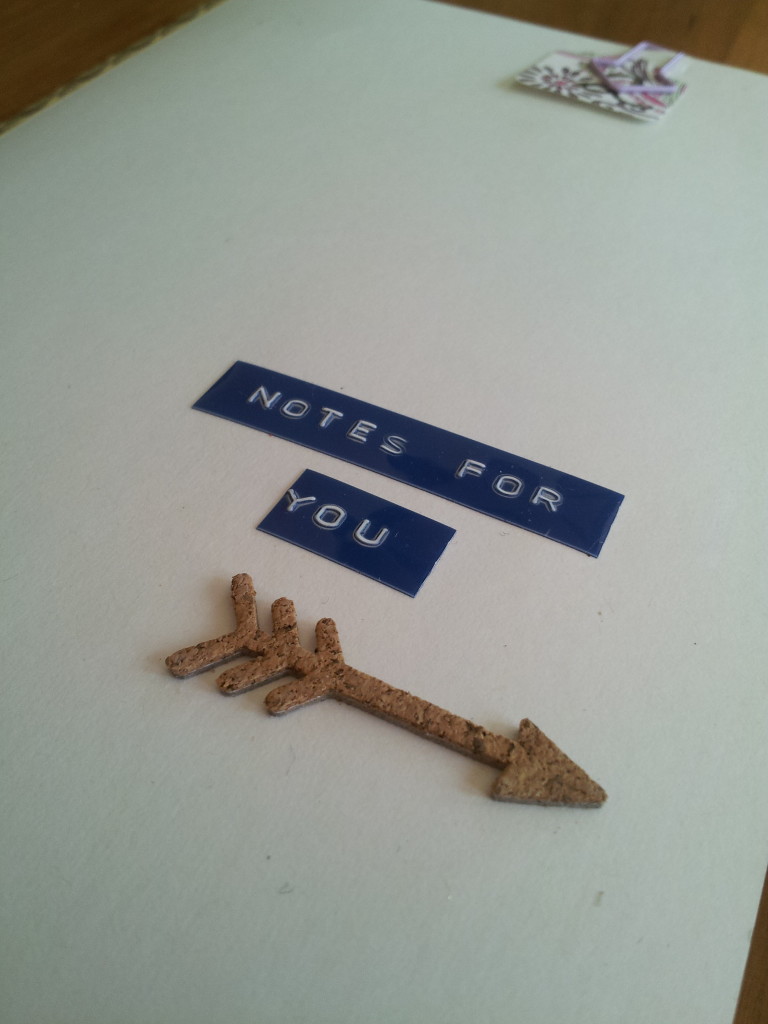
I love mixing paper and stickers. And I’m totally in love with my retro Dymo labeler.

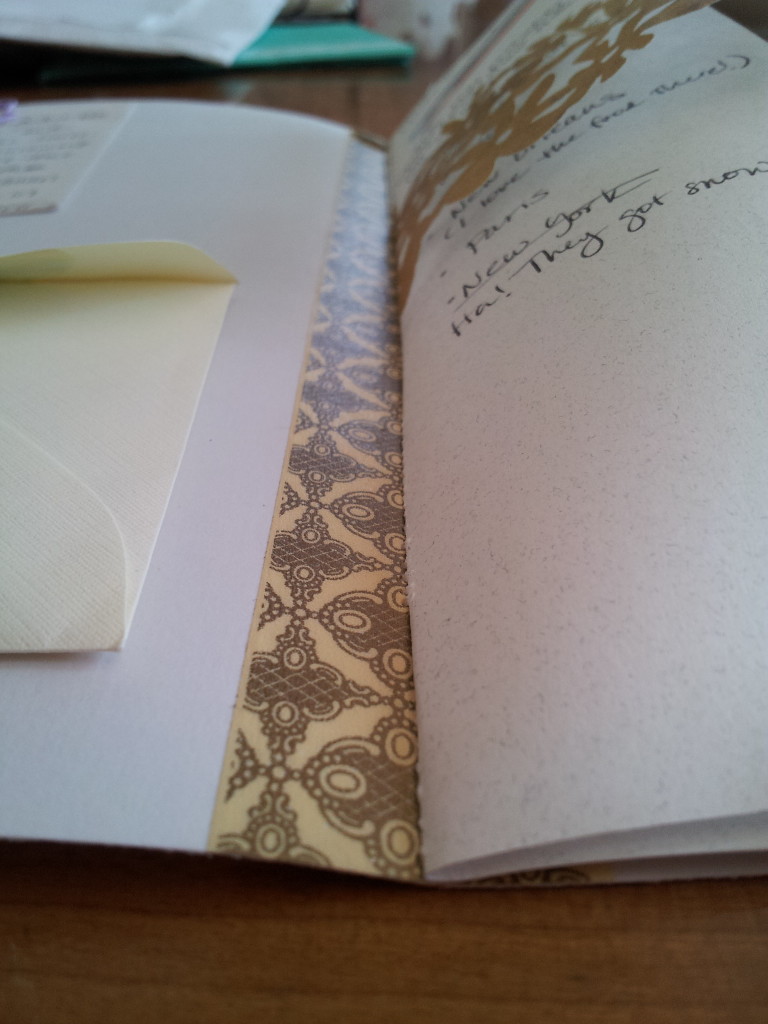
Sewn binding in my paper folder reinforced with washi tape

Sewn binding in my paper folder reinforced with washi tape

I folded a 8-1/2″ x 11″ cardstock in half, and used washi tape to strengthen the fold before sewing the other pages in place.

Julie-Tiu-letter-notebook-4

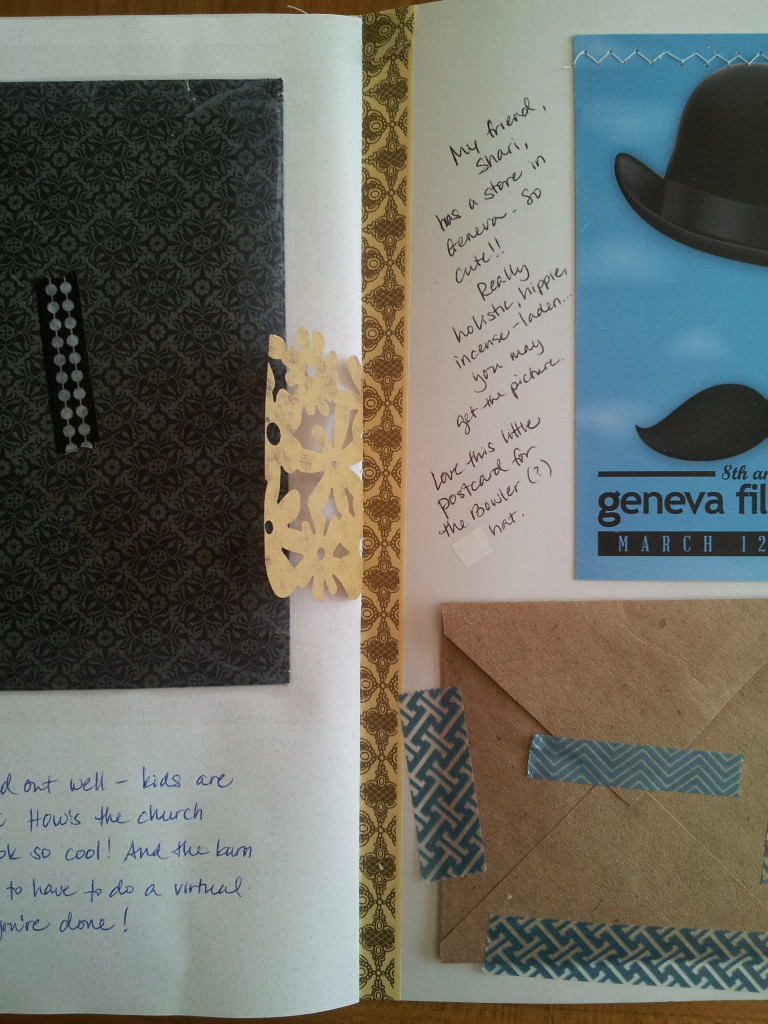
Envelopes and a postcard taped into place

What a fun way to use up bits of paper, postcards and little notes.

Julie-Tiu-letter-notebook-2

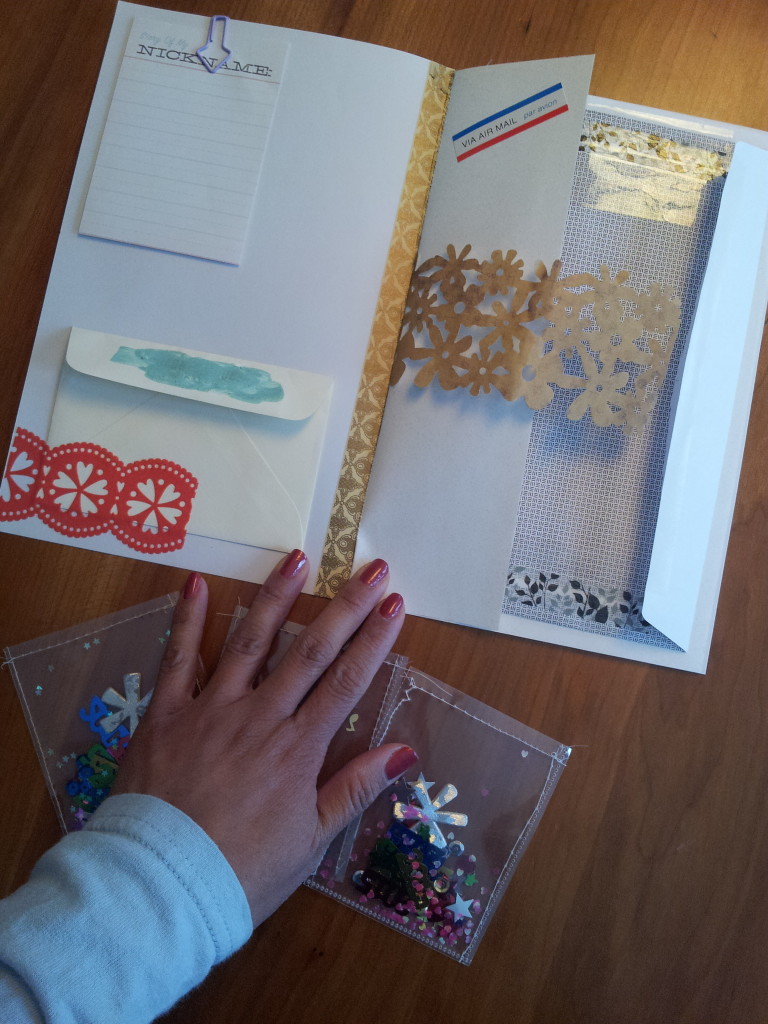
Mis-matchy embellishments make me swoon

Mini-envelopes taped into place are perfect for holding tiny treasures.
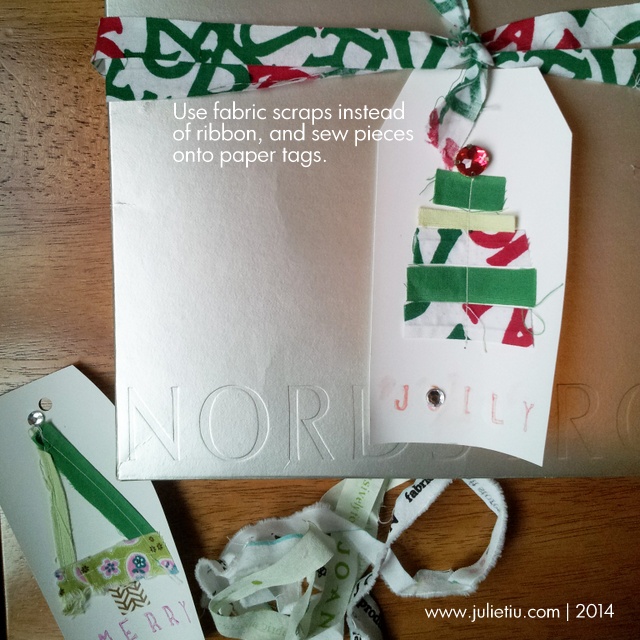
12 Days of Gift Wrapping: Scrap Fabric

Here’s how you could use some scrap fabric in gift wrapping!

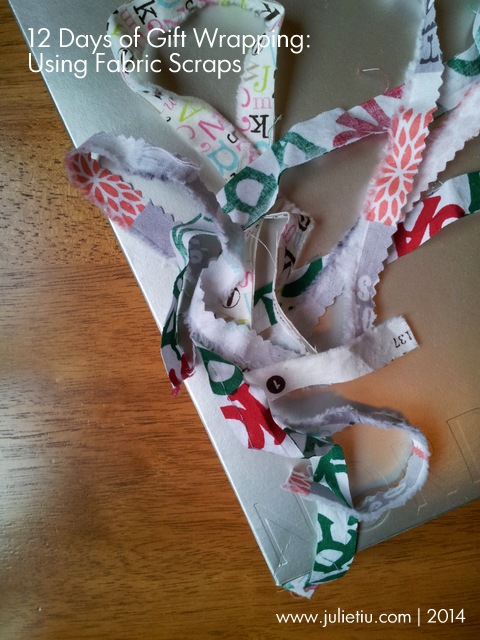
Gift wrapping with fabric as ribbon

Selvedges make a cool ribbon substitute.

Julie-Tiu-fabric-scrap-wrap-2

Instead of ribbon, maybe you have some left over selvedges (the edges of a bolt, or cut, of fabric). Or you can take scraps and sew them directly onto paper tags in the shape of a tree, star, stack of presents… anything seasonal.

12 Days of Gift Wrapping: Quick and Easy Gift Tags from Envelopes

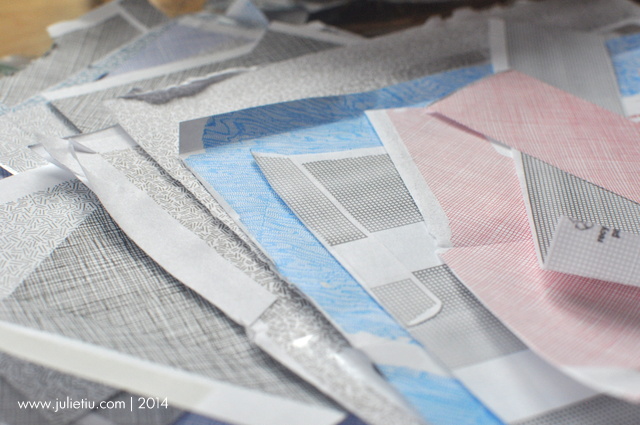
Sometimes, I just cut my own. It’s really handy if you only need a few, and it’s fun! We all still receive junk mail and bills, but before you throw the envelopes away, check the security envelopes. You might be surprised!
Security envelopes turn into scrap paper

Find really cool patterned paper by just looking inside security envelopes!

Lots of pretty patterns!

DSC_0716

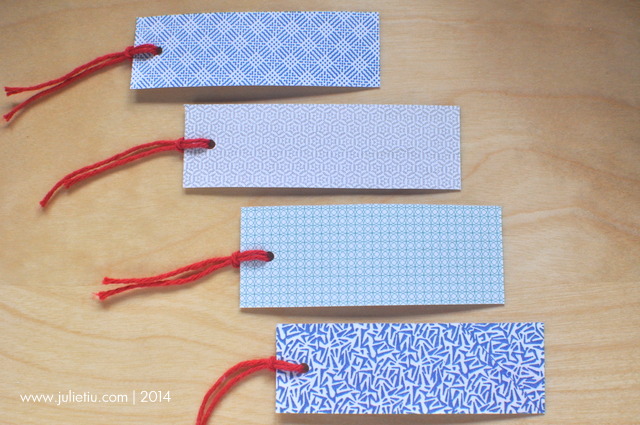
Take plain cardstock (or index cards) and cut them into 1″ x 3″ (approximately 25 mm x 75 mm) strips.

Generously apply glue to the cardstock strips with a glue stick, then adhere the patterned paper.

Using an X-Acto knife or crafting blade, trim the excess paper. The just punch a hole and tie some yarn, ribbon, or baker’s twine.

One Little Word: A Project Update

This year I joined an online workshop, Ali Edwards’s One Little Word. I’ve wanted to try something like this for a long time, to be part of a creative community even if we’re all miles and miles away.

Ali Edwards_OneLittleWord2014Promo2
I haven’t updated on a regular basis at all (in January and April), but I’ve been working along with monthly prompts and reflections. My One Little Word is “dare”, as I explained in my January post. Below you’ll find a gallery of my journaling so far. Just click on the pictures to see them larger.

Earlier in the year I worked on intentions, taking a look at different facets of my life: spiritual, physical, emotional, creative, relationships. It took a while, but I also came up with a symbol for this year. The fleur-de-lis. I love this symbol for so many reasons: it reminds me of Montreal, (where my husband and I went on our honeymoon), New Orleans (vacation spot and amazing culture and food), and it reminds me of St. Joan of Arc (incidentally also the name of my elementary school). And if you don’t think she was daring, I don’t know who is.

I made actions cards that have goals and ideas for the year. Some have been successful, while others… not yet. I’ve reflected on letting go. One month, I put together pictures that connect with my word. It’s been so much fun making time to be creative and introspective.

The best part of all of this has been meeting a pen pal and connecting with the community in a private Facebook group. My pen pal was chosen randomly, but holy cow, it’s crazy eerie how we have a lot of similar craft tastes. She and I send happy packages of mail to each other (last picture in the gallery).

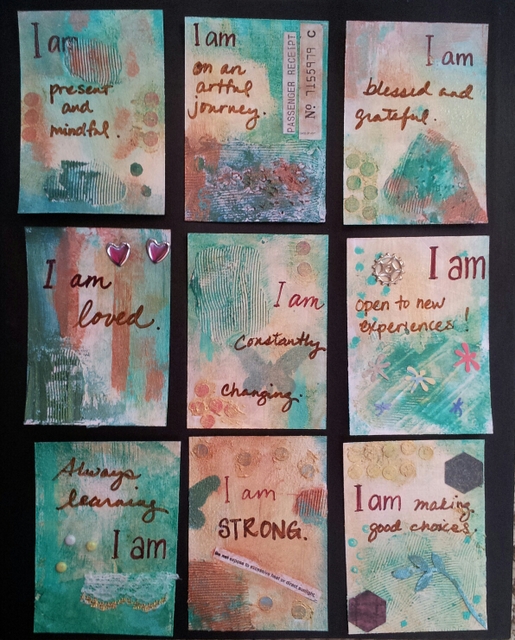
Most recently I created artist trading cards with the phrase “I am” on each of them. I’m looking forward to sharing how I put these cards together.

One Little Word 2014: Art cards

12 Earth Day projects to make

Since it’s Earth Day, I’m rounding up some past projects that highlight recycling or reusing. The projects range from very easy to more involved. I hope you try some out!

An Accordion Spine Journal with reused envelopes for pages

Completed journal

Tutorial: Accordion Spine Journal

Reusing a Gift Bag

Gift bag redecorated

Reusing a gift bag by embellishing over a logo

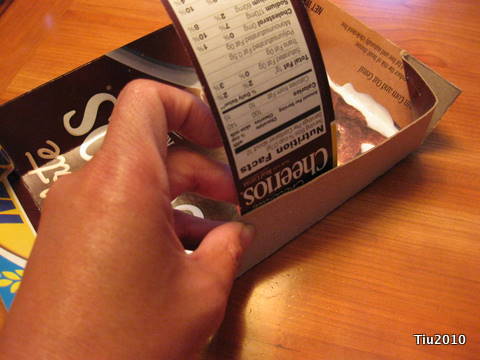
Recycled Cereal Box Notebooks

Recycled Cereal and Product Cardboard Boxes

Any cardboard box can become a fun notebook cover.

Newspaper Seedling Pots and a Cardboard Tray

recycled cardboard garden tray - handle placement

Make a tray to hold all your seedlings.

DIY Barrel Composter

Rotating Barrel Composter

Food grade plastic barrel becomes a composter.

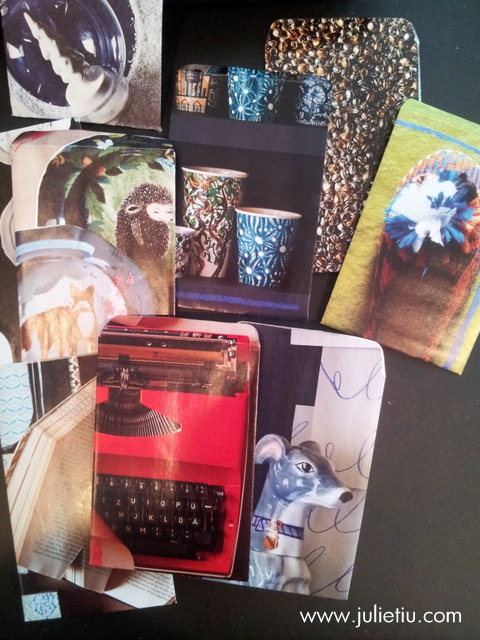
Mini-Envelopes from magazines

Mini envelopes from magazines free printable template

Use pages from a favorite catalog to make mini envelopes

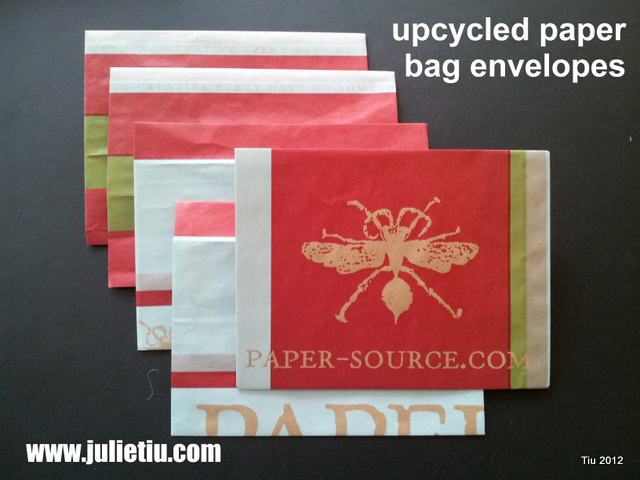
Upcycled Paper Bag envelopes

Paper Bag Envelopes

Make envelopes from a paper bag

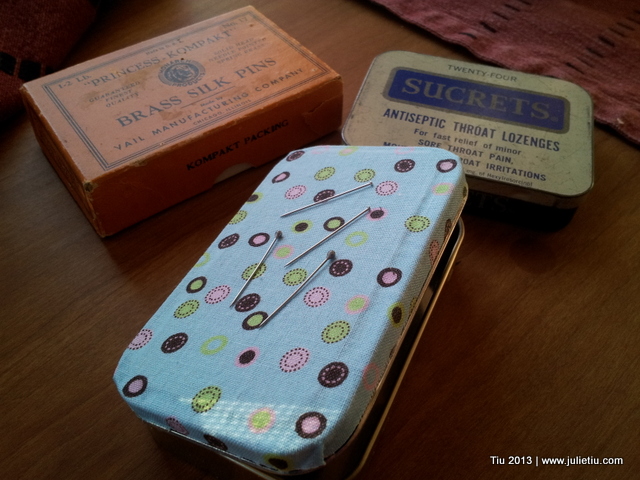
Magnetic Pin Holder from a mint container

Magnetic Pin Holder from candy tin

Mint tins can be handy containers

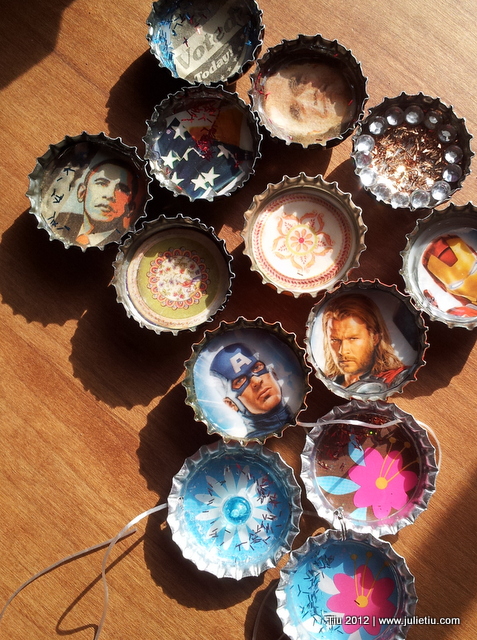
Bottle Cap Art

Bottle Cap Art: Finished pieces

Bottle caps can be fun little frames

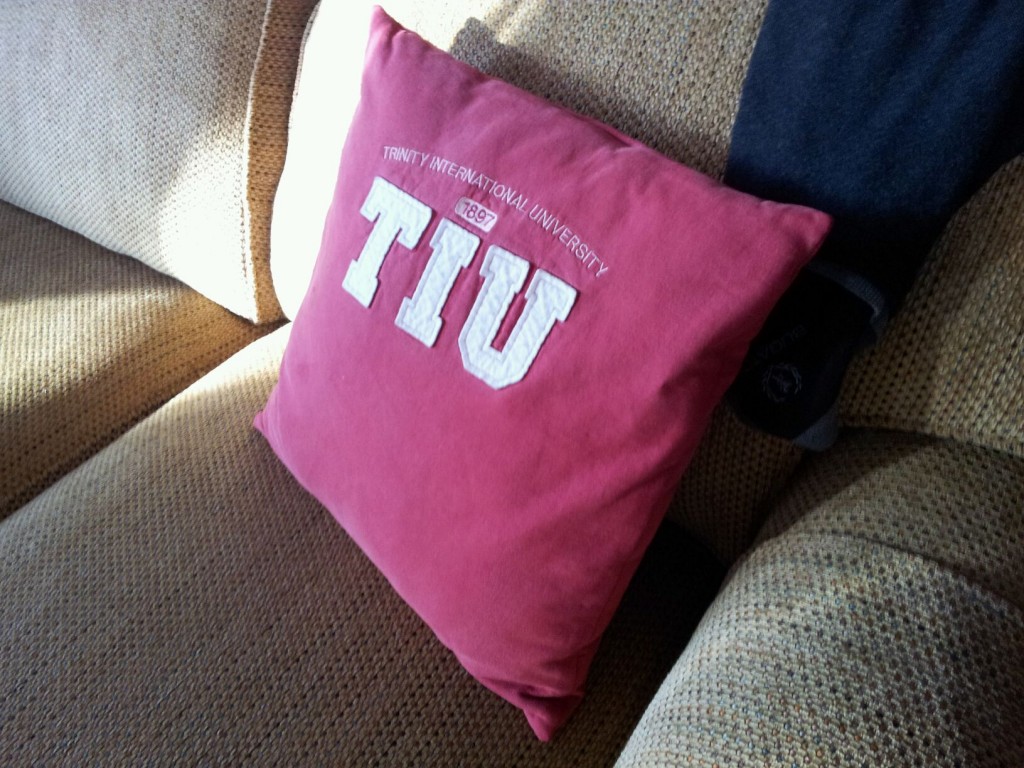
Upcycled Sweatshirt Throw Pillow

Upcycled Sweatshirt Pillow

Upcycled Sweatshirt Pillow

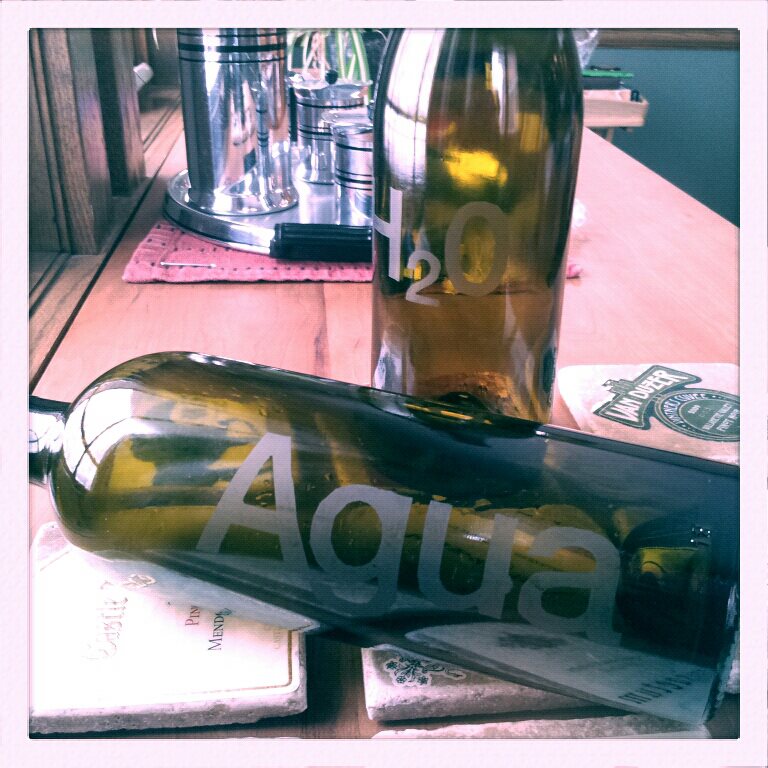
Reusing Wine Bottles as water carafes

Glass Etching Wine Bottle

Reuse wine bottles as water carafes

and, I reused a grocery bag as gift wrap in this gift wrapping post.

Grocery Bag reused for gift wrapping

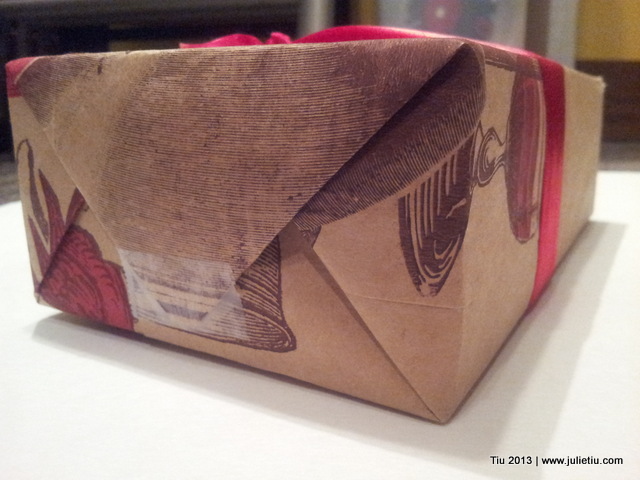
A simple brown paper bag can be a nice gift wrap.

Enjoy your time creating and making!

Quick and Easy Easter Greeting Card in under 10 minutes

Okay, so it’s Easter tomorrow. If you celebrate Easter, I hope you’re all set with your baskets, food prep, and all things beautiful. Amazingly, I am not hosting this year. Still, I’ve been busy, you’ve been busy… I missed my Mugshot Monday this week. Boo.

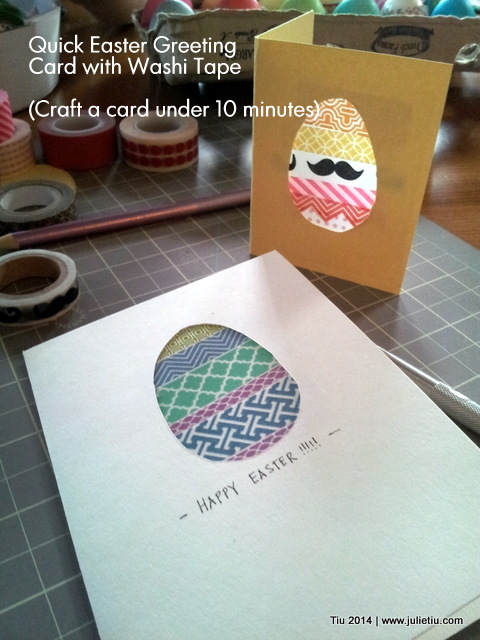
Last Saturday, I had a chance to play around with washi tape and my pals at the Iannelli Studio. This is what we made, and now you can make it too. You can also see  card in last week’s cookie recipe post.

Quick DIY Easter Greeting card

Washi Tape makes greeting cards easy and fun

What you need:

  • Cardstock or pre-cut cards
  • Vellum or thin white paper (Vellum gives that see-through, stained-glass effect)
  • A variety of washi tape
  • X-Acto knife (or utility blade)

Washi tape Easter egg greeting cards

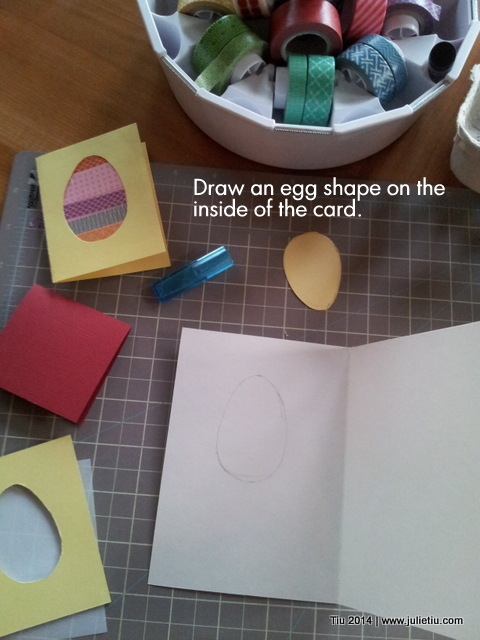
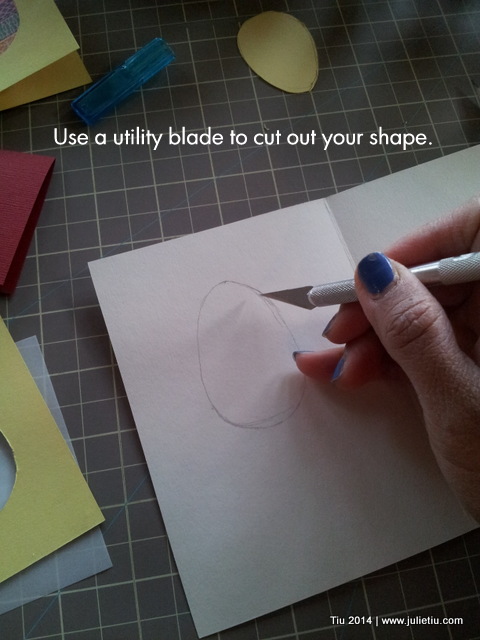
I just draw my eggs freehand. It’s totally cool with me to be all wonky and imperfect.

Washi tape Easter egg greeting cards

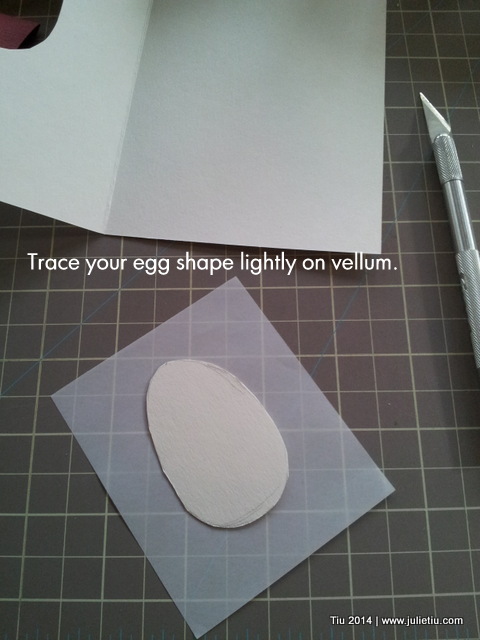
So, I learned this last weekend from my friend, Vicky, that by drawing inside, you don’t see the pencil lines on the front of the card. Again, if you don’t mind erasing lines, by all means draw on the front. And save your egg shape.

Washi tape Easter egg greeting cards

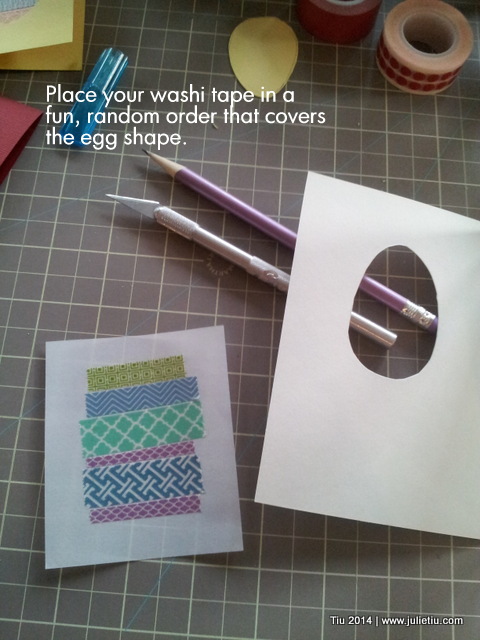
If you trace your shape on your paper, you’ll know exactly where your tape will need to go. Another “Vicky tip”.

Washi tape Easter egg greeting cards

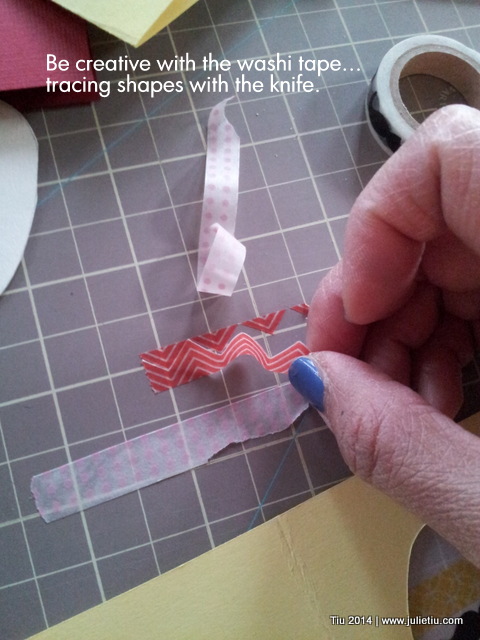
Check this out… use the shapes on the washi tape and cut around them to get cool effects.

Washi tape Easter egg greeting cards

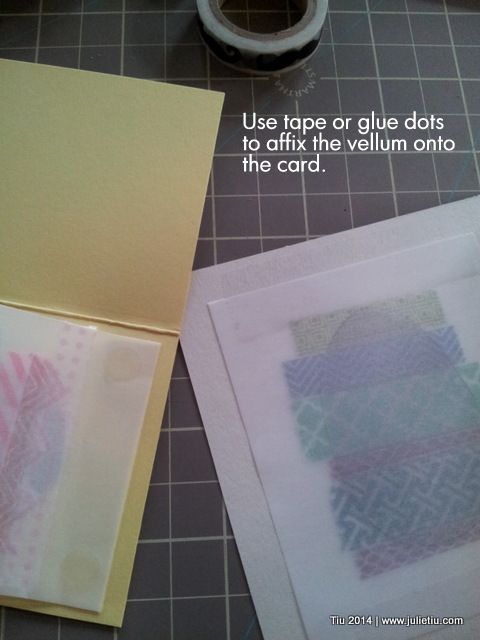
Last part, stick the taped-up paper onto your card!

Washi tape Easter egg greeting cards

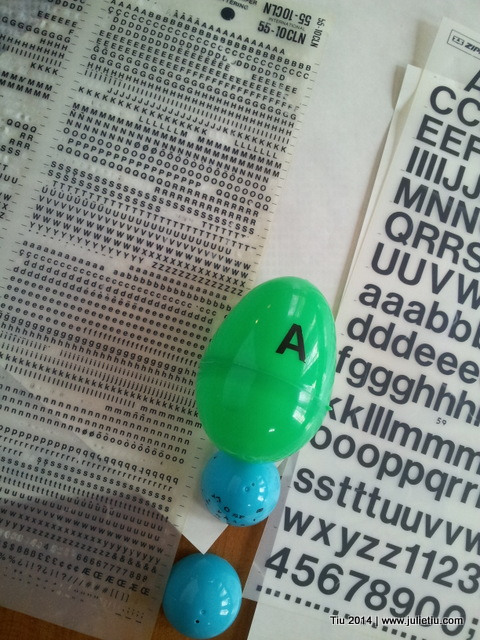
For more quick Easter crafts, check out articles at GeekMom.com! You can see how I dress up some plastic eggs with a permanent marker and rub-on letters.

Decorate plastic Easter eggs featured on GeekMom.com

Monogrammed plastic Easter eggs

Enjoy your Easter, friends!

Related Posts with Thumbnails