The smallest room in our home – the room with the most windows per square feet, with the best lighting – has totally not been used to its potential. Disappointing, isn’t it? It’s the dumping ground. In the last month I’ve alluded on the Facebook page to redoing one of our rooms into an actual, usable craft space. (Yeah, we’ve only lived here for 8-1/2 years?) The room was originally earmarked for a shared home office between my husband and myself. I think I had visions of the kids working at the table. That didn’t happen.
I’m happy to report that in the last few weeks I moved a lot of things around, got rid of a lot, too. I lost some momentum last week because I needed to focus on a workshop my husband and I were presenting at our church, not to mention family stuff. BUT, I’m still encouraged that I’ve made a few more papercrafty things in the last couple of weeks just by having this space available to me! It’s actually a room I’m starting to want to spend time in.
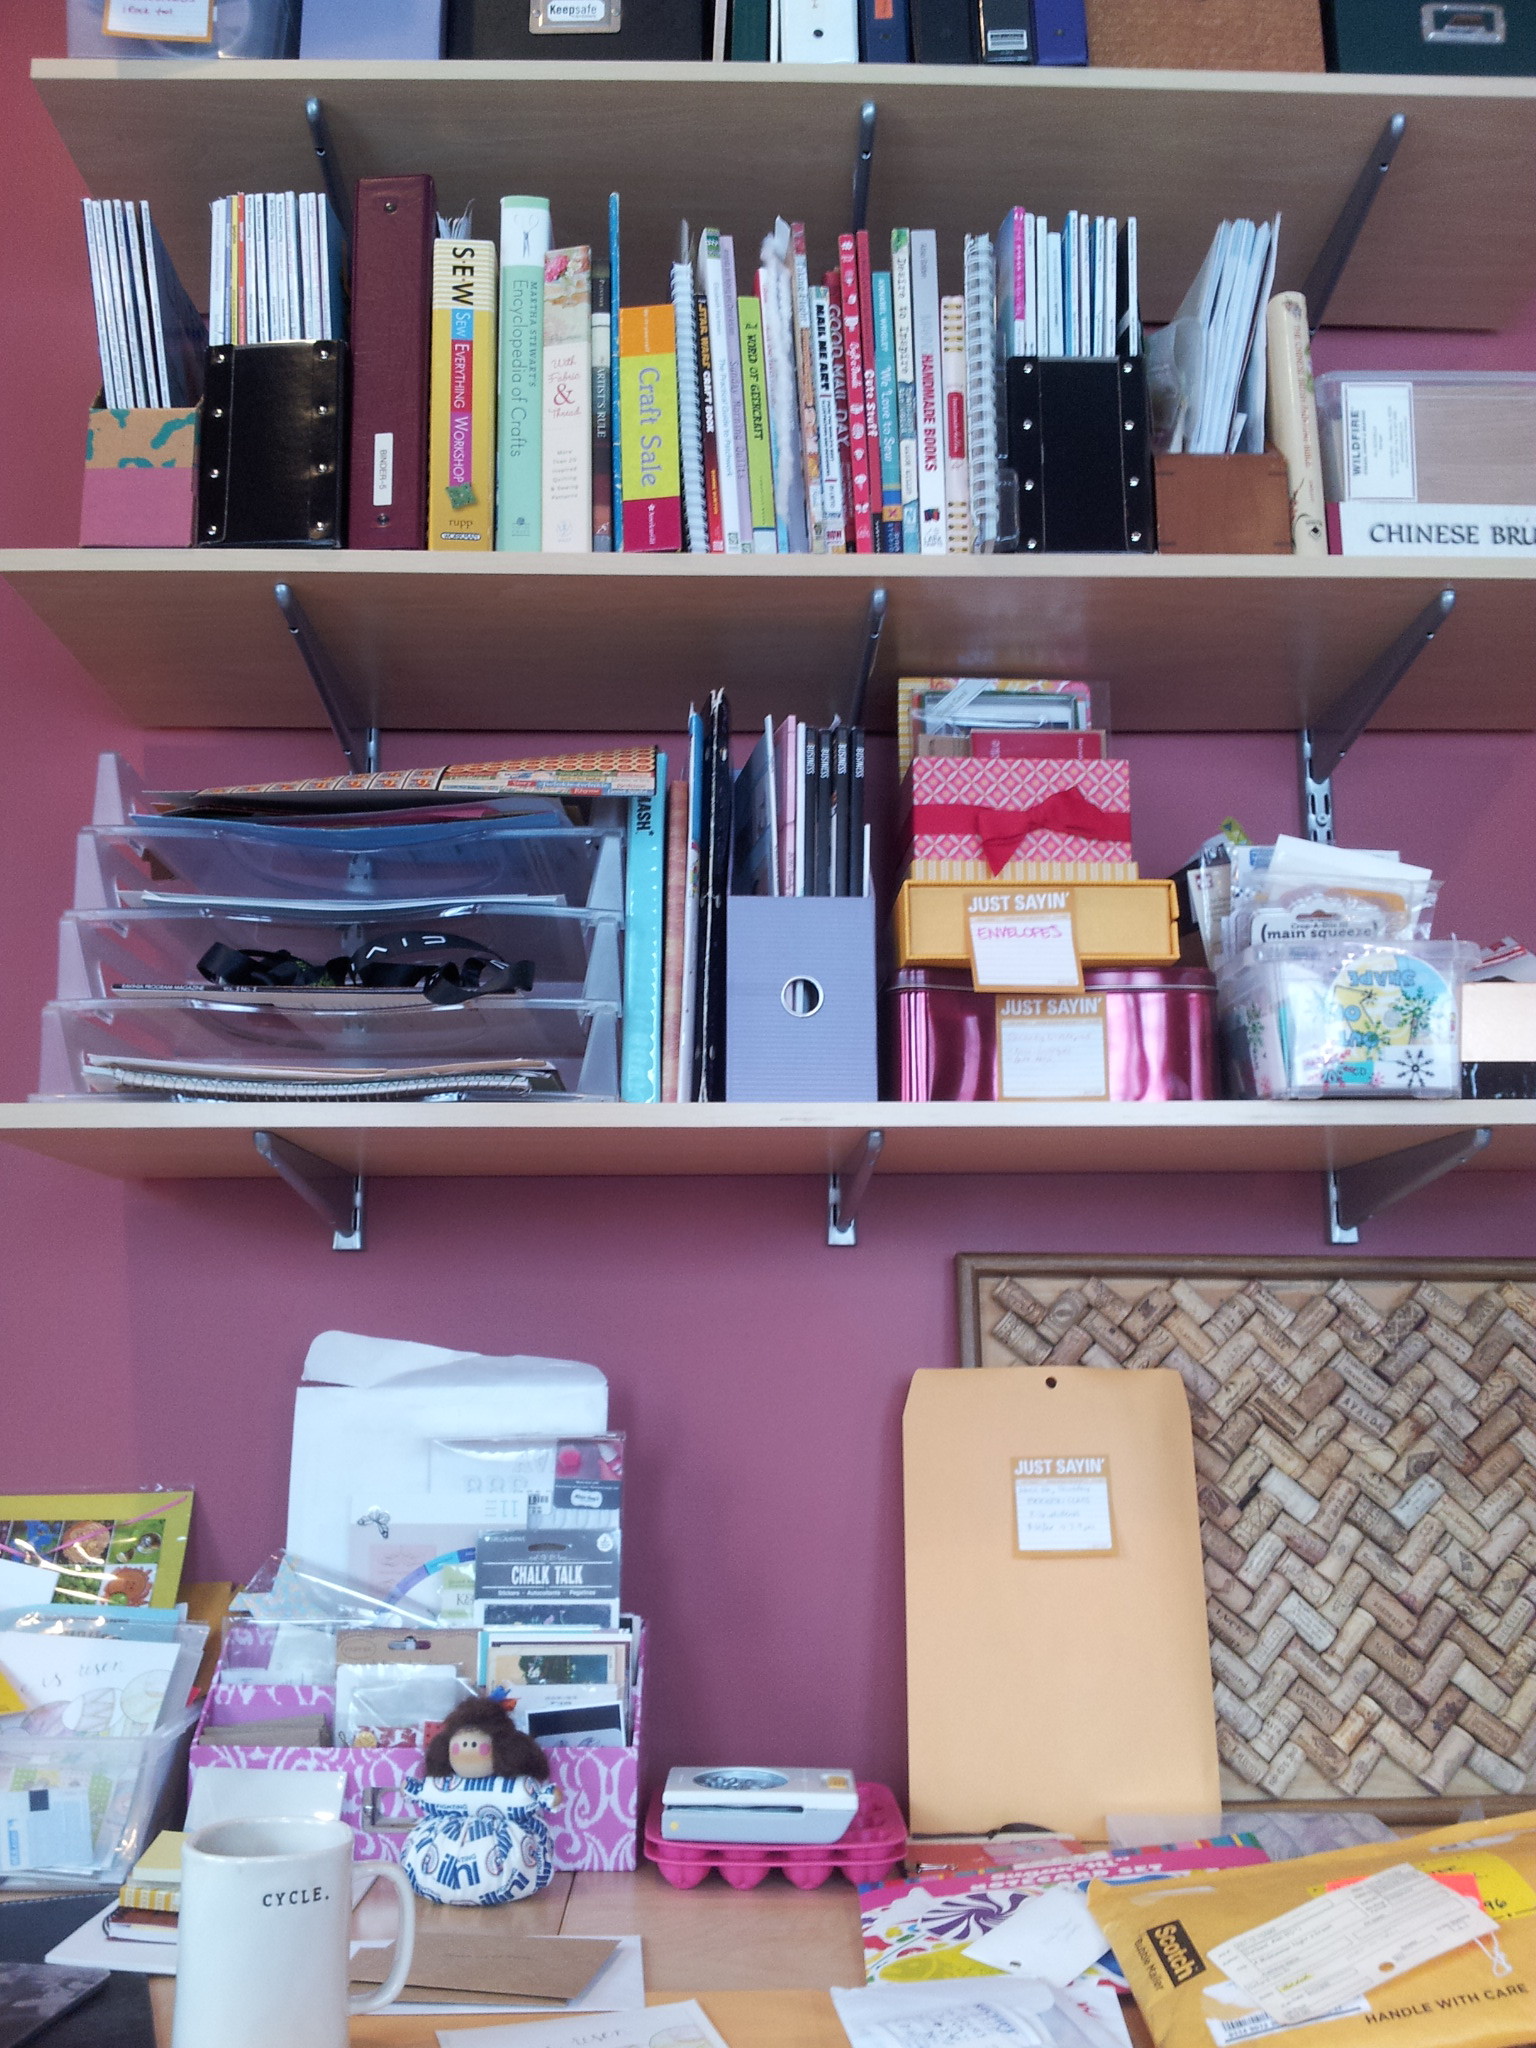
I don’t think I’ve ever shared pictures of this room because I’ve been too embarrassed about the state of it… and, you know what? Who cares?! It’s coming around, and it’ll be awesome.
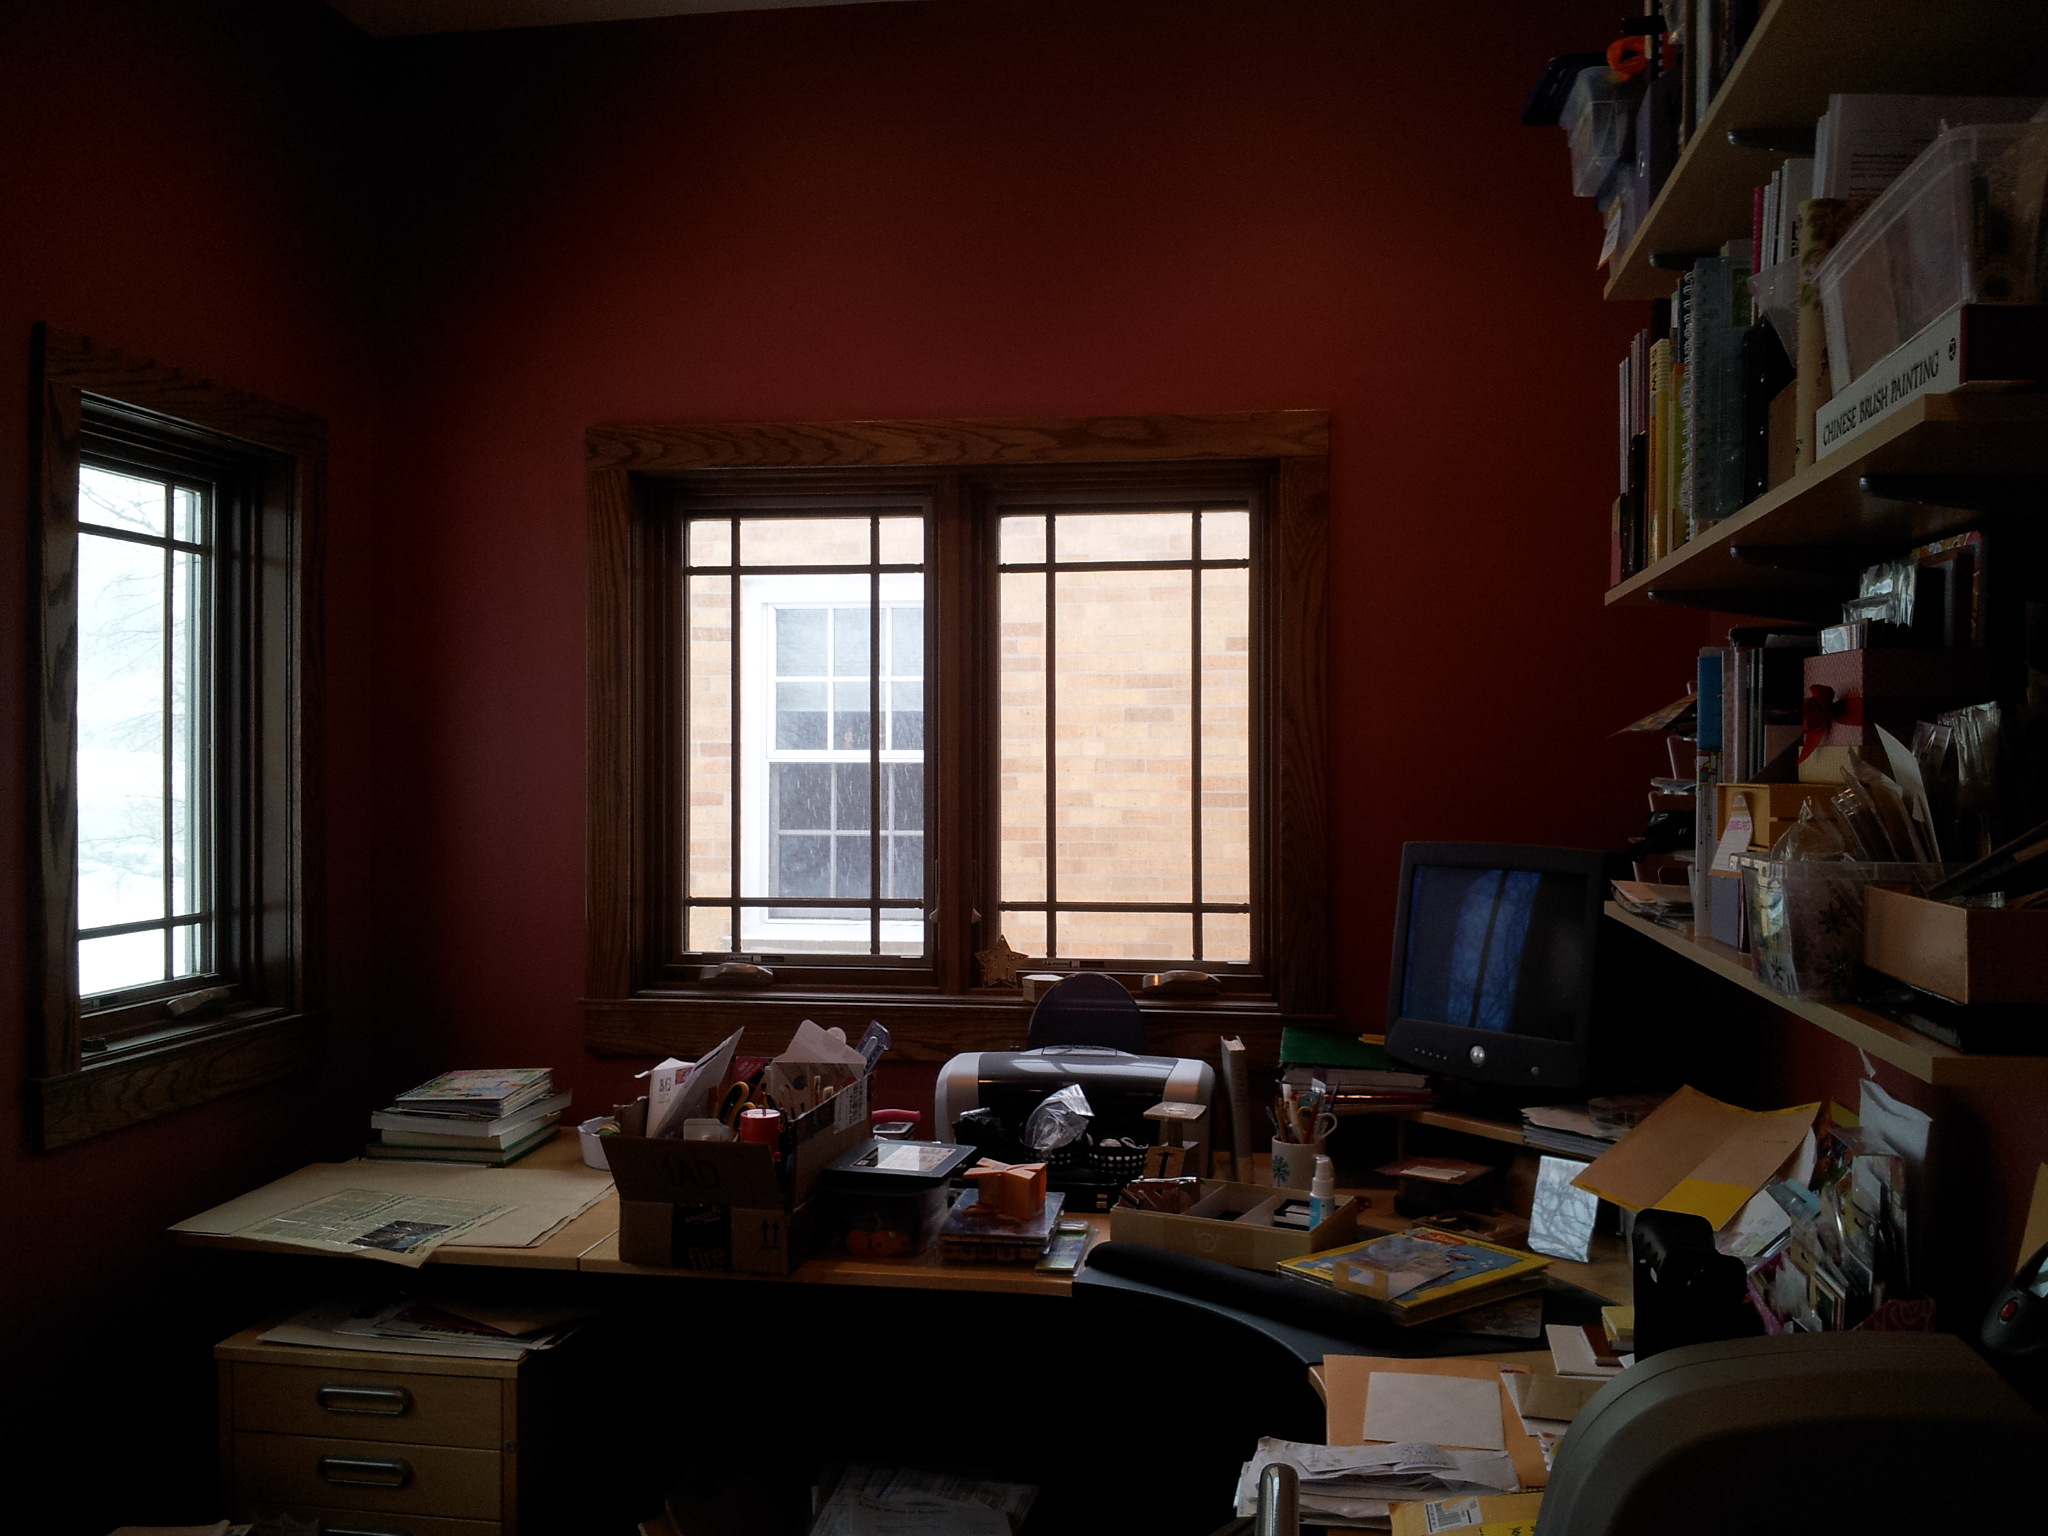
The mess that is becoming my craft office.
This will all come together, I know…
Have a great Monday, and a great week everyone!
Working on: Prepping for Spring Break, Easter cards, my planner pages, more house clean up.
Developing: A lesson plan for a Zen drawing workshop I’m giving this week at a local art center, and hopefully an Easter article for GeekMom.
Contributing: At Monday Mugshots.
Planning: My son’s First Holy Communion reception for family and friends.