DIY Water Carafe from Wine Bottle

Glass Etching Wine Bottle

What I thought was just a week or two has turned into a month! I promised a tutorial on this, um, a month ago? Sorry about that. To quote the great Alan Parsons Project, “Time keeps on slippin’ (slippin’) into the future…”

I wanted to make some cool upcycled (recycled) wine bottle glasses for some gifts. So I started hoarding collecting our wine bottles specifically for the project. After lots of You Tube viewing on cutting wine bottles, and a failure to purchase or make a glass bottle cutter, I decided to switch gears and try something else… etched glass.
Continue reading…

Birthday Party Ideas: Book Exchange Party and Printables

My daughter turned 11. Diapers one day… eye-rolling tween, the next. I joke. She’s a great kid, growing into her own person. How do they grow so fast? To celebrate her birthday, we hosted a simple evening with a few of her close friends and a book exchange. (I give her all the credit for choosing that.) Sharing books, swapping with everyone, tearing open the wrapped books… it was like Christmas all over again! The nice part: all gently used books. Bring one, leave with one; bring two, leave with two.

Keep going for the free printables!

Making mini cards and a printable template

I made some mini cards just in time for Chinese New Year and Valentine’s Day. (Well, almost in time for Chinese New Year – it’s Sunday and I want to mail a couple out.)

Making mini-cards

Mini Valentine Cards with scrap paper and stickers

Rubber stamping for Chinese New Year cards: Year of the Snake

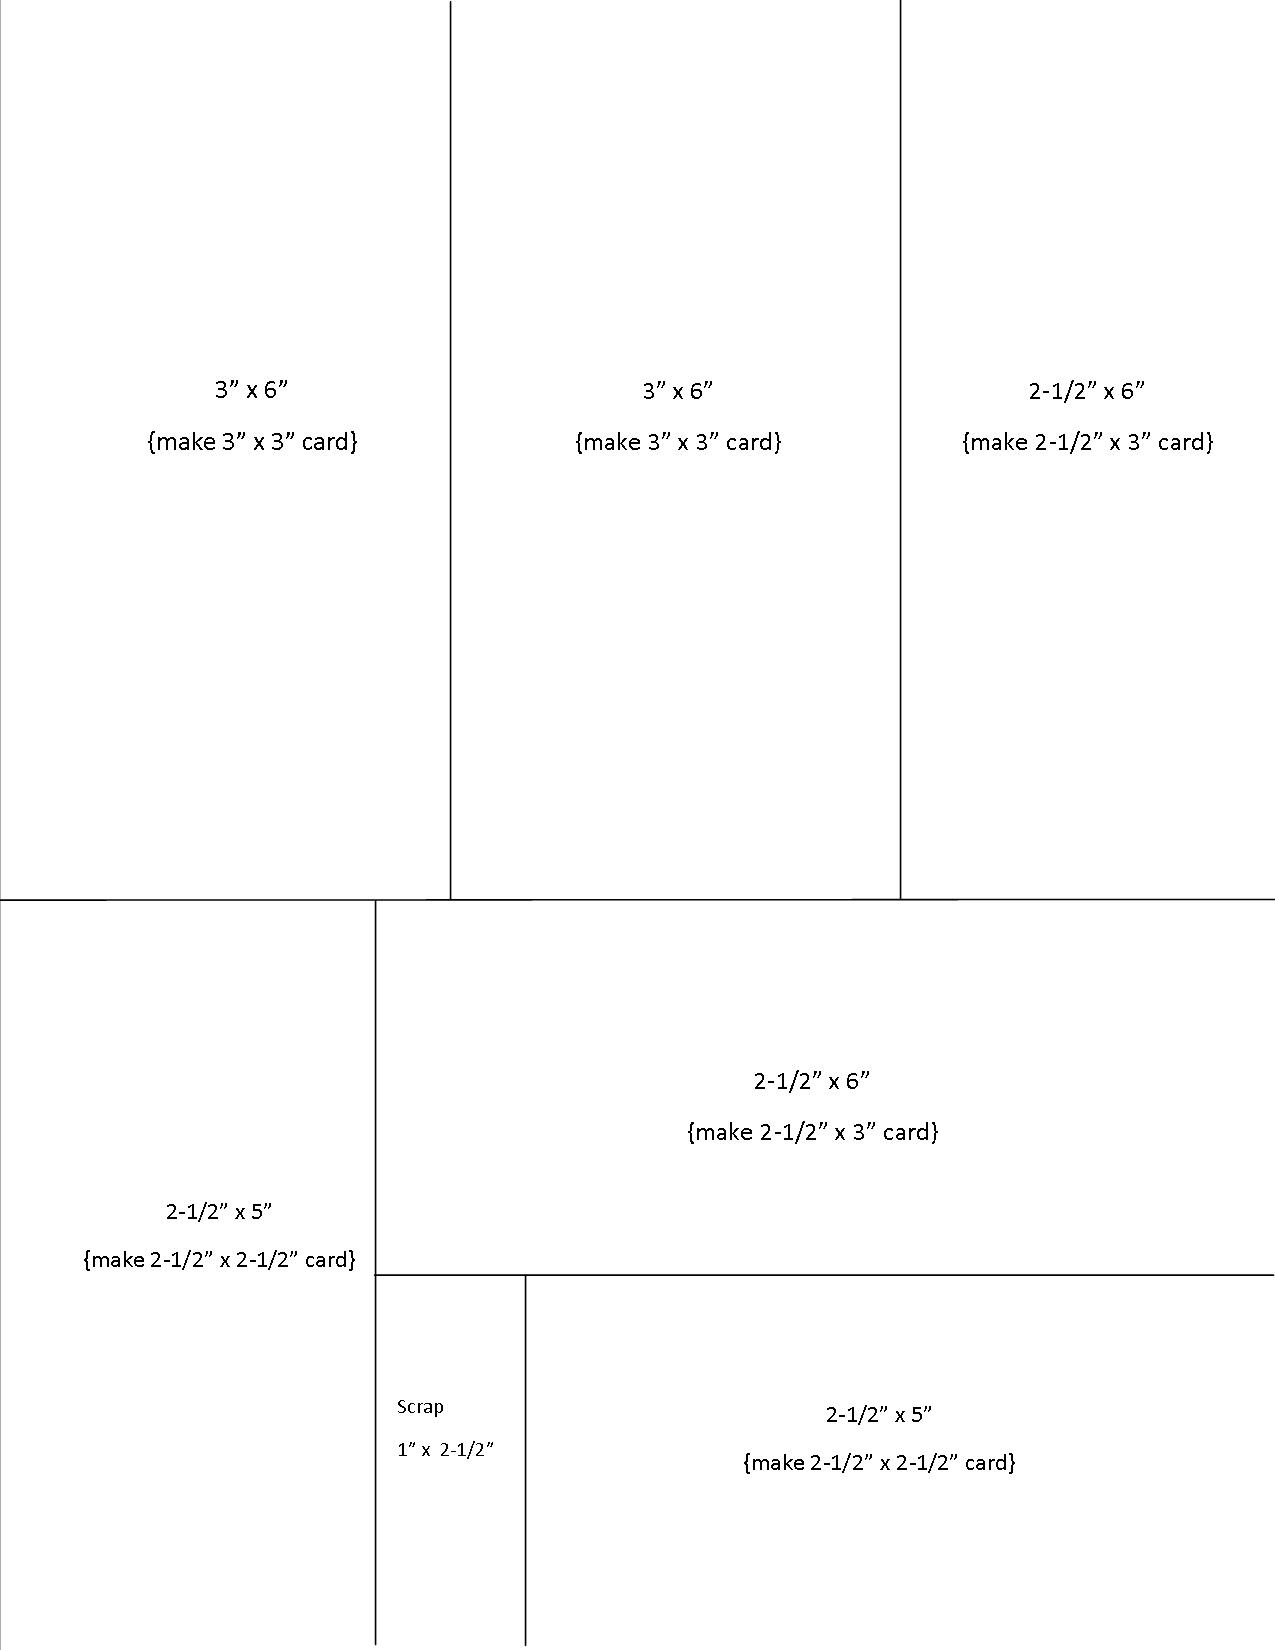
For that old-fashioned handcrafted card, just use what you have around your home, stickers, ribbon, glue. To make mini-cards, I took an 8-1/2” x 11” sheet of cardstock (this is Bazzill Pomegranate) and cut it in this manner to make six little blank cards. Just click on the picture below to print your own. From one sheet you can make (2) 3″ x 3″ cards, (2) 2-1/2″ x 2-1/2″ cards and (2) 2-1/2″ x 3″ cards. There’s a little 1″ scrap if you want to keep that for tags or tiny, homemade “Moo cards” (not a sponsor, just letting you know about them).

You’ll need to make your own envelopes. I think I have some doilies somewhere around here. Or maybe just tuck your cards with your gift, in lunchboxes, on the dining table… I’ll try to post a picture of the finished cards!

mini card template

Making a Magnetic Pin Holder

20130116_094954

More decoupaging. This Altoids mint tin was stashed in a box waiting for its next life. Yeah, yeah, on the brink of hoarding here, but I LOVE recycling, or upcycling. Maybe this could hold some paper clips, safety pins, or thumbtacks if you’re not into sewing.

Here’s what I did to make this fun little box. I took an old refrigerator magnet (an out-of-date freebie sheet magnet), cut it to size and stuck it on the tin.
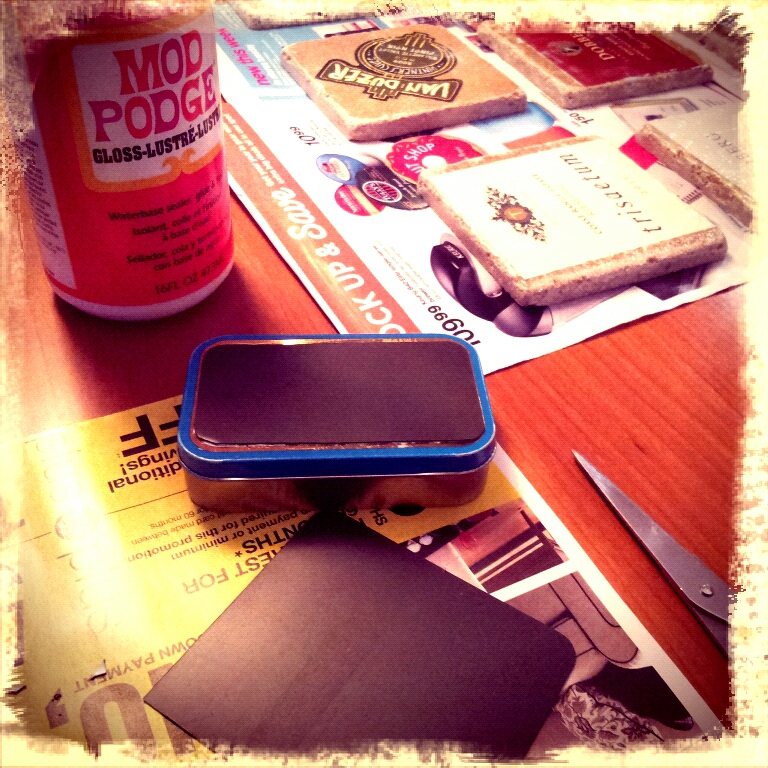
shot_1357944502777

I dug up some scrap fabric and traced around the lid. Then I just cut around my traced line to make sure the fabric would completely cover the lid.
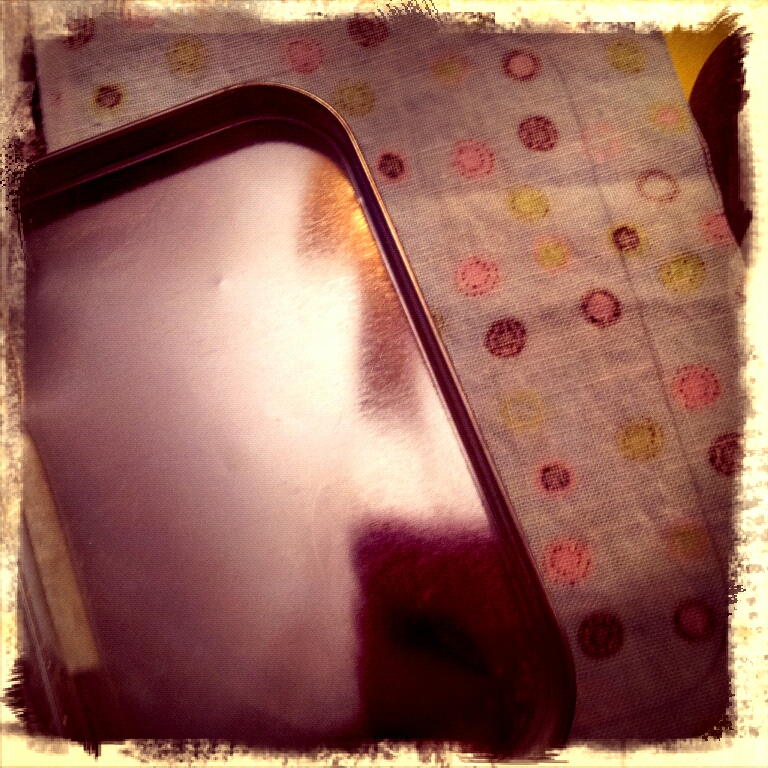
shot_1357945139881

I lightly brushed Mod Podge on the top of the lid and flattened out the fabric. When the lid was dry I decoupaged two opposite sides down to cover the entire lid… like pick the front and back, or the other two sides. It’s the corners that demand your attention. I treated the corners like I would wrapping a gift box lid – nice, neat hospital corners. Then I “Mod Podge-d” the heck out them so they’d stay down.
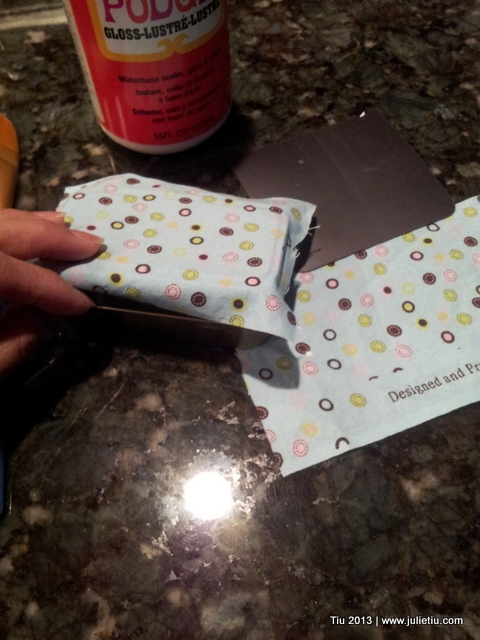
IMG_20130115_070412

Used my sharpest craft blade (X-Acto knife) and trimmed around the lid when everything was dry. I let it dry for 24 hours (Mod Podge paranoia). Tip: Take your time with the cutting and trimming part. Mod Podge gets all crispy and tough to cut through. PLEASE be careful.
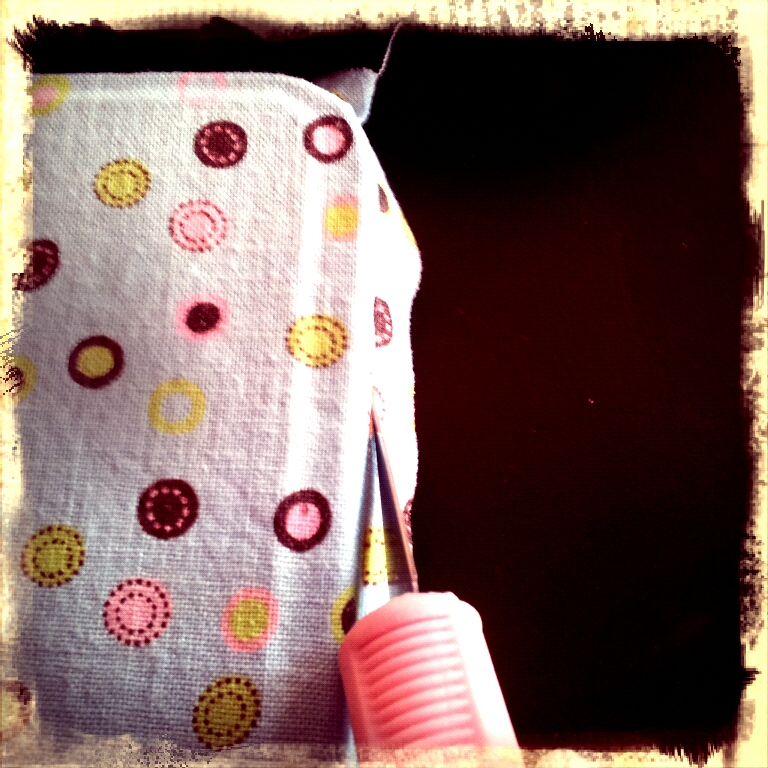
shot_1358348815034

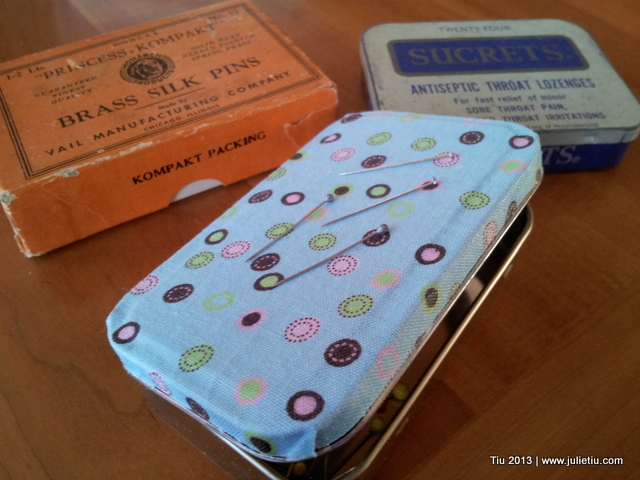
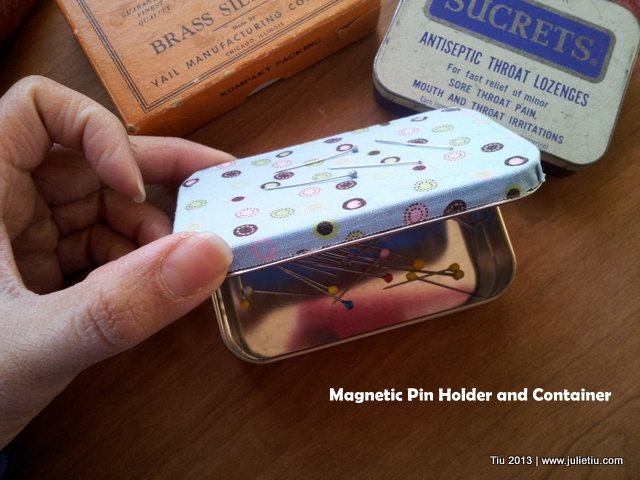
And here it is! My own little magnetic pin holder.
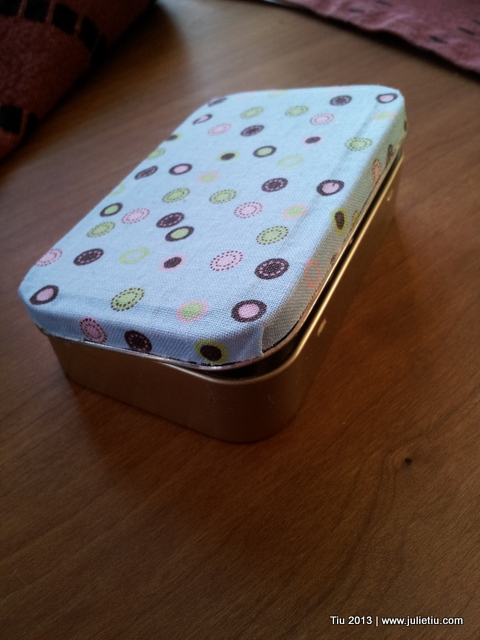
20130116_094255

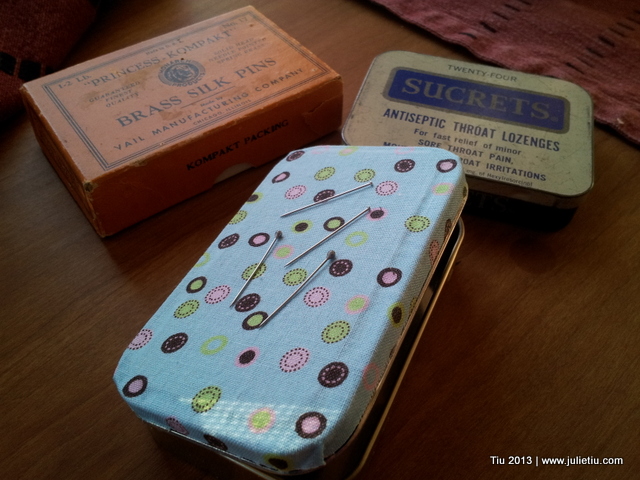
Look! The pins stick to the top!

20130116_094839

20130116_094922

Those are a couple of my other pin holders. Vintage, eh? I’m so looking forward to having the magnetic one next to my sewing machine… pins won’t get away from me so easily now. Maybe this means I have sewing projects coming up?? *grin*

K&Company Paper Bundle and Sticker Giveaway

Two giveaways in one post! AH!! Sorry I missed yesterday, but I was finishing a project. Overextended me. Typical. Let’s see what this giveaway is all about.

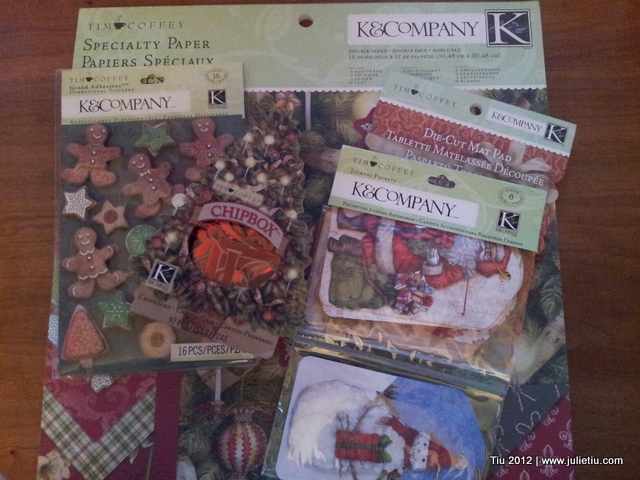
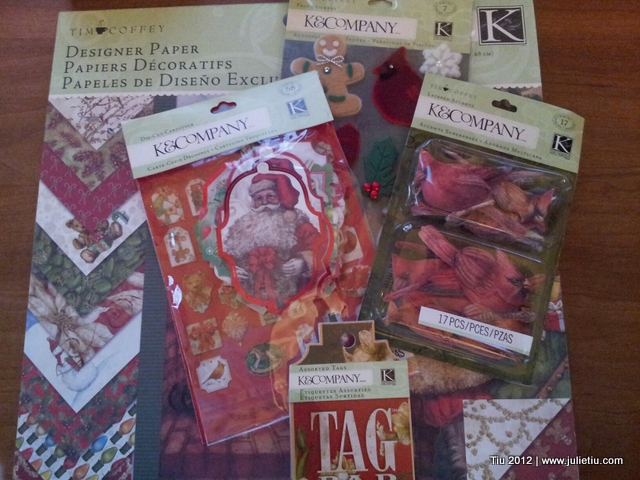
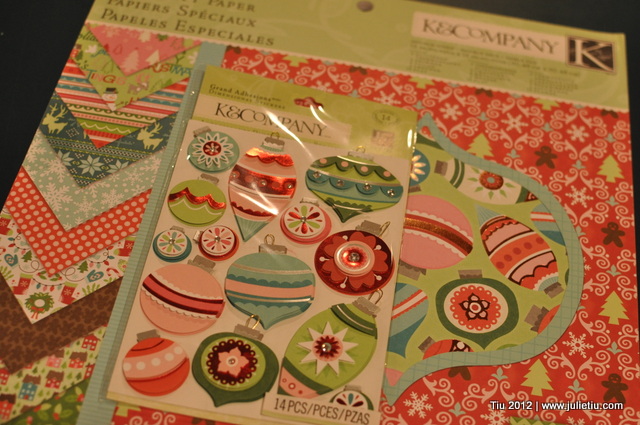
I love paper… not for scrapbooking (mentioned before) but for just about any other type of paper crafting. These sets from K&Company just get me in the Christmas mood.

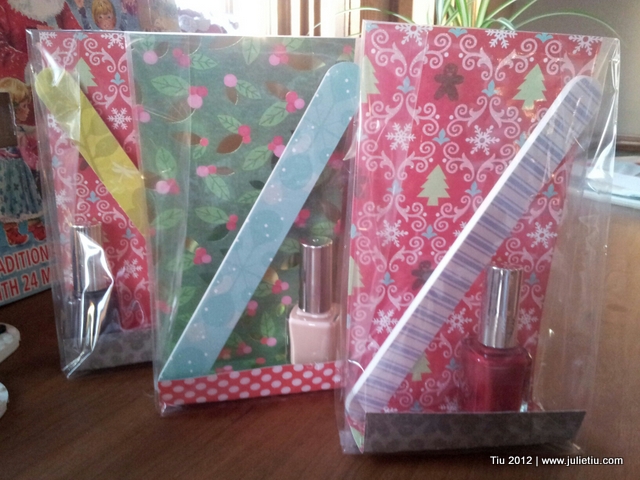
They’re cute background for these little gifts for my kids’ Sunday school teachers. This was a Pinterest inspiration, but I pieced together the gift bag. (Teachers, if you’re reading, would you skip the picture or cover your eyes. Sorry for ruining the surprise.) All you need are clear party favor bags. I cut the scrapbook paper into 3-3/4″ x 9″ strips, folded one end twice to make a little bag “bottom”. Stuff into the party favor bag and place your goodies.

Use scrapbook paper and clear party favor bags

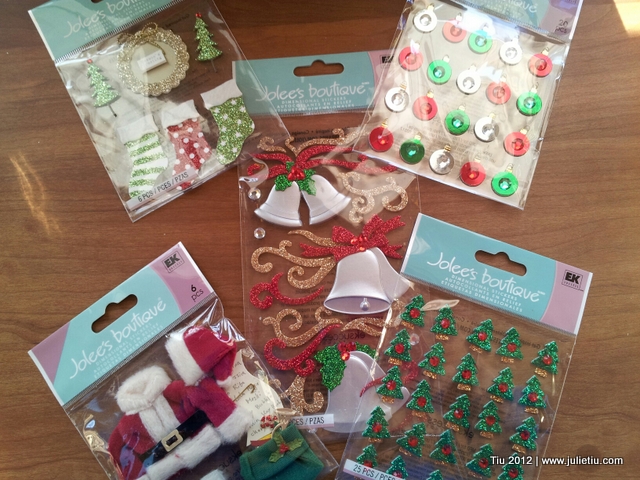
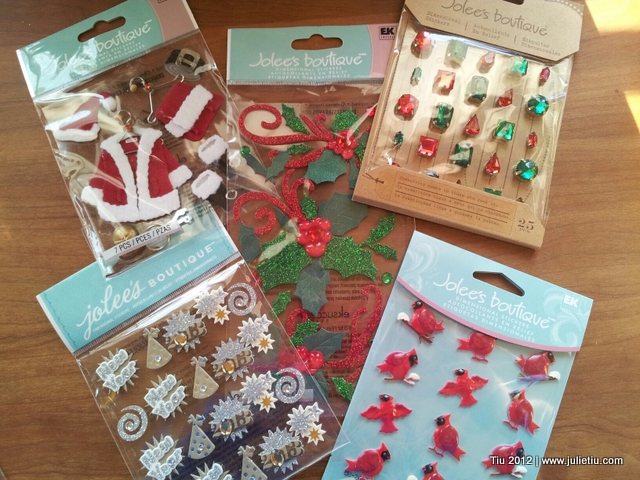
Here are the last of my giveaways… two pretty sets of K&Company specialty paper (double-sided!) and accessories, and then two sets of Jolee’s Stickers. All these products are available at art and craft supply stores like Michael’s. Follow the raffle instructions below… and if you would prefer NOT to enter through Rafflecopter, just e-mail me at jtiu(at)comcast(dot)net with “K&Company raffle” or “Jolee’s Christmas sticker raffle” in the subject line. Good luck!

K&Company Paper Tim Coffey Paper Set

a Rafflecopter giveaway

Jolee's Stickers

a Rafflecopter giveaway

Related Posts with Thumbnails