A Sparkly Wreath

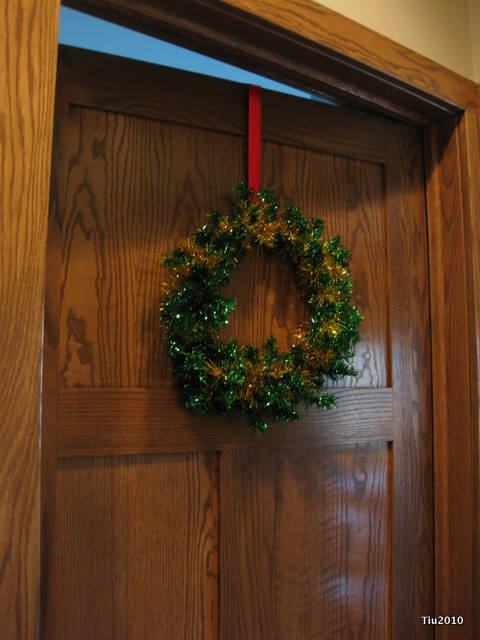
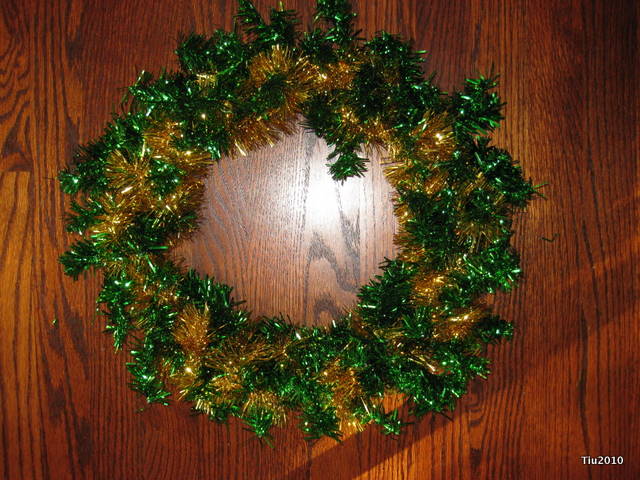
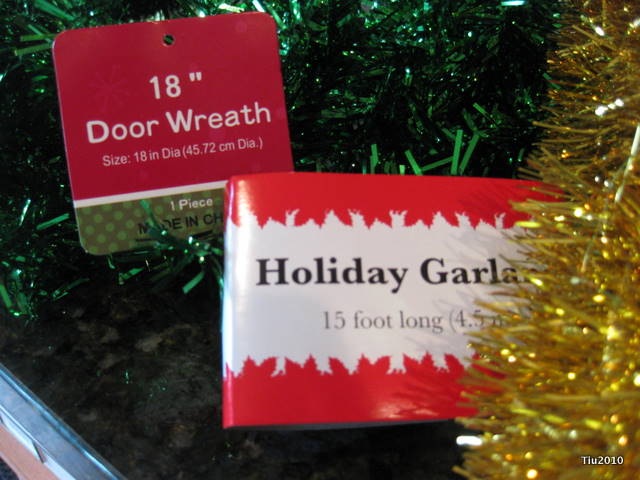
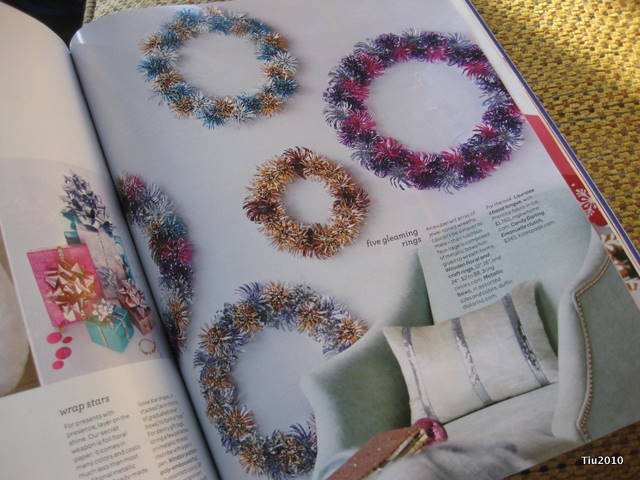
I was inspired by the glittery garland wreaths in the Holiday issue of Martha Stewart Living magazine. My version is quick, easy and afforable: $3.50, courtesy of the bargain bins at Target. $1.00 for the garland, and $2.50 for the wreath. No need for glue guns or scissors, either!

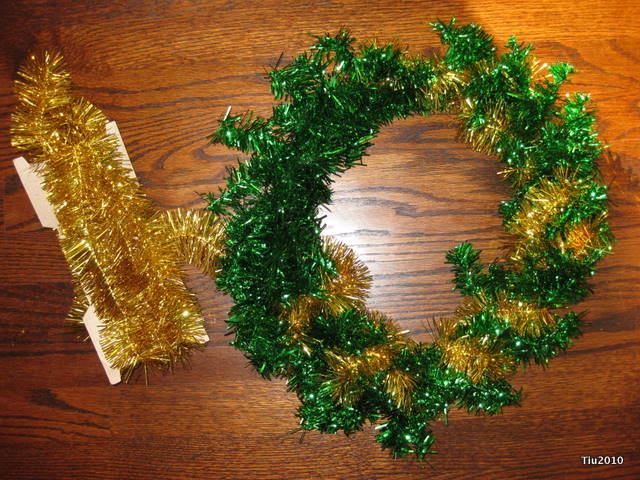
At the store, I found red and green wreaths, and silver and gold garland. Choose the combination you prefer… I liked the green and gold which incidentally are my high school colors. (Shhh… my husband thinks I have a ridiculous amount of high school pride.) Red and gold would have been nice, too, for a bit of an Asian flair.

The How-To

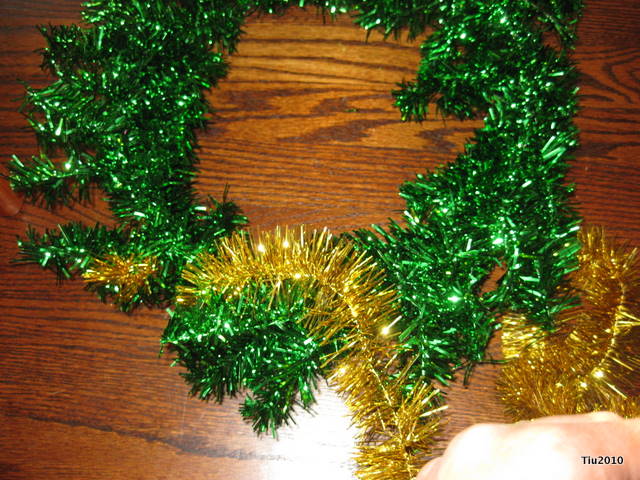
  1. First, the wreath will be completely packed down. You will need to “fluff” or gently pull out the branches.
  2. Find the end of your garland and keep it on the cardboard (much easier this way).
  3. Wind the garland around the wreath, in between branches.
  4. When you reach the end, just tuck the end into the wire base or around a branch. It will be secure.
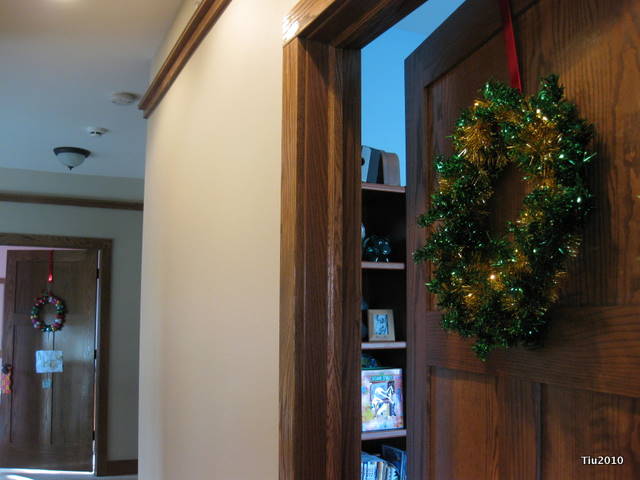
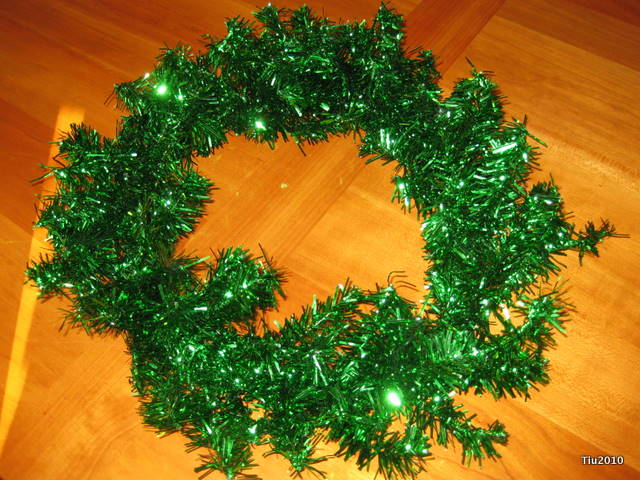
  5. Hang and enjoy!

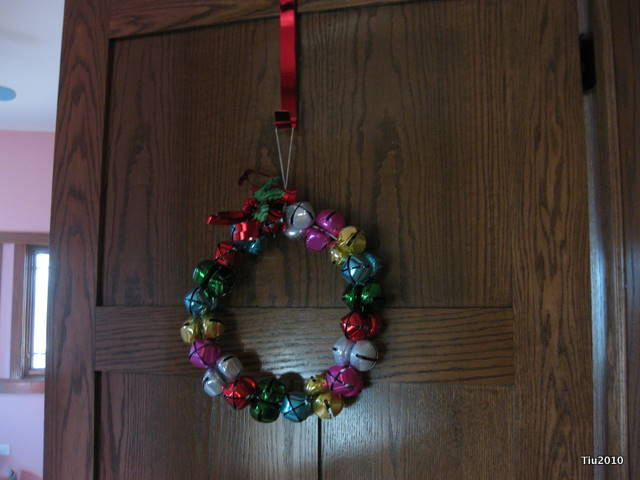
This wreath is going on my son’s bedroom door since his big sister has a wreath on hers. I might use some ribbon and hang the wreath a little lower. Did I mention, they each have their own little tabletop Christmas trees in their rooms, too?

A Really Good Weekend

I spent lots of time preparing for last week and weekend… not only was it Halloween, but our little man turned 4.

And, as usual, the Halloween crafts didn’t get done, but I did get goody bags finished the night before the school party.

I always intended on posting a tutorial for a last-minute batcave made from store-bought wall decorations, dollar store garbage bags and duct tape… but unfortunately it was far too last-minute. I was busy writing a food article for Halloween.

On Halloween, Abby played her last soccer game (the team’s record 6-1-1)…

… then we headed out for some trick-or-treating with friends.

Like I said, a really good weekend. I hope all of you out there had one too.

Hanging Pictures – Part Two

After a little deliberation, I started my installation of our framed pictures. Hooray.

Then I stopped after one. Boo.

(Inhale…) My husband came home, looked, made a comment that made me think he seemed unsure of the placement, (the hallway isn’t that wide, and the pictures are 8×10 or larger), therefore I became unsure of my logic and decision-making in decorating, so I stopped. Whew, run-on sentence… yes. Now we’re/I’m reconsidering and replanning.

Maybe the frames will go in the dining room now. Everyone can enjoy the pictures, there’s plenty of room… I don’t know that I like the layout so much here. The drawback about the dining room is that there isn’t a lot of light. This could be a good thing too, because we don’t want a lot of direct light on the pictures. (Don’t want them to fade.) Wintertime there’s a ton of light reflecting off the snow. But, the hallway has directional lighting (recessed can lights) for framed art.

I’m trying another layout. Now there’s an empty space for which I don’t have a matching frame. There’s another wall at our living/family room. Maybe I’ll try that spot tomorrow. Can I just hire someone to do this? My patience is being tested, I know.

Hanging Family Pictures Collage Style

We’ve been trying to enjoy the fantastic weather here over the last couple of weeks, so as you might imagine, there hasn’t been much going on inside the house. This includes blogging, writing, house chores and the never-ending list of projects I want to start and those I want (or need) to get done… like fixing a few broken shelves in two closets and hanging up the family pictures.

Why do I find it so difficult to hang pictures? I guess if it’s one frame here, and one frame somewhere else, it’s a little easier, but here I’m trying to compose a nice grouping. Now it’s: how do I center the frames, which picture goes where, how much space do I leave in between the frames, how high do I mount them? I blame this on my type-A, perfectionist, engineering side. So, what to do?

I placed all the framed pictures on the floor and tried to figure out how it might look in different layouts. But, in the end, I broke out some sheets of paper and traced shapes.

I think I’ll be playing with the paper cut-outs for a little while.

Pillowcases – Another Project to Check Off

I finally finished these pillowcases, and taught myself how to do French seams from the Pretty quick pillowcase tutorial (& bonus french seam instructions) at Film in the Fridge. Think of the possibilities for the holidays?! I may be busy sewing for the next few months.

Notice anything? The design is upside down on the left hand pillow. Yes, lesson learned. Now I know what one of the tutorials meant by “good with non-directional prints”. I didn’t really stop to see how it was going to look. Abby didn’t seem to mind. She said, “That’s okay, Mom.” What a relief. Besides that, I turned the main fabric (apple print) 90 degrees contrary to what most of the tutorials showed. I don’t know if it matters. It’s just that if I didn’t, the apples would be sideways, and that’s not really what my daughter wanted.

Here’s a detail of the cuff from the inside. Nice and clean.

Basically, what you see right-side out is normal. What you see when the pillowcase is turned inside-out is this: the French seam. No raw edges.

Looking to add something to your list of projects? Here are some more sites that I scouted:

Hanging Frames Somewhere

Pressed Leaves in Frames

This may be one of my more visibly Martha Stewart-esque home decor crafts. I collected a few leaves around our neighborhood and pressed them in between the pages of a heavy phone book (Yeah, that’s what they’ve been reduced to. Never mind actually looking up phone numbers in them.) You’ve got to love autumn leaves. The colors are outstanding. Ginkgo leaves might be my favorite next to maple leaves. I forgot about my ginkgo leaves drying- for a year! But I re-found them, and added them to the maple leaves and red oak leaves from the backyard. The question is, where do I hang these up?

I was originally going to hang them in our guest bathroom in the basement. But they’re so pretty, they could go in our dining room or maybe our bedroom? You see the struggle I have with hanging pictures and frames? I probably would have more things up on the wall if it wasn’t for my complete lack of faith that I’m placing them in “just the right spot”. This is also just one reason why I’m not an interior designer or decorator.

Related Posts with Thumbnails