Continuing with some garden talk from earlier this week…
A few weeks ago, I relocated my mother-in-law’s plants to my house. She has some low maintenance plants, so with her traveling, you’d think they’d be okay. They still need care, and it only makes sense that the plants live with us since I look after them anyway. I know, I look wary…
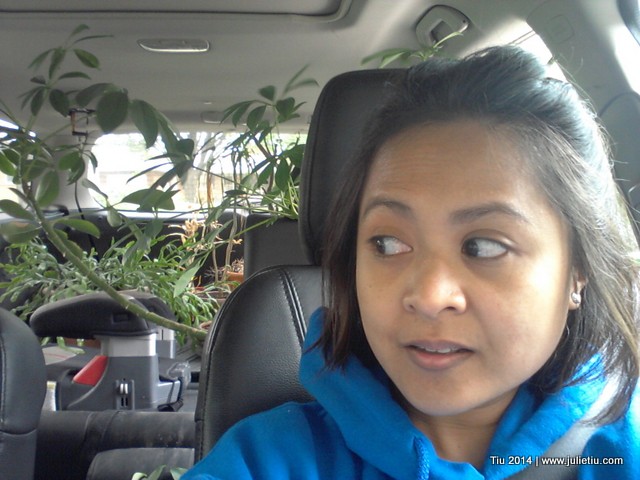
A rare pic of myself. (The car is parked.) Good thing I have a station wagon.
And, I gotta say, I’ve never dealt with cacti before, but don’t they look sad? Poor plants…
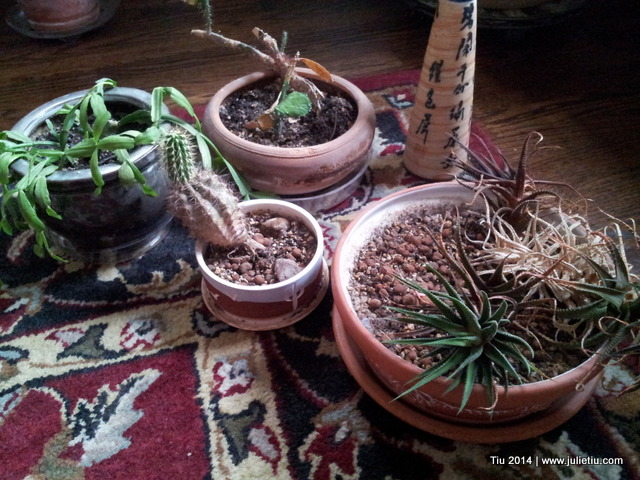
These guys need some care
After some reading and searches for cactus care, I thought I’d start with the Christmas Cactus (far left in pic above) and Jade (not pictured) since they were already shedding leaf segments. (Probably stunned from the move.) By the way, Christmas Cacti don’t live in the desert… they come from the rainforest. Who knew?
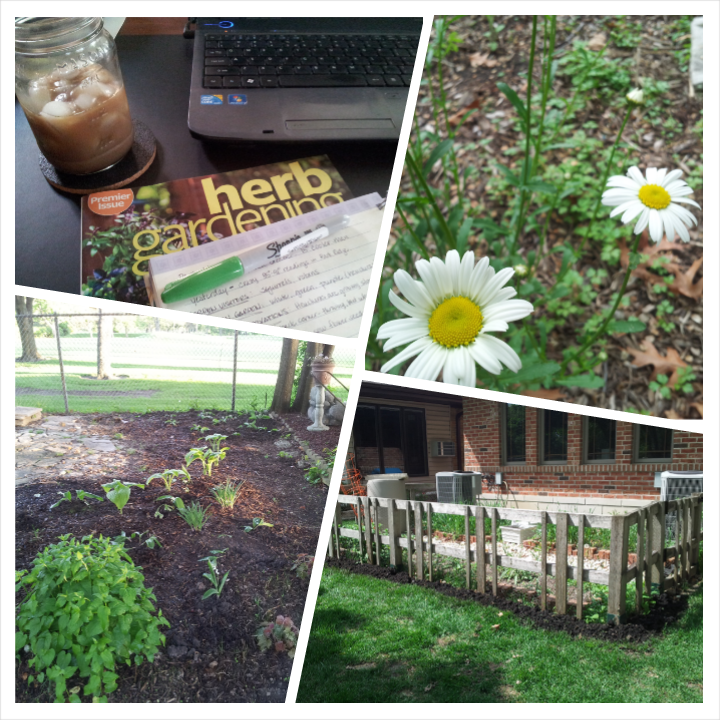
First I learned that the leaflets have to callous over, and they end up shooting out roots looking for water. I left them on a paper towel in some indirect light. With the Jade, an empty stem stuck in the soil started to bud.
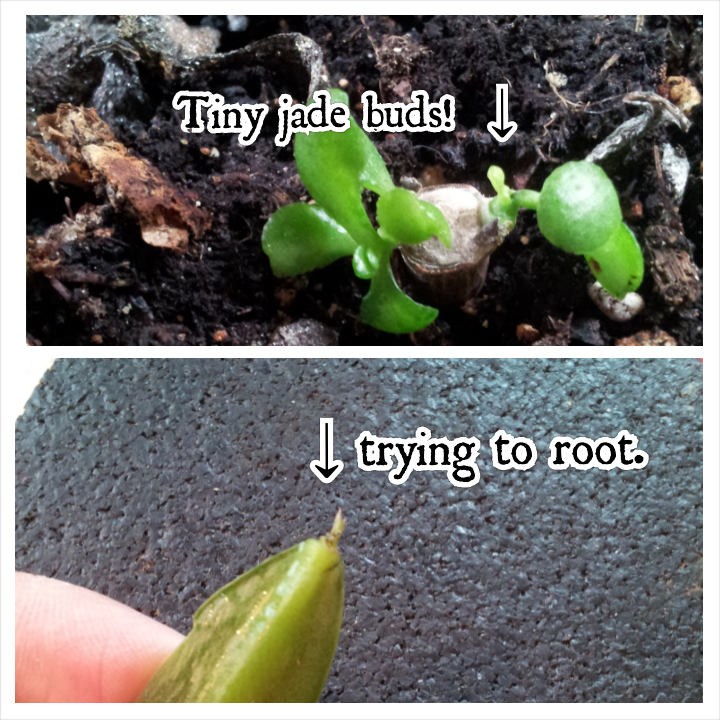
Jade (above) and Christmas Cactus (below)
Keep reading to see how they turned out!