12 Days of Gift Wrapping: Basic supplies, tools and how to pack a gift box

12 Days of Gift Wrapping, Julie Tiu, Basic supplies

How much fun is it to hang out with people who love to wrap gifts as much as you do? Last week I headed up a gift wrapping workshop, craft class… gathering. Lots. Of. Fun! I prepared way more than the two hours would allow, but that’s okay for my first time teaching gift wrapping (HA, a teacher. Me.)! I definitely have learned some lessons now that I have taught two “craft” classes on my own.

12 Days of Gift Wrapping, Julie Tiu, Basic supplies

So, here we are beyond “Beyond the Bow”. Sort of like Oprah’s “After the Show”. We could call this “Beyond the Bow: After Class”, and I am going to share what we talked about in class, and more.

12 Days of Gift Wrapping, Julie Tiu, Basic supplies

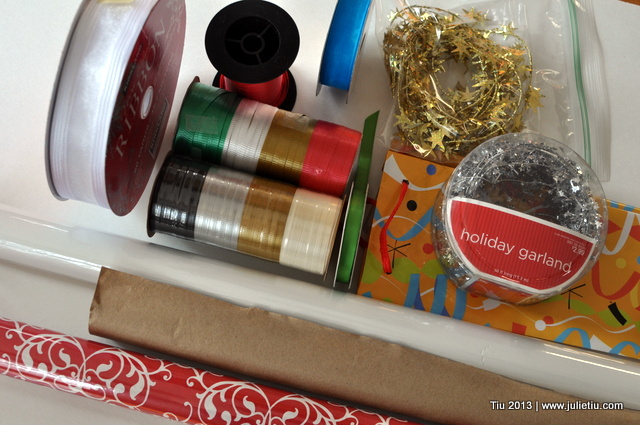
Let’s start with the basic supplies and tools of the trade. Gather your paper, ribbons and trim. (I’ll share some gift tag ideas around Day 11 or 12.) Maybe sooner.

12 Days of Gift Wrapping, Julie Tiu, Basic supplies

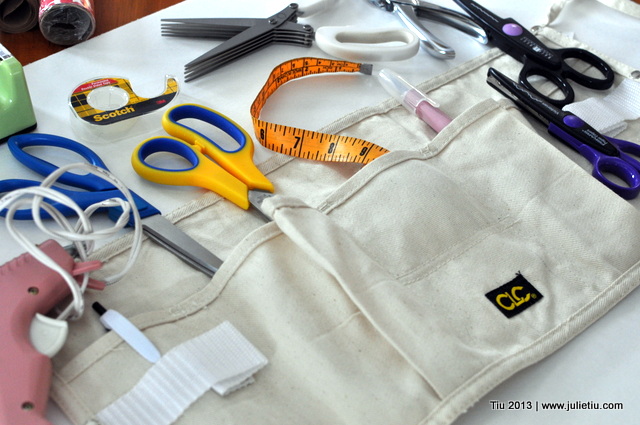
I wore a craft apron during the workshop – SO handy. And, no I did not sew it myself (just because you can, doesn’t mean you have to) but I’ll probably put that on the projects-to-do list.

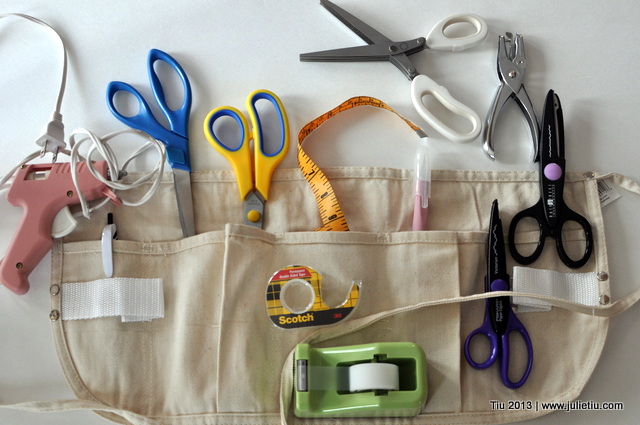
Think of all the things you might use when you’re wrapping gifts: Sharp scissor for paper only, scissors for fabric only, tape measure, fancy-edge scissors, craft blade, hole punch.

12 Days of Gift Wrapping, Julie Tiu, Basic supplies

Other things you should have on hand: tape (Scotch brand, double-sided and regular), glue gun (for embellishments, later in the week). Note: Do not put the glue gun in your apron.

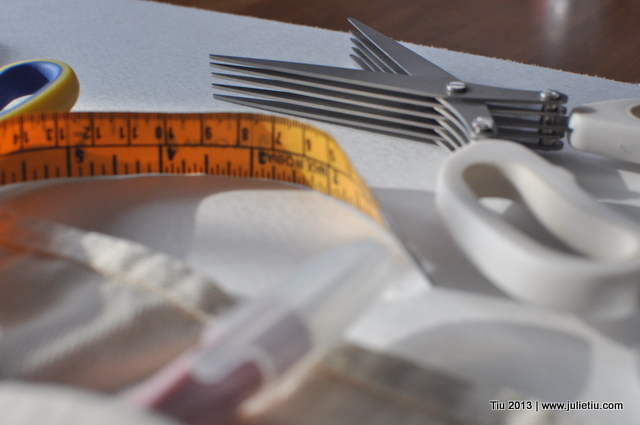
And here is my pair of multi-blade scissors (I made these crepe paper flowers with them last year.).

12 Days of Gift Wrapping, Julie Tiu, Basic supplies

One of the things that I didn’t think of for the class is – how do you pack a gift box with fragile items? Here’s how I do it. Prepare your gifts and your gift box with plenty of tissue paper (see the following pictures). Continue reading, there’s more!
That Old Sweatshirt – A pillow tutorial

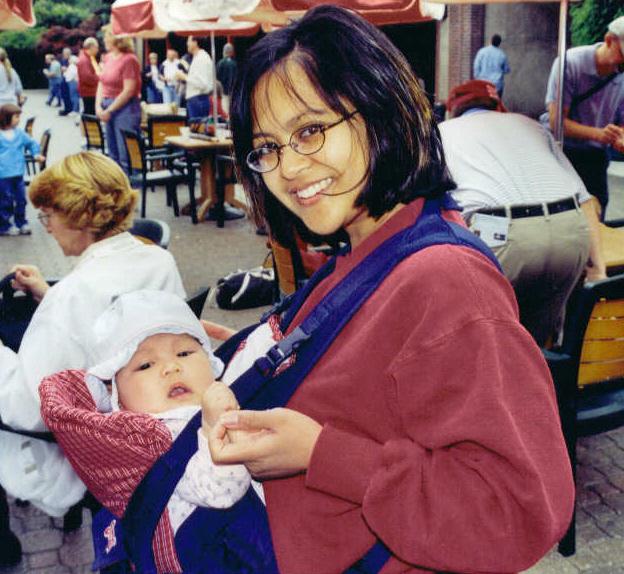
I get sentimental about things that other people would probably not even think twice about throwing away or donating. I have old ticket stubs, concert programs, newspaper clippings – those things I can put in a scrapbook. But I’ve been known to hoard be sentimental about clothes too, and only recently have I been purging all our closets. Sometimes there’s just that one article of clothing you want to keep. See this old collegiate sweatshirt…

Julie Tiu in 2002

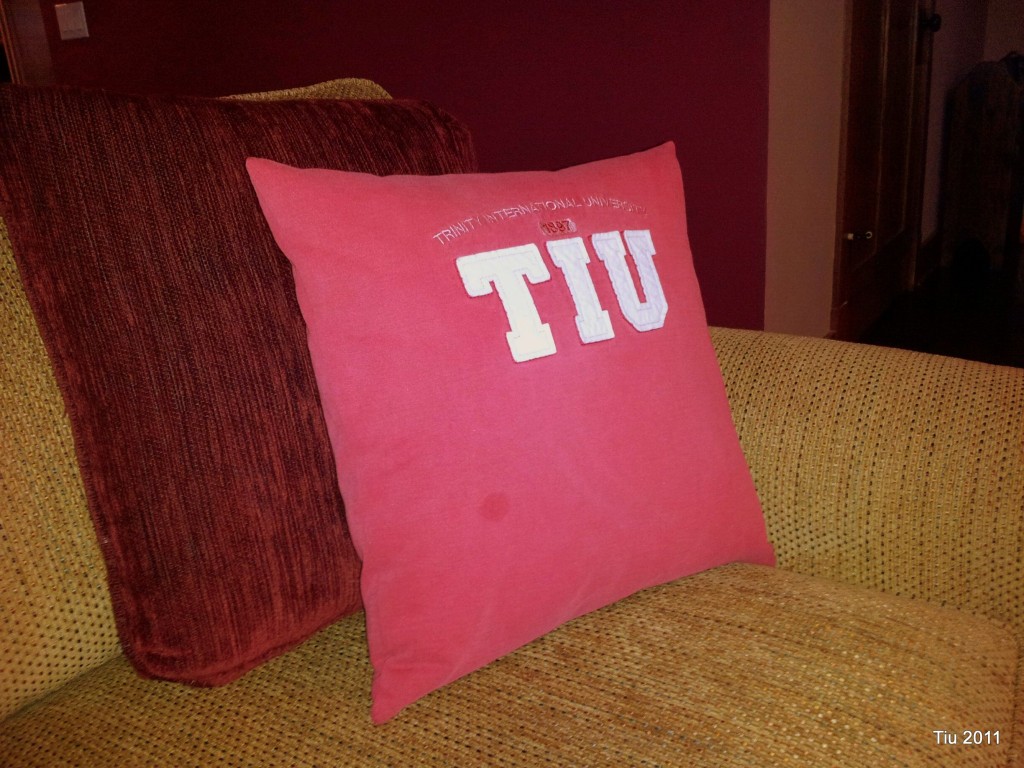
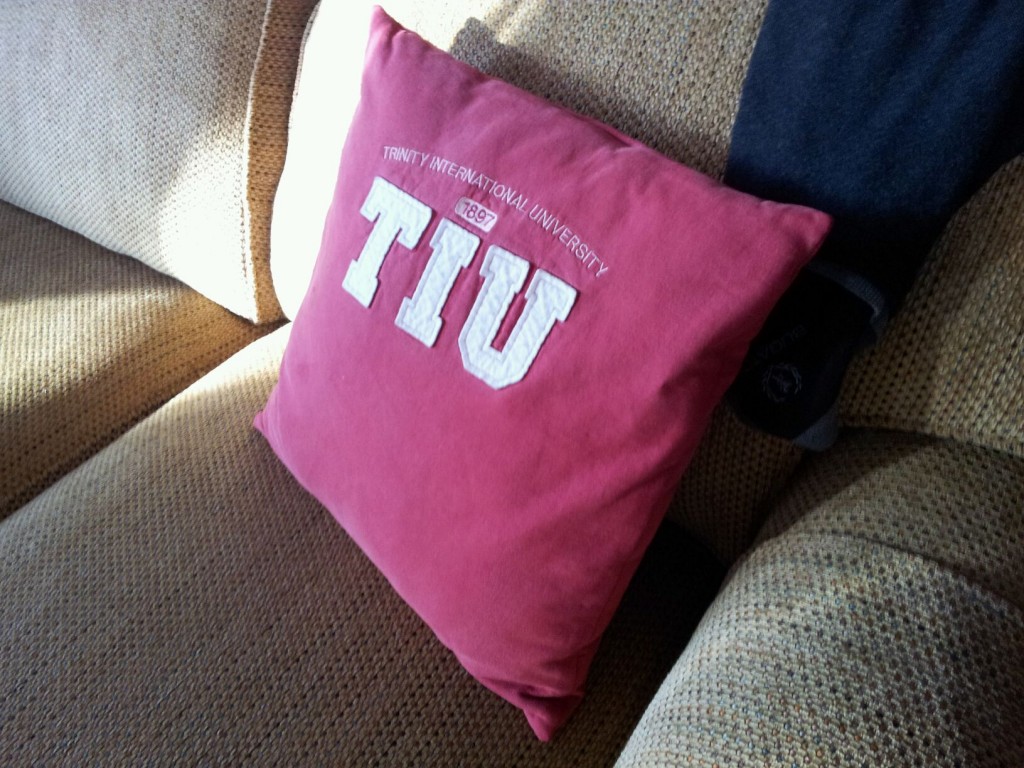
…Became this pillow. (I know, after 10 years, right?)

An upcycled sweatshirt made into an envelope pillow – meaning, you can slip the cover on and off. Very easy for washing. Could be a cute gift for Valentine’s Day, too.

Recycle Your Favorite Sweatshirt (I didn't even attend this school. Got the sweatshirt because it had my last name!)

And here’s how I did it.

  1. Take your clean sweatshirt of choice and lay it on a table or on the floor.
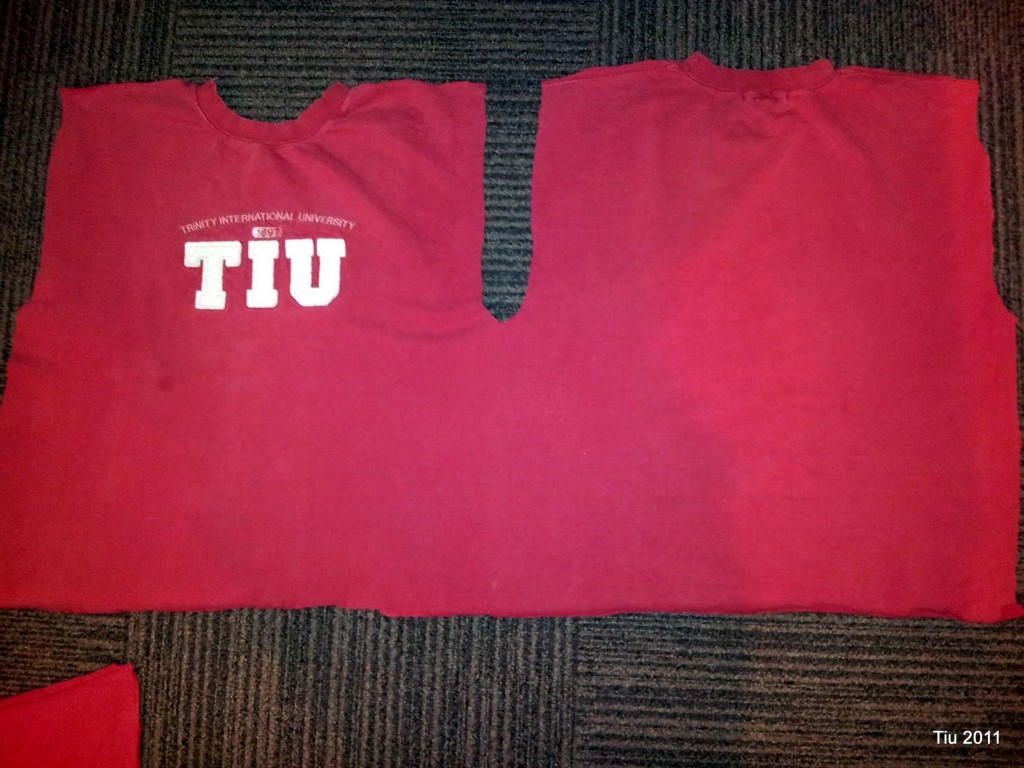
  2. I cut the sleeves off first. Then set aside.
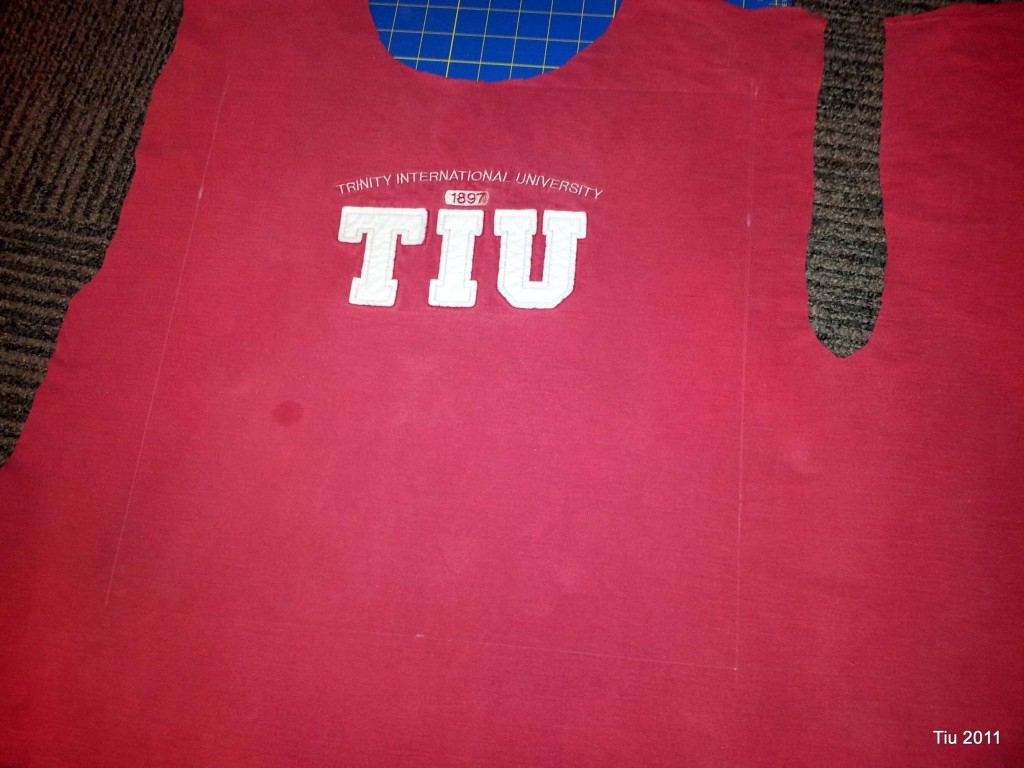
  3. Next cut along one of the side seams of your shirt and along the shoulder seams. This will open everything up. I did it this way to give the largest piece of continuous fabric.
  4. Cut off the bottom hem and collar (cuff material) also. At this point you may need to iron the shirt (highly recommended).

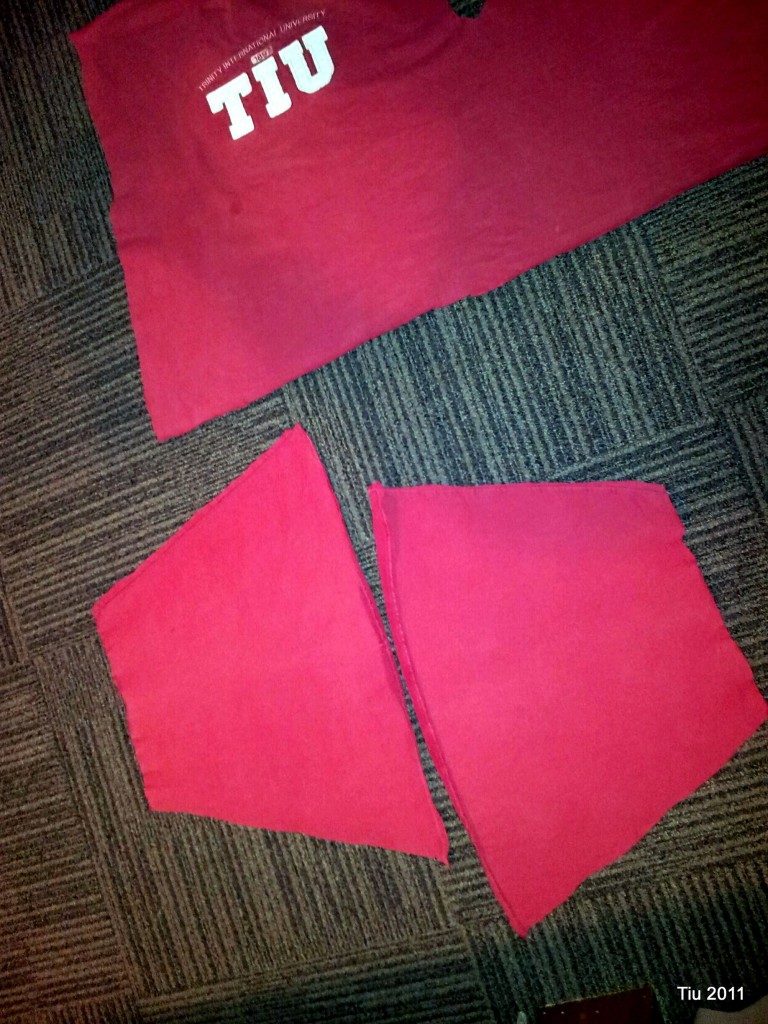
  5. You may need the sleeves for extra fabric. Cut off the cuffs and cut along either side of the seam.

    Sweatshirt sleeves cut open

  6. For a 16 x 16 pillow, you will need three pieces of fabric: (1) 16-1/2″ x 16-1/2″ for the front, (2) 12-1/2″ x 16-1/2″ for the back. (See my fancy sketch below.) I needed to use the extra sleeve material for one of the back panels. Just piece together if you need to.
  7. Try to center your focal point. I didn’t have too much choice – just went as high as I could.

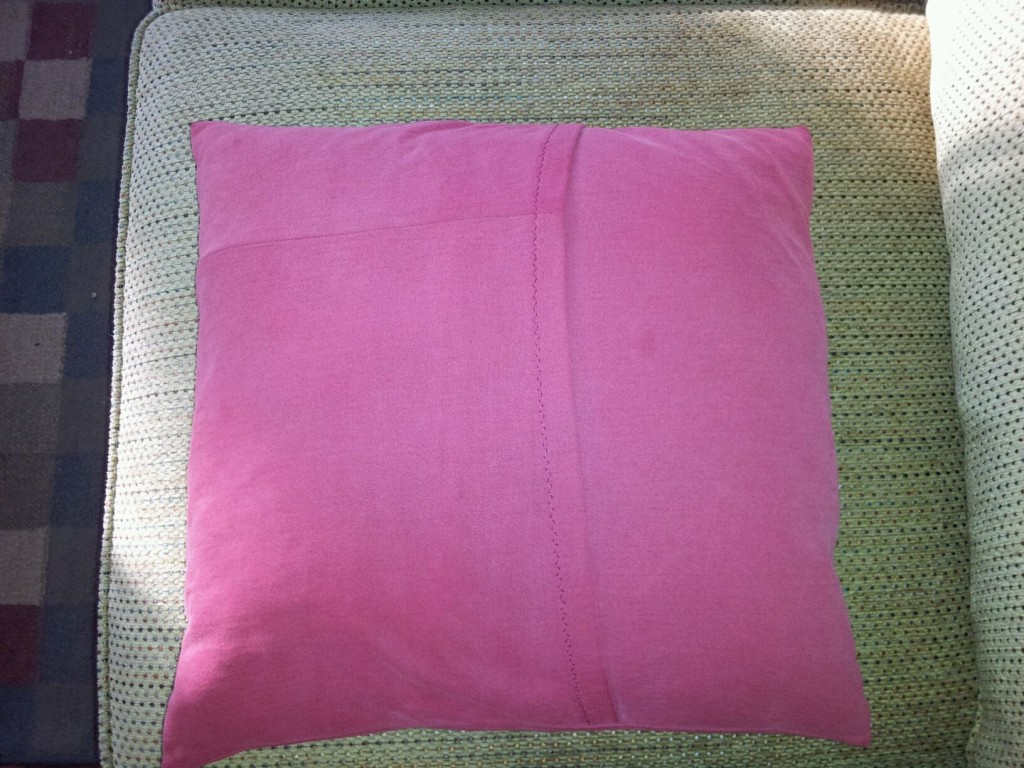
  8. Prepare the back pieces first. Fold along the length (16-1/2″) and press 1/2″, then fold 1/2″ again, pin and edgestitch. Do this to the other piece. Press both pieces. Note: I found the zig-zag stitch easier to do with the stretchy sweatshirt material.

  9. Lay the front piece down, right side up. Next lay one of the back pieces, wrong side up, matching the raw edge with your front piece. The finished edge should be somewhere in the center area. Lay the other back piece with its raw edge along the other side of the front piece. Now the finished edges of your back pieces should be overlapping one another.
  10. Stitch around the perimeter with a 1/2″ allowance. Backstitch as you start and finish. When complete, remove and clip your corners, and turn rightside out.
  11. Stuff your pillowcase!

So here’s the thing – you can adjust the size of your fabric for any size pillow by just adding 1/2″ to your finished size. The back pieces take a little math.

16″ x 16″ pillow – cut 16-1/2″ x 16-1/2″ (front) and 16-1/2″ x 11-1/4″ (two pieces for the back)

14″ x 14″ – cut 14-1/2″ x 14-1/2″ (front) and 14-1/2″ x 9-1/4″ (two pieces for the back)

12″ x 16″ pillow – cut 12-1/2″ x 16-1/2(front) and 12-1/2″ x 11-1/4″ (two pieces for the back)

12″ x 12″ pillow – cut 12-1/2″ x 12-1/2(front) and 12-1/2″ x 7-1/4″ (two pieces for the back)

Swimming for Katie Renz – fundraiser

From October 10-12 some of the best stampers are joining together to support and encourage fellow stamper, and former Craft Critique Reporter Katie Renz, who is currently battling inoperable gastric cancer.  If you’re not familiar with her, Katie’s cancer story started just before Christmas last year.  This young, beautiful, healthy, vibrant mother of 3 with her infectious smile was suddenly diagnosed with an inoperable cancer, virtually overnight.  A few tummy aches and then stage 4 gastric cancer.  Her first post about it is here.  The idea of “Swimming for Katie” came from her recent post here.

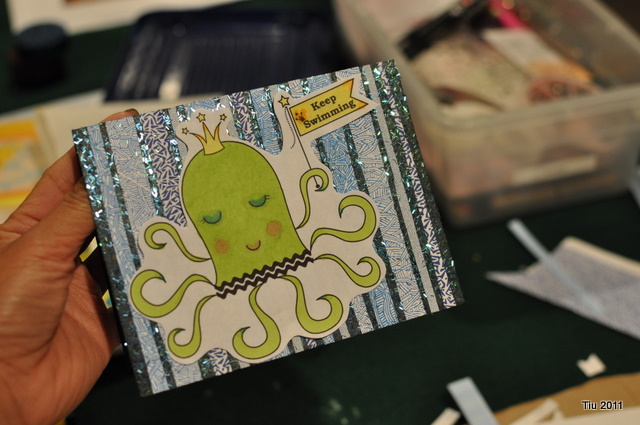
This exclusive stamp designed by Becky Oehlers is available as a clear stamp, as well as a digis or a dig and SVG cut file.  100% of the profits go to Katie’s fund to help her and her young family.  Her husband Kevin and her three young children need our help and support.  In addition to the Keep Swimming Octopus, Marianne Walker and True =D Doodle Designs both also donated digis that are for sale.  Direct donations are also being accepted.  Information central is HERE.  This is a permanent page that will stay active at i{heart}papers with current information and the full 3 day blog hop listing, as well as the donation button.

Please visit the blogs in the hop today to see what they have done with this inspirational stamp! Here’s mine… won’t you Swim for Katie, too?

If you would like to send her a card, her mailing address is:

Katie Renz

PO Box 5913

Bellingham, WA 98227-5913

**update** Craft Critique will be posting more creations (I submitted mine.) – supply lists and/or tutorials will be included!

Related Posts with Thumbnails