One Way to Recycle Glass Jars into a Fun Party Favor

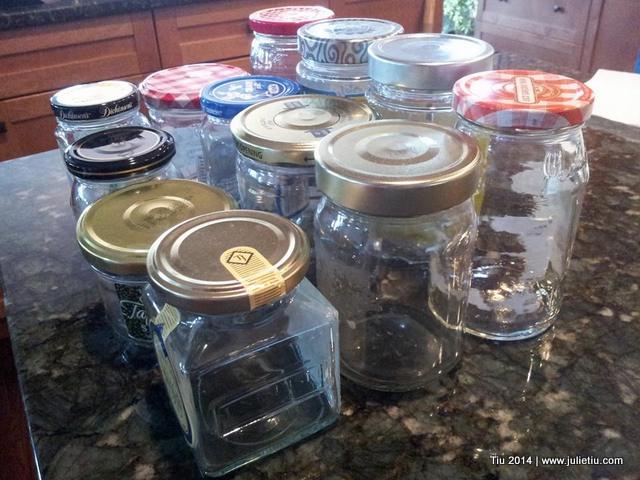
So I’ve established that I’m sort of a hoarder, and my poor husband was so nice turning the other cheek when he saw I had a crazy amount of glass jars stashed away… in the basement, under the stairs. I explained to him that I had every intention to use up the glass jars – well, I thought I had a craft for them. I just hadn’t gotten around to it. I’ve seen a lot of recycled glass jar projects around Pinterest, some of them leading to non-English tutorials, but pretty easy to figure out.

Recycle Glass Jars Fun Party Favor

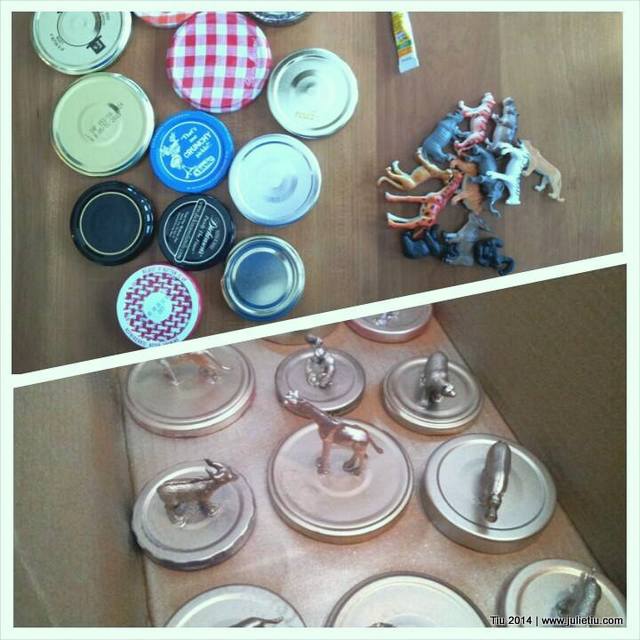
Friends, grab your glue gun (Note: Super Glue did not work well), miscellaneous plastic animals from the party store (or your kid’s collection from the dentist’s treasure box), and clean, empty glass jars. Get a can of spray paint. I have metallic silver, so that’s what I used.

Wash the lids well. After your lids are clean, you can swipe them with some rubbing alcohol on a cotton ball to make sure they’re really clean. Using your glue gun, adhere your little critters of choice to the lids. They should all be secure after a minute. If you’re a good crafter, you’ll wipe away the hot glue “strings” before painting, I didn’t bother since it didn’t look too bad.

Recycle Glass Jars Fun Party Favor Spray Paint

Now for spray paint… Make sure you have good ventilation and a spray box (optional). If you can head outside and spray them, kudos to you. It’s freezing here, so I ended up spraying them in my (heated) garage. I gave the lids and animals three coats, 15-20 minutes in between. And, I still have a little touch-up to do.

You could wash all the glass jars while you’re waiting for the lids to dry. I took the labels off the same way I take off wine bottle or beer labels. And if the label adhesive doesn’t come off easily, grab some Goo Gone (Just follow manufacturer’s directions on the bottle.).

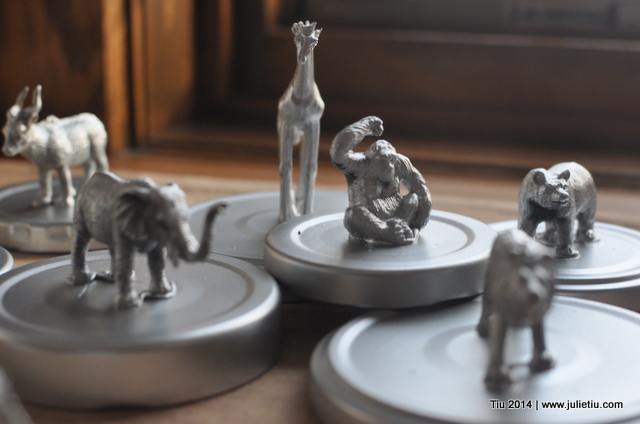
Recycle Glass Jars Fun Party Favor Plastic Animals Recycle Glass Jars Fun Party Favor

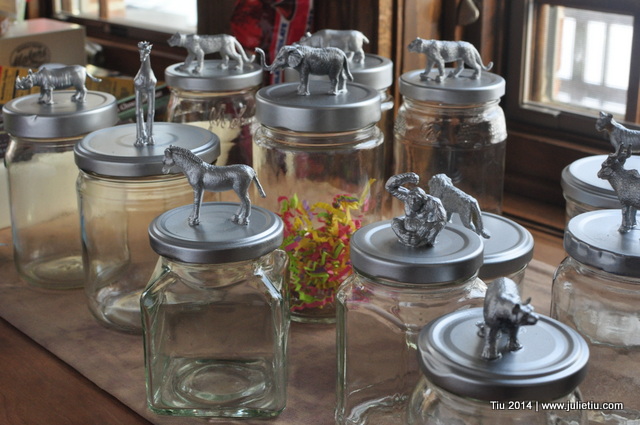
I let them dry overnight, and now my daughter will fill them up candy for her buddies.

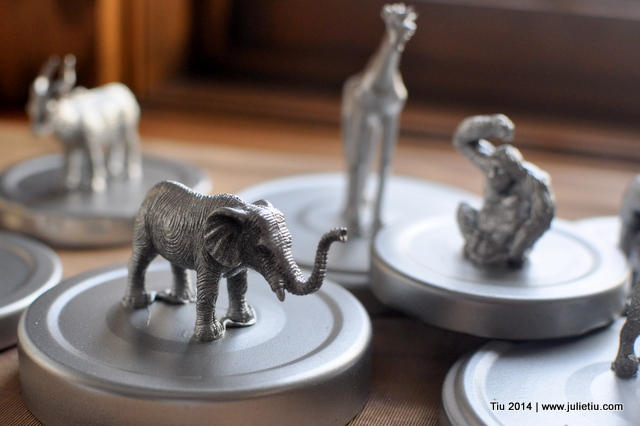
Recycle Glass Jars Fun Party Favor Plastic Animals

I’d love to know if you end up making this project!

Click for more party ideas!
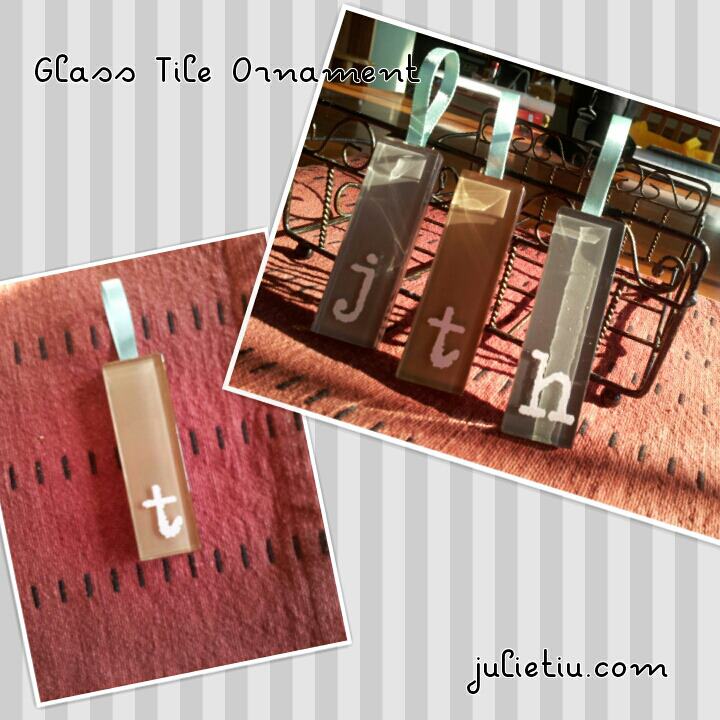
Monogrammed Glass Tile Ornament Tutorial

I love making handmade ornaments to hang on the tree, to use as gift decorations… but I never seem to make enough time to do many. A year ago, I came across an etched glass ornament and thought there could be a less messy option… rub-on letters makes this possible!

Glass tile comes in sheets, and if you’re lucky, you can find a bunch in the clearance section. One sheet can cost about $4 which is inexpensive considering you can make 16-18 ornaments. But I recently found some tile going for under $2! Now a few pieces were chipped, so you have to make sure you check the sheet before you purchase.

What you need
• Glass tile from the home improvement store
• Glass cleaner of choice
• Scissors
• Rub-on letters
• Burnishing tool (popsicle stick will do)
• Ribbon (I used 1/8” and cut into 4”-5” segments)
• Glue (appropriate for glass)
• Optional: decoupage glaze (like Mod Podge or clear acrylic medium), fine-tipped brush

Before you begin, dust off and clean your glass tile. (Materials from the store always come home with a nice layer of dust.)

The tiles are bound together by a mesh and it’s not difficult to cut with a regular pair of scissors. I wouldn’t necessarily use a fancy pair – any office pair will do. The cool part is you can just cut apart what you need and store the rest if you aren’t making a big batch of ornaments.

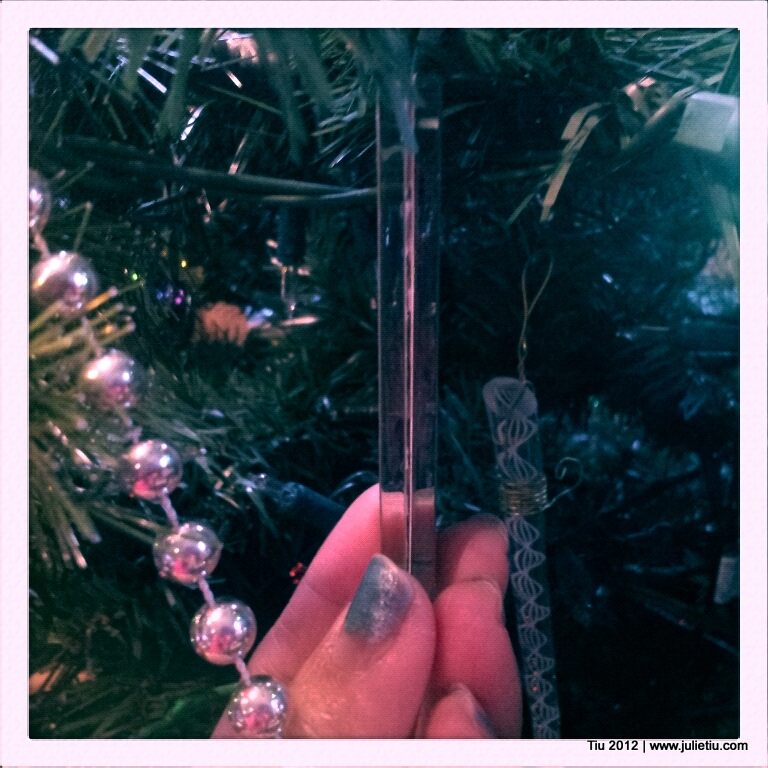
Cut a pair of matching tiles, or unmatching. I like a matching “sandwich”. After cutting, you’ll need to peel off the mesh. Thankfully, it comes off easily.

Prepare your rub-on letter. I centered the monogram on the very bottom of the tile then when I was happy with the placement, I rubbed (burnished) the letter onto the tile.

No need for drying time at all… you’re done. However, if you’d like, this is when you would use a fine-tipped brush to go over the rub-on letter with a little clear sealer to prevent scratches and “erasing” the letter.

For the hanger take your ribbon, and fold in half. Center it at the top of the tile, and stick in place with a dab of glue. Spread more glue, like you’re dressing a sandwich, then top with another glass tile. Gently press (so you don’t get glue smooshing out) together for a few seconds. Let the glue set at the manufacturers recommended time.

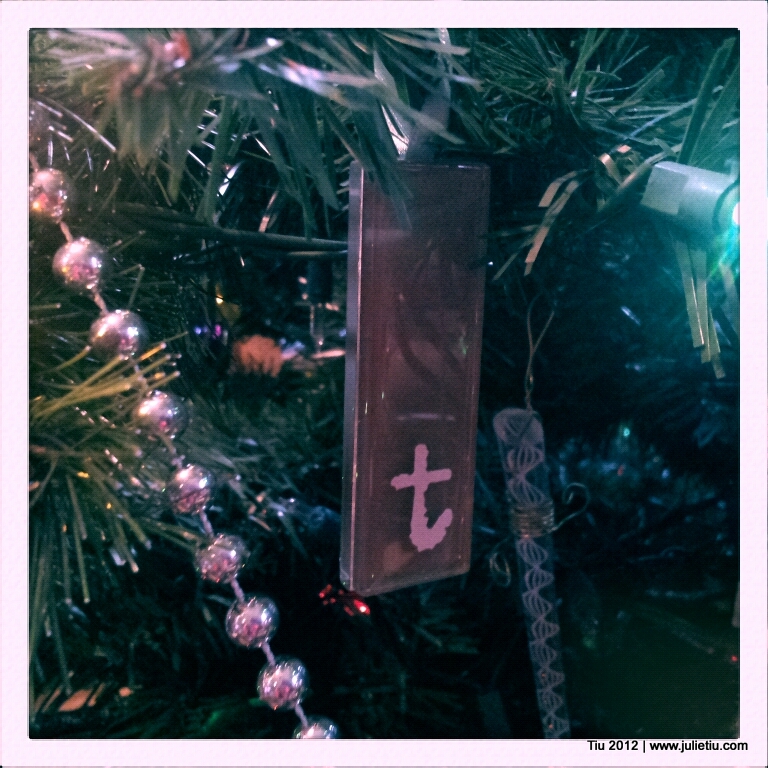
Hang on your tree! Or adorn someone’s gift!

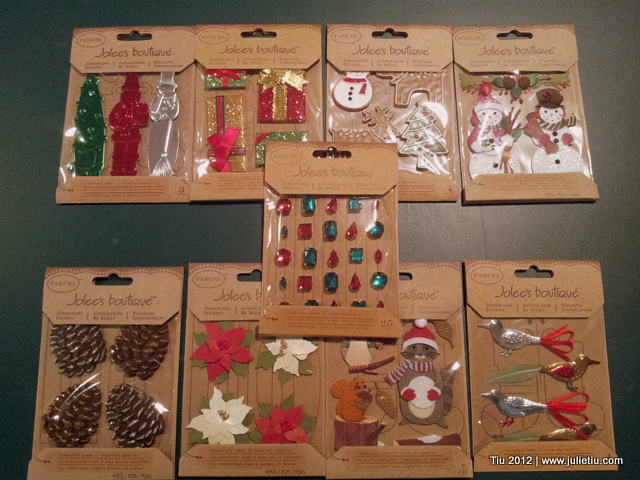
Would love to know about your favorite handmade ornaments… want to share? Two of you will be randomly chosen to receive some fun Jolee’s stickers (the top group and bottom group). Leave a story, a comment (and a link, if you have one) by Tuesday, Dec. 4, 10 PM (central time). Thanks!!!

Related Posts with Thumbnails