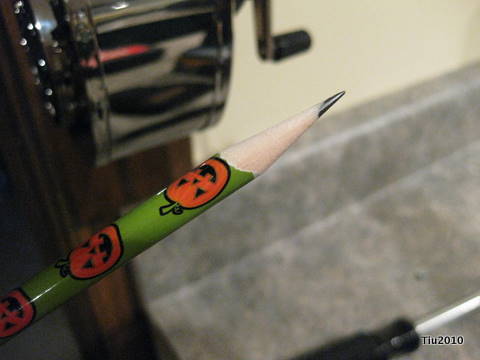
Everyone likes a nice sharpened pencil, right? We used to have an electric pencil sharpener, but either that was a victim of moving four years ago or it’s at my in-laws home somewhere. Then we have all these little pencil sharpeners that come in art kits, school supply kits and the like. Some of them are decent, but most don’t cut it for me. They make for weird sharpening angles and lead (graphite) pieces falling out. Time for a good old-fashioned pencil sharpener. I bought this a while ago, and finally figured out a good location for it.
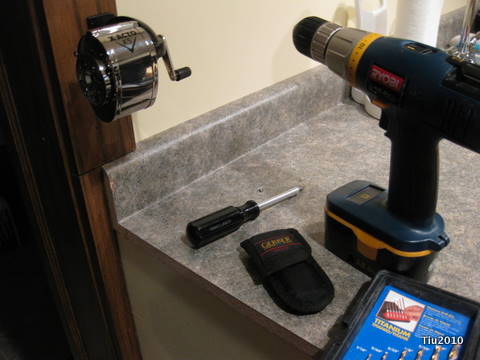
So here I go again with another DIY installation. Unlike the glass shelves in the kids’ bathroom (thought I wrote about that), this was a little challenging. You wouldn’t think a little ol’ sharpener would bring me a little grief… it looks like it was successful, but I’m lucky that 1) no one was here to witness my running up and down stairs to gather equipment, 2) no one was here to listen to my “potty-mouth” and 3) my 3 year old doesn’t understand when I swear when I get really frustrated.
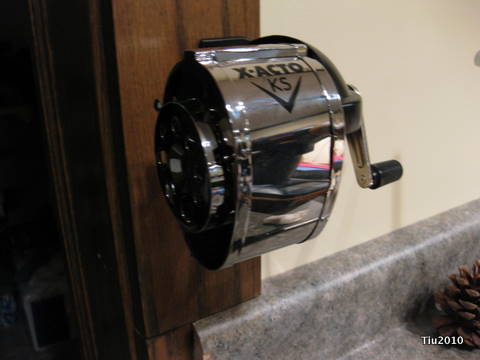
This looks like it was properly installed, right? The sharpener is anchored into the oak door jamb where I predrilled holes, matching the position on the anchor. Solid oak is TOUGH, or maybe my drill bits are crappy. After checking the anchor position, I saw that one of the holes was drilled slightly off. Like enough that I had to drill again. So, that wasn’t too bad. Now for the actual attaching…
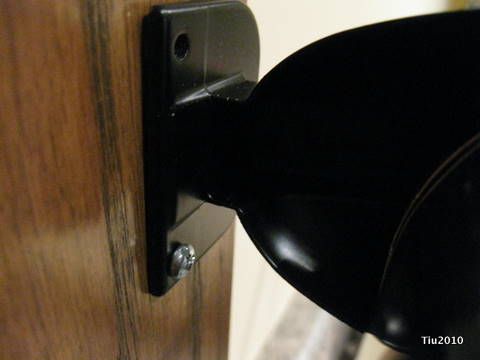
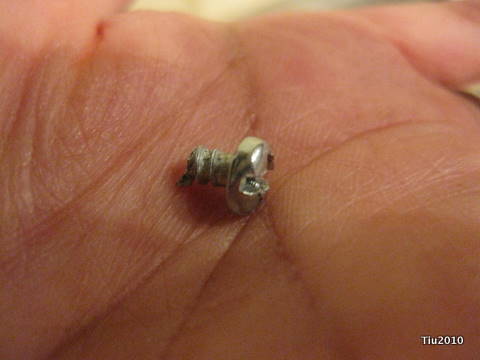
I took apart the sharpening mechanism, so I could get a better angle to put in the screws. At this point, I realized the predrilled holes were too small. It was so hard to manually drive in those screws, so I put down the anchor and screws, took out a larger drill bit and drilled holes again. Grr. I placed the anchor back, put the screws in place, then used the drill to start screwing them in… thinking I would use the manual screwdriver at the end. I didn’t want to break any plastic or crack the oak (which now I realize could be impossible for me). I nearly stripped the heads off two of the screws. Grrr, again. Took out the manual screwdriver, started turning that top screw… it seemed to turn so easily. Too easily. See that hole in the picture? The top part of the screw BROKE off.
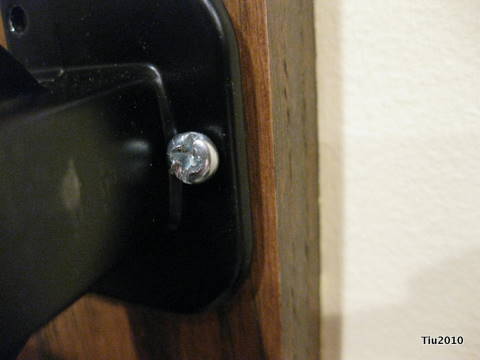
And, here’s the other almost-mangled screwhead.
At least it works, and the sharpener doesn’t seem like it’s going anywhere – for now. The husband just shook his head after I told him…
