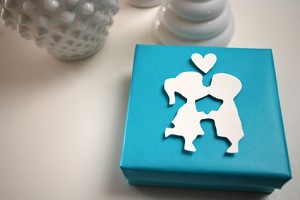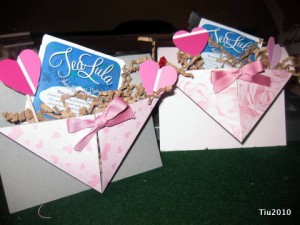
I made this card several years ago for a friends on their wedding anniversary and then again for Christmas. I thought Valentine’s Day might be a nice time to resurrect it. What better to hold a little teabag, candy or gift card? It’s also a nice way to recycle crinkly paper from gift baskets, and odd pieces of cut paper and ribbon! I suggest using a padded envelope or hand deliver your creation to your friend. Here’s my simple “basket” card that I’ll take you through.
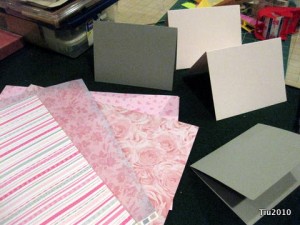
For the card, you will need:
- 4-1/4″ x 5-1/2″ piece of cardstock (half of 8-1/2″ x 11″ paper and folded)
- 5-1/2″ x 2-3/4″ piece of coordinating printed paper
- 9″ – 10″ ribbon
- Miscellaneous: ruler, pencil, bone folder, gluestick or double-sided tape, hole punch
1. Fold your cardstock in half if you haven’t already. Position the card so it is fully open. You will glue (or tape) your coordinated paper to the inside top half of the card. This might look strange, but hang on.
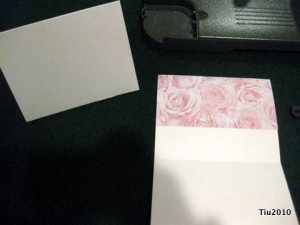
2. Close the card and on the bottom front face (just the other side of where you glued), mark a point at 2-3/4″ (exact center) from the edge. You may also want to mark 2-3/4″ up the two sides also, but this is not necessary. It’s the height of the printed paper.
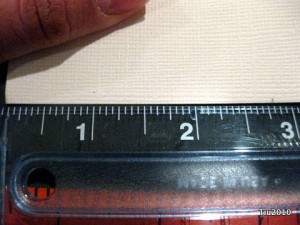
3. Take a bone folder or some blunt tool to score the paper from the bottom mid-point to the top edge of the printed paper (along the side of the card). You’ll have two right triangles that will become the “basket”.
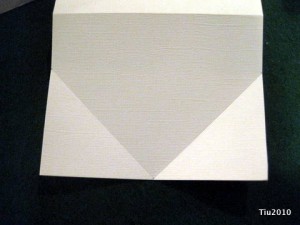
4. Fold the triangles up and use a bone folder to crease well. Almost done!
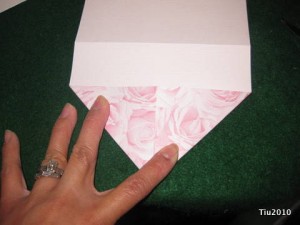
5. Punch holes at the top of the triangles for your ribbon and tie a pretty bow.
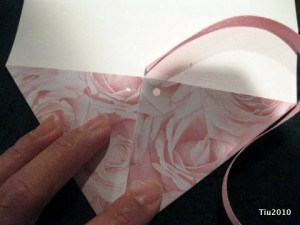
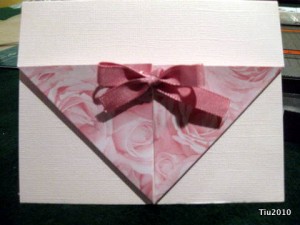
6. Use some leftover crinkly paper and place your favorite tea to share.
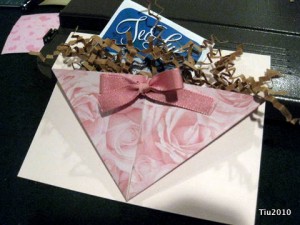
You’re done, good job! For some more fun, you could rubber stamp some cute designs all over the cardstock. Don’t forget that you’ll have a small amount of writing space inside the card since the front is folded over.
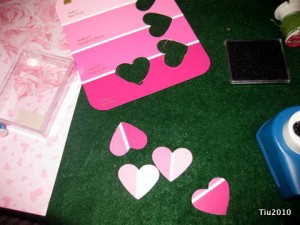
Here’s an extra little tidbit. You know those paint chips you get at the hardware store when you’re thinking you’re going to actually paint that ONE room… Use your paper punch and attach to some long toothpicks with glue or tape!
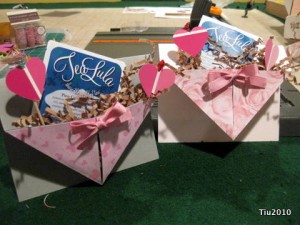
Hoping to have a few more Valentine’s Day resources for you tomorrow. Enjoy!
