Hello March :: A Simple Sewn Folder for Letters and Notes

Letter writing has been so fun lately. It’s liberating, personal, and gives me an excuse another way to be creative. As a kid, I would write to friends and cousins. When one particular friend traveled, I would write her “letters from the future” and make up games for her to play while she was sitting in the car or flying. When I started college, pen and paper sort of went to the wayside because we were all given e-mail accounts… DOS, even. No windows-based programs yet.

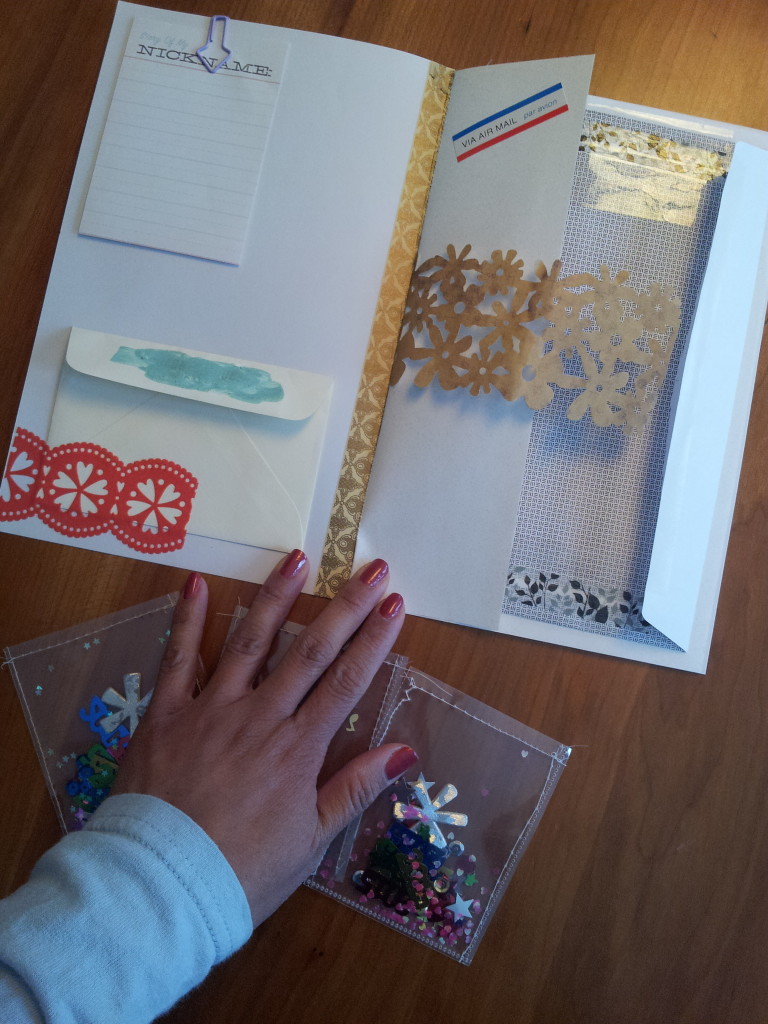
I thought I  would share some pictures of a paper folder I put together for one of my favorite pen pals of all time. She received it recently, so now I can “unveil” it. 🙂 A little paper, a little sewing, some washi tape, envelopes – all things I love playing with!


Inspired by oh, hello friend

Julie-Tiu-letter-noteook-1

Folder front page

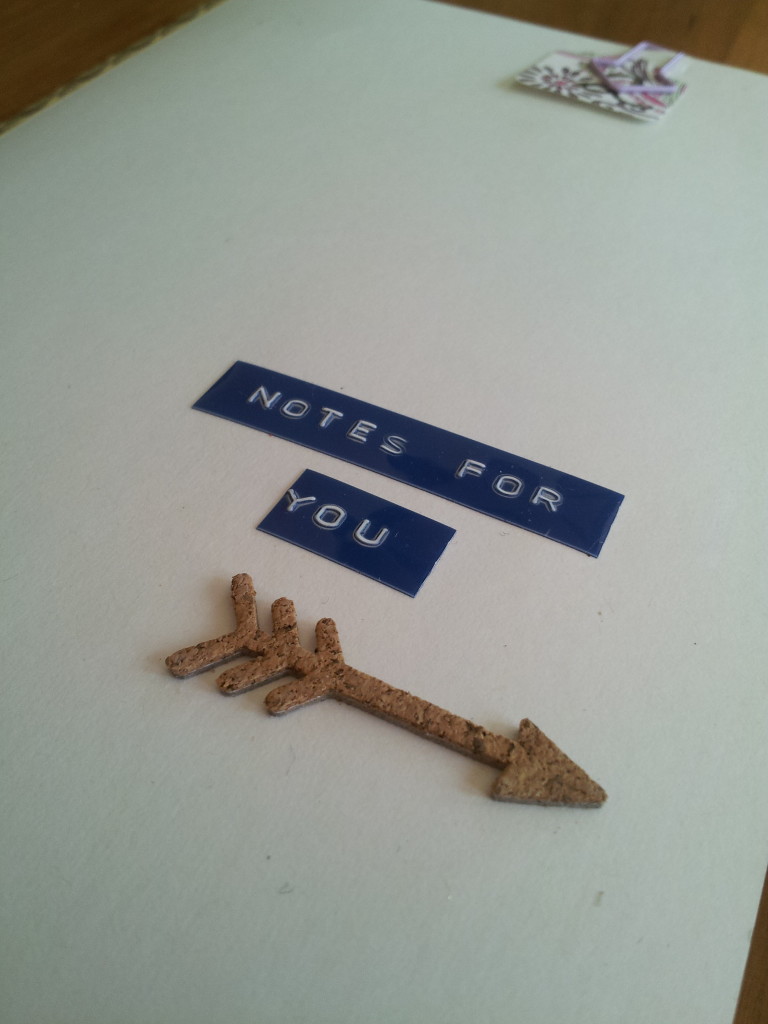
I love mixing paper and stickers. And I’m totally in love with my retro Dymo labeler.

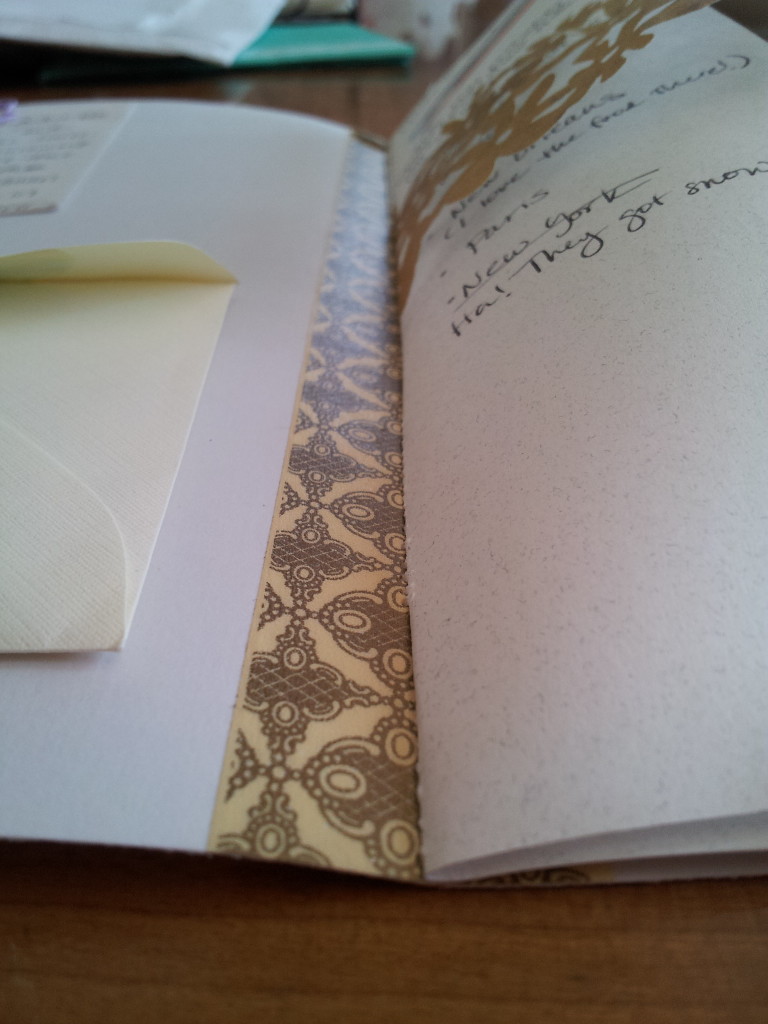
Sewn binding in my paper folder reinforced with washi tape

Sewn binding in my paper folder reinforced with washi tape

I folded a 8-1/2″ x 11″ cardstock in half, and used washi tape to strengthen the fold before sewing the other pages in place.

Julie-Tiu-letter-notebook-4

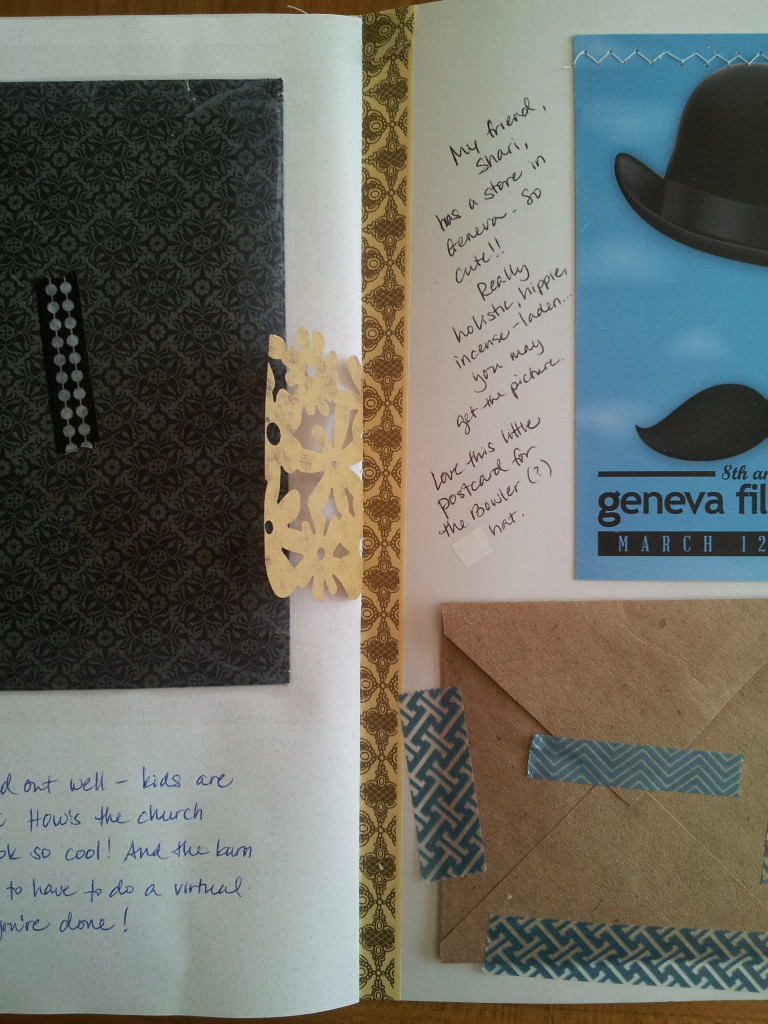
Envelopes and a postcard taped into place

What a fun way to use up bits of paper, postcards and little notes.

Julie-Tiu-letter-notebook-2

Mis-matchy embellishments make me swoon

Mini-envelopes taped into place are perfect for holding tiny treasures.

12 Days of Gift Wrapping: Quick and Easy Gift Tags from Envelopes

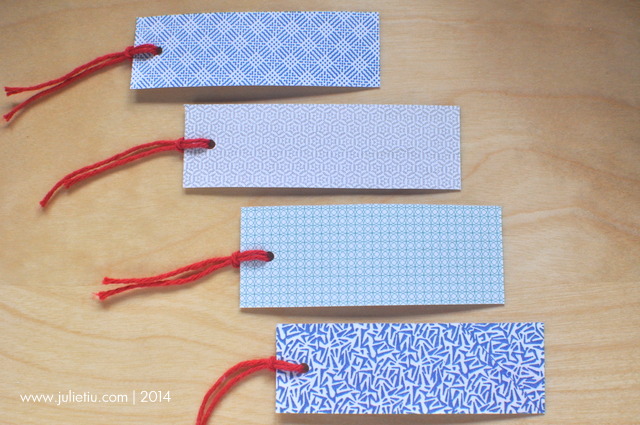
Sometimes, I just cut my own. It’s really handy if you only need a few, and it’s fun! We all still receive junk mail and bills, but before you throw the envelopes away, check the security envelopes. You might be surprised!

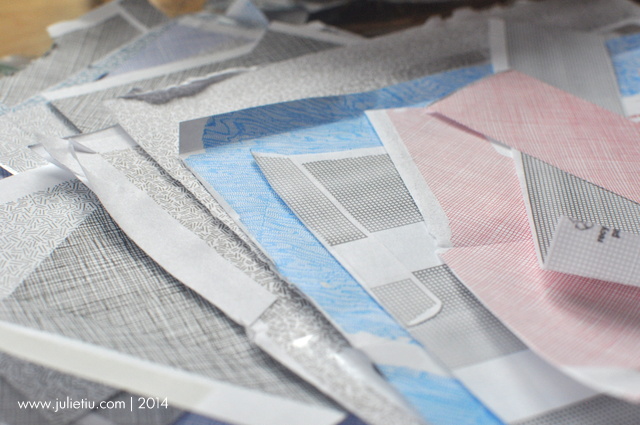
Security envelopes turn into scrap paper

Find really cool patterned paper by just looking inside security envelopes!

Lots of pretty patterns!

DSC_0716

Take plain cardstock (or index cards) and cut them into 1″ x 3″ (approximately 25 mm x 75 mm) strips.

Generously apply glue to the cardstock strips with a glue stick, then adhere the patterned paper.

Using an X-Acto knife or crafting blade, trim the excess paper. The just punch a hole and tie some yarn, ribbon, or baker’s twine.

Chinese New Year: Crafting mini {Red} envelopes with free printable

Crafting envelopes from old magazines and calendars

My obsession with making envelopes from old magazine and calendar pages

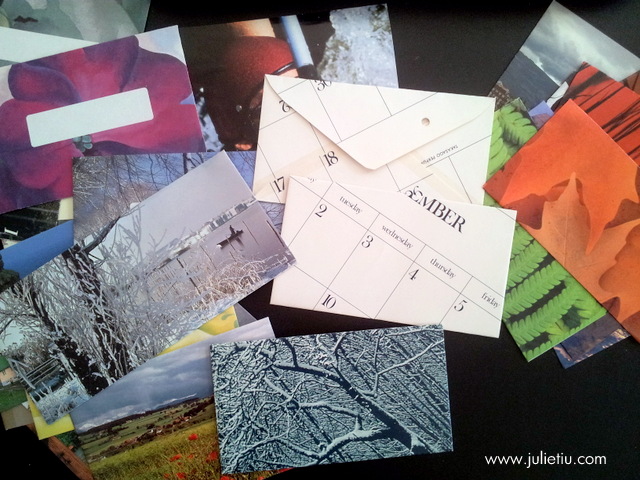
I’ve always had a love affair with paper, especially making envelopes from old magazine and calendar pages… even wallpaper scraps. And, I actually use them to mail letters! In college, I would take junk mail envelopes, open them up and use them for templates. Every envelope was different; I didn’t care if the picture was tilted, or if there was text. The envelopes were that much cooler.

Chinese New Year: Making mini-envelopes

Recycling / upcycling my Crate and Barrel and Anthropolgie catalogs into mini-envelopes

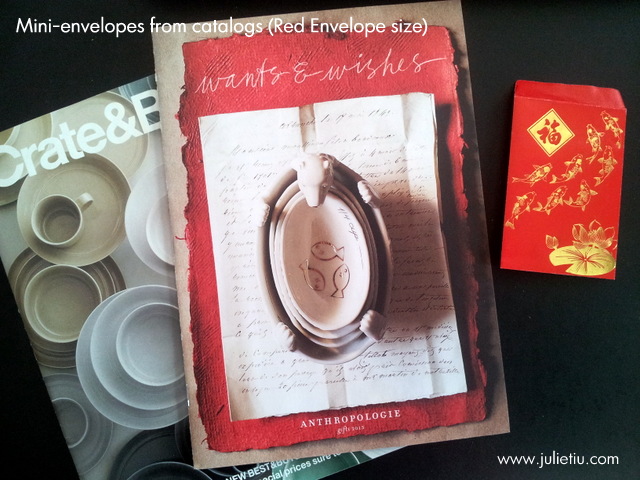
Since it’s Chinese New Year’s Eve, I pulled out red envelopes for the kids. I was inspired to make a few mini envelopes… from some favorite catalog mailers. (Crate&Barrel and Anthropologie, I love your layouts.)

Chinese New Year: Making mini-envelopes

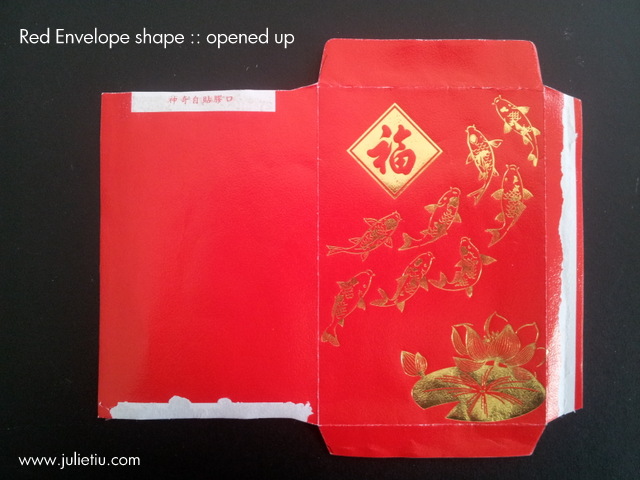
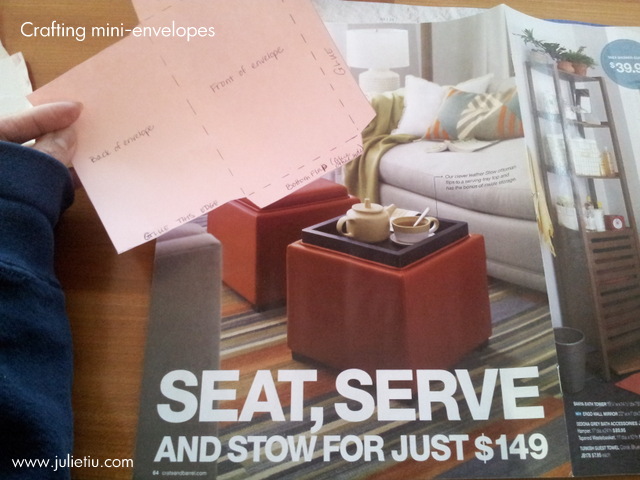
Here, I’ve carefully opened up my red envelope to figure out the shape and to make a template on a blank piece of paper.

I also put together a Mini / Red Envelope template that can be downloaded here. Just print on cardstock, cut, and follow directions.

Making mini-envelopes from old magazines and catalogs

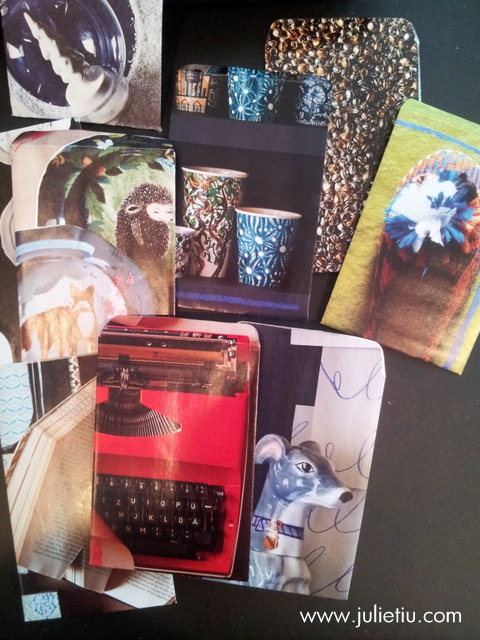
Sometimes you get cute envelopes from unexpected pages. It’s all template positioning  – trial and error.

Before I cut out my envelope shapes, I used a silver marker to go around my template. It made a nice edge on the finished envelope. I also tried a colored permanent marker.

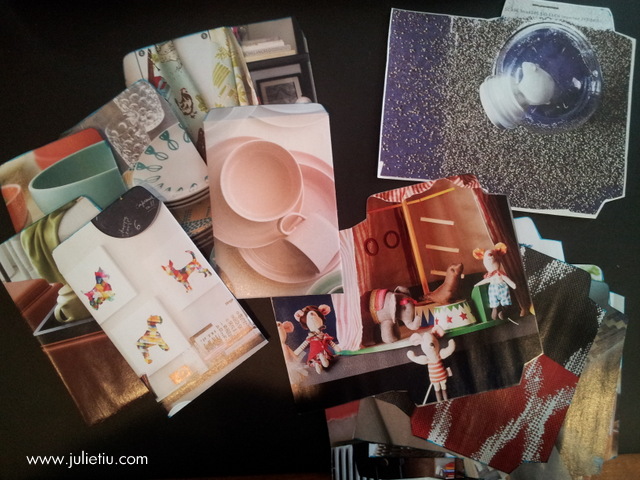
Making mini envelopes from Crate and Barrel catalog

Like I said, I thought I would make a few envelopes, but I got carried away. (Yes, a die-cut machine would probably be more efficient but where’s the fun in that?) Guess I better figure out who to send these to.

Mini envelopes from Anthropologie catalog

Finished size is approximately 4 inches x 2-3/4 inches.

I wonder what else I could cut up to make envelopes? *grin*

12 Days of Gift Wrapping: Basic wrapping

I didn’t realize what a polarizing topic this could be. Do you overlap the “tail” over the box, do you fold the “tail” so it just meets the edge of the box, or do you fold so that the “tail” meets in the middle and you have something that looks like an envelope? There is no right answer – I think it’s all personal preference.
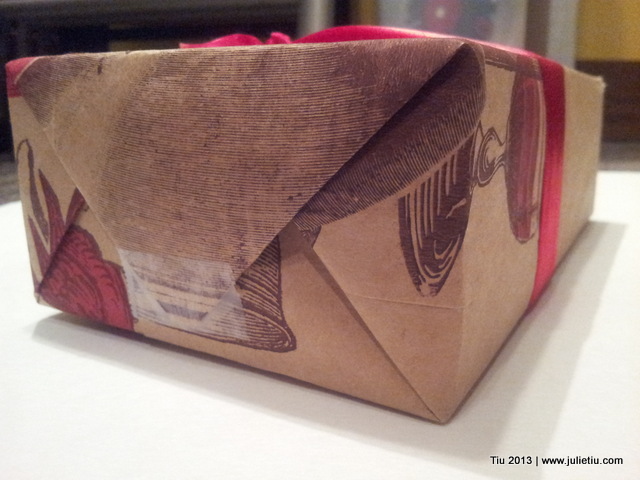
12 Days of Gift Wrapping: Use a store paper bag instead of gift wrap

And the other thing about wrapping – how do you cut just enough paper? Well, you can measure your box, all the way around and then the ends or you could eyeball it like everyone does with some freestyle measuring to insure you have enough paper.
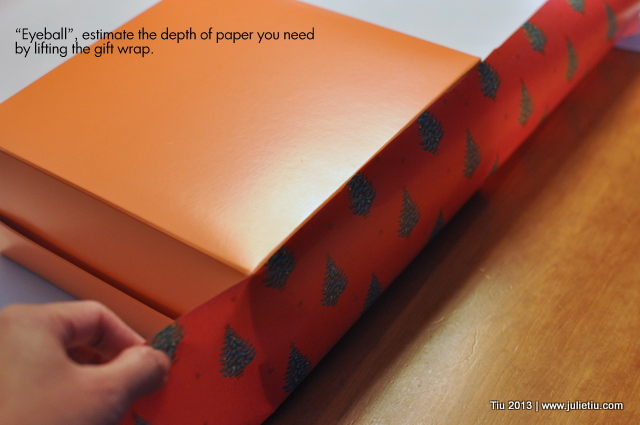
12 Days of Gift Wrapping: Basic Wrapping

Here’s how I like to wrap gifts.

12 Days of Gift Wrapping: Basic Wrapping

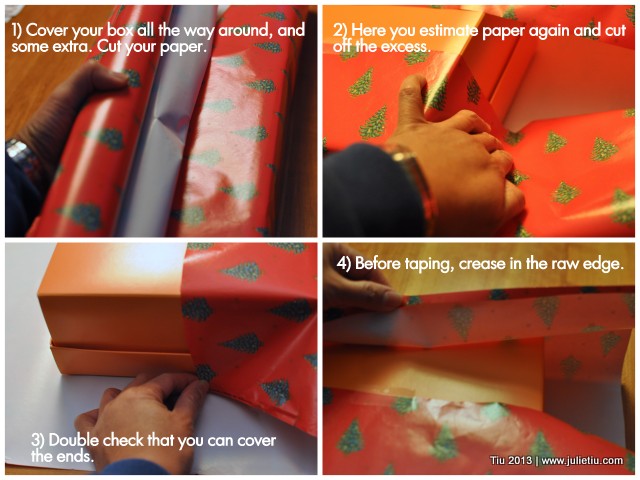
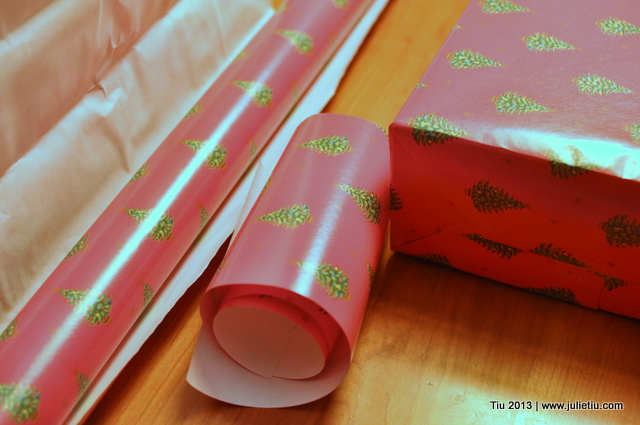
• Lay your box down on your unrolled gift wrap.
• Pull the paper around the box to make sure you have enough to go around plus about an inch. If you don’t, turn your box 90 degrees. You’ll probably have enough that way.
• Before you cut, check for end coverage, and crease lightly with your fingers.
• Cut the paper where you made a crease. If you happen to have a grid on the backside of your paper, you’ll have an easy time cutting straight. Otherwise, follow parallel to the roll and you’ll be pretty straight.
• Tape one edge of the wrapping paper to the box. This is the only way I can make my gift wrapping nice and taut. If you have double-stick tape, by all means use that.
• Wrap around the gift and before you tape your paper down, crease along the raw cut edge. You’ll have a nice finished edge. Tape it down in the center.
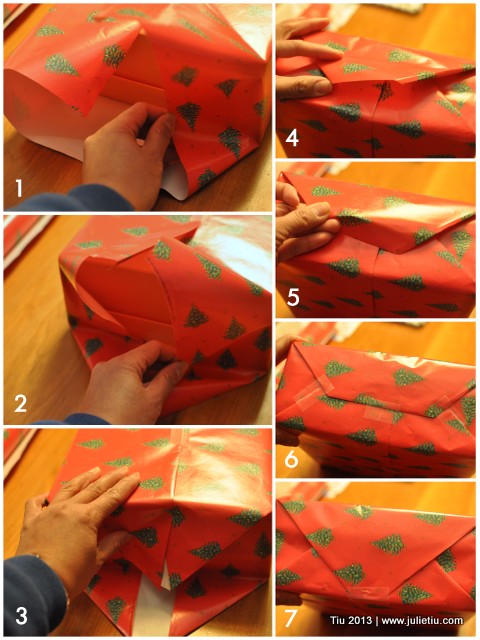
12 Days of Gift Wrapping: Basic Wrapping

• Ends – fold in the sides and when you press inward, you’ll find that the upper and lower flaps will start looking triangular at the ends. Make sharp folds for neater edges. Fold the bottom flap up and then the upper to close up the gift end. Tape in three spots, and repeat on the other side. (Or tape in the just one spot, at the tail.)
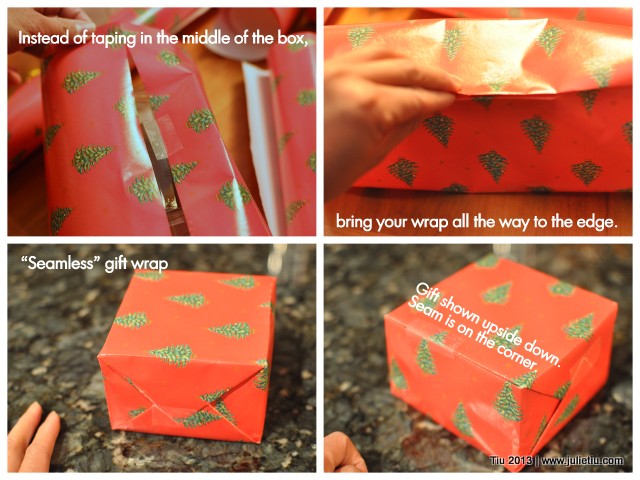
12 Days of Gift Wrapping: Basic Wrapping

You could also make your wrapping look seamless just by taking your wrapping paper all the way over and then taping. Fancy, right? My kids don’t like this method because they can’t find a good spot to start ripping (in their opinion).

Lastly, give all the edges of your gift wrapped box a nice pinch. Just put your thumb and pointer finger together and run along all the edges. Makes for crisp corners.
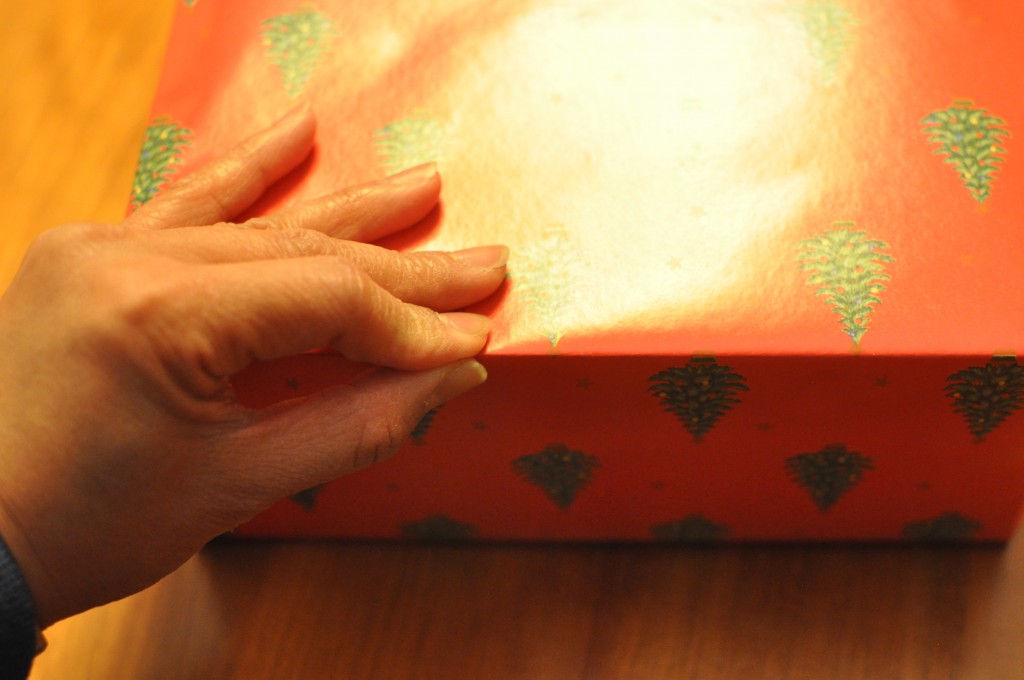
12 Days of Gift Wrapping: Basic Wrapping

If I happen to run out of gift wrap (unlikely, but it happens), I like to use paper bags, craft paper, magazines, newspaper, old phone book pages (yellow, of course), etc. There are some fine looking magazine pages that really serve themed-gift wrapping well (like that small box in the upper left hand corner in the picture – watch ad from a magazine).
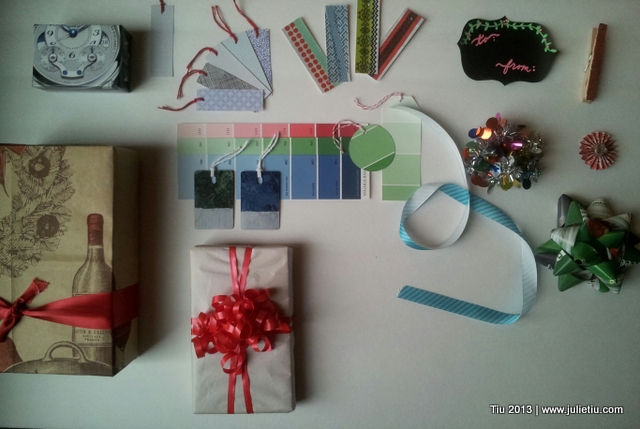
12 Days of Gift Wrapping: Use other paper instead of gift wrap

Endless gift wrapping possibilities…

12 Days of Gift Wrapping: Basic Wrapping

Don’t throw away the small cut pieces of gift wrap, either. You can wrap a small gift, or it can become a curly topper (you’ll see in another post)!
Work-in-Progress Wednesday: Prepping for Paint

My son's wooden toy shield with Chinese name

This past weekend, my son asked An-kong (Grandpa) if he would draw his Chinese name on his wooden shield. It turned out better than I could’ve imagined. Now it’s up to me to paint it. Wish I gesso-ed* before my father-in-law drew the characters, but no worries. I’ll make it work… (Hehe, “make it work”. I’ve been watching too much Tim Gunn and Project Runway! HA!)

Work in progress: gesso layer on brown paper bag

I’ve also started a brown paper bag journal – made it with three lunch-size paper bags from our take-out dinner the other night. (Upcycled product project, yay!) This has been something I’ve been meaning to do for a long time. I totally want to break out all my paint… and if you’d like to follow the journal journey, hop over to the my Facebook page where I’m winging it, as usual.

*Acrylic gesso (jess-o), in case you’re not familiar, is a basically a primer you can use on canvas, fabric, paper, wood, etc. It makes the surface nice and smooth for painting or drawing.

Mugshot Monday: Day Off

Mugshot Monday: Day off

Abby sipping hot apple cider out of her handpainted elephant mug

Getting back into the swing of things after a long three day weekend, and a visit from my husband’s parents and brother (since last Wednesday). Breakfast with the whole family is now the treat instead of the norm…

Related Posts with Thumbnails