Work-in-Progress Wednesday: Paper Medallions and such

Hi friends. My blogging sort of starts to take a backseat this time of year. Sorry. So you know it’s the end of the school year and Spring if you find yourself trying to enjoy the outdoors, and at the same time torn because you have chores, errands, teacher gifts to (buy, make, come-up-with, assist with).

IMG_20130430_150548-001

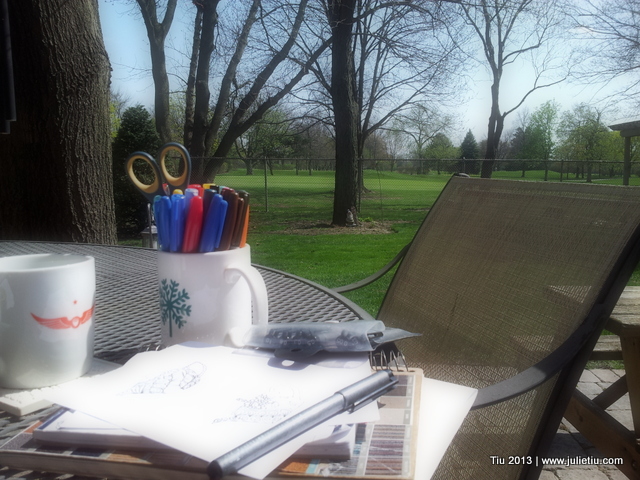
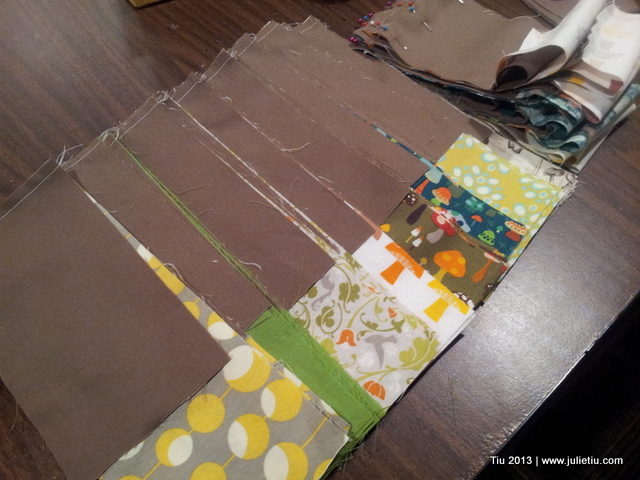
I do so love this season though – when the leaves are all popping yellow-green, and like, overnight even! This is also the one week in the year that I think the front of our house looks the loveliest. It’s tough choice – enjoy the weather because we have so few perfect days, or work? I just keep trying to do both.

20130501_104841

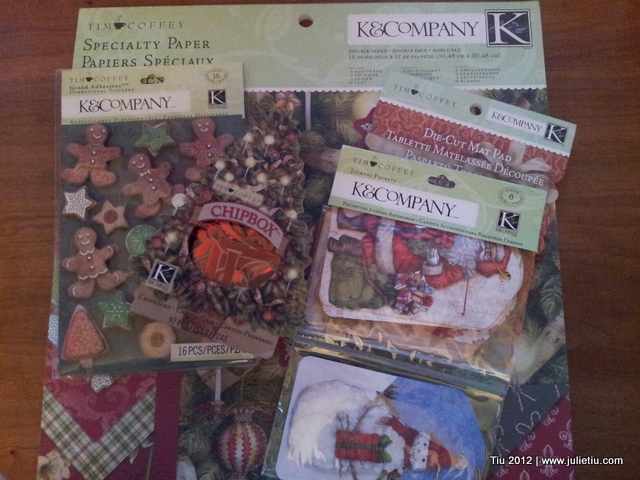
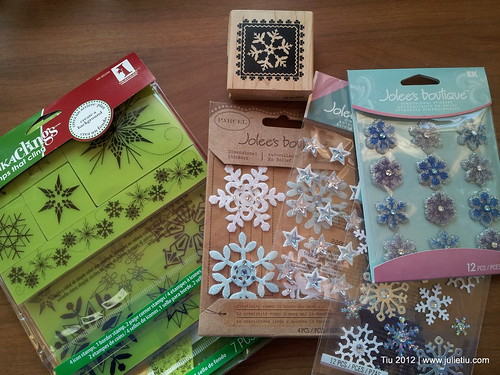
Current projects I’m juggling

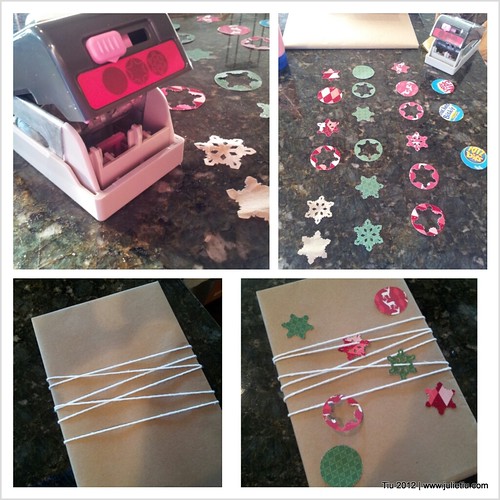
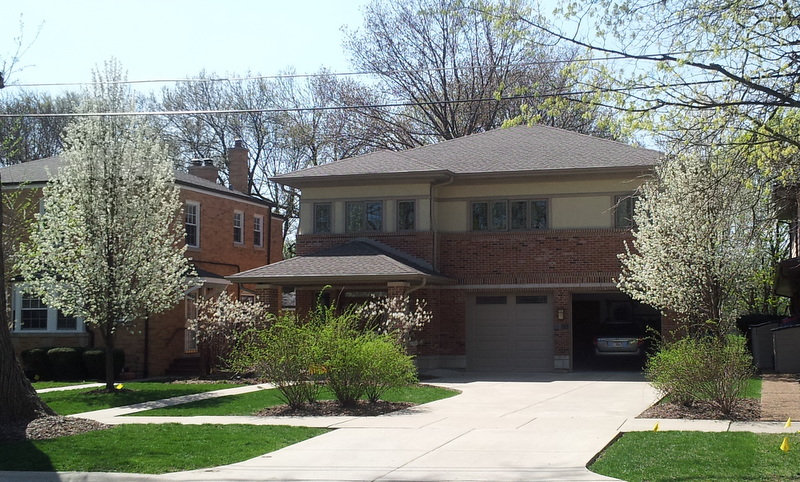
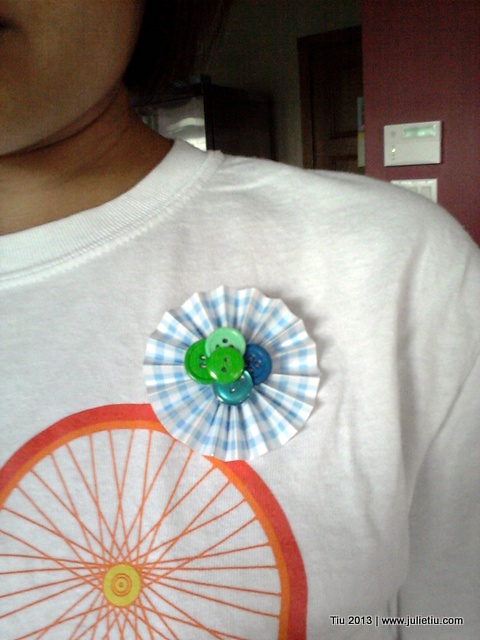
Paper medallions for lapel pins, except that the pin part didn’t work as well as I wanted. I’m thinking pop dots (sticky dots) might suffice. It’s only going on top of regular name badges for this brunch I’m going to on Sunday. Lots of paper medallion tutorials around the internet like the one I used from How About Orange. It’s a great way to use up some paper scraps.

20130501_164606-001

20130501_164626-001

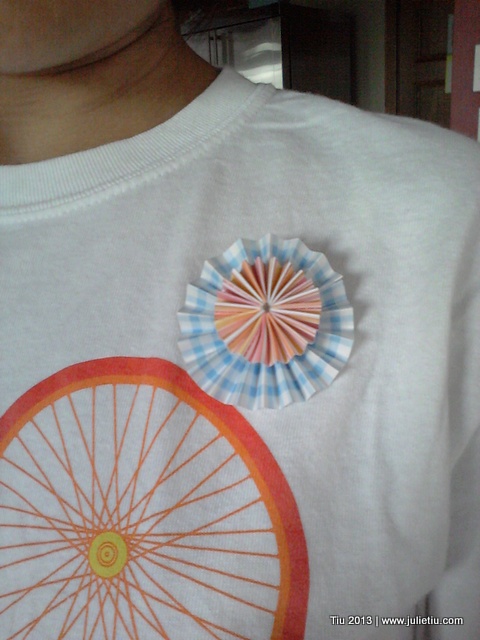
My mushroom print quilt strips in progress too. The inspiration for this is from The Cottage Home’s review of “Quilts from the House of Tula Pink” and the Totally Tubular Stacked Block Quilt.

20130501_222243

Behind all this craftiness, I have a penchant for business development. Not so much running my own business (that’s still a dream!) but I help out at our church as a publicity chair – so, for those of you who follow the Facebook page, you’ve had a sighting of my other writing.

(You might ask, when do I sleep? I get anywhere between 5-7 hours of sleep.)

Have a great rest of your week! Follow me on Instagram since I might not be writing so much… but I’m always up to something. 🙂

Happy MAY!!

Making mini cards and a printable template

I made some mini cards just in time for Chinese New Year and Valentine’s Day. (Well, almost in time for Chinese New Year – it’s Sunday and I want to mail a couple out.)

Making mini-cards

Mini Valentine Cards with scrap paper and stickers

Rubber stamping for Chinese New Year cards: Year of the Snake

For that old-fashioned handcrafted card, just use what you have around your home, stickers, ribbon, glue. To make mini-cards, I took an 8-1/2” x 11” sheet of cardstock (this is Bazzill Pomegranate) and cut it in this manner to make six little blank cards. Just click on the picture below to print your own. From one sheet you can make (2) 3″ x 3″ cards, (2) 2-1/2″ x 2-1/2″ cards and (2) 2-1/2″ x 3″ cards. There’s a little 1″ scrap if you want to keep that for tags or tiny, homemade “Moo cards” (not a sponsor, just letting you know about them).

You’ll need to make your own envelopes. I think I have some doilies somewhere around here. Or maybe just tuck your cards with your gift, in lunchboxes, on the dining table… I’ll try to post a picture of the finished cards!

mini card template

Easy DIY Photo Card Stationery

DIY Photo Card Stationery

How are we in February already? And, how am I so behind in sending out thank you notes from the holidays? Am I the only one who falls behind? (Probably, because I’m the nutty girl who wants to make everything herself.) But these… these are way cool. I’ve thought about doing this for a while now.

The possibilities are endless with your camera, willing family members (i.e. children), blank white boards or cardboard, Sharpies and blank cards. I took about 10-15 pictures of the kids and picked my favorites. Uploaded and printed them out at the photo center for very little cost. If you print them glossy, you get the coolest effect.

Use Sharpies on glossy photos

I love my Sharpies. Use them and turn these blanks…

Use blank white boards or cardboard in picture

… into any card you want! For 4″ x 6″ pictures, you could purchase empty photo card frames. I have extra cardstock laying around so I just cut it to size for my blank cards. (See first picture.)  They measure at 4-3/4″ x 6-3/4″.  I get weird when it comes to the borders… I don’t like them too wide.
And to stick them on the card, use double stick tape or glue dots. If you want to get fancy, use photo corners or with an X-acto knife, cut slits on a diagonal at each corner and feed the corners of the photo through.

DIY Photo Card Stationery: Use permanent marker to customize picture

Don’t limit yourself to just saying “Thank you.” You can split it up like, “Cool! Thanks a bunch!” Or “Happy / Birthday”.

DIY Photo Card Stationery: Use permanent marker to customize picture

My daughter thought the pictures “freakishly” looked like the words were already printed on the boards.

DIY Photo Card Stationery: Use permanent marker to customize picture

Yes, I could’ve printed the cards out at the photo center as folded cards (for a whole lot more money), but what’s the fun in that? Enjoy… let me know if you’ve done this or if you might try it!

K&Company Paper Bundle and Sticker Giveaway

Two giveaways in one post! AH!! Sorry I missed yesterday, but I was finishing a project. Overextended me. Typical. Let’s see what this giveaway is all about.

I love paper… not for scrapbooking (mentioned before) but for just about any other type of paper crafting. These sets from K&Company just get me in the Christmas mood.

They’re cute background for these little gifts for my kids’ Sunday school teachers. This was a Pinterest inspiration, but I pieced together the gift bag. (Teachers, if you’re reading, would you skip the picture or cover your eyes. Sorry for ruining the surprise.) All you need are clear party favor bags. I cut the scrapbook paper into 3-3/4″ x 9″ strips, folded one end twice to make a little bag “bottom”. Stuff into the party favor bag and place your goodies.

Use scrapbook paper and clear party favor bags

Here are the last of my giveaways… two pretty sets of K&Company specialty paper (double-sided!) and accessories, and then two sets of Jolee’s Stickers. All these products are available at art and craft supply stores like Michael’s. Follow the raffle instructions below… and if you would prefer NOT to enter through Rafflecopter, just e-mail me at jtiu(at)comcast(dot)net with “K&Company raffle” or “Jolee’s Christmas sticker raffle” in the subject line. Good luck!

K&Company Paper Tim Coffey Paper Set

a Rafflecopter giveaway

Jolee's Stickers

a Rafflecopter giveaway

Snowflakes Paper Punch Mini Review and Stamps-Stickers Giveaway

Last week I was playing around with EK Success Snowflake Layering Punch. It’s a dream to use on cardstock, scrapbook paper, even cardboard cereal or snack boxes. I tried it on thin kraft paper and while it punched out a shape just fine, I found the paper too thin and some paper ripped. No fault of the punch. I wouldn’t use it on tissue paper or crepe paper for the same reason. The snowflake punch is available online and in most craft and hobby stores.

EK Success Snowflake Layer Punch

The great thing about the paper punch is that you get three different shapes from one punch. You slide a lever for the shape you want. Why would you want all those shapes? You could layer them and get a nice dimensional doo-dad to stick onto a card or scrapbook page.

In my case, I dressed up a plain wrapped gift for my nephew with the punches… I’m trying a minimalist look with kraft paper and yarn. I don’t knit or crochet, but somehow I’ve dug up a few skeins of yarn around here. Weird. But, look, it’s simple and festive. Make your wrapping thematic with any paper punch, or color of yarn.

Along the lines of snowflakes, how would you like to win this gift pack?

Snowflake stamps and stickers

It’s from the same fine company who makes the snowflake paper punch… and I really appreciate EK Success for giving me the opportunity to share these cool supplies with you. (Approx. value $45) Just follow the instructions below. You’ll have to comment for a chance to win, and entries will be taken until midnight, 12/15/12. Thanks!

**UPDATE** If you would prefer NOT to enter through Rafflecopter, just e-mail me at jtiu(at)comcast(dot)net with “Snowflake Stamps and Stickers” in the subject line. Good luck!

a Rafflecopter giveaway