Birthday Part 2: Painting Pottery

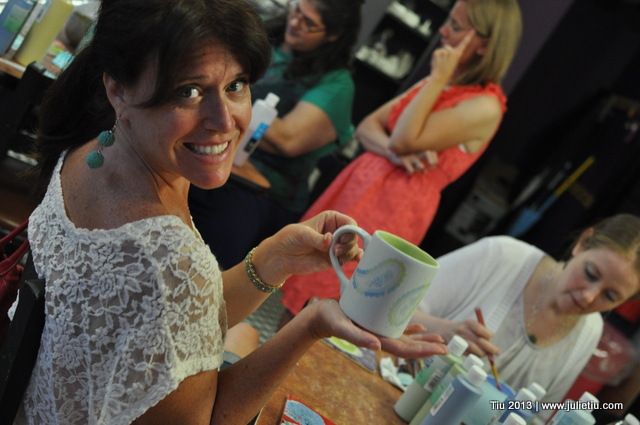
Really, this was “part one”. I kicked off my fabulous 40th birthday weekend with a ladies night out at our local pottery studio, If an Elephant Can Paint. What a treat to be able to sit and paint our own projects (not our kids’), and talk (uninterrupted).

I looked around the table at friends who span my childhood, grade school, high school, post-college and now, from my kids’ school. I am crazy blessed to have these people in my life.

If an Elephant Can Paint

If an Elephant Can Paint silkscreen

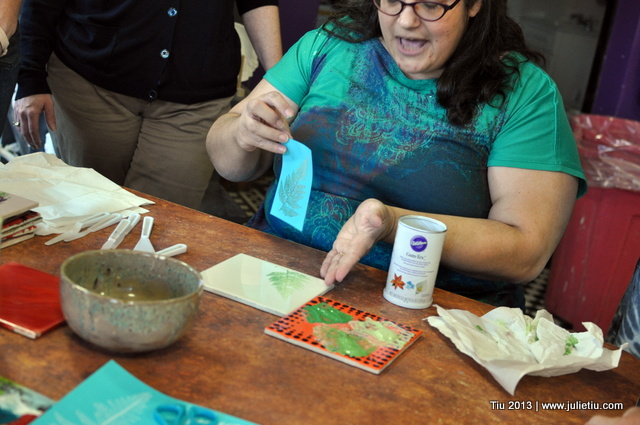
We even learned a silkscreening technique.

If an Elephant Can Paint

If an Elephant Can Paint

If an Elephant Can Paint

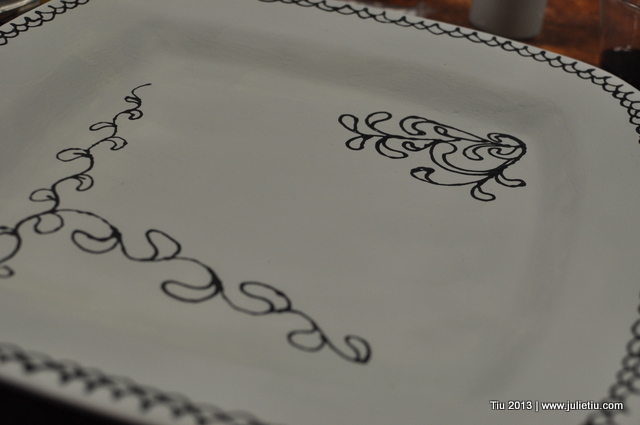
My painted platter in progress

If an Elephant Can Paint

Salt shaker in progress

Special thanks to Vicky and her crew at the studio!! You can check out our finished projects album, too. It’s at my personal Facebook page… until I transfer some pics here. Enjoy!

Birthday Party Ideas: Game Night

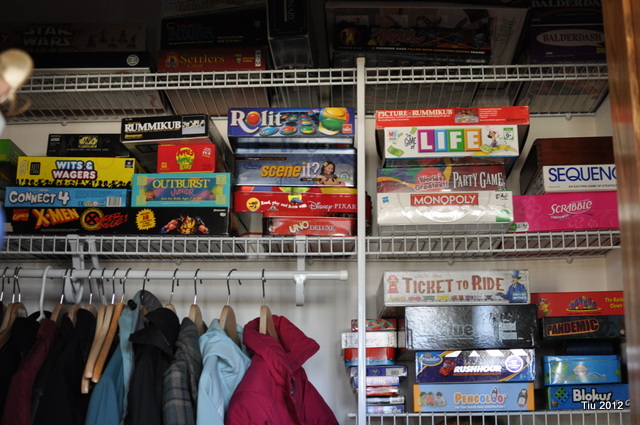
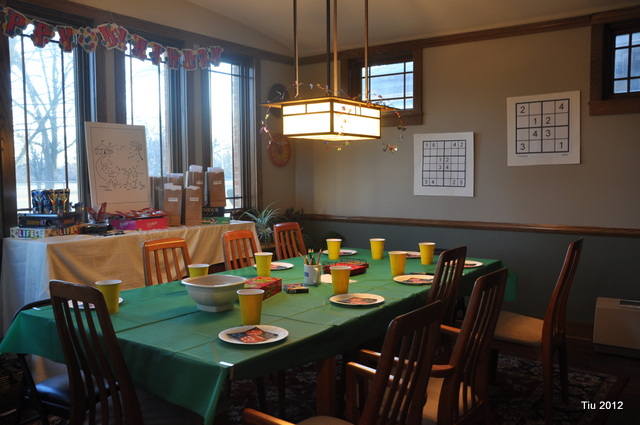
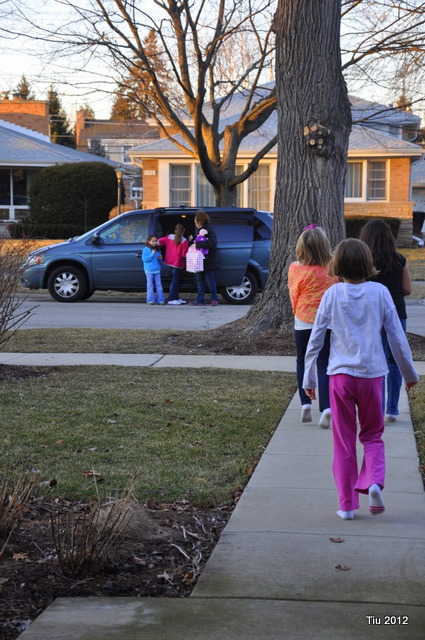
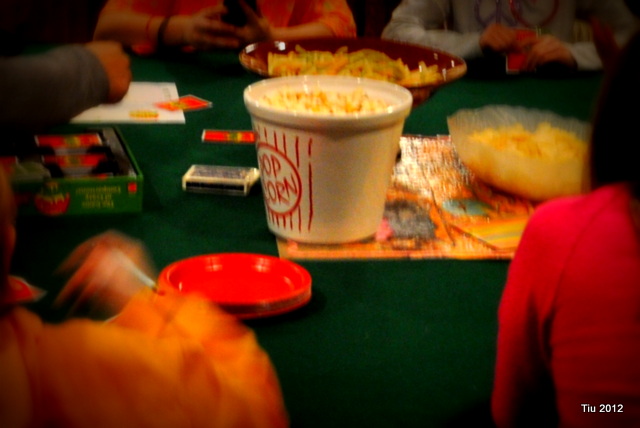
When my daughter turned ten (yeah – when did THAT happen?), we threw her a “Game Night Slumber Party” at home. She thought about having an art party at a local shop, maybe a dinner out, but the thought of a sleepover and plenty of games seemed to excite her. And for those of you who know her, she’s not that easily excited.

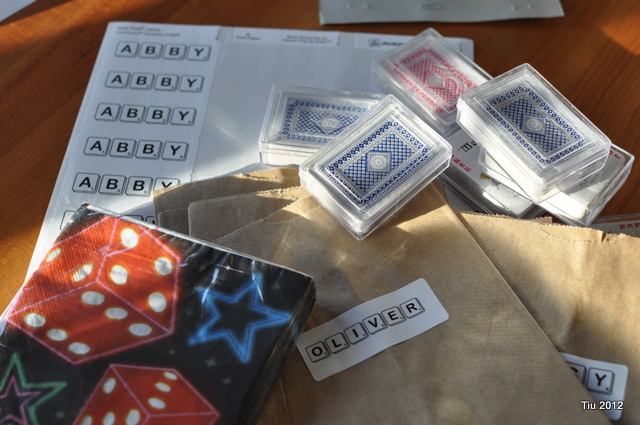
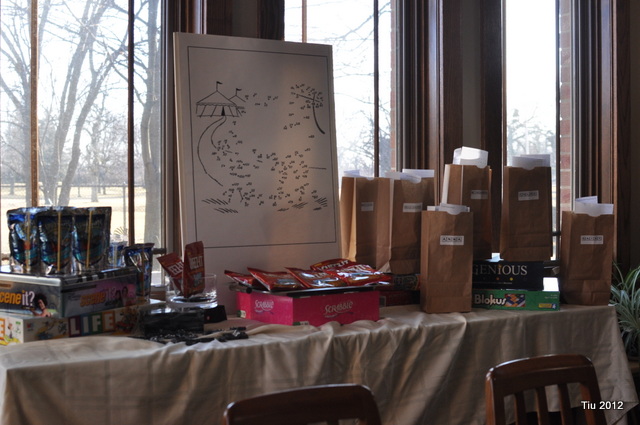
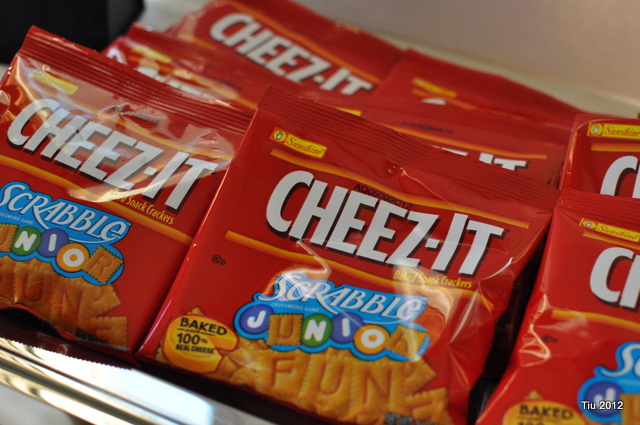
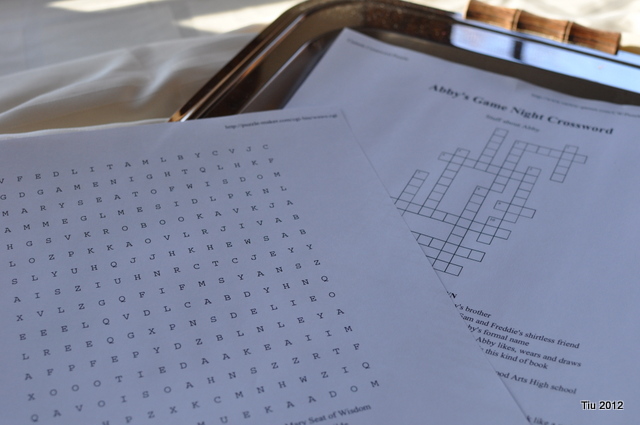
Favors and supplies for Game Night Birthday Party

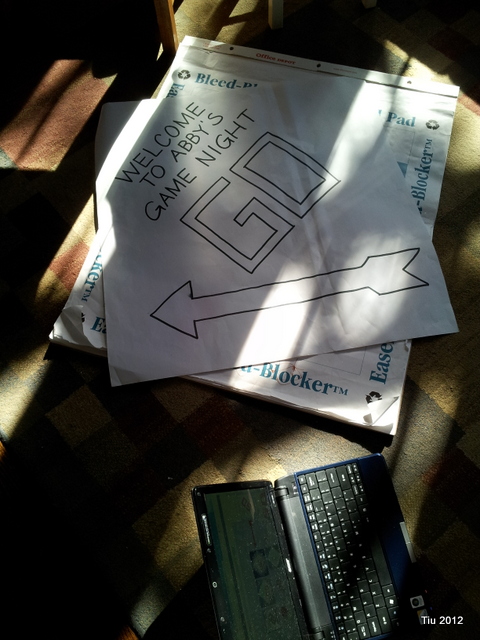
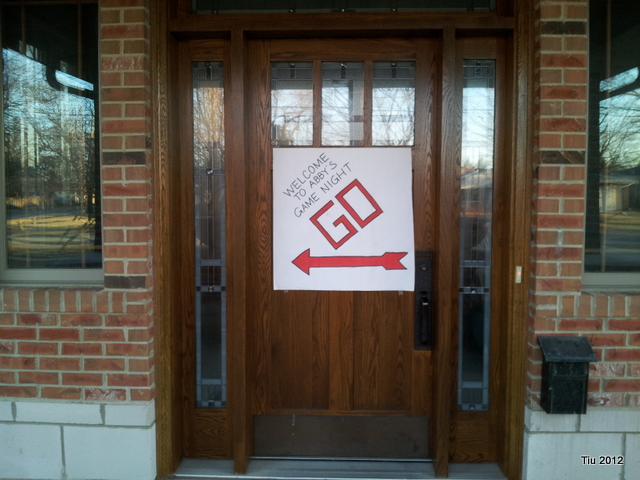
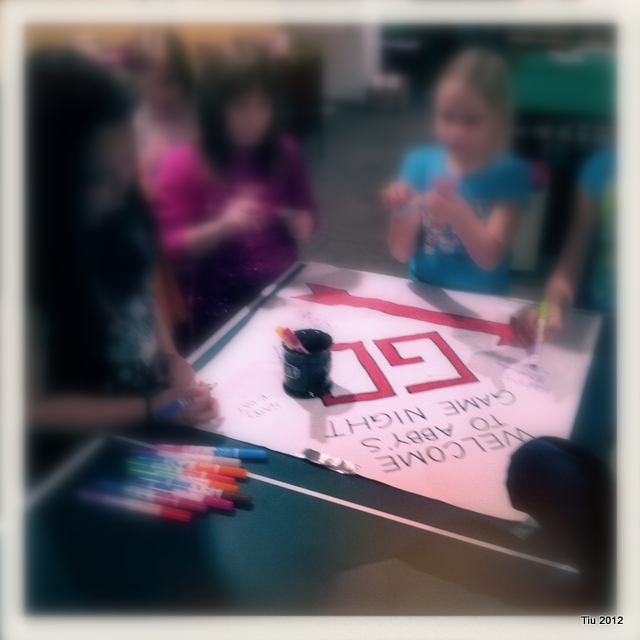
While I normally make cards, I opted to go easy on the invitations this time and went with evite.  There are plenty of game night themed invitations there. That left a bit more time to work on a welcome sign – inspired by Monopoly. If you’re good with freehand, it’s not too hard to do. But, careful… those fumes from the Sharpies can get you good.

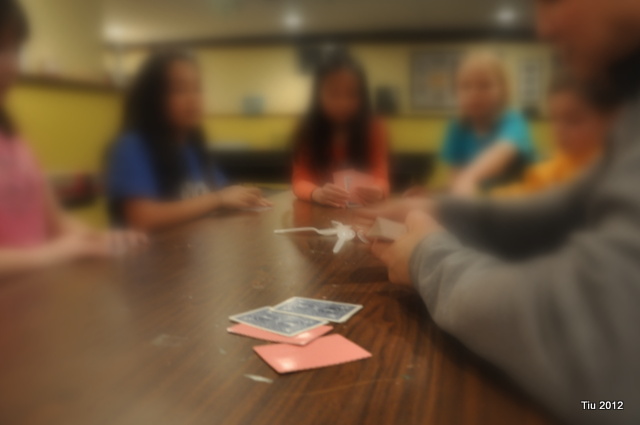
We broke out the plastic spoons and taught the girls how to play spoons the card game. Lucky us, we’re still “cool” enough to play games with our kids. 🙂

Yeah, remember that door sign? It can serve as a poster that friends can sign. Hang it up in your kid’s room after the party… fun memento.

Would you let me know if you’ve hosted a game night party or are thinking of having one? What games did you play?

Enjoy the weekend!

Candied Orange Peels (Revisited)

Been sick as a dog for about one week… thought this might be a good time to look back at some favorite recipes like the time I made candied orange and lemon peels. I think I may do this for a baby shower favor next month – a cellophane bag, scrapbook paper in the party colors, some twine or raffia. Perfect.

(First posted March 26, 2009)
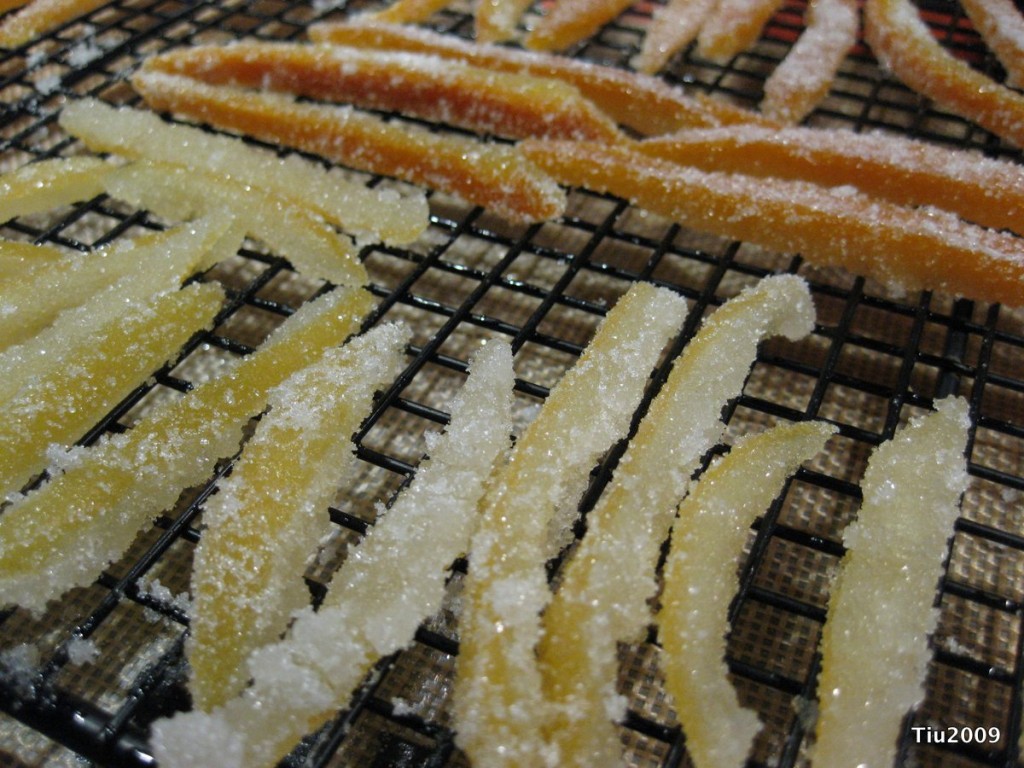
Lemon and Orange Peels Drying

Over the weekend, a friend brought over the most beautiful lemons from her parents’ lemon tree. Note, we’re in Illinois. Her parents’ tree is in Arizona. She was sharing because her folks had a bumper crop this spring. My friend was greeted by 3 dozen lemons… what to do, but share! She mentioned juicing the lemons and freezing the juice in ice cube trays. Then she mentioned saving the peels to candy them. Aha! Lemon, citrus, orange, citrus… helloooo?! I thought it’d be delicious, AND I was planning on making some candied orange peel this week. I’m experimenting with frozen peels; thawing them first and then continuing with the typical recipe.

Just type “candied orange peel” in your favorite search engine and there are tons! They’re all basically the same. Mine isn’t that different.

  • Peels from 4 – 6 oranges (this time around, I also had 2 lemons): The peels were in sliced sections and the pith (white) was already trimmed. You want very little pith, but I still leave a bit. I sliced these into 1/4″ strips. The lemon peels were smaller.
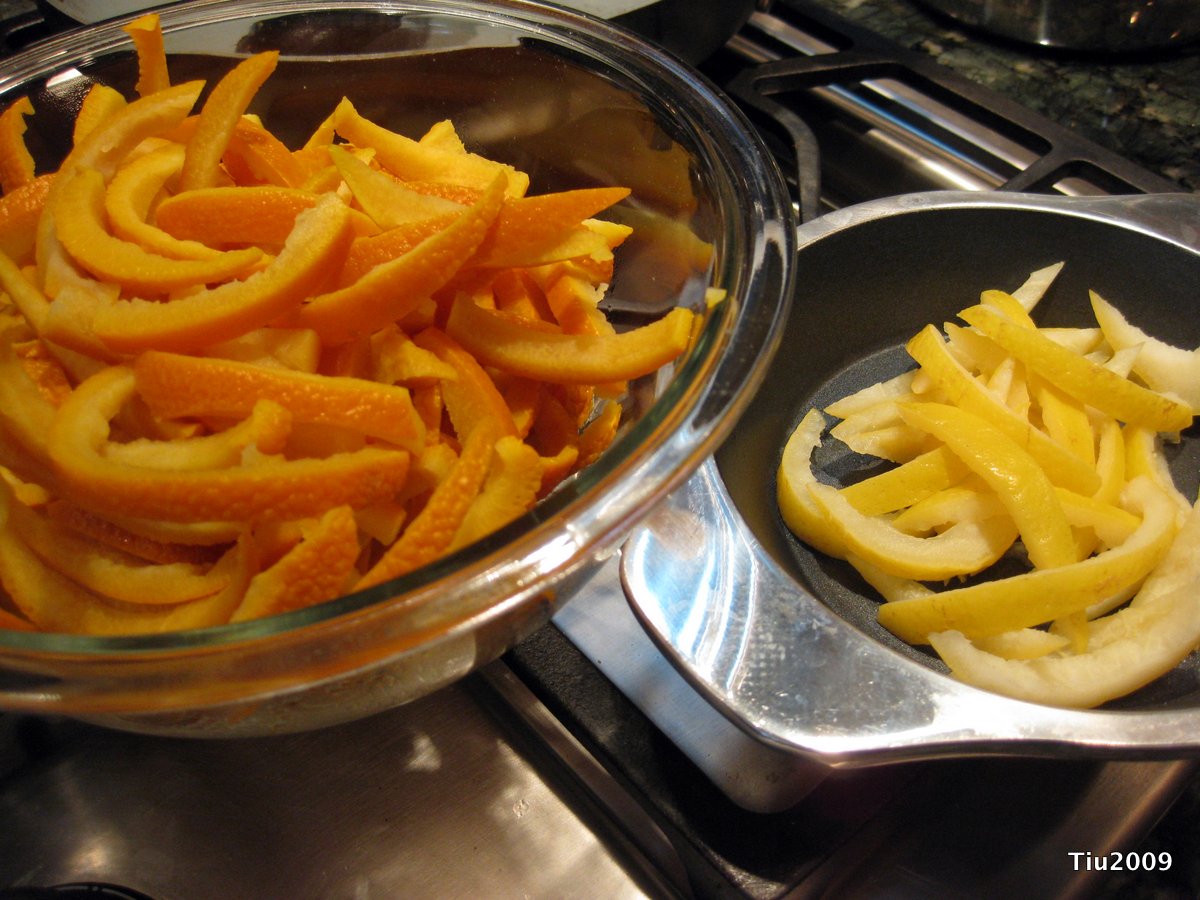
After 1st blanch

Using a 3-1/2 qt. pot, I filled it with about 4 cups of water. This should be enough to cover the peels. Heat until boiling, then add the peels. Blanch the peels for about 3-4 minutes. Turn off heat, drain/remove the peels (I just used a slotted spoon not a colander), discard water and repeat. You will blanch the peels 3 or 4 times. This is to soften the peels, but more importantly, to remove the bitterness. It sort of cooks out, cooks down any pith, too.

  • 4 cups water
  • 3 cups granulated sugar
  • Extra granulated sugar in a separate container for dipping

In your clean, empty pot, combine the water and sugar. Heat until you get a rolling boil. You can use a candy thermometer, and heat until 210 degrees. Add peels, boil for a couple minutes, and then lower heat to a simmer. Continue to simmer peels for 45-60 minutes, or until peels are translucent. (I’ve read recipes where they only simmer for 30 min.)
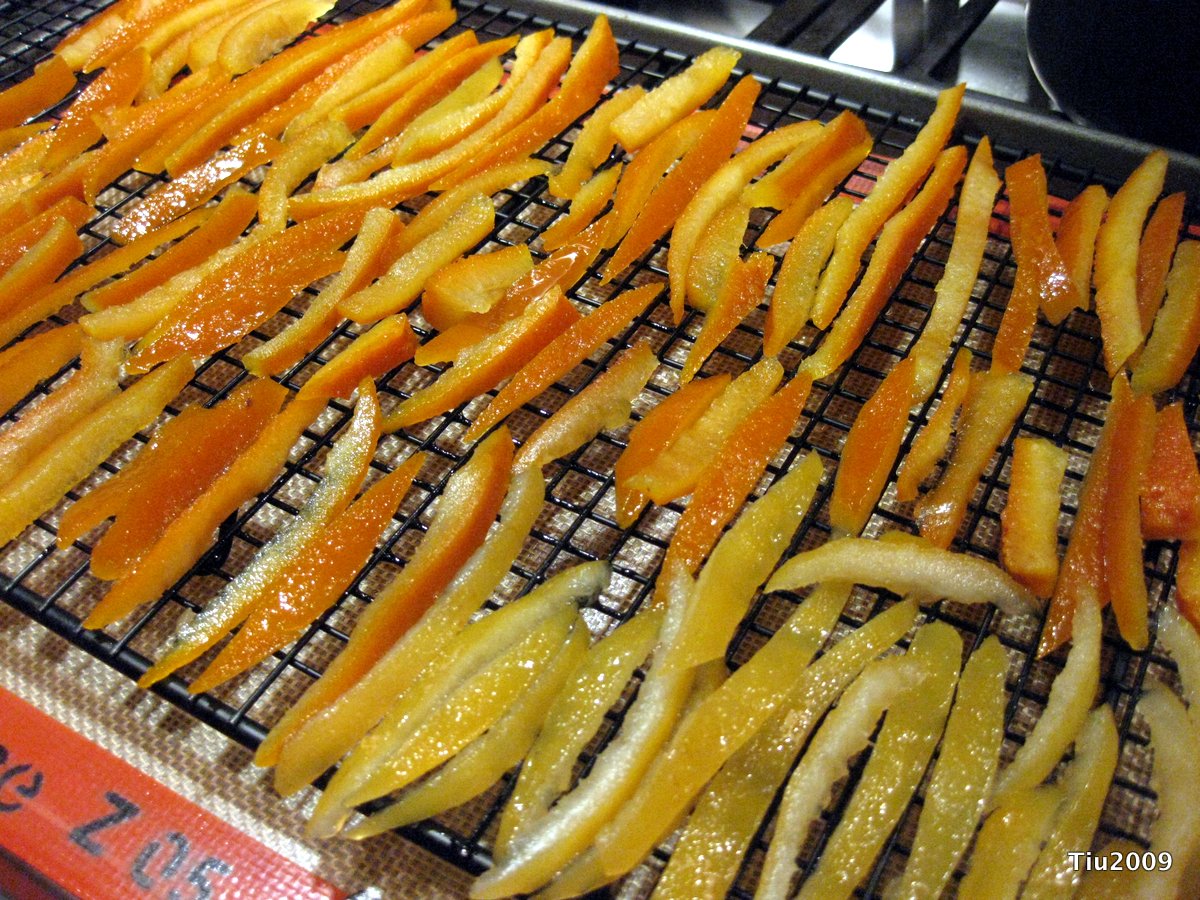
Newly candied, before sugared

Remove peels after they are to your liking and dry on a cooling rack. While still warm, dip the peels in sugar and lay out on the racks to dry. I like to leave them out overnight. The next day you can take the dry candied peels and dip or drizzle with chocolate!
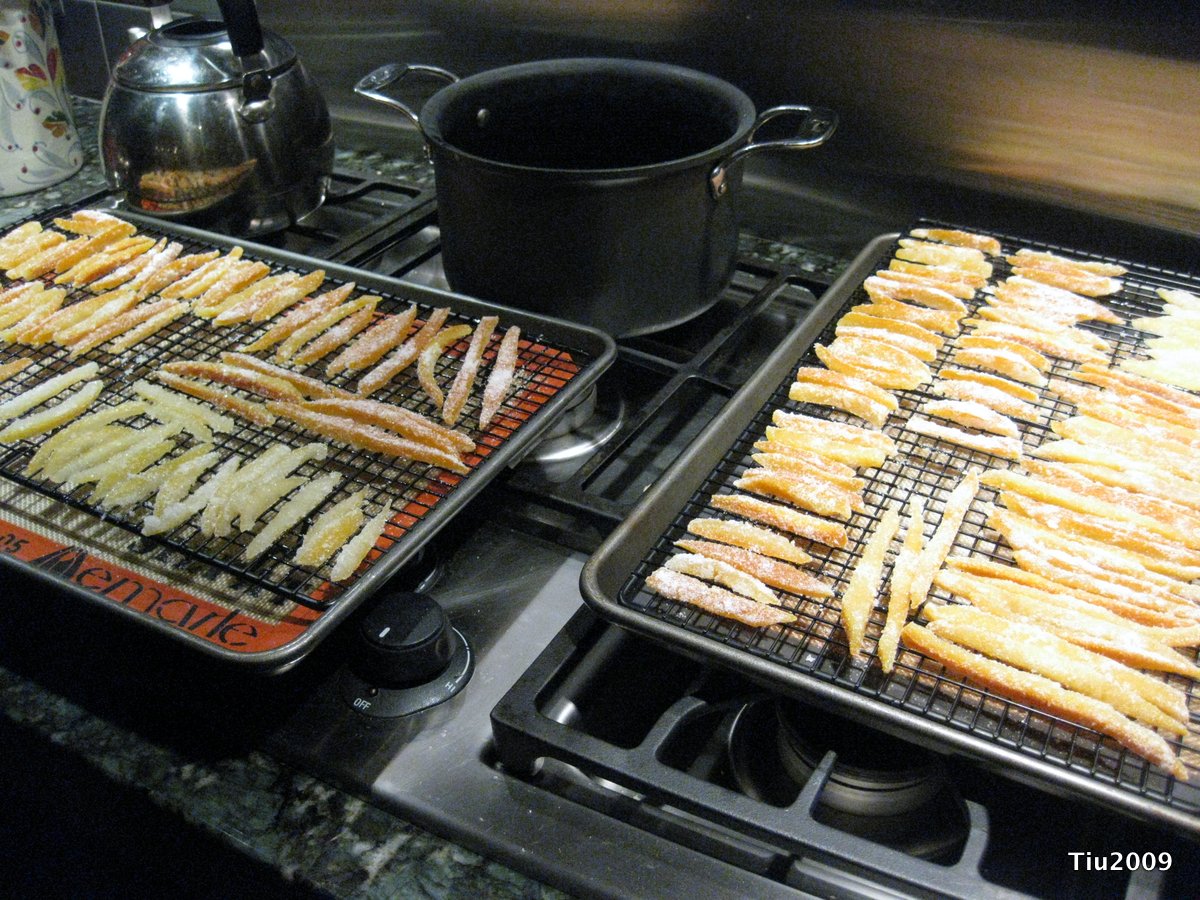
The workbench
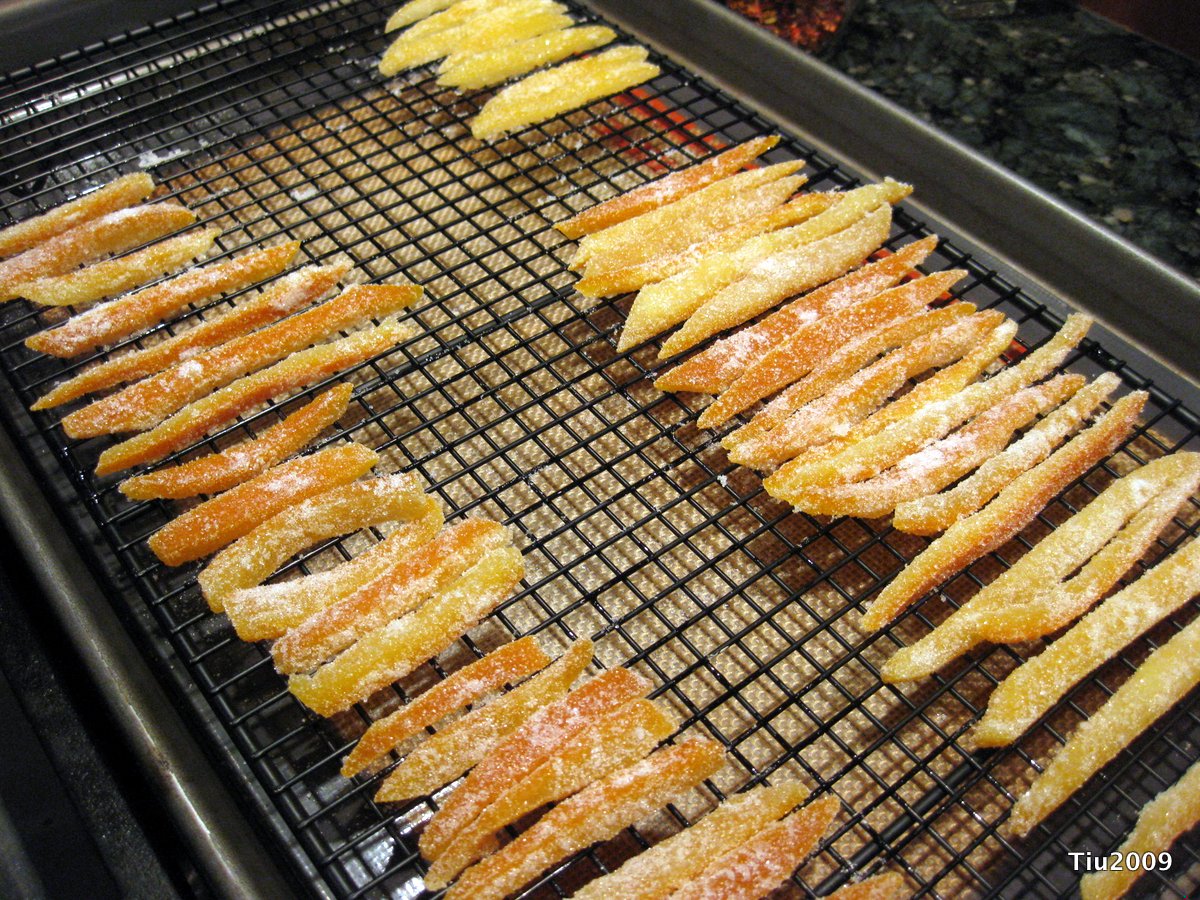
After sugar dip

I love the blast of citrus flavor (not to mention the sugar), and it doesn’t take but just a couple pieces to satisfy your taste buds. This sweet treat is also gluten free, a big plus for friends with allergies!
Lego Birthday – Fun and Games

Taking a cue from the parties my parents threw for me, I put together a bunch of games for the kids knowing that we might get to all of them, or maybe only a few of them. I found that the kids were really happy to play on their own.

Activity Table: Just for starters, I printed out a bunch of coloring pages from the Lego website. As the kids finished a page, I hung them up with clothespins. I also placed a box of Legos in the middle of the table for random building.

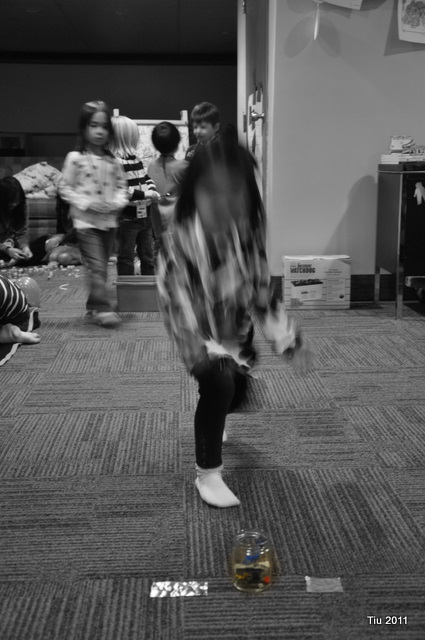
Fill the Jar (relay): Typically there are two teams, each with a spoon, and a bucket of Legos. At the other end of the room, there is an empty jar or box, one for each team. The object of the game is to fill the box as quickly as possible with only as many bricks as you can hold in the spoon, and not spilling any of them while traveling to the box. Since there were a handful of younger kids, we just made everyone part of the same team, and they filled a jar together. Team effort with kids between the ages of two to five – much better!

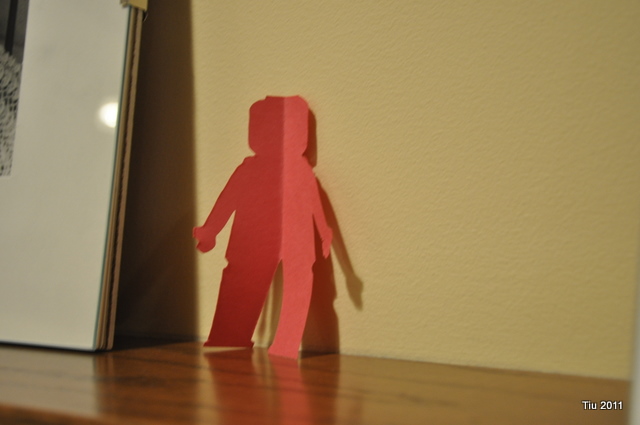
Where’s Lego Man? This was easy. I taped the cut-out Lego men all over our basement. Double purpose: decoration and game! (And, as the kids collected them all, they were actually helping clean up! Sssshhhh!)

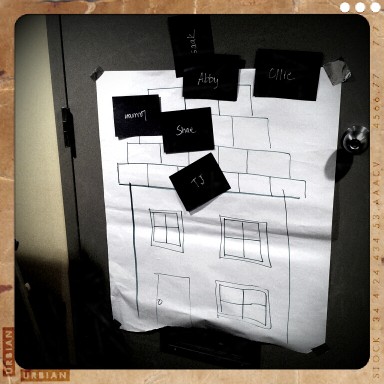
Pin the Brick on the Roof (a.k.a. Pin the Tail on the Donkey): Clearly, a very low budget, last minute drawing on a big sheet of paper. This game is self-explanatory, right? Blindfold, tape, and paper bricks made from construction paper. I wrote all our guests’ names on the “bricks”.


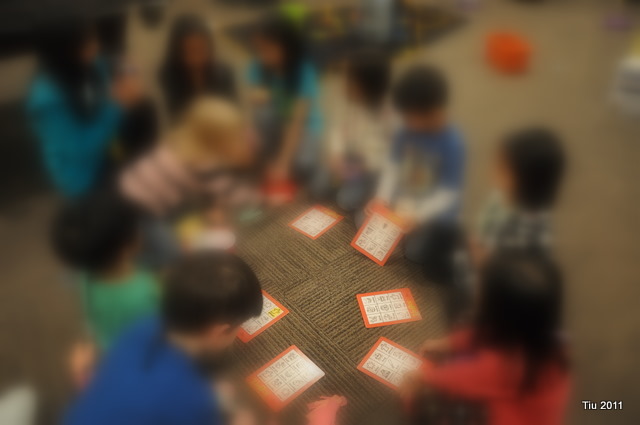
Bingo (Zingo): It’s a game by Think Fun; bingo with pictures and words instead of numbers. The kids were on their own on this one. The older kids called out the pictures. While they were playing this, my husband and I were getting dinner ready.

Zingo - we love this game

We also had estimating while the kids were eating pizza. I filled a jar with bricks and the kids tried to guess how many were in the jar – closest guess won a little prize. Lastly, we had an impromptu building challenge between the girls and the boys. Interestingly, the girls built houses, and the boys built spaceships.

——

All the work my parents put into birthday parties while my brother and I were growing up – I appreciate it so much more. Ice cream cake from Baskin-Robbins, and the party games my mom (and my friends’ moms) planned… It seems so old-fashioned now. Birthday parties. They are so much easier to host elsewhere. And it’s so nice to come home to a clean house. I know. We’ve had a few birthday parties outside of our home, too. But, the memories my kids have of their home birthday parties – priceless.

Lego Birthday – Treat bags and name coasters

So happy

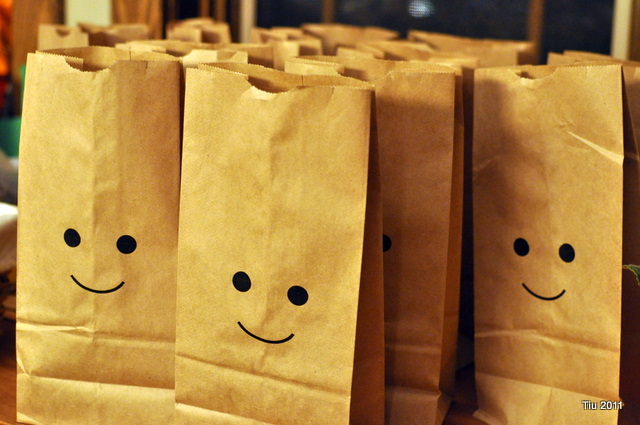
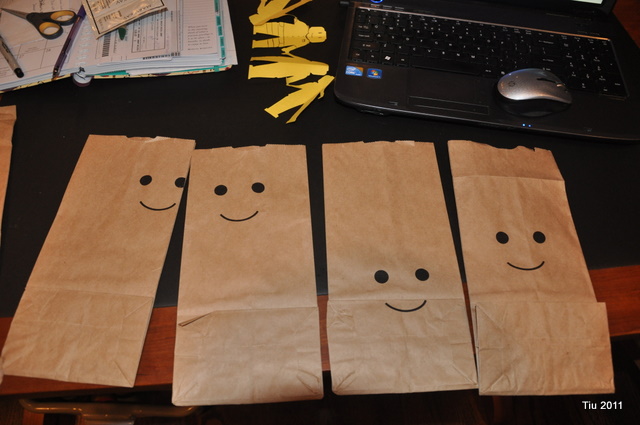
These are the happiest little faces, next to my own kids smiling at me… but to get it right, it took a few tries.

Too far right, too high, too low, just right

Here are my tips.

  • It may have been easier to just draw them with a permanent marker. I opted to use my inkjet printer and almost broke it.
  • If you have a printer that you can feed through, I suggest you tape down the paper bag flap. It caused a few paper jams.
  • Try some blank pieces of paper until you get the right placement and size that you like.

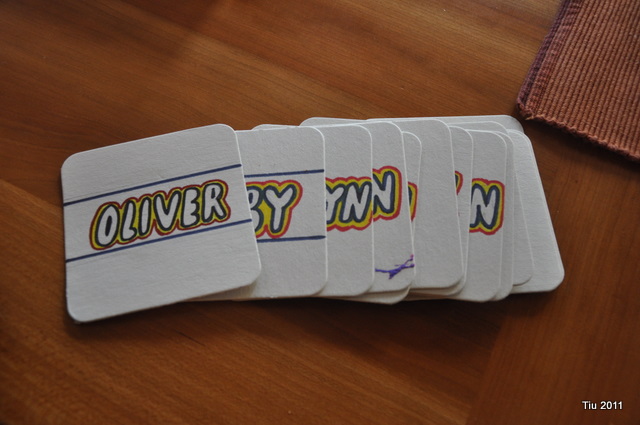
Lego-inspired place cards on paper coasters

If you look closely at the party table, you’ll see the coasters. This afterthought was a life saver with thirteen kids at the table. No one fought about where they would sit, and the kids were happy to see their names. We have an insane amount of paper coasters from a restaurant supply store – perfect. I just handwrote their names in bubble letters using black, yellow and red permanent markers.

Lego Birthday – Table and Treats

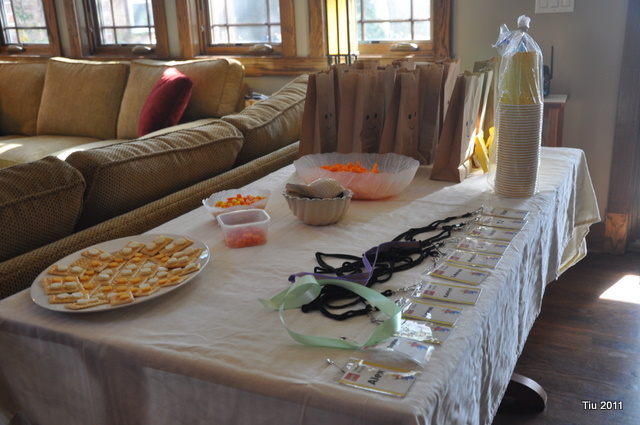
My mind was reeling with ideas once my son told me he wanted a Lego birthday party. The games, the decor, the invitations… I don’t know who was more excited! When our guests arrived, they picked up their name badges and could grab a little snack if they wanted. The smiley Lego face treat bags greeted them too (the treat bag printing wasn’t without a few problems).

Name badges, treat bags and "Lego crackers"

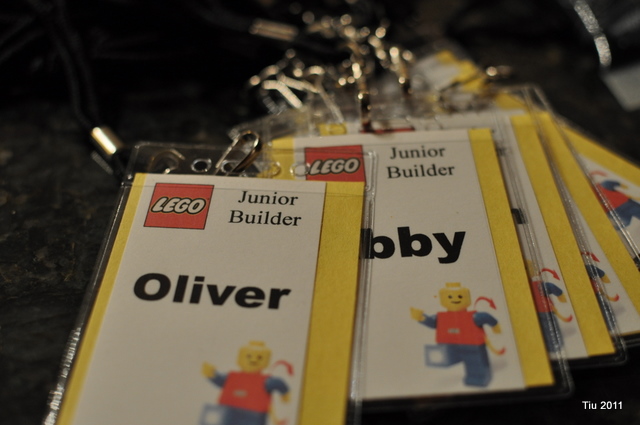
The name badges were created with Microsoft Publisher and two images I pulled off the internet. The plastic protectors and lanyards were readily available at an office supply store – and in sets.

Junior Builder name badges

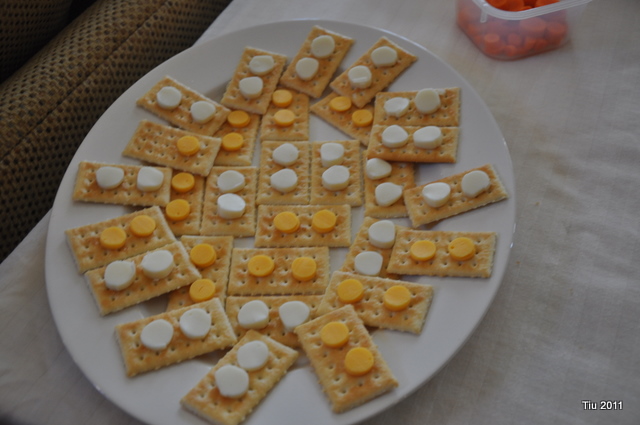
Lego-inspired cheese and crackers

My party helper

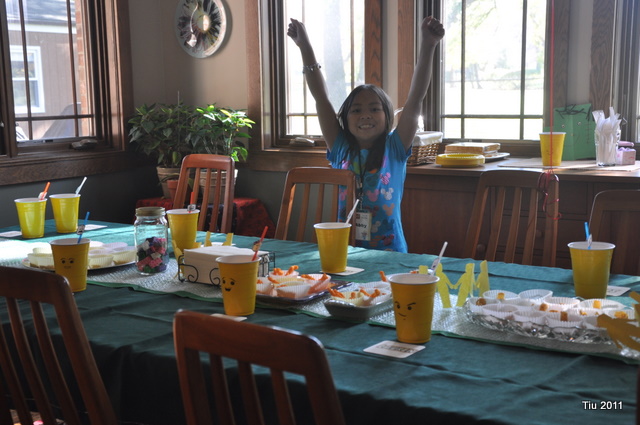
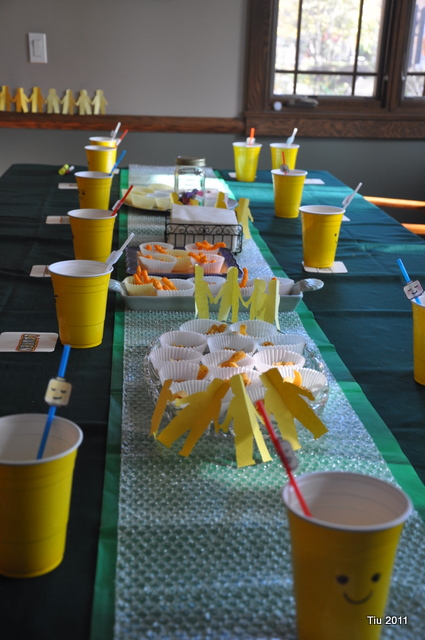
I found yellow plastic partyware at a local GFS Marketplace. Your local party store will likely carry them too. Just take a permanent marker, grab a few cups and plop yourself down on the couch. Drawing the little Lego guy faces was very easy and quick. It’s helpful to have a catalog or website open for some inspiration, too. We decided not to draw on the plates – we all felt squeamish having pizza touching marker ink.

Yellow Lego face cups, green bubble wrap runner, finger-food snacks

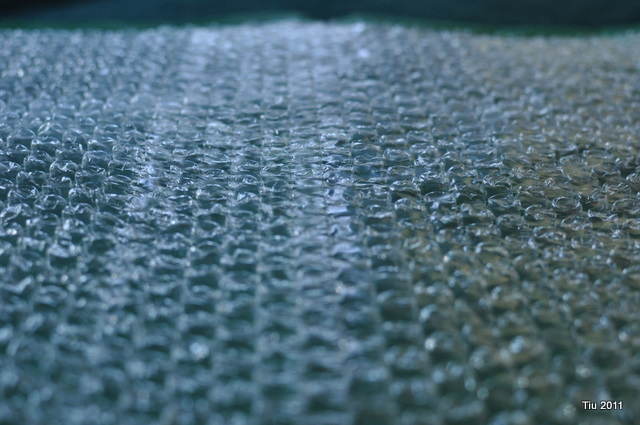
The bubble wrap idea came from “delia creates“. Except I didn’t have time to spray paint the back of it. I did have kelly green plastic tablecloth and that seemed to suffice.

Bubble wrap on top of kelly green tablecloth looks Lego-esque

Other Resources

Snacks (my son’s favorites): Cheetos, Goldfish crackers, Fritos
Treat bags (also some favorites): Brick candy, pencils, glow bracelets, sticky hands, little notepads

Related Posts with Thumbnails