Lego Birthday Party Success

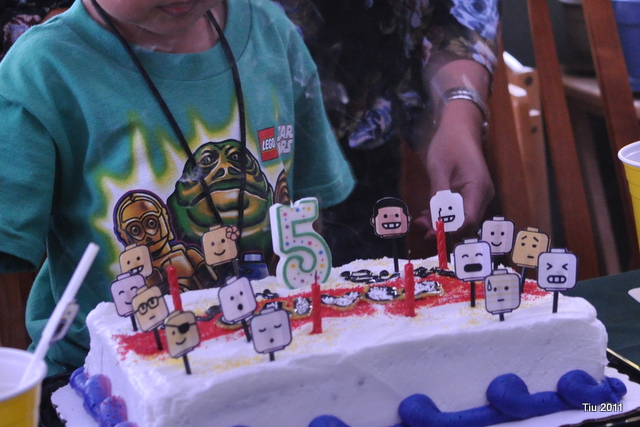
Someone was very excited about turning five and celebrating it with his friends. Lego style!

Store-bought cake, decorated at home

What a fun and super flexible theme… I shared the Lego Birthday Party invitation the other day.

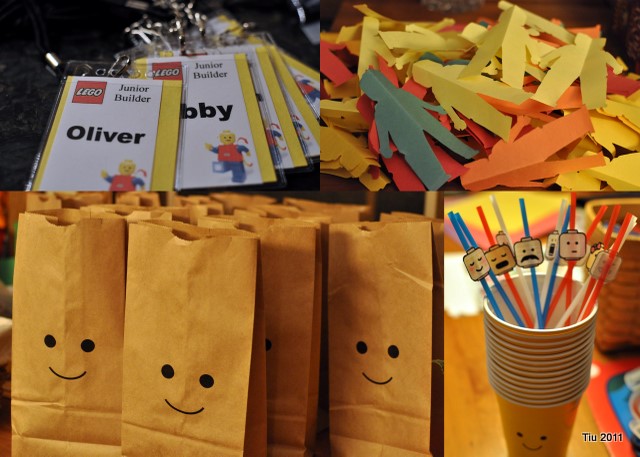
Clockwise from top left: Guest name badges, kirigami Lego men, cups and straws, Lego face treat bags

 The materials and tools were easily found around the home: construction paper, brown paper bags, permanent markers and a color printer. (I bought a few things but nothing expensive!)

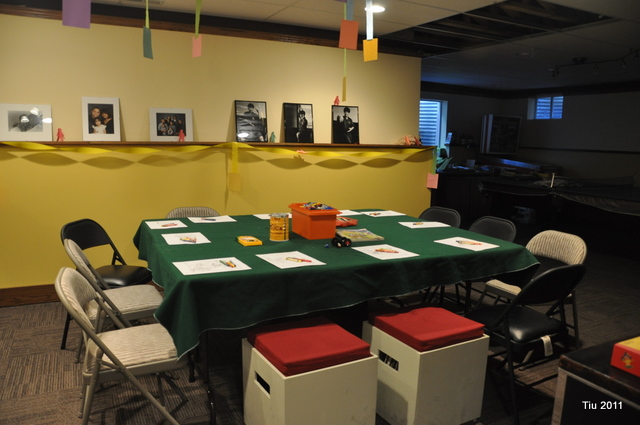
Coloring sheets and Lego bricks - enough to keep everyone happy

I’ll share our party games, supplies and cake tips this week.

Meanwhile here are some fantastic resources for Lego birthday party ideas:

Lego Kirigami (paper Lego men template)

Lego Party ideas at Birthday Ideas.com

Tip Junkie – 8 Lego Party ideas

**UPDATE**

Table ideas

Let the Lego Birthday Party Planning Begin

Birthdays have always been a large part of my childhood. My mom and dad hosted birthday parties for me until I was 22 years old, believe it or not. A summer birthday meant picnics, backyard games, lots of family and friends. Sometimes we’d just go out to eat at a nice restaurant.

I always thought I’d give my kids memorable birthdays and fun parties. Just two years ago (almost three) we hosted a Webkinz party for our daughter. Some of her friends still talk about it. And now my son’s turn…it started with him in January of this year. “I wanna Lego theme birthday party!” How strange (or cool) is it that a four-year old thinks about party themes? My planning started two weeks ago since I get worked up over these things. I hope by sharing the process I’ll minimize the amount of Maalox I drink on top of the acid reflux pill I already take.

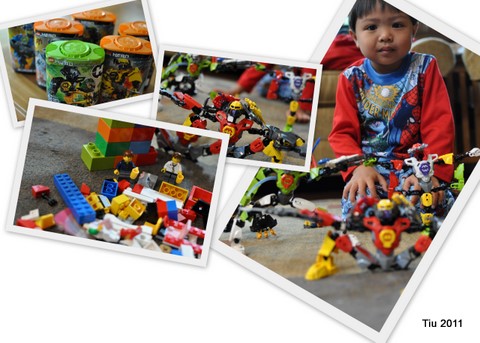
For this Lego birthday invite, I had Ollie pose his Lego figures and we had a little photo shoot. I edited the pictures in Picasa, made a collage and added invitation text in the empty space. Instead of printing the invitations at home, I uploaded the completed picture to a major store (think Walgreens, CVS, Walmart, etc.) and ordered 5 x 7 prints. They turned out so well, and it was very easy to do!

Hope this inspires you to do your own invitations!

30 Days of Creativity – Day 14: Farewell Gifts

Day 14: Make something to give away.  Send a card to a friend or make a little gift for someone you care about.

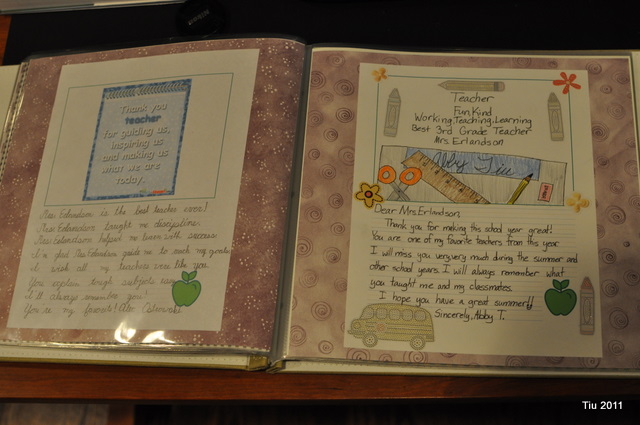
I don’t know about you, but I’ve been busy making a few things to give away. It’s just that time of year: end-of-school, graduation parties, summer birthdays, etc. And, I have all these ideas and inspiration, but there’s just never enough time. For my daughter’s teacher who is retiring, the class wrote letters of gratitude (or poems and just goodbyes). I put their little works of art together with pictures from school parties and their last field trip.

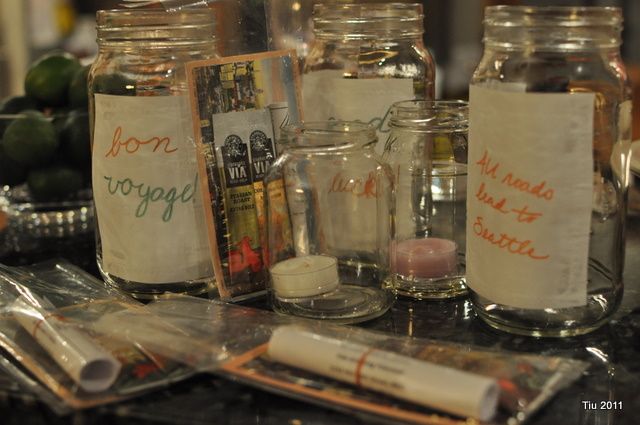
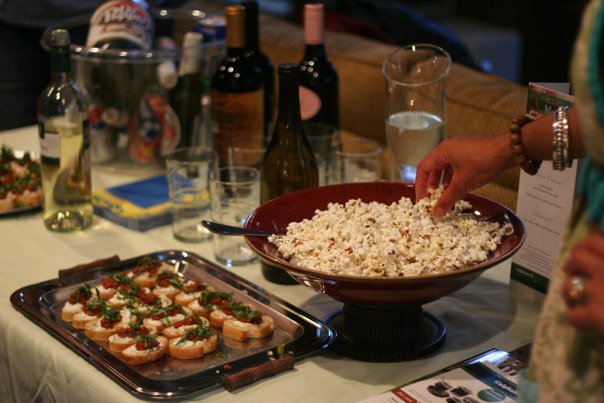
Over the weekend, we also hosted a going-away party for my sister-in-law and her husband who are moving out to the West Coast. *sad face* Really, we are so proud and excited for them. We will miss them so much… thank goodness for video chatting. So, a few friends and family came over, we laughed, we feasted on some favorite foods and bid them farewell. The thing about going away parties (I don’t like saying “goodbye”.), it’s all about spending time with your family and your pals. You could go nuts with decoration or theme, and I might have if there were more time. We just pulled together a few things. My daughter and I wrote cute messages on some vellum that we embossed, then we taped them to some glass jars for homespun hurricane jars.

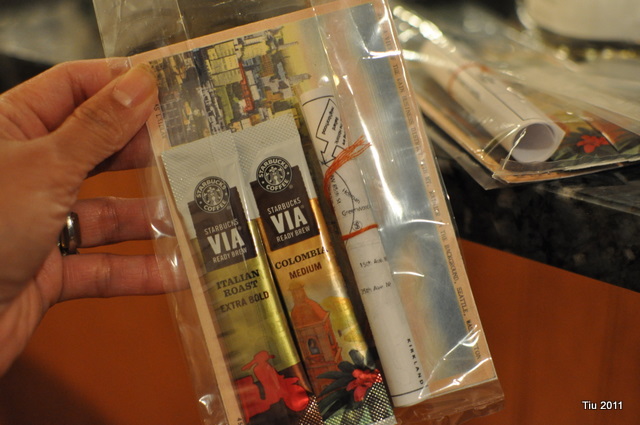
And for our guests, something to conjure up Washington (state): some Starbuck’s to go, a copy of a vintage downtown Seattle postcard, and my sister and brother-in-law’s new address.

How would you prepare for a farewell party? Share some website loves in the comments!

Baby Shower Card

It’s taken me this long to recover from Easter weekend. I ate too much. I exercised too little. The kids were delirious at the dinner table last Saturday night when we celebrated my uncle’s birthday at an Italian restaurant known for their incredibly generous portions. Then we had brunch Sunday morning after Easter mass. Glorious, isn’t it, especially when it’s good food? I felt okay up until Sunday night… when I put on my pj’s to sleep and felt like a blown-up beach ball about to burst at the seams. Sunday morning should’ve clued me in when I woke up and wasn’t hungry until 11:00 AM.

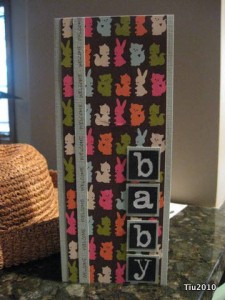
But, besides birthdays and Easter, it’s baby shower season! We have 11 pregnant friends, and they’re all delivering between May and August of this year. Quite the “Year of the Tiger“! And this card, no stamping needed!

  • 8-1/2″ x 11″ cardstock (Bazzill Basics: Hazel)
  • Four cardstock squares in a contrasting color 3/4″ x 3/4″ (I used black. Brown would have been nice.)
  • 3″ x 11″ piece of coordinating patterned paper (blue skies/so happy together by American Crafts)
  • Rub-on letters (close to 3/4″ tall)
  • Equipment: paper cutter, adhesive

1. Take your solid color cardstock, lay landscape and cut off about 1 centimeter. Save the strip. (Yes, I switched to metric.) Making the paper 27 cm wide makes it easier to measure evenly. Now cut 9 centimeters off. Save that scrap. With the remaining 18 cm, fold in half. The card should be 9 cm x 11″. This fits into a regular business size envelope.

2. From the large scrap, cut four 1″ x 1″ squares (a.k.a. inchies).

3. Use rub-on letters to spell “baby” on contrasting 3/4″ squares. Adhere to the 1″ squares.

4. Cut a 3″ x 11″ piece from the patterned paper. Center and adhere onto card front.

5. Place and adhere “baby” onto the cardfront.

6. Take the tiny strip of cardstock saved from Step 1 and glue that to the cardfront, also. In your own penmanship write the word “Welcome”. I repeated the word, separating it with a dot. (kind of like: welcome • welcome • welcome)

I’m thinking of featuring some bread recipes next week, but I might be a bit busy with Communion activities… only 10 more days!
Birthday Favor Ideas

Birthday parties have always been a fun and memorable event growing up. When we were really young, opening presents and goody/loot bags were the best things ever… I remember getting dot candy on paper strips, the fortune fish you’d hold in your hand that curls up, stickers, tattoos and the plastic trinkets and jewelry that my parents hated so. What a treasure it was to us but was so easily forgotten.

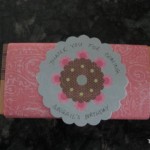
After last year’s Webkinz party at home, we went the other way and hosted a few friends outside and went simple on a take-home gift: One of Abby’s favorite things to eat, dark chocolate. She prefers Scharffen Berger (she’s such a foodie already), but also loves Trader Joe’s dark chocolate. So, we bought a few bars and to dress it up, I took some scrapbook paper and die-cut shapes that coordinated with her favor colors and wrapped the bars. Very simple and cute, just like my kid.

Other thoughtful ideas:

  • Giant, decorated sugar cookie that ties into the party theme (i.e. Butterfly cookies from a local bakery for an outdoor or spring themed party or these cookies)
  • Small cellophane bag of a favorite candy (M&M’s), tied with curling ribbon
  • Thank you cards with a picture of the guest of honor along with friends.
  • Picture CD’s of the party
  • Small bud vases with seasonal flowers
Related Posts with Thumbnails