Halfway through May: Super Moon, Crafting, Teacher Appreciation

May started with a great Super Moon

Hello, friends. I know I say this all the time – where do the days go?! Seriously, here we are in the middle of May, and it’s been forever since I’ve blogged. Thanks for staying connected with me on Facebook and Twitter. It’s truly appreciated. Those outlets have helped me stay in touch when I’ve come up for air.

Soccer and t-ball practices, class projects, teacher appreciation week, baptism, communions, weddings… Spring is in full swing.

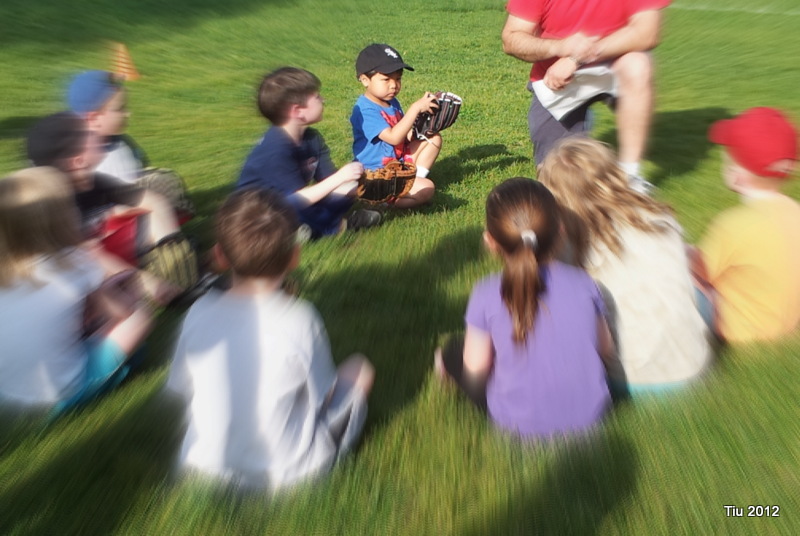
First T-ball practice: my son and his friends from preschool

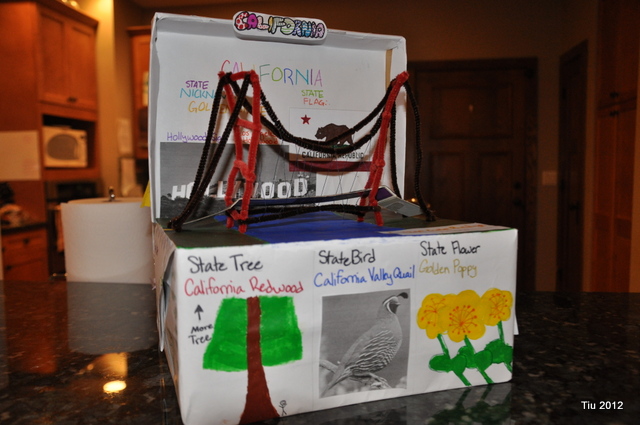
My daughter's class project - California on a shoebox float

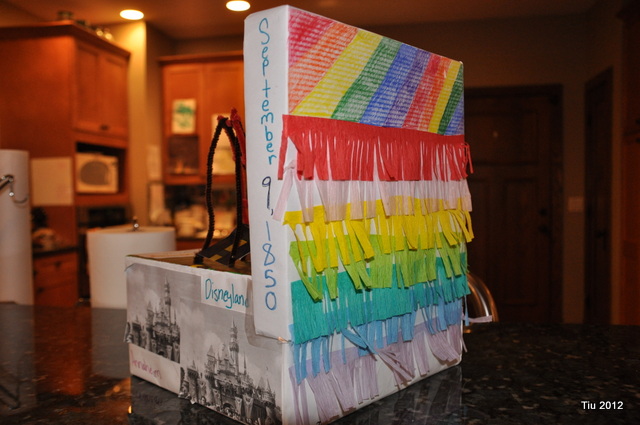
A shoebox float with fringed party streamer

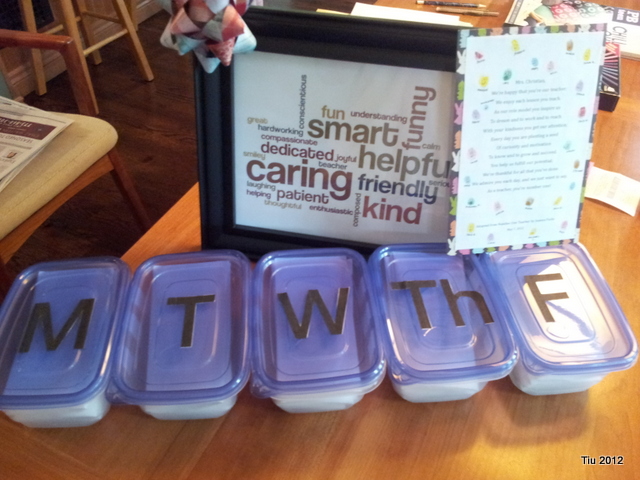
Teacher Appreciation Gift idea: notes in a giant "pill box"

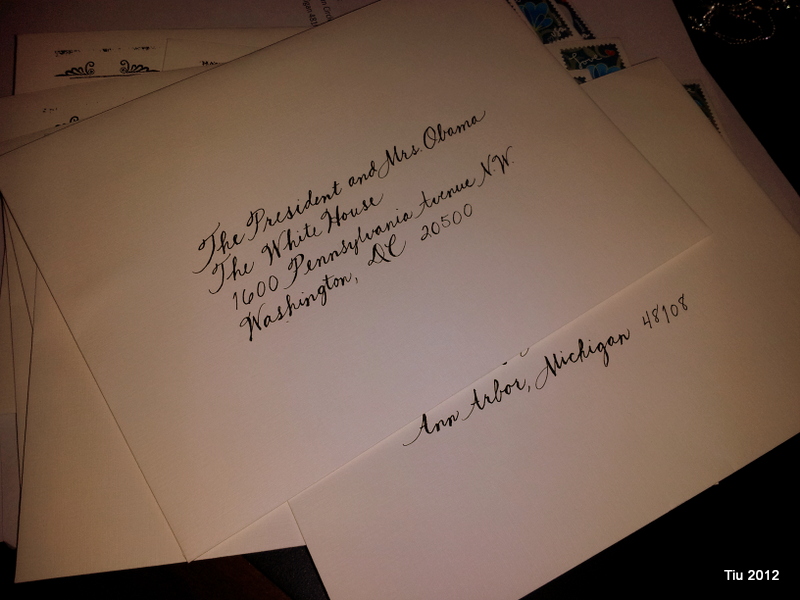
Been busy with envelope calligraphy

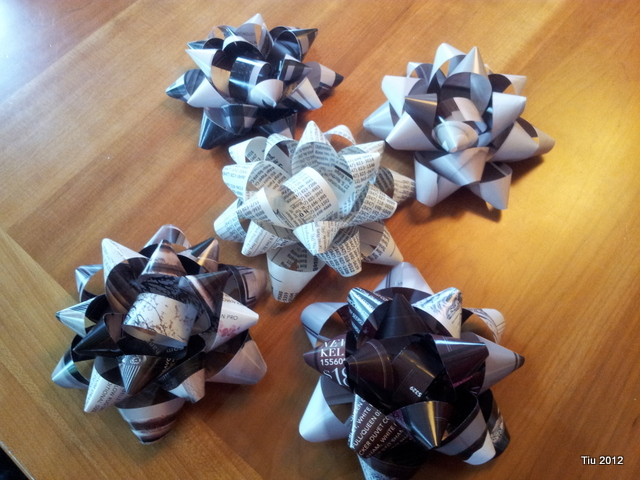
Daughter and I are addicted to making bows

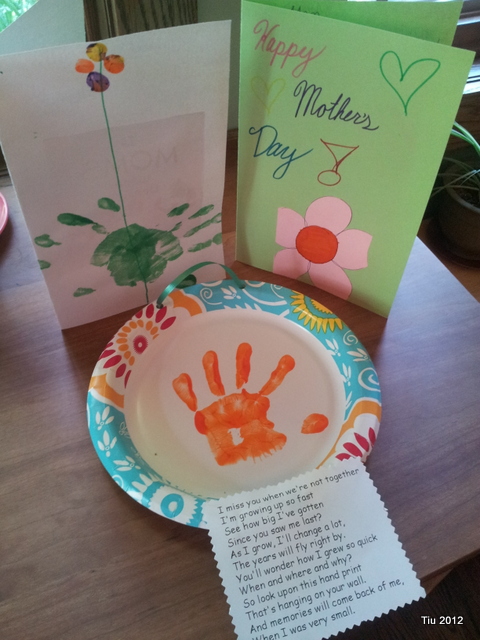
The perfect gifts on Mother's Day: handmade with love

More Resources

Super Moon news article

Shoebox Floats

More Teacher Appreciation ideas

Paper Bows, and more Paper Bows

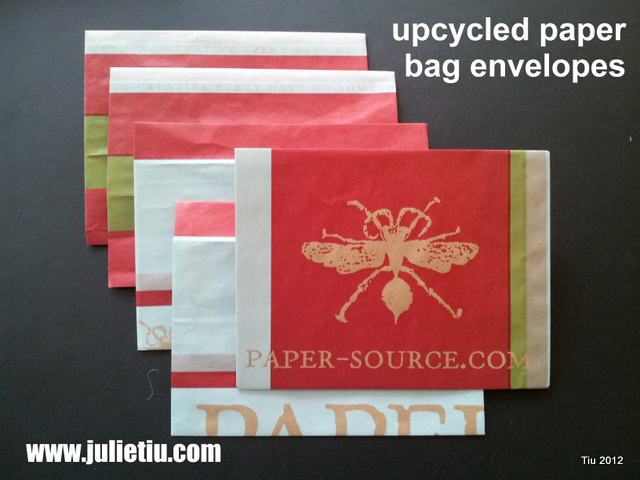
Upcycled paper bag envelopes tutorial

I hope everyone’s doing okay out there… Oh my goodness, so fun and busy around here! Baby shower party for my sister-in-law, trying to ride my bike every day, school and church events. I’ve completely neglected housekeeping, so once again, I have lots of catching up to do on so many levels. Teacher’s Appreciation Week is also coming up! Before you know it – Summer Vacation! EEK!

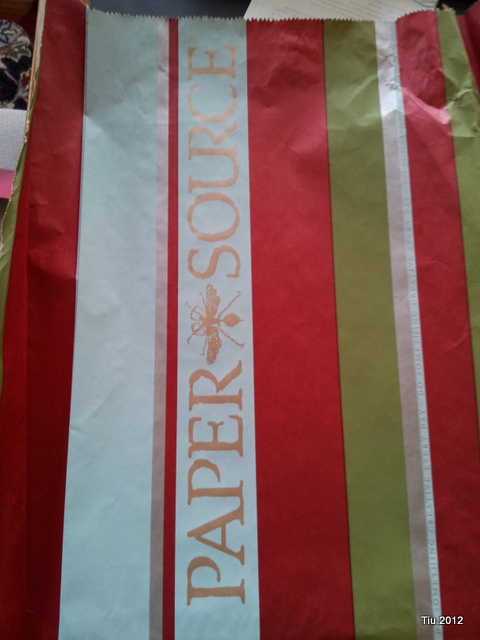
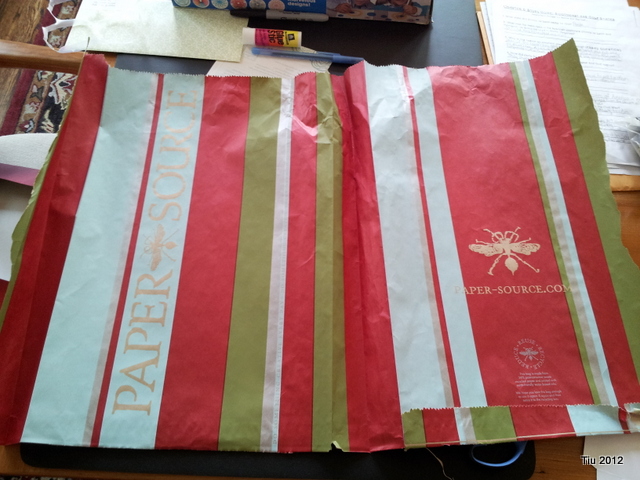
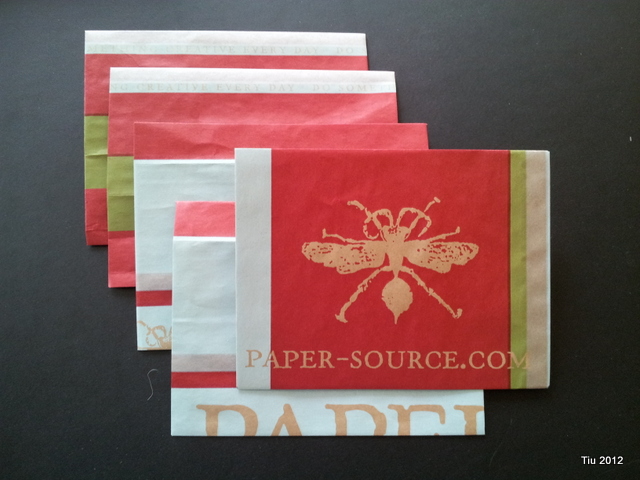
The other day I ran out of mailing envelopes, so what did I do? Made some of course. Yes, you can buy plain white ones, security envelopes, manila business envelopes – all sorts for so little cash. But, like the crazy girl I am, I had this paper bag in the stash and thought, what a pity to just recycle it. Let’s upcycle it!

Cut your bag open down one side and across the bottom.

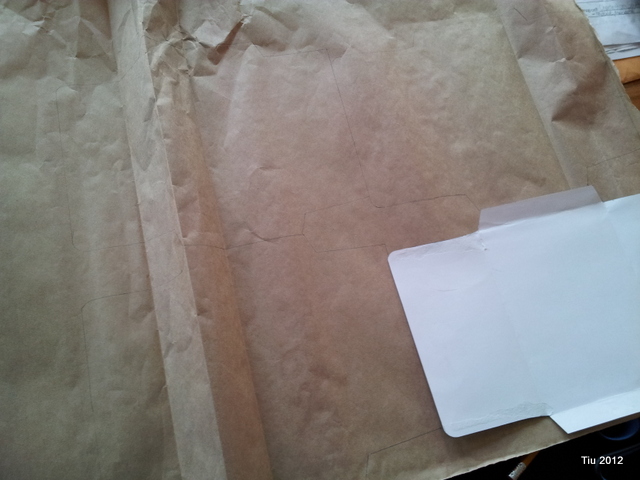
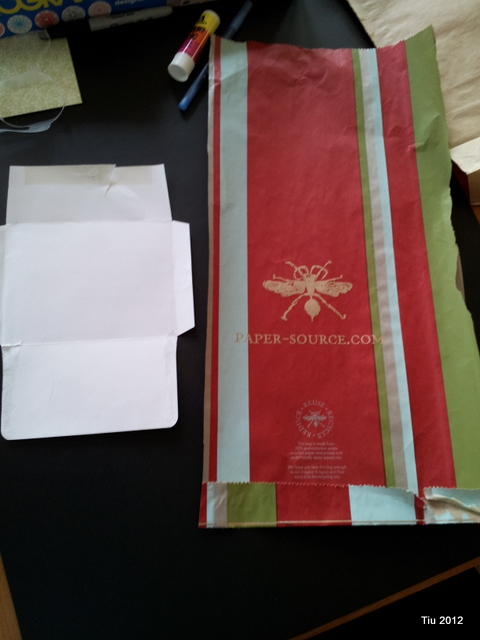
Find an envelope shape you like… from your day’s mail, from your recycling bin, from your stationery set. Whatever you have, it’ll work. Also, this way, you’ll know that the shape and size conforms to US Mail regulation. Just carefully open up your envelope which will serve as your template. I like to use a pencil to roll down the seams, opening up the envelope with little tearing. Then if you’re not to particular about the design, just start tracing onto your paper bag.

For this one side, I really wanted the logo to be in the middle of the envelope. After you’re done tracing and cutting, start folding per your envelope template.

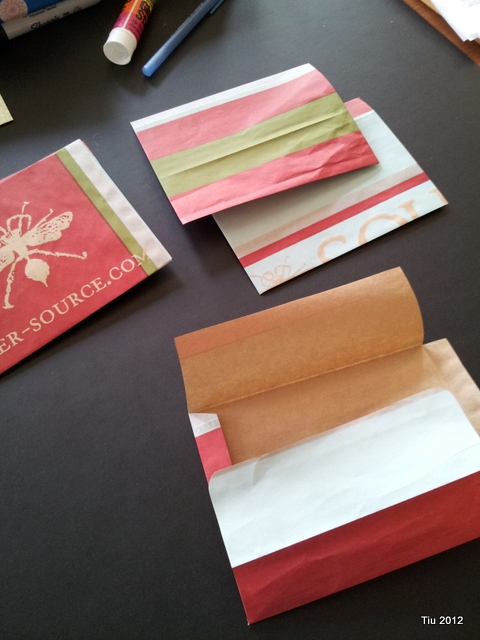
Here’s what they look like… use a glue stick to adhere all the sides in place and to later seal your envelope!

Who wouldn’t like getting mail in these envelopes?

Paper Folding on the Airplane

On the return flight home, I was feeling a little fidgety. No crafting for about two weeks… but since I went to Urban Craft Uprising and saw lots of handmade goods around Granville Island, Canada, I was antsy. So, to pass the time, I started thumbing through the airline magazine. The semi-finished sudoku and crossword puzzles didn’t capture my attention that much, and I had read through the steakhouse directory too many times. Onward to the Sky Mall magazine! I enjoy virtual shopping as much as anyone else especially when one magazine has business books-on-tape, concrete garden fountains and pet gear under the same cover.

But that didn’t last too long either… without scissors, glue, knitting needles, or even a crochet hook, what was a girl to do? (Incidentally, these are all probably unsafe or inappropriate things to bring on a plane now.)

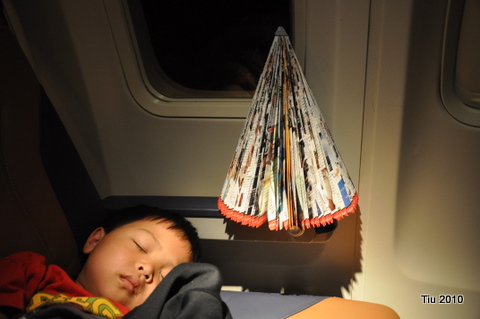
I made a paper tree! Actually I made two: one on the way to Phoenix and the one in the picture was on the way home. I both cases I left them on the plane. Someone (cleaning crew, probably) might have found it interesting, or at the very least, amusing? My husband called me the “(paper) tree bandit”. I thought of it as free art. Want to make some on your next plane ride? It’s really easy, and the instructions are here.

Tutorial: Newspaper Seedling Pots and Cardboard Garden Tray

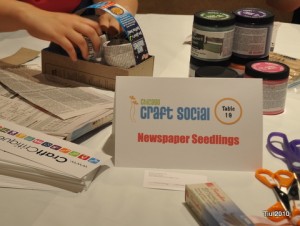
It was another awesome time at the Chicago Craft Social last Friday night! I’m writing about the event on Craft Critique, so here we’ll just focus on this cool, recycle/upcycle project.

(Update: The event review is posted on Craft Critique now.)

Leading this table was a lot of fun, and I promised some new crafty friends that I would have instructions posted on this very simple eco-friendly outdoorsy project. Though it may be a little late in the season, I might start some vegetable seedlings for late summer/early fall planting. What I love about the pots is that there’s no adhesive, and you can plant the whole thing in the ground once your seedlings are established.
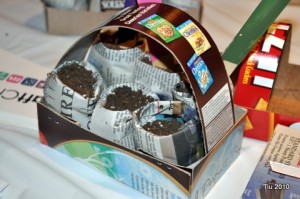
The newspaper seedling pots: newspaper and scissors

I didn’t use any forms or jars to form my pots, but there are certainly products out there that are sold at your local garden shop for not a lot of money. I took full sheets of newspaper and cut them in half, then half again (quarter-pages). Using two quarter sheets, roll them up like toilet paper roll size.
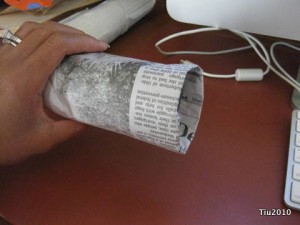
Fold one end of the tub into itself (about 1/4″ to 1/2″) and press. Repeat. Folding over a few times will give the pot some structure, a little collar of sorts.
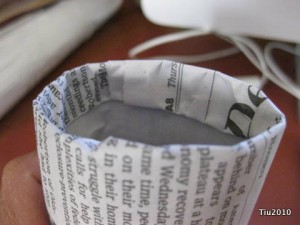
Now the tricky party: the bottom. I place the tube over my fingers like a puppet and just start folding the bottom into itself, as if I’m wrapping a cylindrical gift.
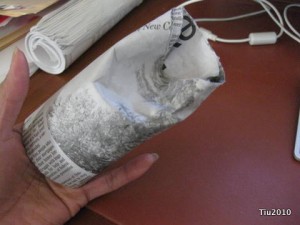
Eventually, you end up with a triangular little piece of paper, and that can get tucked in. Actually, I smash it onto the table to help get the folds to stay. No adhesives.
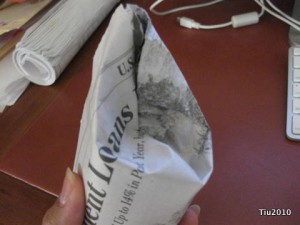
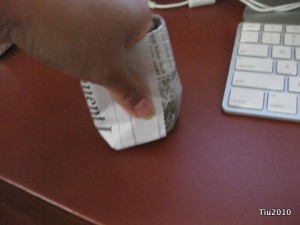
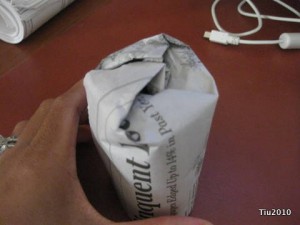
This isn’t going to look super neat, but I figure, after you’ve filled the pot with soil, and you’ve started watering your seedling, the paper is going to stick to itself after getting wet.
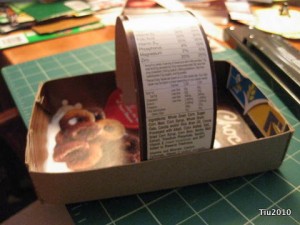
Now the tray: cardboard, cereal boxes, snack boxes, ruler, cutting mat, rotary cutter or utility knife, bone folder (optional)
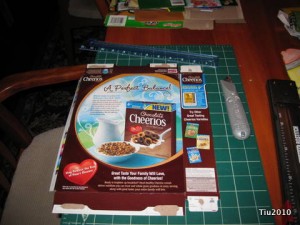
The tray was just something simple for crafters to carry their pots home, but think of the possibilities with kids and a little paint or stickers! You can use any cardboard box, like cereal and snack boxes. One box will make two trays. So, cut apart your box: front, back, two sides.

Take your large rectangular piece and measure 1-1/2″ to 2″ from each side – the width is up to you. Then using a straight edge, make a line from outside corner to “inside” corner. Score (not cut) on these lines.
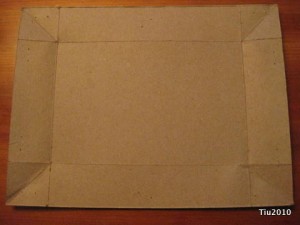
At this point, you should be able to fold the cardboard and start forming the tray. The diagonal lines can be “pushed” into the tray. This then gets stapled to the tray side (doesn’t matter which side).
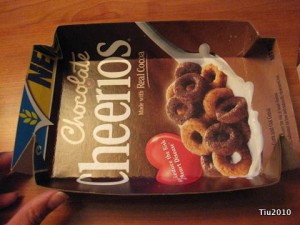
Use a box edge to create the handle… just staple onto the tray.
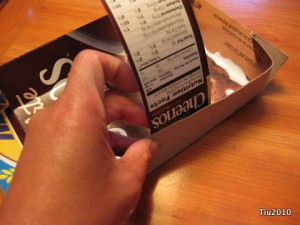
The tray below has a 1-1/2″ edge. The 2″ tray looks is shown at the beginning of this post and here at my friend’s blog, “Our Tiny Oak Park Bungalow“.
***

Looking for more crafting, my review on Xyron’s Creatopia machine is posted at Craft Critique (disclaimer). This machine is amazing! Check out all six articles, and there’s a great giveaway that ends on Saturday, June 26! Good luck!

Collage Project: Flooring Catalog

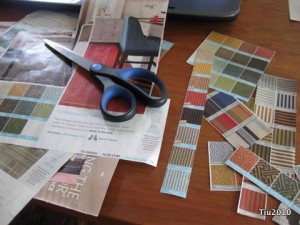
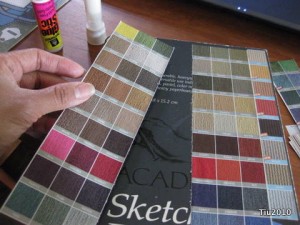
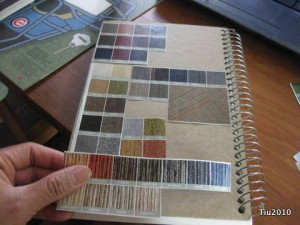
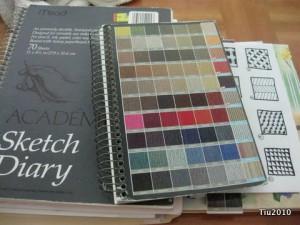
Magazines and catalogs are sometimes the best sources of inspiration, especially when I see tons of little colored squares in a particular carpet tile catalog (we actually used these tiles in our basement).  I was itching to do a collage project and finally broke out the scissors. The tiles would be perfect for covering up one of my sketch books.

Since the squares were all uniform in size, piecing it together was easy… like a cut-and-paste Tetris game! I’d like to do one coat of Mod Podge on the front and back covers soon, and I have enough cut-outs to cover my larger sketch book another time.
Some Festive Cards for anytime

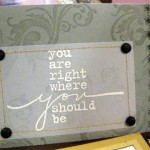
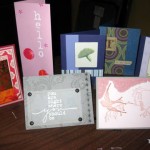
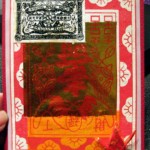
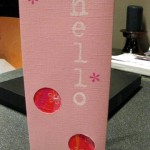
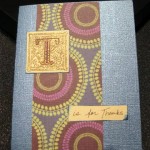
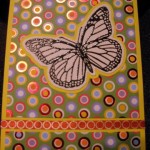
I was busy last week getting a pack of cards ready for a silent auction. I hope the winner enjoys these and actually uses them. (Click on the picture for a better look.) Now I need to get crackin’ on a few mother’s day cards and one birthday card for a friend’s daughter who turns one this weekend!

Related Posts with Thumbnails