I didn’t realize what a polarizing topic this could be. Do you overlap the “tail” over the box, do you fold the “tail” so it just meets the edge of the box, or do you fold so that the “tail” meets in the middle and you have something that looks like an envelope? There is no right answer – I think it’s all personal preference.

And the other thing about wrapping – how do you cut just enough paper? Well, you can measure your box, all the way around and then the ends or you could eyeball it like everyone does with some freestyle measuring to insure you have enough paper.

Here’s how I like to wrap gifts.

• Lay your box down on your unrolled gift wrap.
• Pull the paper around the box to make sure you have enough to go around plus about an inch. If you don’t, turn your box 90 degrees. You’ll probably have enough that way.
• Before you cut, check for end coverage, and crease lightly with your fingers.
• Cut the paper where you made a crease. If you happen to have a grid on the backside of your paper, you’ll have an easy time cutting straight. Otherwise, follow parallel to the roll and you’ll be pretty straight.
• Tape one edge of the wrapping paper to the box. This is the only way I can make my gift wrapping nice and taut. If you have double-stick tape, by all means use that.
• Wrap around the gift and before you tape your paper down, crease along the raw cut edge. You’ll have a nice finished edge. Tape it down in the center.

• Ends – fold in the sides and when you press inward, you’ll find that the upper and lower flaps will start looking triangular at the ends. Make sharp folds for neater edges. Fold the bottom flap up and then the upper to close up the gift end. Tape in three spots, and repeat on the other side. (Or tape in the just one spot, at the tail.)

You could also make your wrapping look seamless just by taking your wrapping paper all the way over and then taping. Fancy, right? My kids don’t like this method because they can’t find a good spot to start ripping (in their opinion).
Lastly, give all the edges of your gift wrapped box a nice pinch. Just put your thumb and pointer finger together and run along all the edges. Makes for crisp corners.

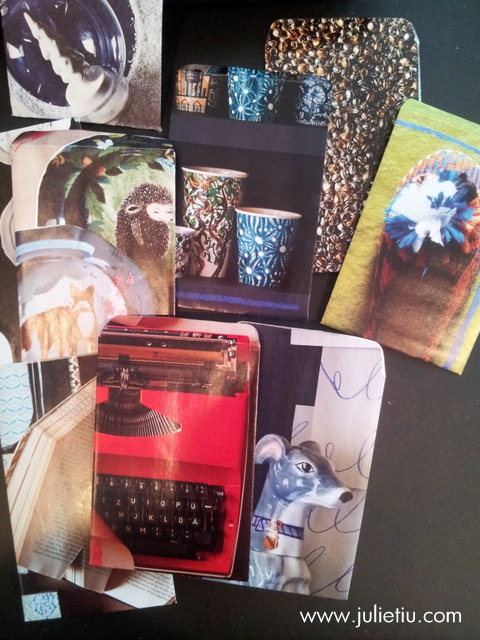
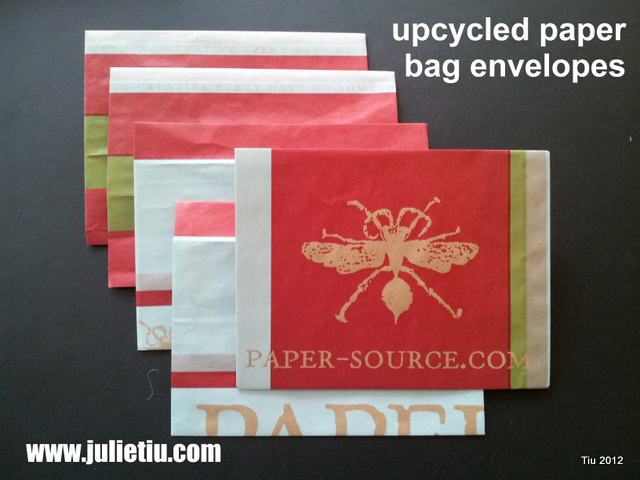
If I happen to run out of gift wrap (unlikely, but it happens), I like to use paper bags, craft paper, magazines, newspaper, old phone book pages (yellow, of course), etc. There are some fine looking magazine pages that really serve themed-gift wrapping well (like that small box in the upper left hand corner in the picture – watch ad from a magazine).

Endless gift wrapping possibilities…

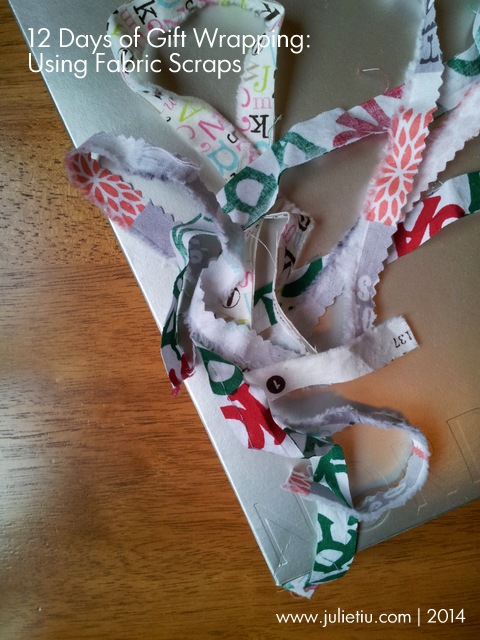
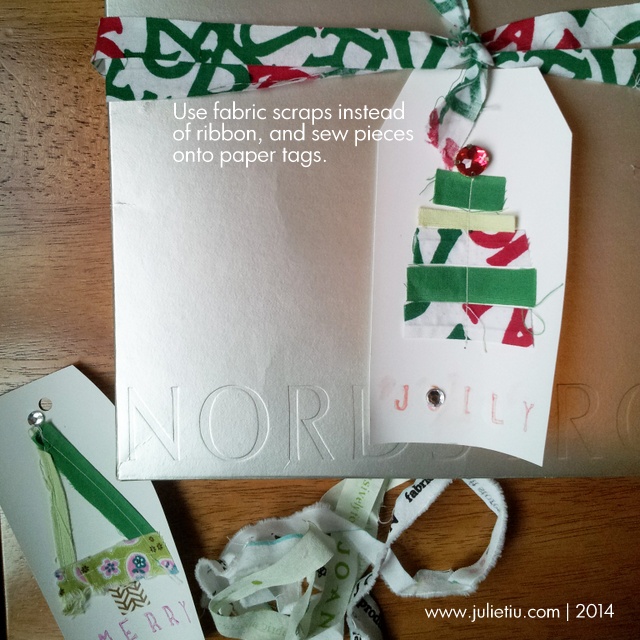
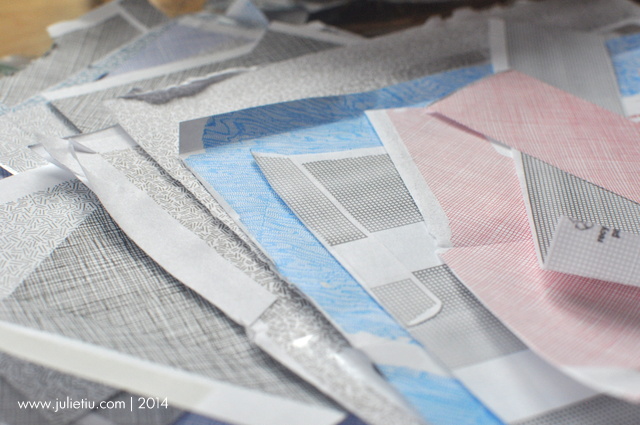
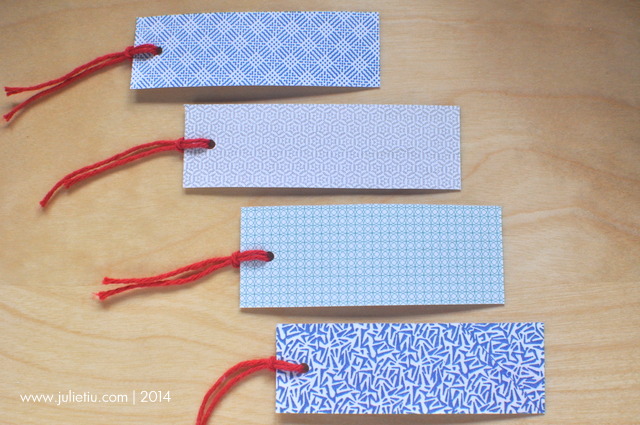
Don’t throw away the small cut pieces of gift wrap, either. You can wrap a small gift, or it can become a curly topper (you’ll see in another post)!