12 Earth Day projects to make

Since it’s Earth Day, I’m rounding up some past projects that highlight recycling or reusing. The projects range from very easy to more involved. I hope you try some out!

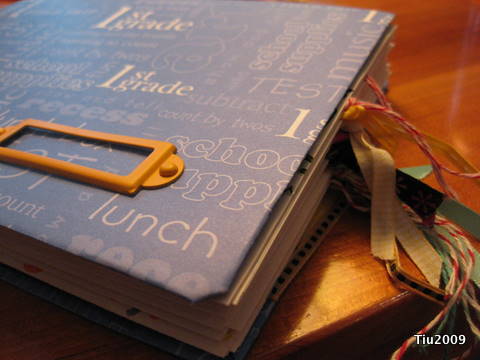
An Accordion Spine Journal with reused envelopes for pages

Completed journal

Tutorial: Accordion Spine Journal

Reusing a Gift Bag

Gift bag redecorated

Reusing a gift bag by embellishing over a logo

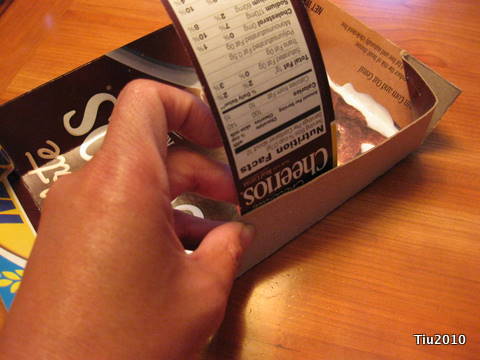
Recycled Cereal Box Notebooks

Recycled Cereal and Product Cardboard Boxes

Any cardboard box can become a fun notebook cover.

Newspaper Seedling Pots and a Cardboard Tray

recycled cardboard garden tray - handle placement

Make a tray to hold all your seedlings.

DIY Barrel Composter

Rotating Barrel Composter

Food grade plastic barrel becomes a composter.

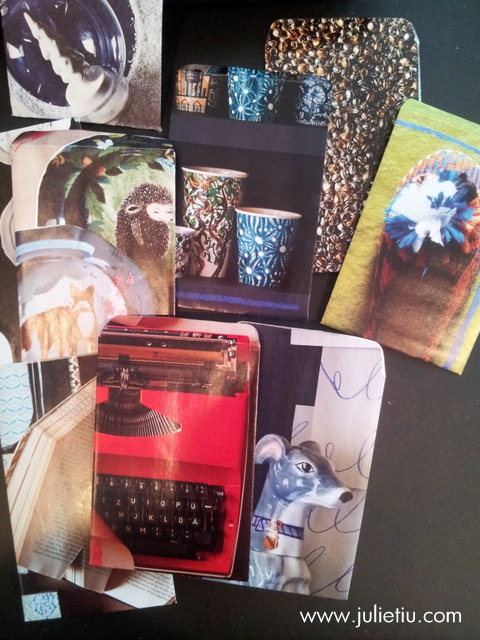
Mini-Envelopes from magazines

Mini envelopes from magazines free printable template

Use pages from a favorite catalog to make mini envelopes

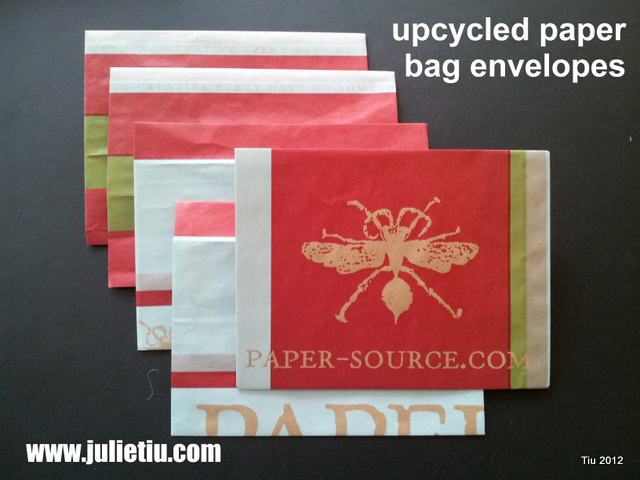
Upcycled Paper Bag envelopes

Paper Bag Envelopes

Make envelopes from a paper bag

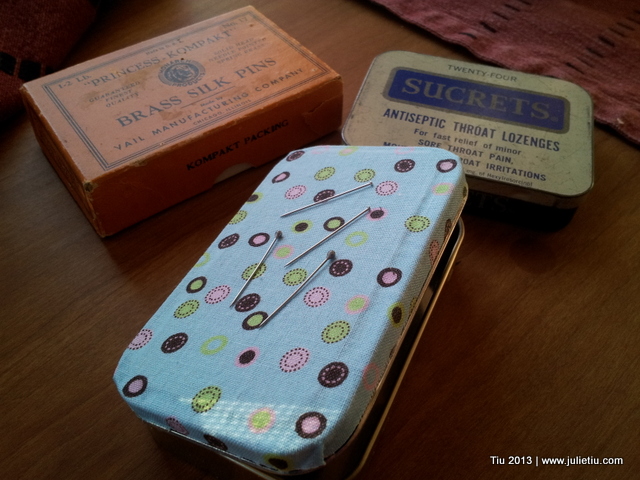
Magnetic Pin Holder from a mint container

Magnetic Pin Holder from candy tin

Mint tins can be handy containers

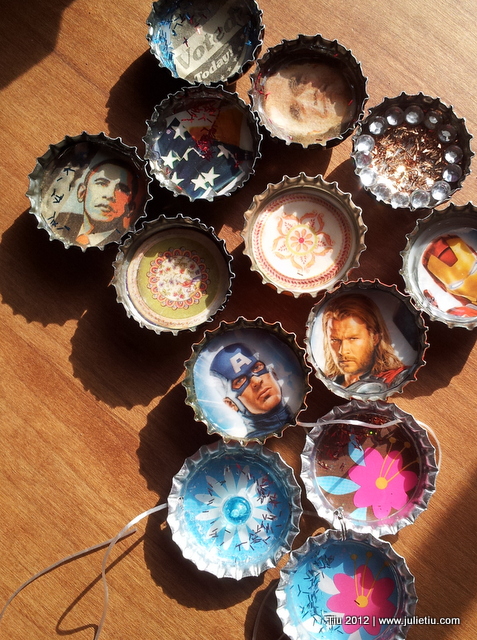
Bottle Cap Art

Bottle Cap Art: Finished pieces

Bottle caps can be fun little frames

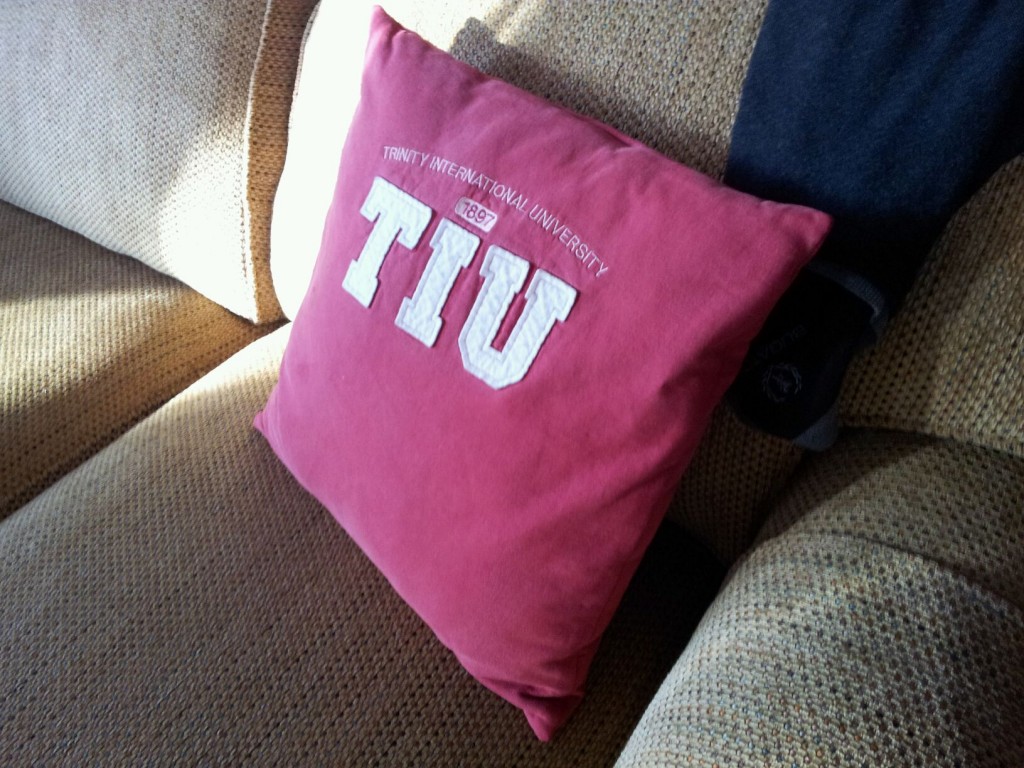
Upcycled Sweatshirt Throw Pillow

Upcycled Sweatshirt Pillow

Upcycled Sweatshirt Pillow

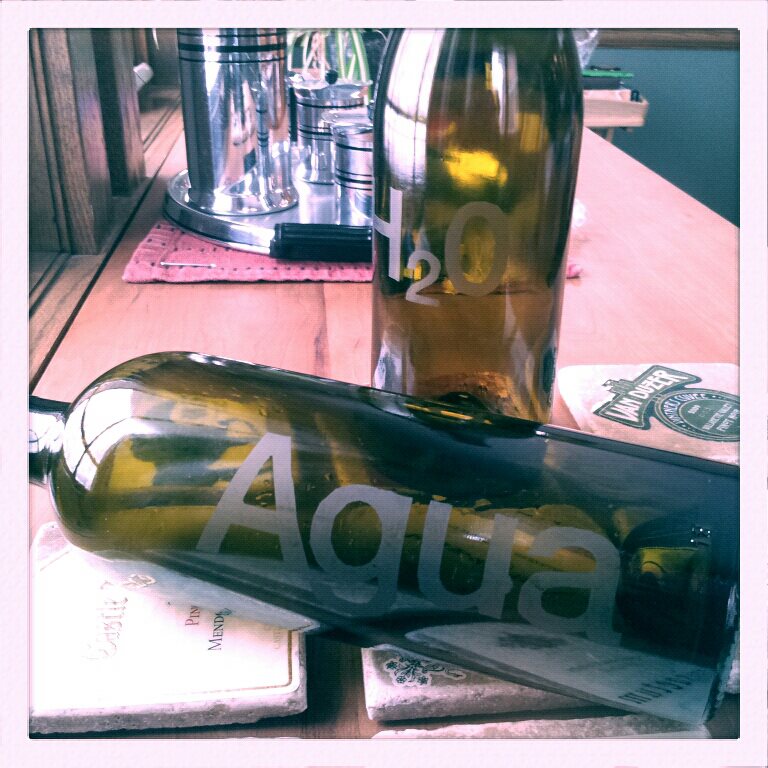
Reusing Wine Bottles as water carafes

Glass Etching Wine Bottle

Reuse wine bottles as water carafes

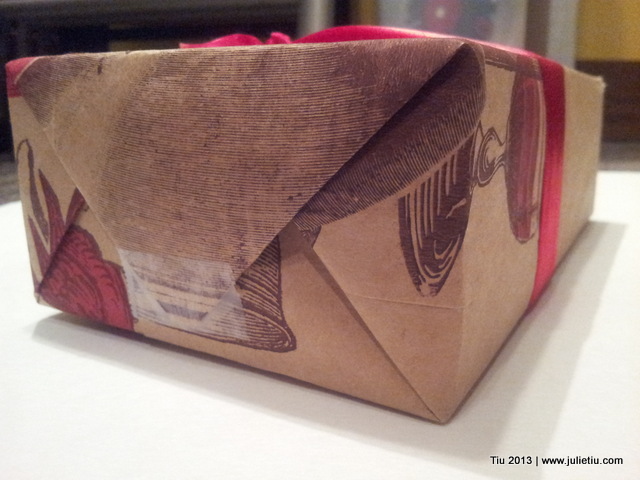
and, I reused a grocery bag as gift wrap in this gift wrapping post.

Grocery Bag reused for gift wrapping

A simple brown paper bag can be a nice gift wrap.

Enjoy your time creating and making!

That Old Sweatshirt – A pillow tutorial

I get sentimental about things that other people would probably not even think twice about throwing away or donating. I have old ticket stubs, concert programs, newspaper clippings – those things I can put in a scrapbook. But I’ve been known to hoard be sentimental about clothes too, and only recently have I been purging all our closets. Sometimes there’s just that one article of clothing you want to keep. See this old collegiate sweatshirt…

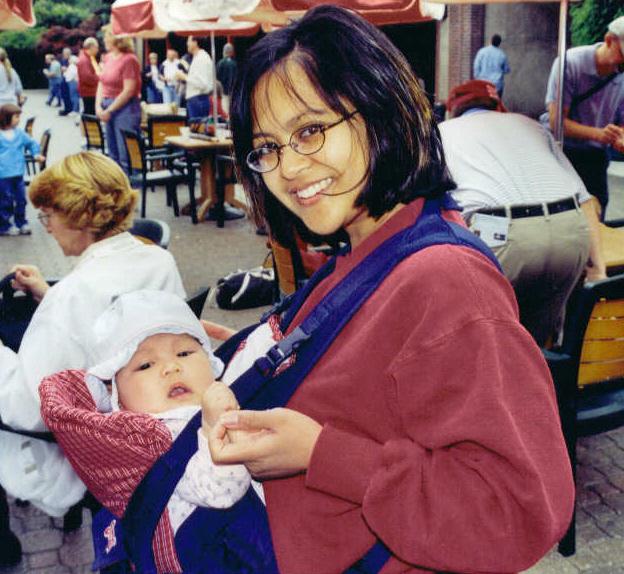
Julie Tiu in 2002

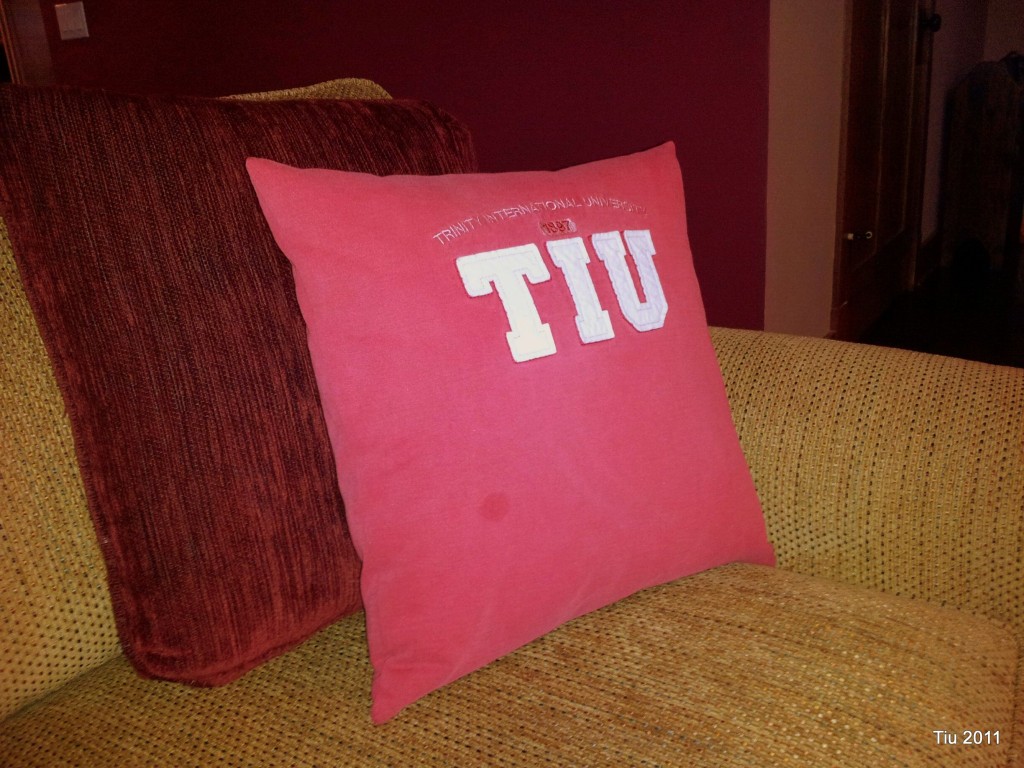
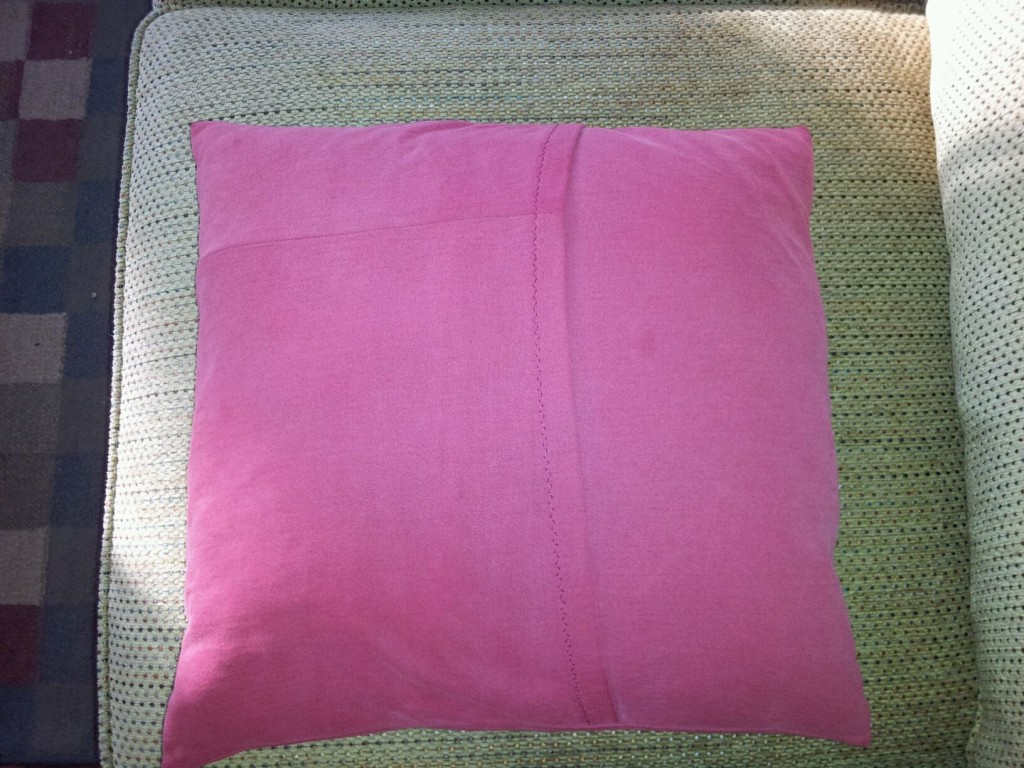
…Became this pillow. (I know, after 10 years, right?)

An upcycled sweatshirt made into an envelope pillow – meaning, you can slip the cover on and off. Very easy for washing. Could be a cute gift for Valentine’s Day, too.

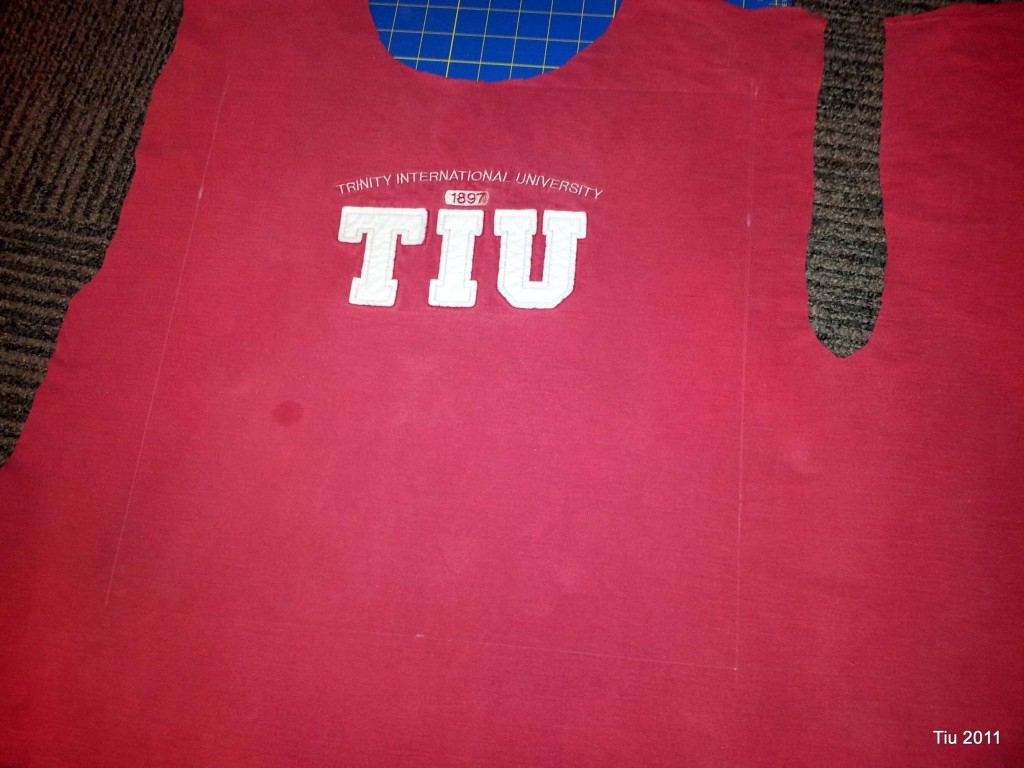
Recycle Your Favorite Sweatshirt (I didn't even attend this school. Got the sweatshirt because it had my last name!)

And here’s how I did it.

  1. Take your clean sweatshirt of choice and lay it on a table or on the floor.
  2. I cut the sleeves off first. Then set aside.
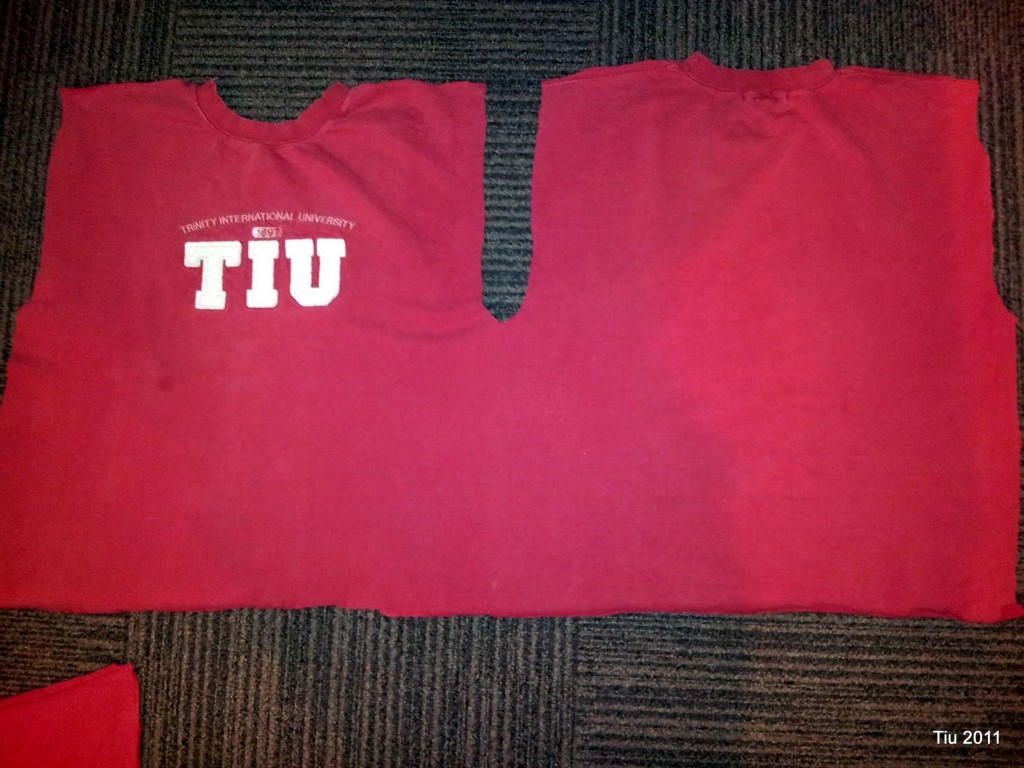
  3. Next cut along one of the side seams of your shirt and along the shoulder seams. This will open everything up. I did it this way to give the largest piece of continuous fabric.
  4. Cut off the bottom hem and collar (cuff material) also. At this point you may need to iron the shirt (highly recommended).

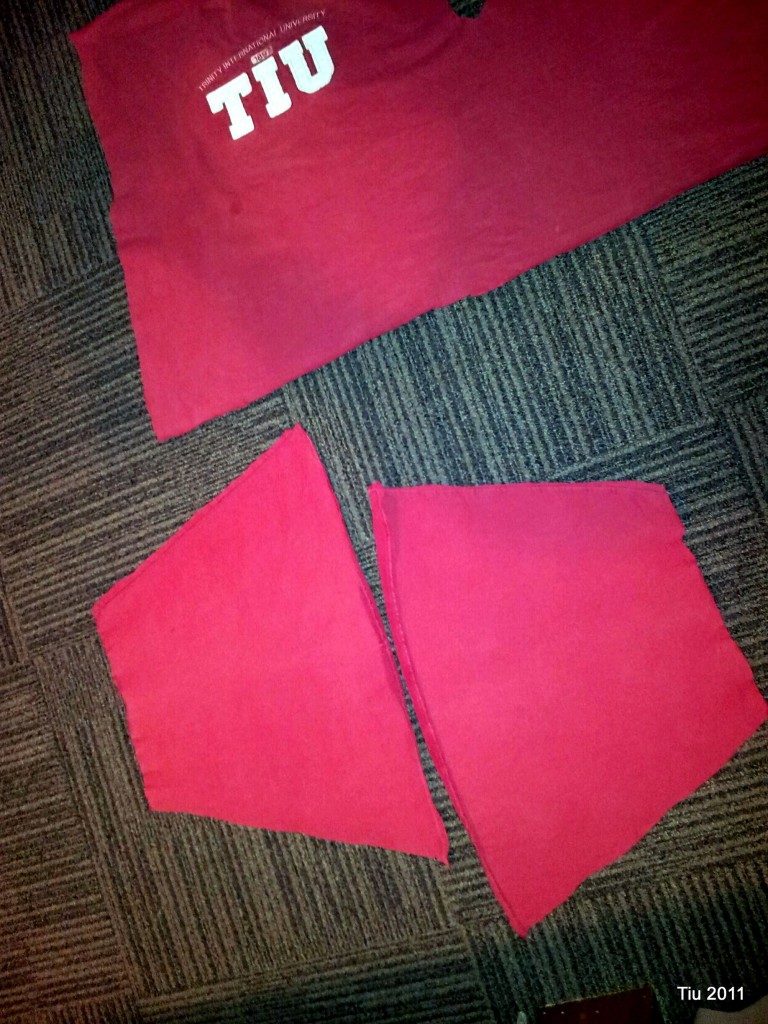
  5. You may need the sleeves for extra fabric. Cut off the cuffs and cut along either side of the seam.

    Sweatshirt sleeves cut open

  6. For a 16 x 16 pillow, you will need three pieces of fabric: (1) 16-1/2″ x 16-1/2″ for the front, (2) 12-1/2″ x 16-1/2″ for the back. (See my fancy sketch below.) I needed to use the extra sleeve material for one of the back panels. Just piece together if you need to.
  7. Try to center your focal point. I didn’t have too much choice – just went as high as I could.

  8. Prepare the back pieces first. Fold along the length (16-1/2″) and press 1/2″, then fold 1/2″ again, pin and edgestitch. Do this to the other piece. Press both pieces. Note: I found the zig-zag stitch easier to do with the stretchy sweatshirt material.

  9. Lay the front piece down, right side up. Next lay one of the back pieces, wrong side up, matching the raw edge with your front piece. The finished edge should be somewhere in the center area. Lay the other back piece with its raw edge along the other side of the front piece. Now the finished edges of your back pieces should be overlapping one another.
  10. Stitch around the perimeter with a 1/2″ allowance. Backstitch as you start and finish. When complete, remove and clip your corners, and turn rightside out.
  11. Stuff your pillowcase!

So here’s the thing – you can adjust the size of your fabric for any size pillow by just adding 1/2″ to your finished size. The back pieces take a little math.

16″ x 16″ pillow – cut 16-1/2″ x 16-1/2″ (front) and 16-1/2″ x 11-1/4″ (two pieces for the back)

14″ x 14″ – cut 14-1/2″ x 14-1/2″ (front) and 14-1/2″ x 9-1/4″ (two pieces for the back)

12″ x 16″ pillow – cut 12-1/2″ x 16-1/2(front) and 12-1/2″ x 11-1/4″ (two pieces for the back)

12″ x 12″ pillow – cut 12-1/2″ x 12-1/2(front) and 12-1/2″ x 7-1/4″ (two pieces for the back)

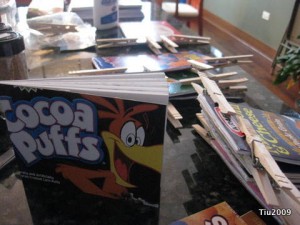
Recycled Cardboard Box Notebooks

Recycled Cereal and Product Boxes

This is too much fun and too easy. I love making little gifts for little friends. These recycled cereal box (snack box, pasta box) notebook is just too cute. They’re all drying right now in my kitchen because my basement crafting table is completely cluttered with other projects in progress. (This is why I think I have crafting A.D.D. but that’s for another time.)

So… I was cutting and breaking down all these boxes and saving them in a container (not cluttered). I’m sure my husband thought I was nuts, becoming a hoarder. (See honey, I’m using them!!) I took all the scrap paper I was using for computer printer paper (like backs of school notes, school homework, junk mail with blank sides, etc.) and cut them down to the sizes I needed. I tried to stay with either half sheets (5-1/2″ x 8-1/2″) or quarter-size (4-1/4″ x 5-1/2″).

My dilemma was figuring out how I wanted to bind the books. I actually tried handsewing one book. There are tons of how-to’s online (like here or here), but in the end, it just didn’t look the way I wanted it to. I could have (COULD HAVE) just gone to the office copy place to have them bind the books with a comb, but I really wanted to stick with an all-recycled type of project and, dare I say, I’m frugal. Here’s how I chose to bind.

Just pick your covers, take your sheets of paper and clamp together. I kept these to 25-30 sheets each so clothespins are perfect. White glue is an amazing thing. Just squeeze some down the side you want as a spine, let dry a little, and then do a second application. The book is practically done at this point, and that’s where I am in the picture. What I have left to do is to make a nice, skinny spine cover with solid colored paper like craft paper or maybe even brown paper bag? We’ll see what I have in my paper bin.

Happy recycling.
Crafting with Leftover Paint Chips

My stash of paint samples from my construction days

I’m sure we’ve all collected paint chips or paint sample cards from home improvement stores at some point. I’d pick some up just for inspiration when I was rubber stamping. The picture above is of a sample case from my days of working in construction… what a fun tool to have there. But more recently, I’ve collected paint chips for our home and didn’t realize that I doubled, or even tripled, up on some of the sample cards. Like the pack rat that I am, I thought that I might someday figure out how to use or re-use them in a crafty sort of way. So, for even more inspiration, I found these sites and now I can’t wait to make projects like these!

Paint Chip Card Holders at DesignVerb

Embroidered Paint Chip Cards by Lisa at Craftzine.com

Punched Dot Cards at Elegant Musings

Rain Barrel at Work

Our 55 gallon rain barrel filled up so fast, which is great, and then it started spilling over. That was expected. The problem is WHERE it was spilling into.

Rain barrel at work

Soil was getting washed away, and water was just pouring right underneath our driveway. It probably disturbed critters living there, if there were any at all. But the big concern is that the soil backfill is just eroding, and soon we might have a big problem with our basement flooding, or driveway sinking, or who knows. The weather calls for more rain tomorrow, so we emptied the barrel into the side yard which hardly gets wet from the rain since it’s shaded by a big tree on our neighbor’s lawn.

We’re thinking about painting the barrel someday. See here for some examples!

Related Posts with Thumbnails