Completed Project: the hexie pillow

Hexie Pillow tutorial

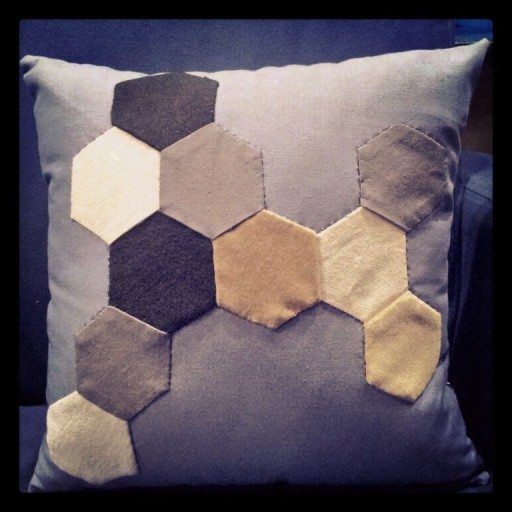
Here it is! My pillow evolved from practicing and messing around with hexie shapes. (I posted yesterday how I cut my hexies.) Maybe it should be called “Molecule pillow” or “The Game Board pillow”, because that’s what I think of when I look at it. And, I’m not a gamer by any means, but I know that hex shapes are found in a lot of board games.

By the way, if you’ve played Settlers of Catan (or other similar games), then you know what I’m talking about. Check it out if you haven’t.

Hexie shapes for pillow

So… how are hexies put together anyway? I researched on Google for some answers. It all boiled down to : By hand, and carefully.

I found a few websites that show machine-pieced hexagons. Then I found a lot of information about paper piecing techniques, but I was looking for something that wouldn’t require cutting paper shapes for each fabric hex. Finally, I stumbled upon a tutorial for piecing hex shapes without paper. It worked for me, even if I didn’t print on my fabric. I’m pretty good at eyeballing distance and level lines.

I kept with neutral colors so I could gift the pillow to anyone – male, female, kid, adult. (In the middle of sewing the hexies together, I learned about some fabric printed with grass and rock graphics. Could be so awesome for a “Settlers of Catan” inspired project.)< Continue for what you need to make this pillow!
How to use an easy hexagon cutting template for fabric shapes

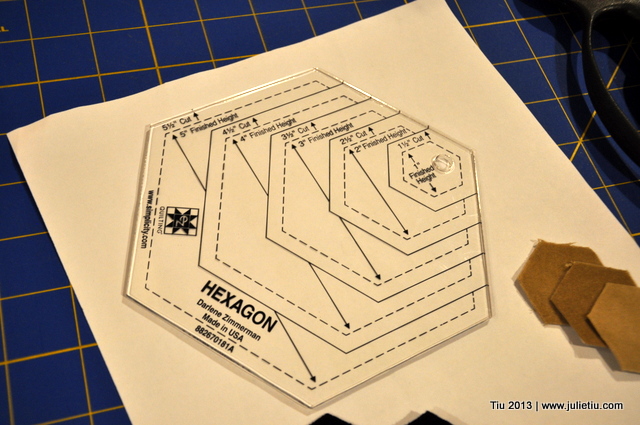
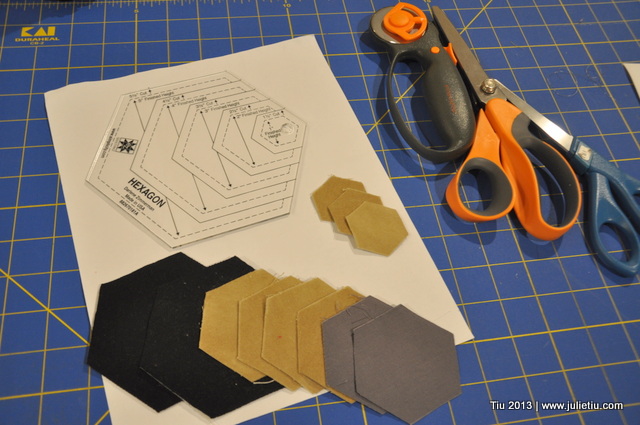
I’m smitten with hexies, fabric cut in the shape of a hexagon. They have been a big trend in the sewing and quilting world for probably four years now. You can even buy precut fabric hex shapes at the fabric store, in-person and online. People are using hexies in their sewing projects like crazy! Just do a Google image search or Instagram search and you’ll see. So, I bought this cool template to try my hand at hexie shapes – an EZ Quilting Tool 5″ Hexagon acrylic tool by Simplicity.

DSC_0011-002

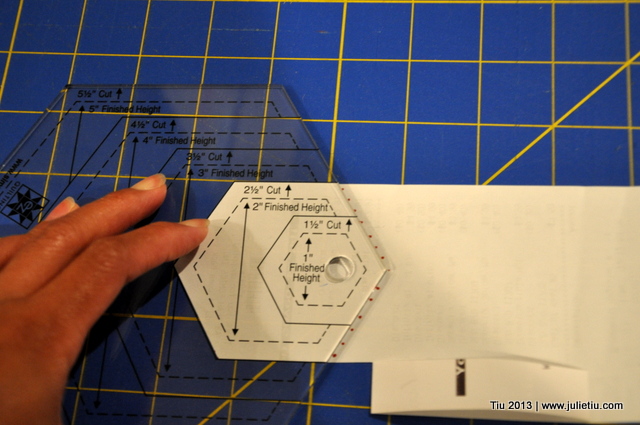
Let’s try cutting a 2″ finished hexagon. I’ll use paper to demonstrate.

DSC_0013-001

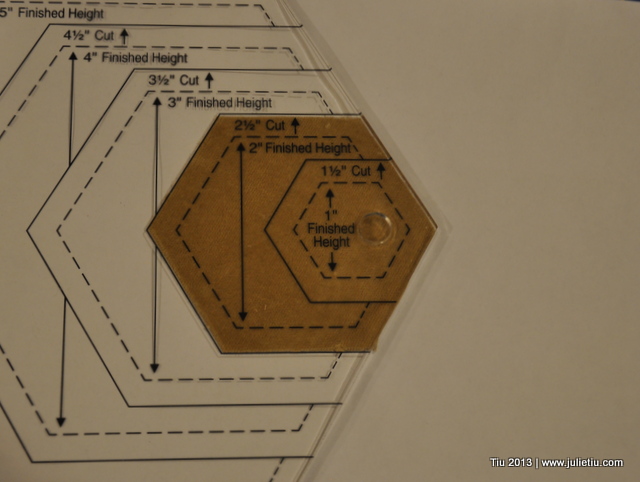
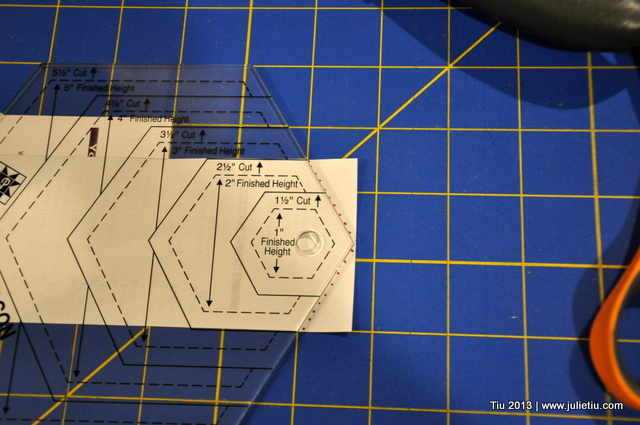
1) Cut your fabric in a strip to the width you want. (1/2″ is added for your seam allowance.) Place the template over your strip of fabric, all the way to the edge, and using a rotary cutter, make cuts at the edge as shown by my dotted lines.

DSC_0015-001

Note: I’ve heard that the smaller rotary cutter is much easier to use. Guess I’ll have to run out and get one of those too.

DSC_0017-001

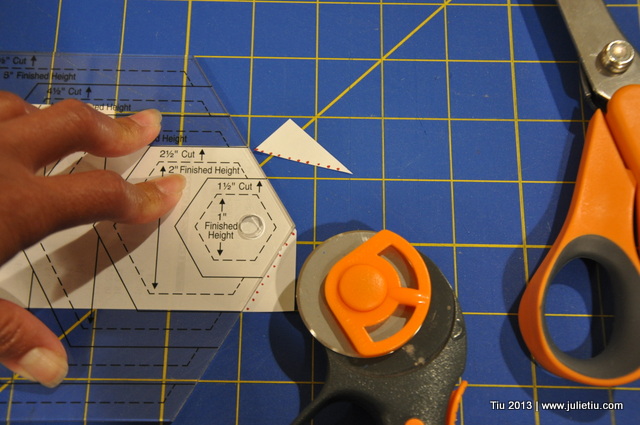
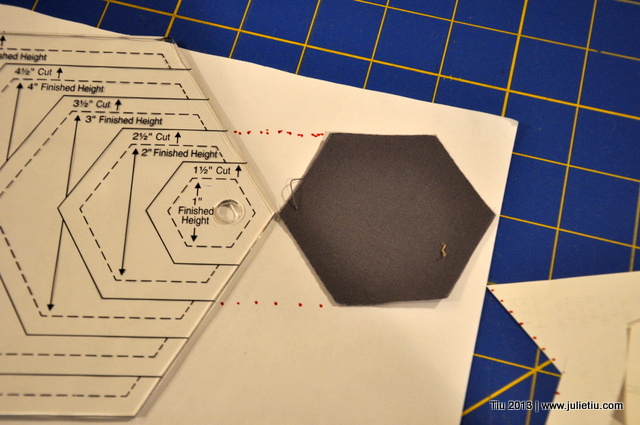
2) Flip your fabric over, and line up your cut edge with the template at the desired size. Now cut the other side of your hex shape.

DSC_0018-001

3) You’re done! You can continue cutting down the fabric strip by just lining up your template edge with the corner…

DSC_0019

…You’ll have cute triangular pieces to add to your scrap bin. (And I’m sure all the avid sewists have scrap bins.)

DSC_0020

Short of owning my own die-cutting machine, I can make all sorts of sizes with this simple tool. *grin* And, it stores very easily.

DSC_0009-001

Stay tuned for a pillow project that uses the hex shapes in an applique. THANKS!

Sewing and planting and pain, oh my.

Hello, friends. What’s been going on with you? It’s finally Spring!! Tell me I’m not the only one running around with soccer games, t-ball games and trying to do stuff outside the house.

Soccer game 2013

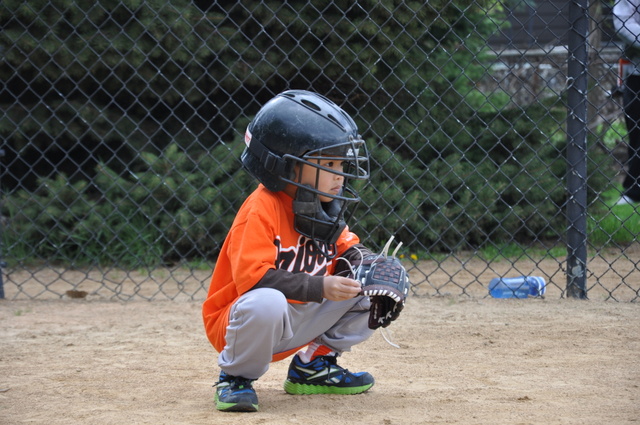
T-Ball game Catcher 2013

In some few spare moments, I made progress on sewing projects until my iron blew up on me. Oops. But, thankfully, before that happened I taught my big kid how to use the sewing machine for a class project. (She can sew!) We didn’t get snippy with each other – I’m grateful for that. Because you know, it’s so easy to get frustrated teaching your own kid.

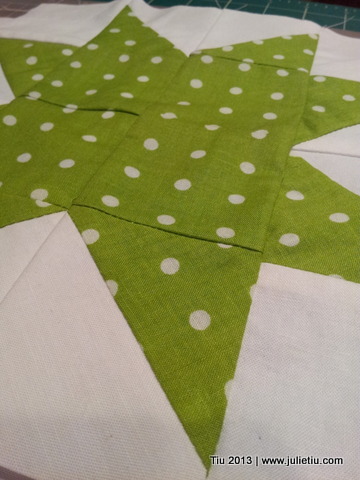
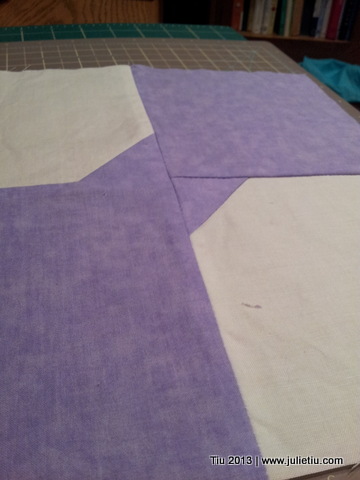
North Star quilt square

Bowtie quilt square

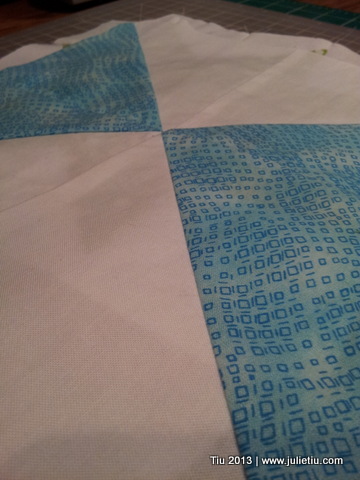
Hourglass quilt square

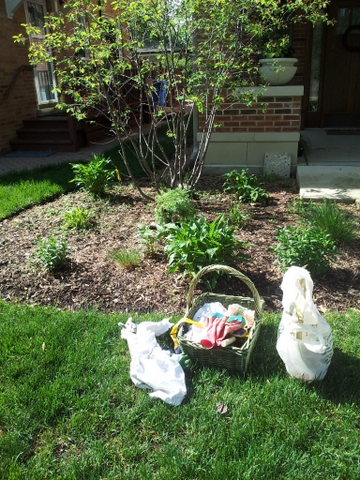
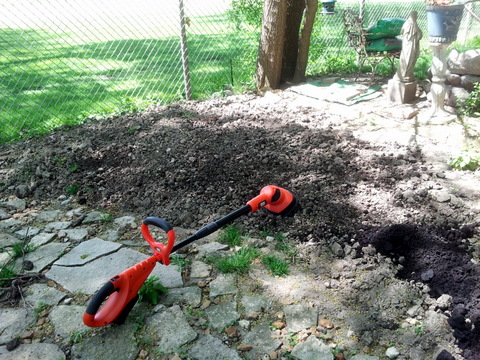
Took a break from sewing and worked in the garden beds and in the wasteland of our very clayey backyard. (Clayey, it’s a legit soils engineering word.)

Garden prep in the front

Garden prep in the backyard

Then – ouch. Not in my back, but my hands. It took a few weeks to shake off. (I’m sad about that. Means I’m getting old.)

Working the soil on your own was pretty satisfying, and I thought I did pretty well all things considered.  But basically, I was using muscles in my hands that haven’t been stressed for a while, and it didn’t occur to me that they would hurt so much. It was pretty unpleasant for someone with a high threshold for discomfort.  So I started to wonder if this was it… arthritis. It’s prevalent in my family. Are my genes catching up to me? (Did I ever write about being tested for rheumatoid arthritis? I’m good. No signs.)

I even made sure I wore my wrist braces to sleep (yes, both wrists) to make sure I didn’t wake up with numb hands. (Yeah, carpal tunnel too.) So when I woke up the next morning with awfully sore hands, I thought, okay, let’s take some Advil and all will be well. Right hand, good. Left hand, not so good. So, there’s been a slowdown of sewing/work around the house. But, I’m glad to say, my hands have returned to mostly-normal.

We were gone for a few days… visited friends, worked on bicycles. So. Much. Fun.

Bicycle Weekend at Goldberry Woods

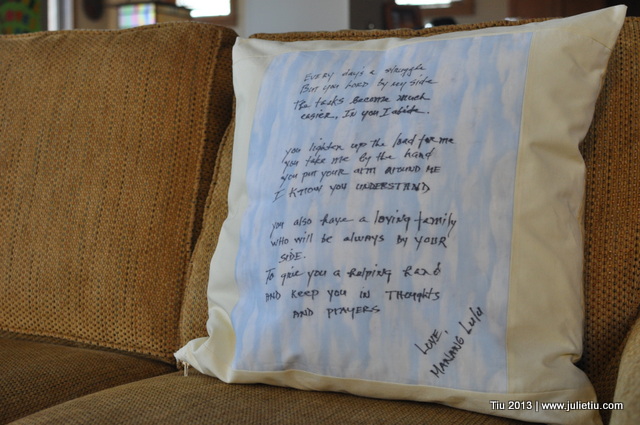
Making A Memory Pillow

… or you could call it a Keepsake Pillow.

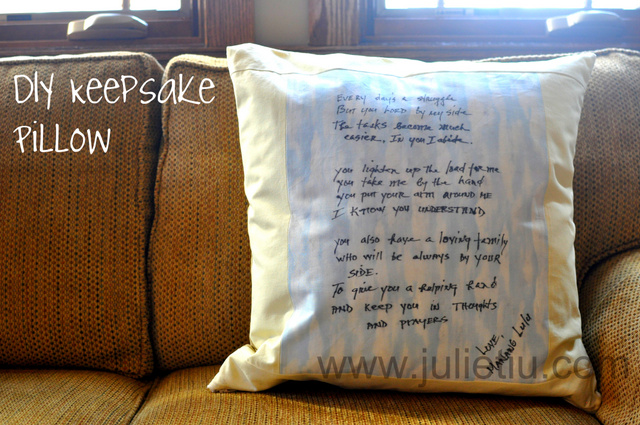
Handcrafted Keepsake Pillow

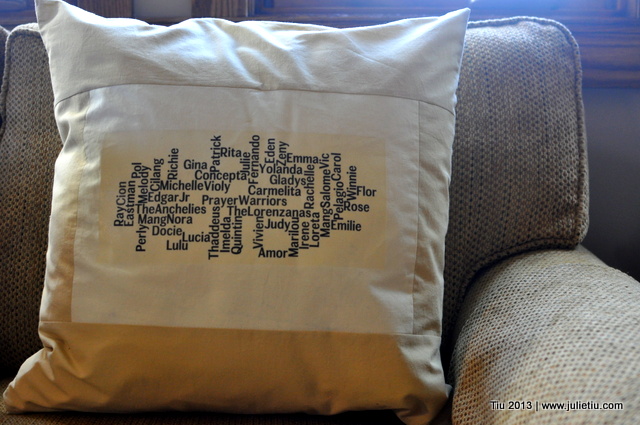
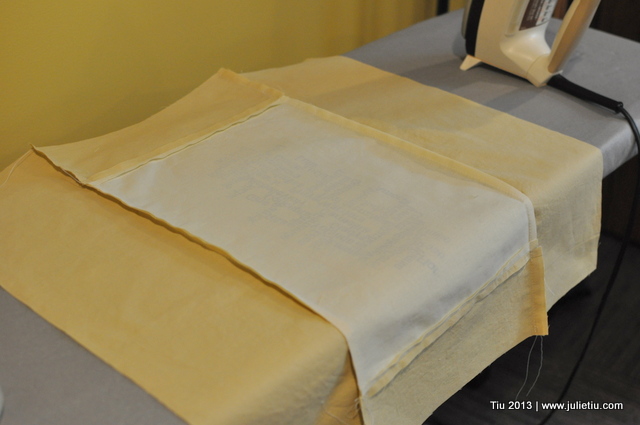
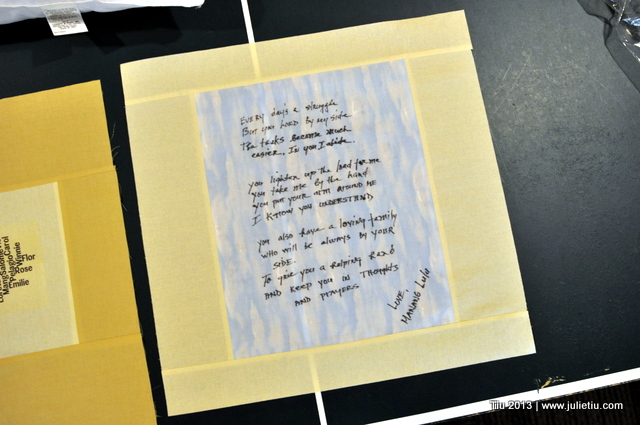
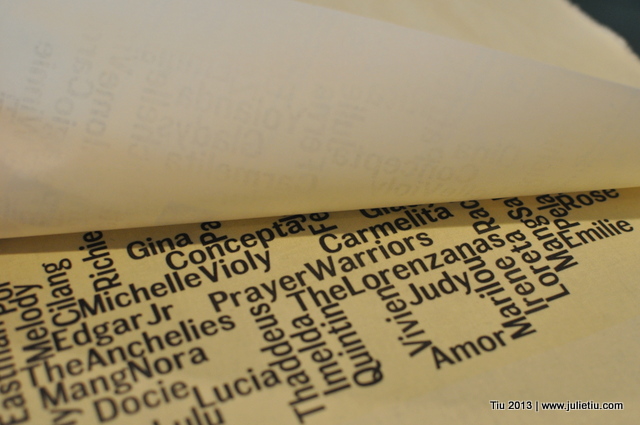
Word Cloud text on a pillow via Iron-On Transfer

Years ago, I wanted to make a memory quilt with prayers and well-wishes for my aunt and uncle. At the time, my uncle was battling an illness. Thankfully, he recovered – and then the project lay in my “to-do” pile. Fast forward to this year. We celebrated his 60th birthday. (Time has been very good to him. He stays active, keeps good company, and stays youthful with his 20-something-year-old kids.)

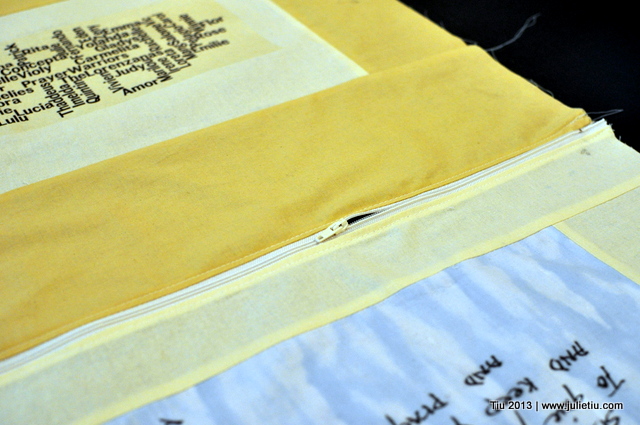
I resurrected the gift idea. You know, something thoughtful… but I downsized it to something manageable, like a pillow. A pillow cover, I could do; this time I added a zipper instead of doing an envelope enclosure.

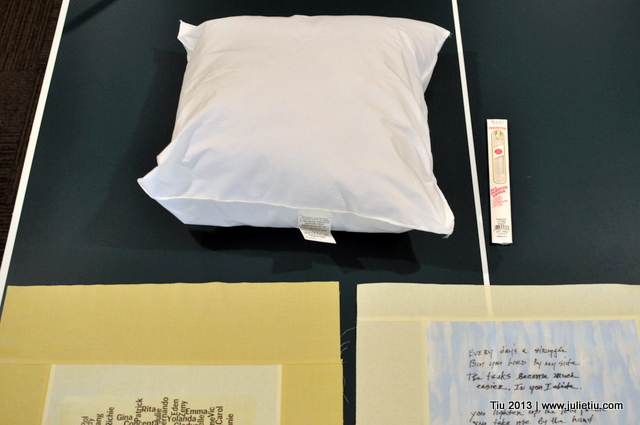
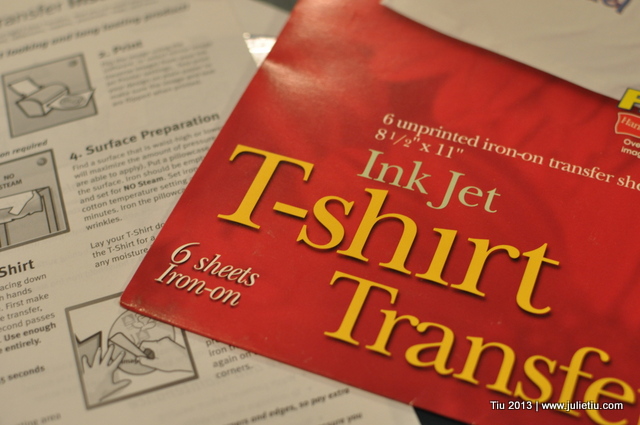
Materials used: 20 in. square pillow form, fabric, iron-on sheets for an ink-jet printer, 22 in. all-purpose zipper

Materials used in the memory pillow project

Handcrafted Keepsake Pillow

Wish I could say I documented all the steps, but this was really a free-flow, stream of consciousness project. No definite measurements, but I could probably go back and figure it out. Should I?

Handcrafted Keepsake Pillow

The front and back of the pillow cover are giant quilt squares. 20-1/2” square, to be exact. Something so heartfelt about handwriting on fabric. And, then to pair it with printed text… Kinda wonky, kinda cool. I worked out our family and friends’ names on wordle.net, and while I love color, I just ran out of colored ink for our printer. So black and white, it was.

Handcrafted Keepsake Pillow

Handcrafted Keepsake Pillow

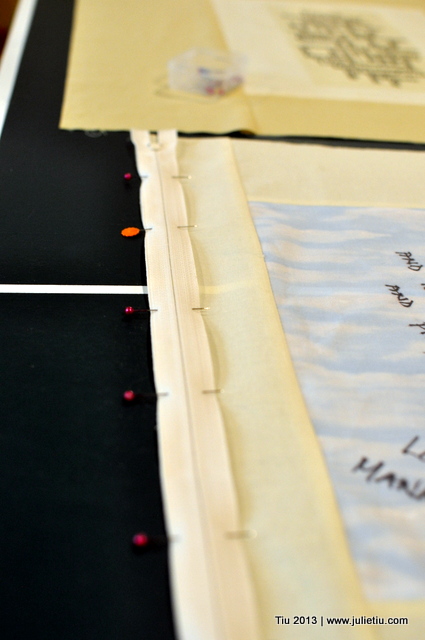
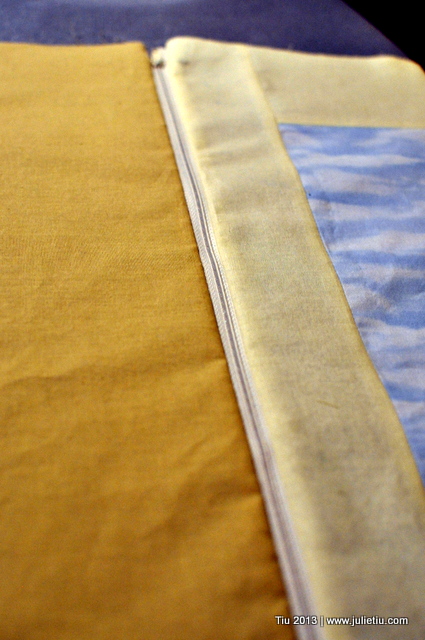
(This zipper tutorial was really helpful.)

Handcrafted Keepsake Pillow

Hooray, it worked!

Handcrafted Keepsake Pillow

Handcrafted Keepsake Pillow

Handcrafted Keepsake Pillow

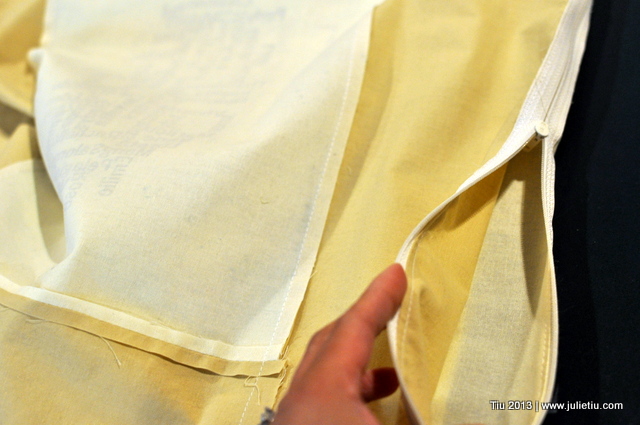
This is why you unzip before sewing

Keepsake Pillow makes a thoughtful gift

Another thoughtful project completed. On to the next one…

Crafting for a Cause: CuddLeS for Claudia

(I appreciate you reading this whole post. Happy Valentine’s Day. –Julie)

About a year and a half ago, I had an idea (and I have lots of ideas) to make some goodies, sell them and give some money to a good cause. Tons of people do this, but I wanted to do this in honor of a terrific girl out in California for her 10th birthday. She turned 11 last September. OY!

The big idea: 10 for 10. I thought I could make ten blankets or maybe one item for ten months… for Claudia, the little girl in California. Proceeds from those ten items would go to the CdLS Foundation.  They serve people with Cornelia de Lange Syndrome and their families. Why the CdLS Foundation?

Claudia. She lives with CdLS. She is my cousin’s daughter. My list of cousins – ridiculous! My mom, oldest of seven, and my dad is #9 (or #10) of 14. Compute.

So, Claudia’s dad – think back and remember your very first best friend. That’s who my cousin is for me.

Yes, I look like a boy in Swiss Miss gear. (1977)

Continue for the crafty idea!

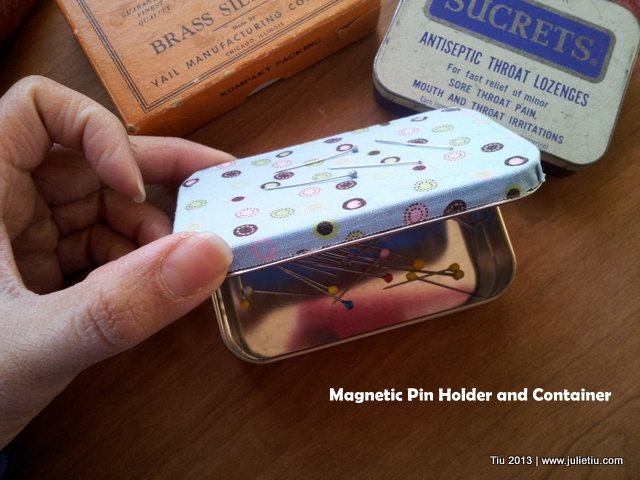
Making a Magnetic Pin Holder

20130116_094954

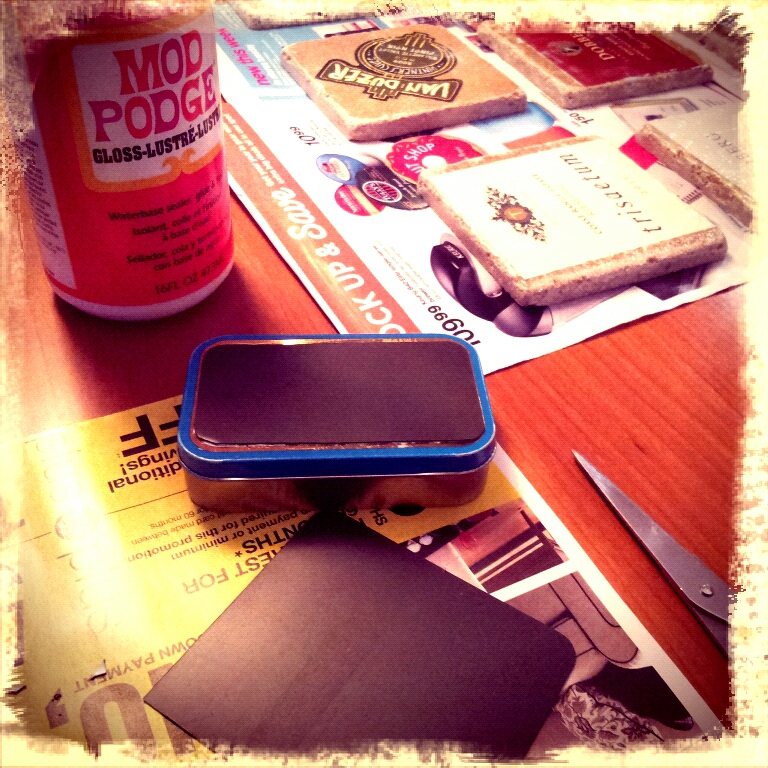
More decoupaging. This Altoids mint tin was stashed in a box waiting for its next life. Yeah, yeah, on the brink of hoarding here, but I LOVE recycling, or upcycling. Maybe this could hold some paper clips, safety pins, or thumbtacks if you’re not into sewing.

Here’s what I did to make this fun little box. I took an old refrigerator magnet (an out-of-date freebie sheet magnet), cut it to size and stuck it on the tin.

shot_1357944502777

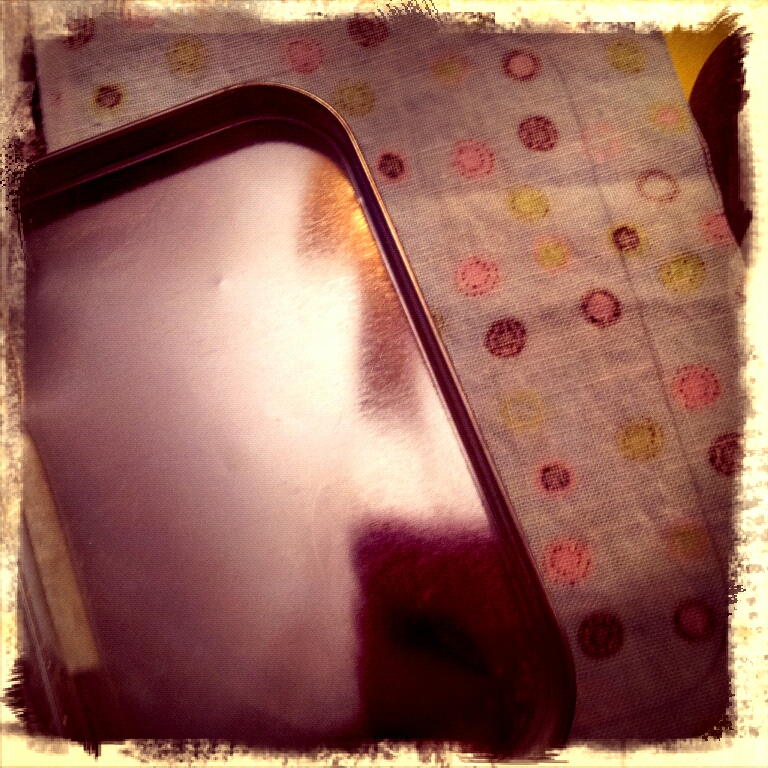
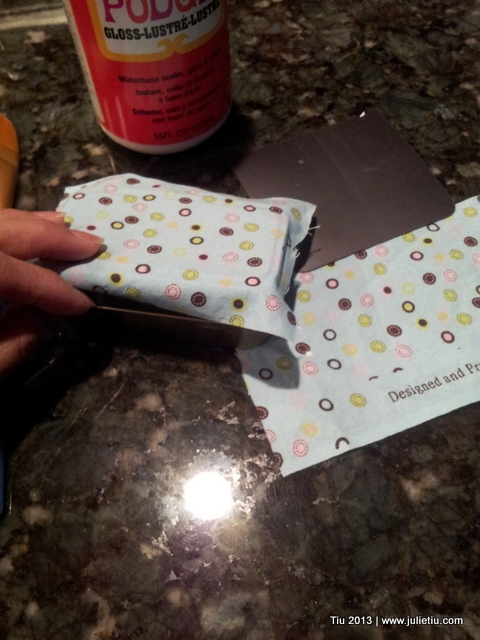
I dug up some scrap fabric and traced around the lid. Then I just cut around my traced line to make sure the fabric would completely cover the lid.

shot_1357945139881

I lightly brushed Mod Podge on the top of the lid and flattened out the fabric. When the lid was dry I decoupaged two opposite sides down to cover the entire lid… like pick the front and back, or the other two sides. It’s the corners that demand your attention. I treated the corners like I would wrapping a gift box lid – nice, neat hospital corners. Then I “Mod Podge-d” the heck out them so they’d stay down.

IMG_20130115_070412

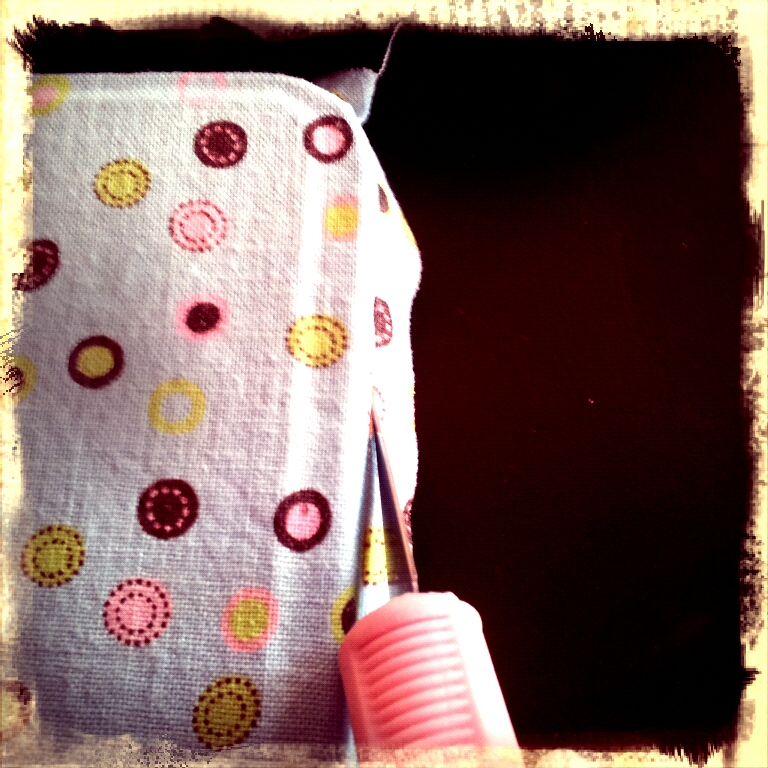
Used my sharpest craft blade (X-Acto knife) and trimmed around the lid when everything was dry. I let it dry for 24 hours (Mod Podge paranoia). Tip: Take your time with the cutting and trimming part. Mod Podge gets all crispy and tough to cut through. PLEASE be careful.

shot_1358348815034

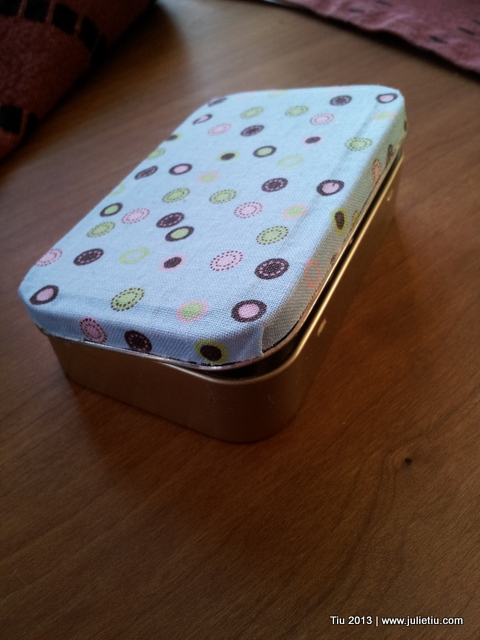
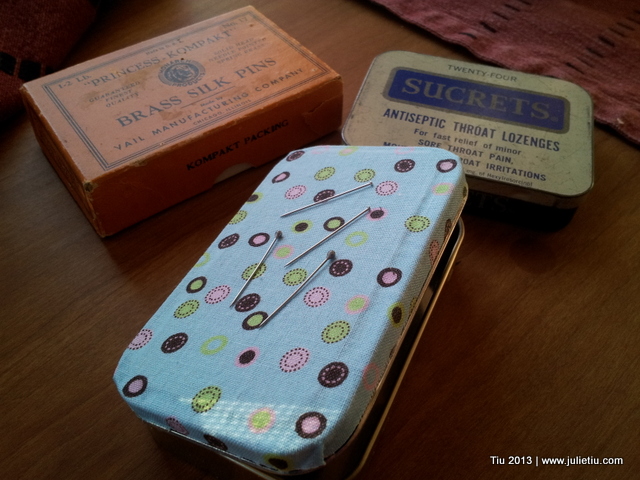
And here it is! My own little magnetic pin holder.

20130116_094255

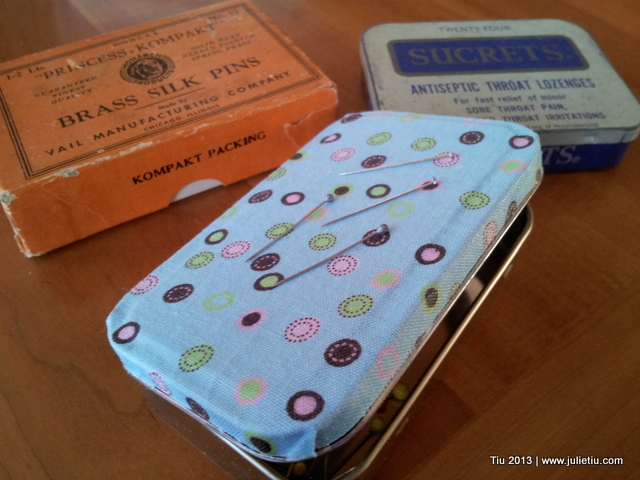
Look! The pins stick to the top!

20130116_094839

20130116_094922

Those are a couple of my other pin holders. Vintage, eh? I’m so looking forward to having the magnetic one next to my sewing machine… pins won’t get away from me so easily now. Maybe this means I have sewing projects coming up?? *grin*

Related Posts with Thumbnails