Seems fitting to post this on the last day of the month and during a Leap Year, too. My bonus day…
Day 30: Make a Creative Tool Kit! Compile your favorite words and phases of inspiration, swatches or fabric and color, drawings and doodles, and images into a little book you can pull out anytime you need to be inspired!
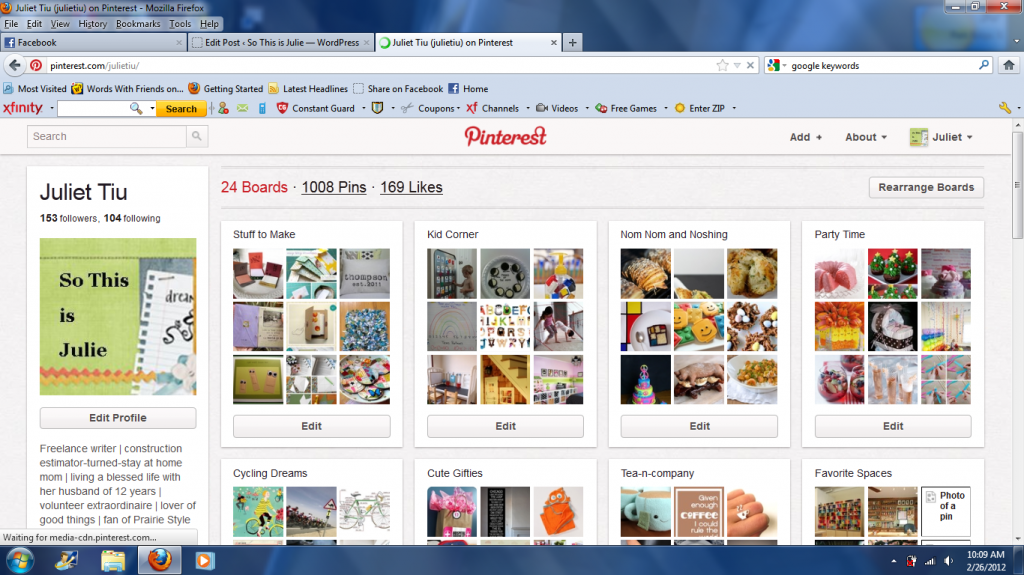
So there’s my virtual “creative tool kit” at Pinterest. Now, if you’ve been on for a while, have you noticed a lot more activity these days? Lots of people jumping on the Pinterest wagon, right? Would it overtake Twitter as a social network – I don’t know.
If you’re new to the Pinterest scene, I view it as a virtual bulletin board, or visual bookmark tool. Way easier for me than bookmarking within my web browser. It captures a picture from the website you’re bookmarking. (But shh…. let’s not get into the Pinterest copyrights and legal issues right now.)
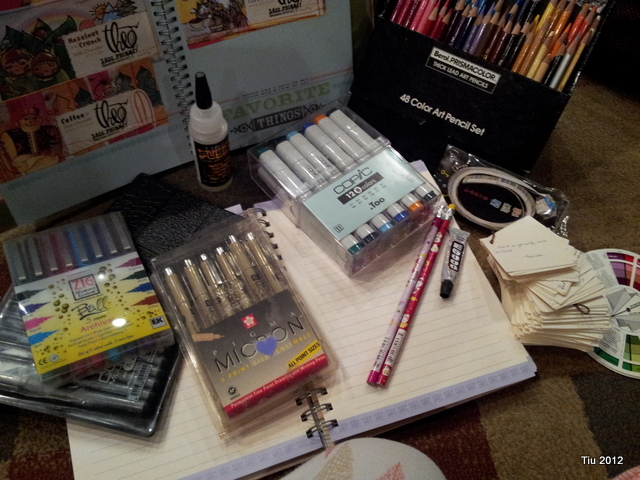
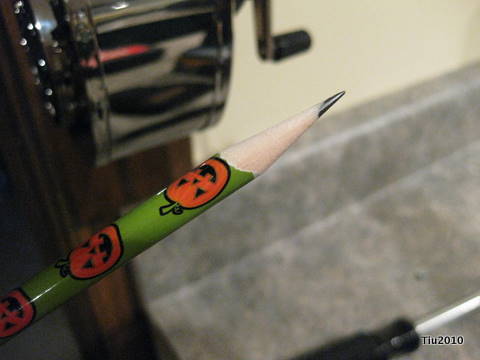
As for a tangible creative tool kit, my essentials are: good pens, pencils, glue stick, scrap paper, colored pencils, camera. Place a few things in your purse if you have some room, or maybe dedicate a tote bag. I switch a lot between a canvas tote and scrapbook paper-sized tote. If you run into me while I’m waiting for my kids in the school pick up line, you’ll probably see some of these items in the passenger seat.
You can never have enough journals. In the journal that’s shown in the upper left corner (happens to be my SMASH book), I actually have some swatches or fabric and color. In another journal, I have drawings and doodles, and layout ideas for greeting cards, drawings, and home improvement and sewing projects. And, my gardening journal! I have one of those too, great spot for pasting pictures from magazines, and dreaming of a spectacular yard and garden space. Sadly, it’s been neglected this winter.
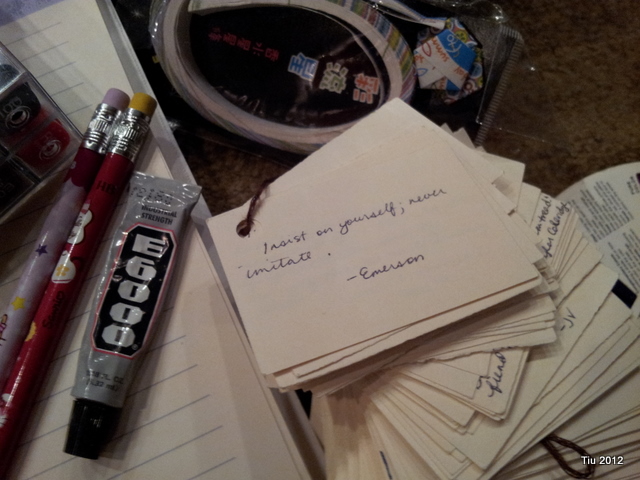
In the corner of the picture of my little pile of artsy-ness, you’ll see a stack of small cards. Here’s a close-up.
I would write out some favorite words if I came across something I liked. It’s still kept together by a small length of embroidery yarn, and it would hang in my high school locker. (Have you figured out that I’m a packrat?). It’s fun looking back at the quotes I was drawn to in my teenage and young adult life. And, gah, my handwriting was so nice then. With all this typing, my penmanship isn’t quite what it used to be – at least to me, it isn’t.
Funny, some things never change – I still love collecting quotes, words of hope, of inspiration and self-discovery. And, I think this whole challenge has helped me discover some passions that have been lying dormant.
Thanks for following me through this (very drawn out) 30 Days of Creativity exercise. I’d love to hear your stories, too. Feel free to leave a link in the comments, or just write if you’ve done any of the challenges – one of them or all of them!
