K&Company Paper Bundle and Sticker Giveaway

Two giveaways in one post! AH!! Sorry I missed yesterday, but I was finishing a project. Overextended me. Typical. Let’s see what this giveaway is all about.

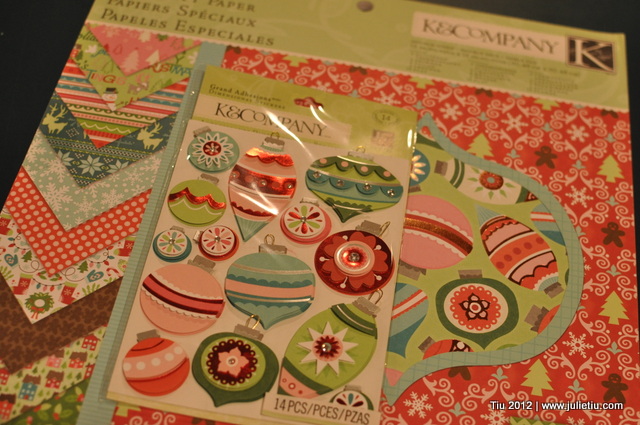
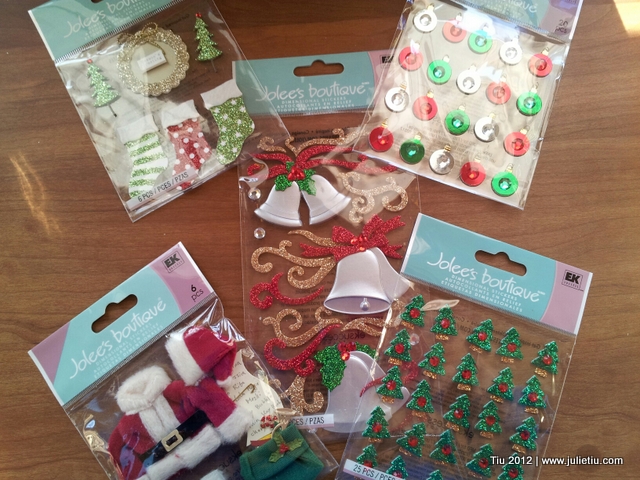
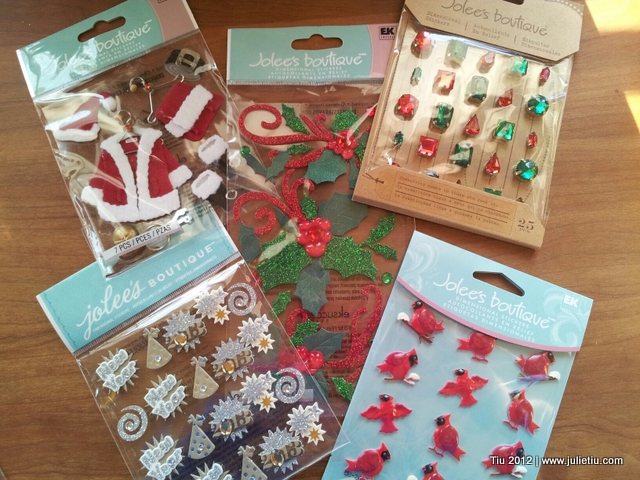
I love paper… not for scrapbooking (mentioned before) but for just about any other type of paper crafting. These sets from K&Company just get me in the Christmas mood.

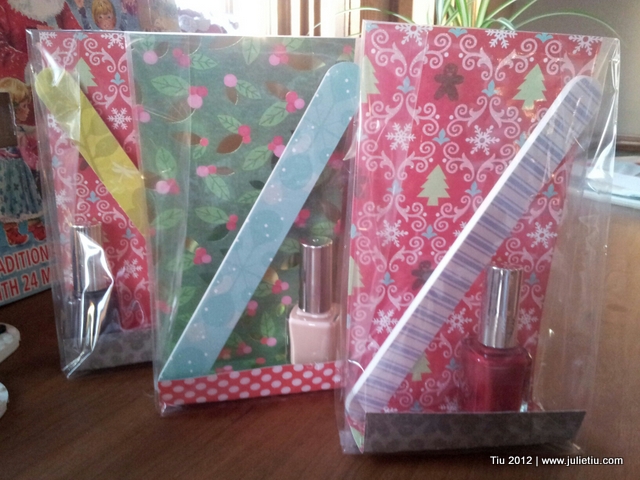
They’re cute background for these little gifts for my kids’ Sunday school teachers. This was a Pinterest inspiration, but I pieced together the gift bag. (Teachers, if you’re reading, would you skip the picture or cover your eyes. Sorry for ruining the surprise.) All you need are clear party favor bags. I cut the scrapbook paper into 3-3/4″ x 9″ strips, folded one end twice to make a little bag “bottom”. Stuff into the party favor bag and place your goodies.

Use scrapbook paper and clear party favor bags

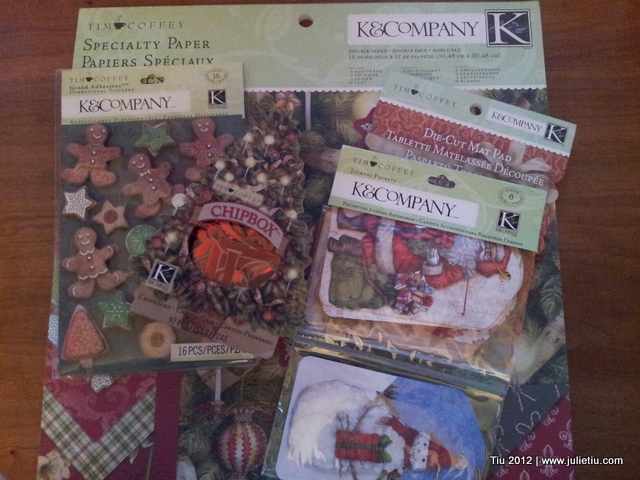
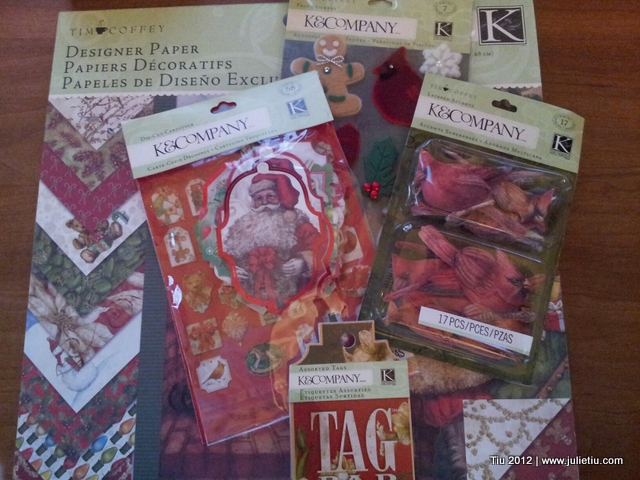
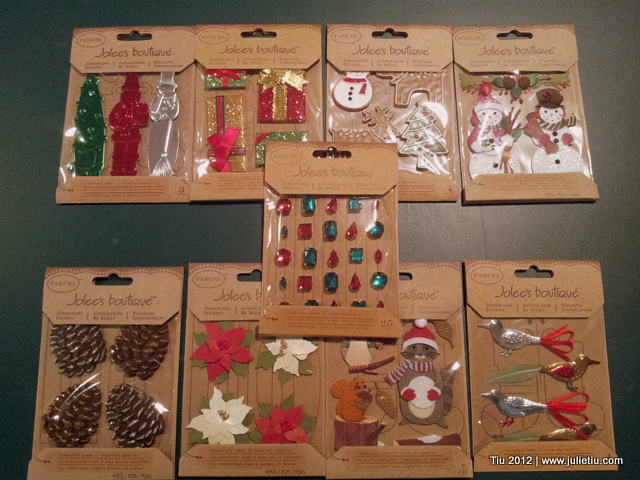
Here are the last of my giveaways… two pretty sets of K&Company specialty paper (double-sided!) and accessories, and then two sets of Jolee’s Stickers. All these products are available at art and craft supply stores like Michael’s. Follow the raffle instructions below… and if you would prefer NOT to enter through Rafflecopter, just e-mail me at jtiu(at)comcast(dot)net with “K&Company raffle” or “Jolee’s Christmas sticker raffle” in the subject line. Good luck!

K&Company Paper Tim Coffey Paper Set

a Rafflecopter giveaway

Jolee's Stickers

a Rafflecopter giveaway

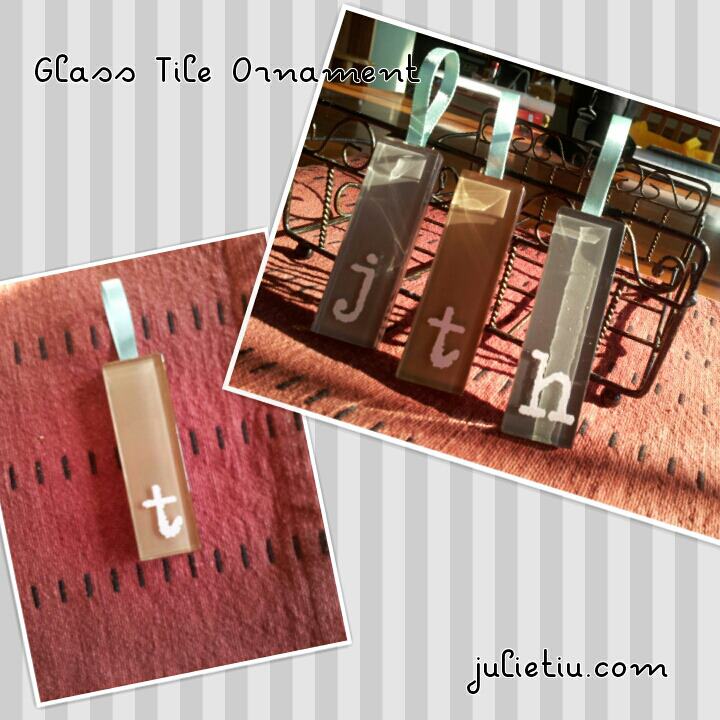
Monogrammed Glass Tile Ornament Tutorial

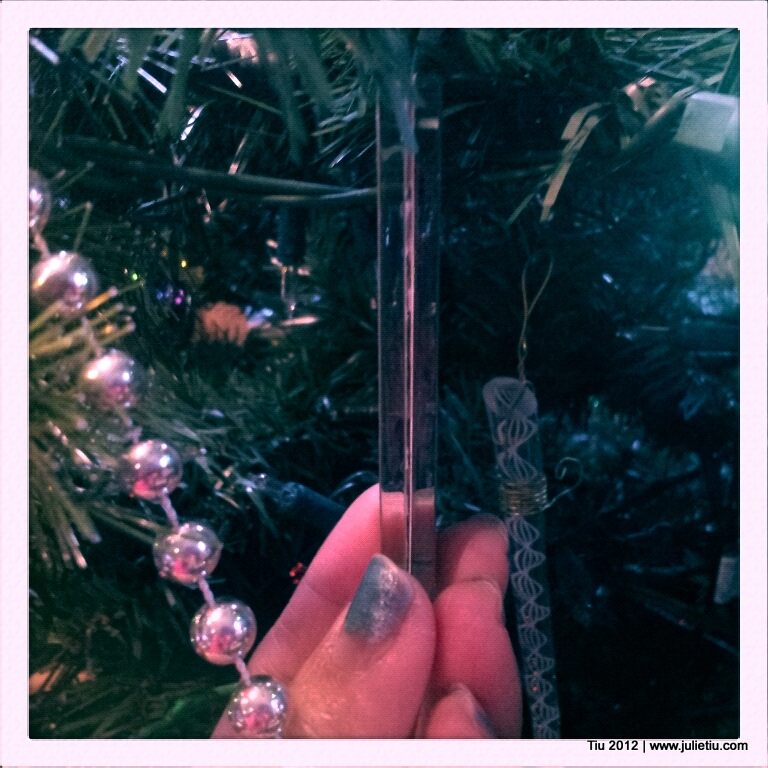
I love making handmade ornaments to hang on the tree, to use as gift decorations… but I never seem to make enough time to do many. A year ago, I came across an etched glass ornament and thought there could be a less messy option… rub-on letters makes this possible!

Glass tile comes in sheets, and if you’re lucky, you can find a bunch in the clearance section. One sheet can cost about $4 which is inexpensive considering you can make 16-18 ornaments. But I recently found some tile going for under $2! Now a few pieces were chipped, so you have to make sure you check the sheet before you purchase.

What you need
• Glass tile from the home improvement store
• Glass cleaner of choice
• Scissors
• Rub-on letters
• Burnishing tool (popsicle stick will do)
• Ribbon (I used 1/8” and cut into 4”-5” segments)
• Glue (appropriate for glass)
• Optional: decoupage glaze (like Mod Podge or clear acrylic medium), fine-tipped brush

Before you begin, dust off and clean your glass tile. (Materials from the store always come home with a nice layer of dust.)

The tiles are bound together by a mesh and it’s not difficult to cut with a regular pair of scissors. I wouldn’t necessarily use a fancy pair – any office pair will do. The cool part is you can just cut apart what you need and store the rest if you aren’t making a big batch of ornaments.

Cut a pair of matching tiles, or unmatching. I like a matching “sandwich”. After cutting, you’ll need to peel off the mesh. Thankfully, it comes off easily.

Prepare your rub-on letter. I centered the monogram on the very bottom of the tile then when I was happy with the placement, I rubbed (burnished) the letter onto the tile.

No need for drying time at all… you’re done. However, if you’d like, this is when you would use a fine-tipped brush to go over the rub-on letter with a little clear sealer to prevent scratches and “erasing” the letter.

For the hanger take your ribbon, and fold in half. Center it at the top of the tile, and stick in place with a dab of glue. Spread more glue, like you’re dressing a sandwich, then top with another glass tile. Gently press (so you don’t get glue smooshing out) together for a few seconds. Let the glue set at the manufacturers recommended time.

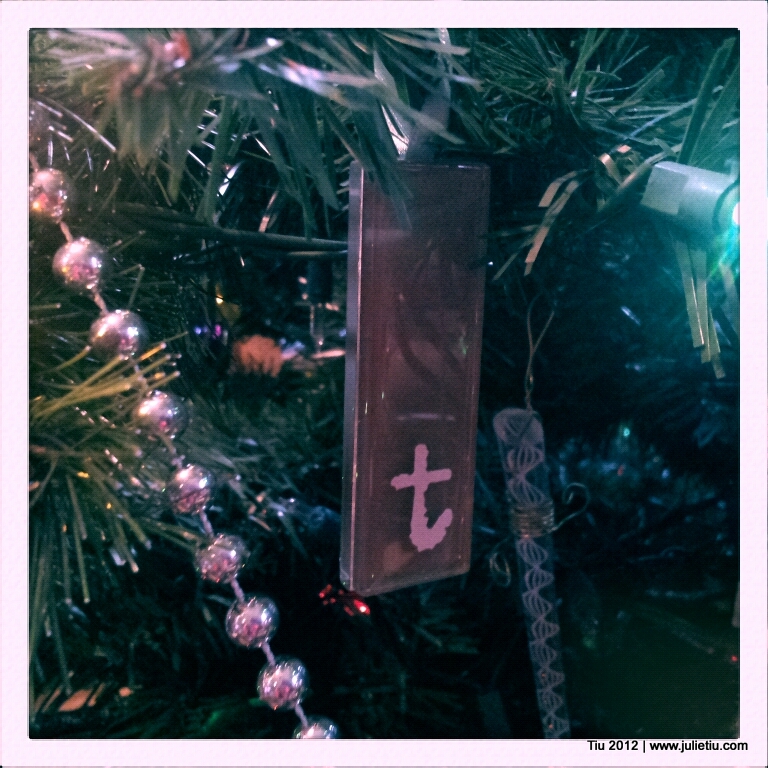
Hang on your tree! Or adorn someone’s gift!

Would love to know about your favorite handmade ornaments… want to share? Two of you will be randomly chosen to receive some fun Jolee’s stickers (the top group and bottom group). Leave a story, a comment (and a link, if you have one) by Tuesday, Dec. 4, 10 PM (central time). Thanks!!!

DIY Decoupage Beer Label Coasters Tutorial

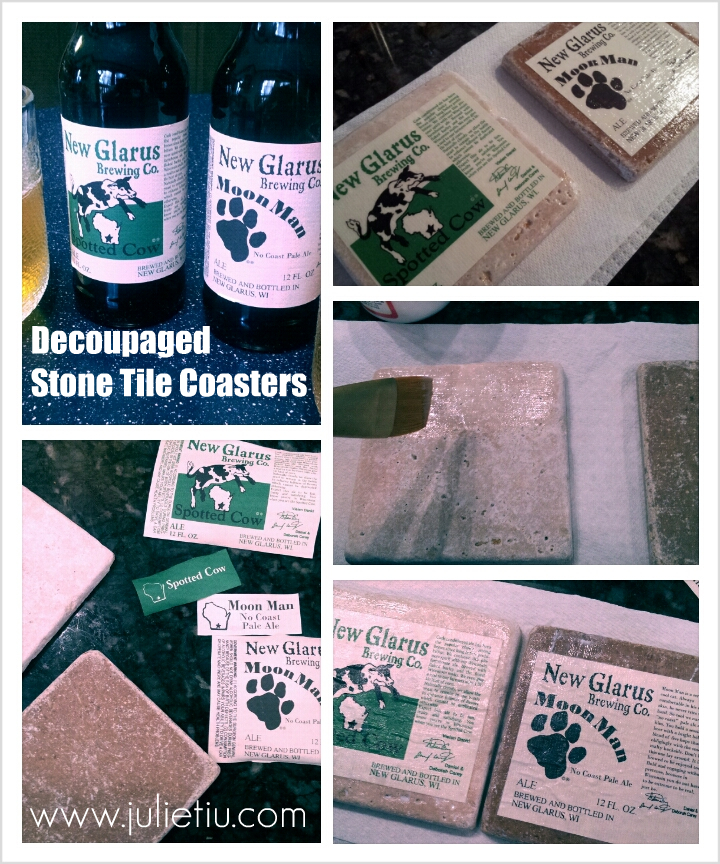
DIY Beer Label Stone Tile Coasters

These are fancy looking, but oh so easy to do with some simple materials. Again, I feel like I need to mention that there are lots of decoupage coaster tutorials out there. All are very searchable, and use everything from color copied photos, scrapbook paper, scrap fabric, wine bottle labels… my coasters use local beer labels. Great gift idea for a host, or that beverage aficionado in your life!

You need:

  • Water
  • Tub or mixing bowl large enough to submerge your bottles
  • 4″ x 4″ Stone tiles (found at your home improvement store in the flooring section)
  • Foam Brush
  • Mod Podge, or some acrylic decoupage medium
  • Felt (adhesive-backed)
  • Optional (but useful): Safety pin or dressmaker pin, plastic card (i.e. used gift card), very fine sandpaper, clear acrylic spray

**OH, when you’re looking at the tiles, check them for chips and dings before you purchase. People pick through them!**

First, you’ll want to remove your labels. I filled our empty beer bottles with water, then submerged the bottles in hot/warm water in a large mixing bowl. Actually, I left it overnight, and in the morning, the labels were super easy to remove. No rips, no shredding. Lay your labels down to dry. (Now go put your glass bottles in the recycling bin…)

Prep your stone tiles by wiping down with a damp towel. They get pretty dusty at the home improvement store. Assuming your labels are dry… use your foam brush and apply a thin coat of Mod Podge to your tiles, nice and easy. Place your labels where you want them, and then press them down firmly.

You’ll get tiny air bubbles, air pockets, because stone tiles are bumpy and porous. Just work out the bubbles gently with your fingers (or plastic card) from the middle of the tile and outward. This is also when you might find a pin handy. I would gently poke the air bubble then push the air out with my finger. Let the tiles dry for about 15 minutes.

After 15 minutes, check your tiles. They will feel tacky, but you can touch them. Add another coat of Mod Podge, and work out the air bubbles, and let dry. Repeat two or three more times. I painted five layers, each time working out any air bubbles with a pin.

Let your tiles dry completely overnight, or 24 hours. If you don’t like the tacky feeling, which I don’t, you can “wet sand” your tiles with very fine sandpaper. I wet a small piece of sandpaper and just went over the tiles. Your decoupaged skin won’t be messed up at all… it will become smooth. Skip the sanding (or not), then just seal with clear acrylic spray, following the manufacturer’s instructions.

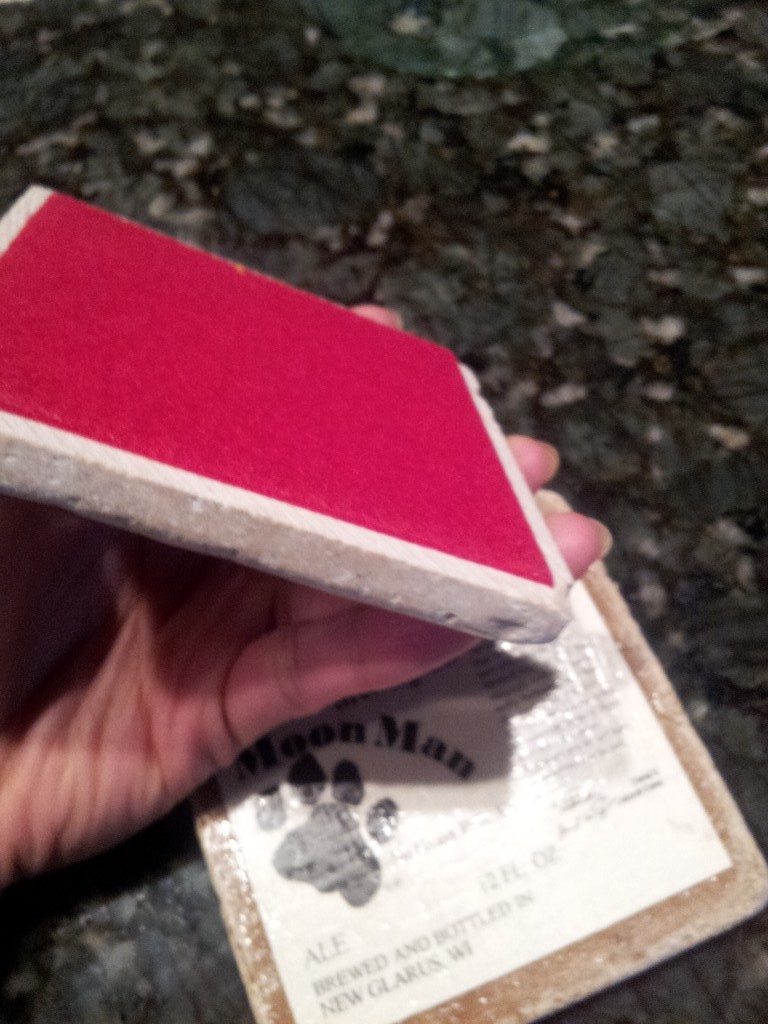
Lastly, cut 3-1/2″ x 3-1/2″ felt squares and glue under the tiles, or if it is adhesive-backed, just press into place.
DIY Decoupage Stone Tile Coasters

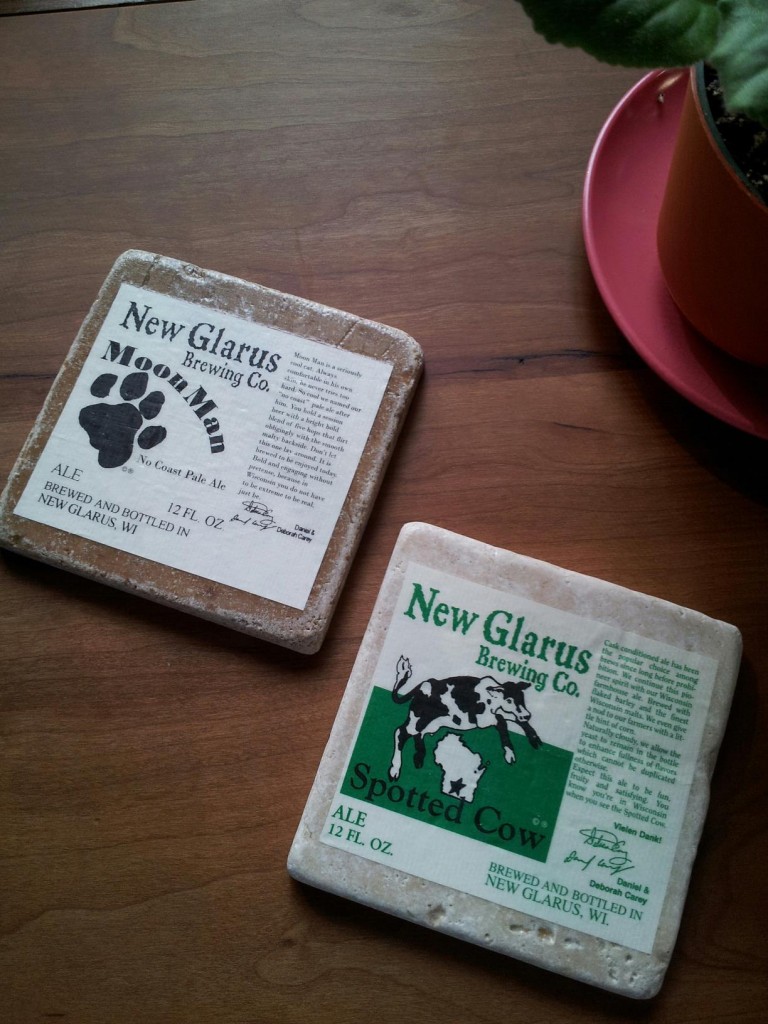
Beer Labels decoupaged onto Stone Tiles

Candy Corn inspired DIY ideas for Fall and Halloween

As if I (we) need more things to do… but how can you not like these Candy Corn inspired projects?

Candy Corn non-alcoholic Jello Shots

Candy Corn Pillowcase Dress from The Ribbon Retreat blog

Candy Corn Felt Sachets. You can also do a large scale drawstring backpack (at ikatbag.com).

Candy Corn Trick or Treat Bags at Purl Bee

Source: purlbee.com via Juliet on Pinterest

And if I could knit… Candy Corn Mittens!

Rice Krispie Sushi Recipe Tutorial

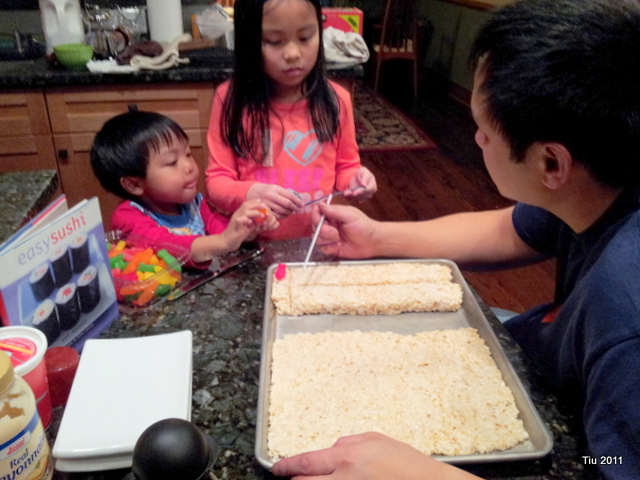
These are more like instructions rather than a recipe since you’re not going to cook a thing! We served these at a party where kids and grown-ups gave us great feedback about the rice krispie sushi. This might be something fun to do for a kids (heck, for adults, too) birthday party, a potluck? If you gave up sweets for Lent, this is a sugary way to break your fast.

What You Need

One batch of prepared Rice Krispie treats
Cooking spray (like Pam)
Candy: Swedish Fish, Fruit Roll-ups (fruit leather, preferably dark in color), cake decoration sprinkles

For the Nigiri (hand-rolled) Sushi

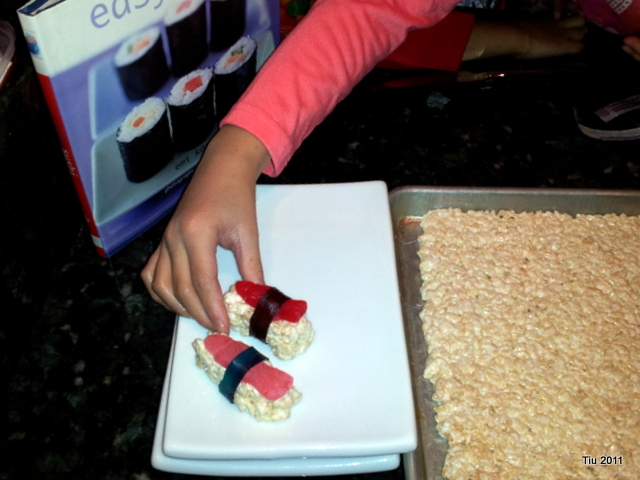
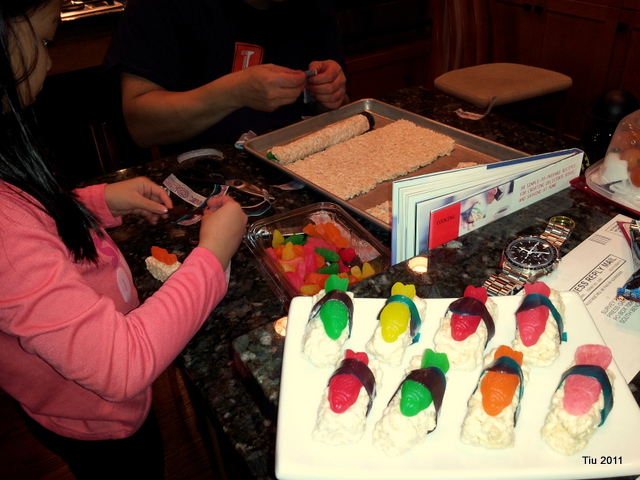
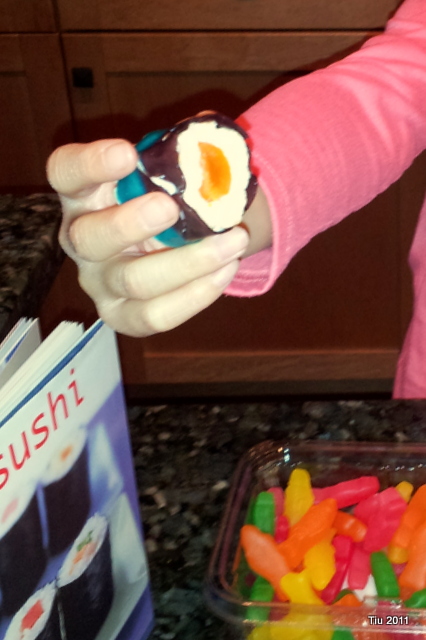
Spray or coat your hands lightly with cooking oil. Butter, magarine works okay too. Create an oblong mound of rice krispies in the palm of your hand. Top with a Swedish fish and wrap with a thin strip of cut fruit leather.

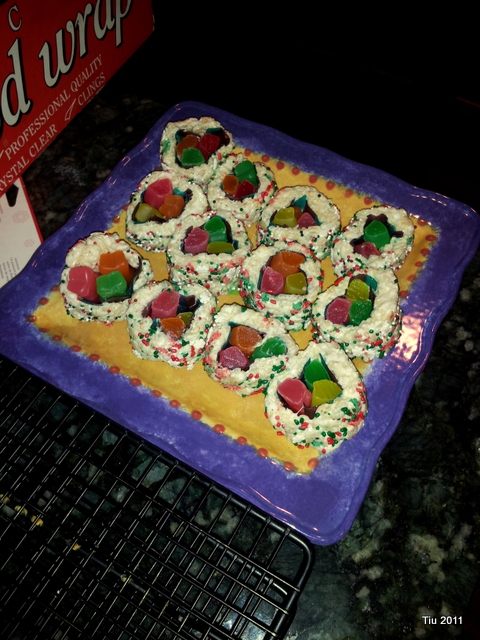
For the Maki (rolled) Sushi :: inside-out roll featured in first picture

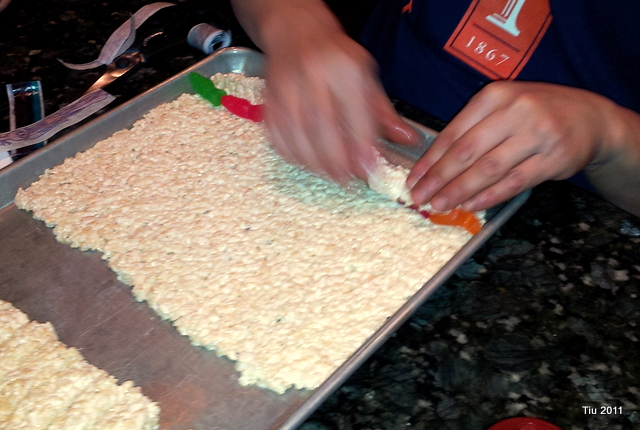
This one is a little trickier. Make sure your hands are well coated. Using your hands or a rolling pin, you will need to press or roll the rice krispie treats to a thin thickness. 1/4″ – 1/3″ inch should work. Swedish Fish in a row along one end of your prepared rice krispie treat. Roll the end of the rice krispie treat up and over the candy fish until they are covered.

(I have to say, at this point, we forgot to add strips of fruit roll-up for the “seaweed”. Lay down some fruit roll-ups before the Swedish fish. You can see it better in the very first picture of this post.)

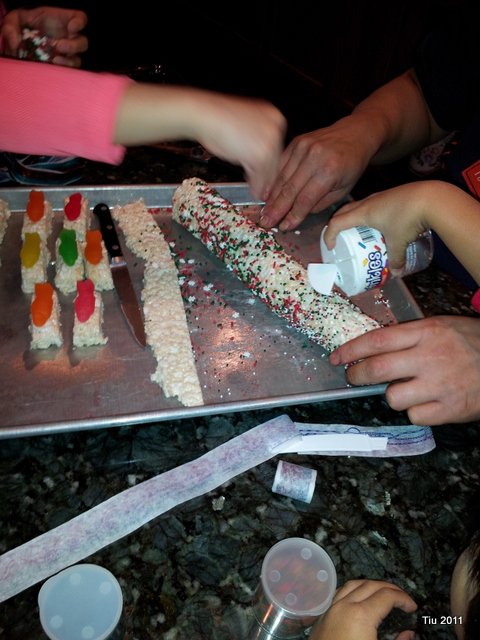
Trim away from the remainder of the rice krispie treat. Shake some sprinkles on the roll (like sesame seeds), and using a sharp, buttered knife, cut into circles – like you would cut cookies.

For regular maki

You’re going to follow similar directions as above, but save your strips of fruit leather, and roll it around the rice krispie treat after you’ve cut them into shapes.

If you attempt to make these, I love to hear how it turns out! Share your pics and links! Enjoy…

30 Days of Creativity – Day 15: New Ideas List

Day 15: Do you like to try new things?  What about trying to do something new you like or dislike?

I absolutely love learning about new things. Trying new things? That might depend, but I’d like to think that I would at least give it a chance. I’m not much of an outdoor, athletic person, so those types of activities would definitely be more challenging. Hmm. Then maybe I should try more of that? Something to ponder…

Here is a list of five (though there are more) things I’d like to try to do by the end of the year. Is it bad that three of the five things are food-related?


Cream Puff Pastry (picture from www.marthastewart.com)


What about some of you out there? Maybe we can support each other!

Related Posts with Thumbnails