Making mini cards and a printable template

I made some mini cards just in time for Chinese New Year and Valentine’s Day. (Well, almost in time for Chinese New Year – it’s Sunday and I want to mail a couple out.)

Making mini-cards

Mini Valentine Cards with scrap paper and stickers

Rubber stamping for Chinese New Year cards: Year of the Snake

For that old-fashioned handcrafted card, just use what you have around your home, stickers, ribbon, glue. To make mini-cards, I took an 8-1/2” x 11” sheet of cardstock (this is Bazzill Pomegranate) and cut it in this manner to make six little blank cards. Just click on the picture below to print your own. From one sheet you can make (2) 3″ x 3″ cards, (2) 2-1/2″ x 2-1/2″ cards and (2) 2-1/2″ x 3″ cards. There’s a little 1″ scrap if you want to keep that for tags or tiny, homemade “Moo cards” (not a sponsor, just letting you know about them).

You’ll need to make your own envelopes. I think I have some doilies somewhere around here. Or maybe just tuck your cards with your gift, in lunchboxes, on the dining table… I’ll try to post a picture of the finished cards!

mini card template

Valentine’s Day 2012

Happy Valentine’s Day, friends.

I’m running around like the crazy girl I am. Valentine’s Day comes between my husband’s and my daughter’s birthday… and I tend to put Valentine’s Day low on the priority list. It’s not that I don’t care, I really like all the red, pink, flowers, candy, love-fest. I wish I could organize myself better so I could do all the crafts and projects I aspire to do. A crafty girl can dream, can’t she?

Well, I’m off to the store soon, and I have to finish a few things around the house. Last minute (story-of-my-life) pick-ups for the afternoon Valentine’s Day party at my girlie’s school. OH, and I ought to finish these cards… take a look. My little personal greetings to you:


That Old Sweatshirt – A pillow tutorial

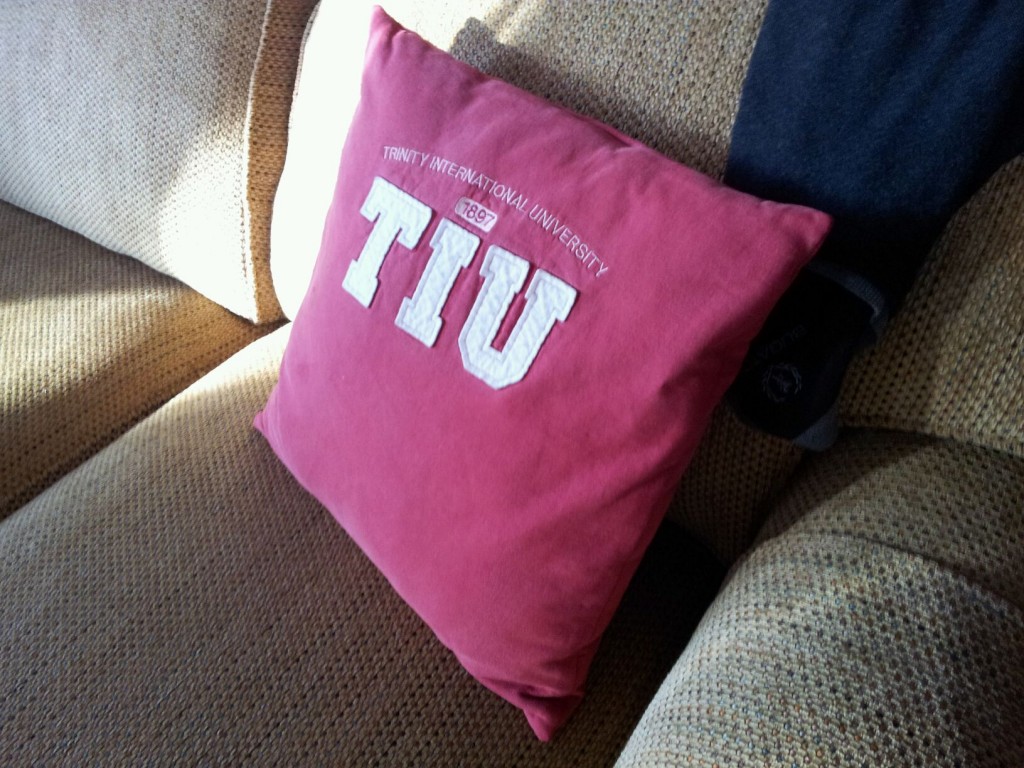
I get sentimental about things that other people would probably not even think twice about throwing away or donating. I have old ticket stubs, concert programs, newspaper clippings – those things I can put in a scrapbook. But I’ve been known to hoard be sentimental about clothes too, and only recently have I been purging all our closets. Sometimes there’s just that one article of clothing you want to keep. See this old collegiate sweatshirt…
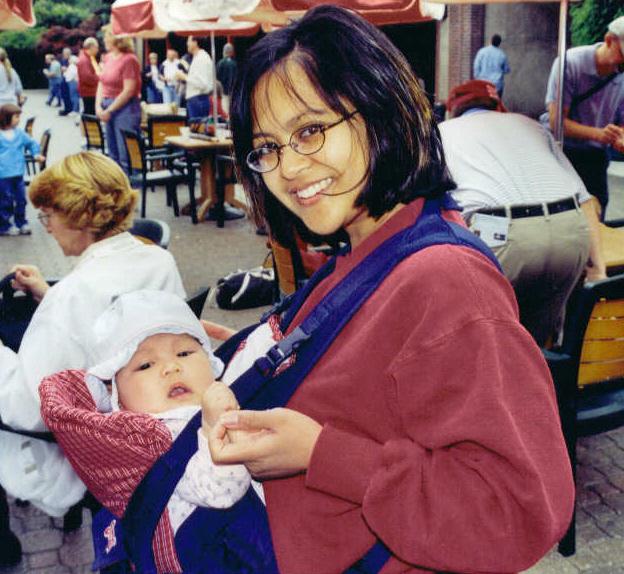
Julie Tiu in 2002

…Became this pillow. (I know, after 10 years, right?)

An upcycled sweatshirt made into an envelope pillow – meaning, you can slip the cover on and off. Very easy for washing. Could be a cute gift for Valentine’s Day, too.
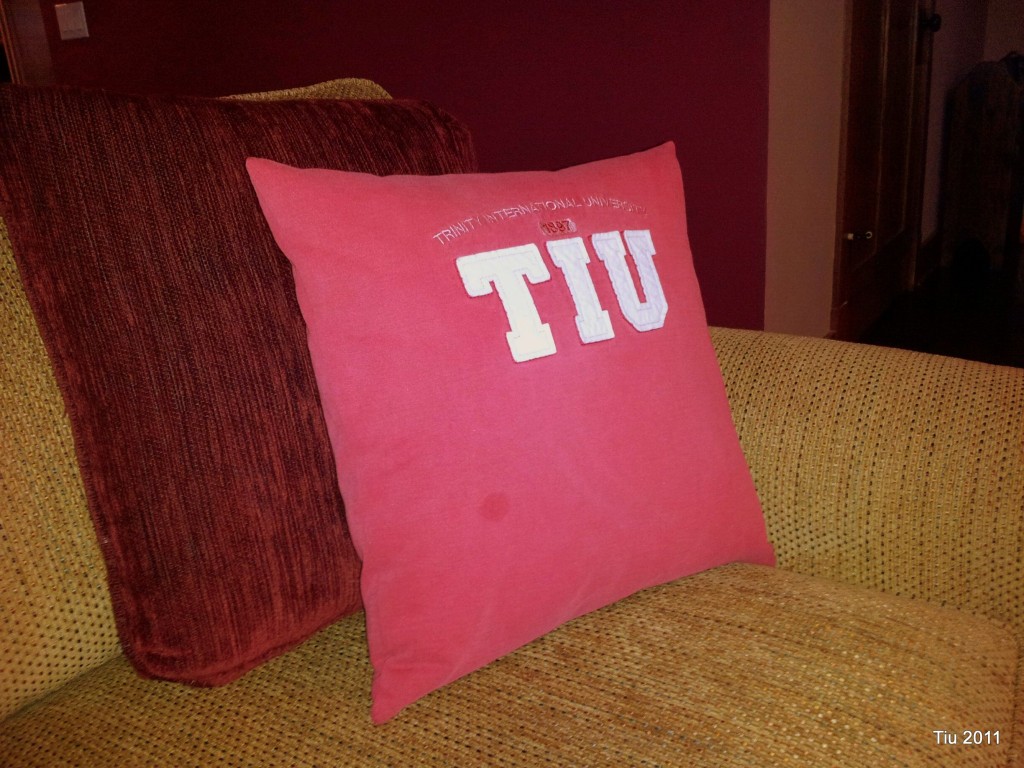
Recycle Your Favorite Sweatshirt (I didn't even attend this school. Got the sweatshirt because it had my last name!)

And here’s how I did it.

  1. Take your clean sweatshirt of choice and lay it on a table or on the floor.
  2. I cut the sleeves off first. Then set aside.
  3. Next cut along one of the side seams of your shirt and along the shoulder seams. This will open everything up. I did it this way to give the largest piece of continuous fabric.
  4. Cut off the bottom hem and collar (cuff material) also. At this point you may need to iron the shirt (highly recommended).
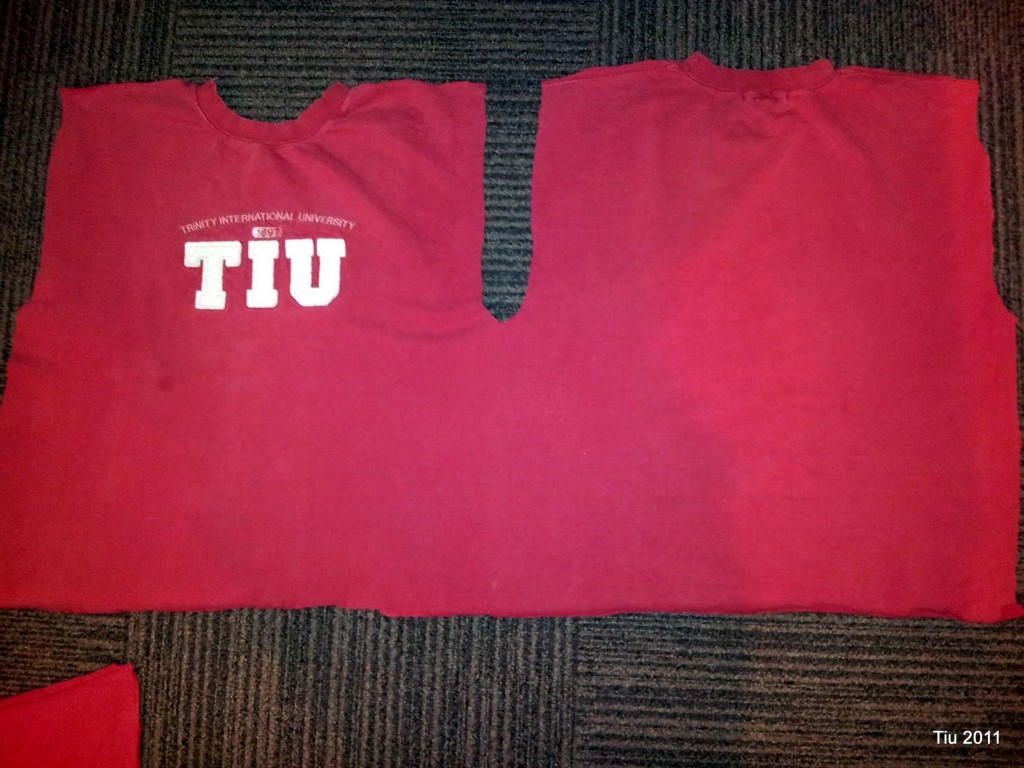
  5. You may need the sleeves for extra fabric. Cut off the cuffs and cut along either side of the seam.
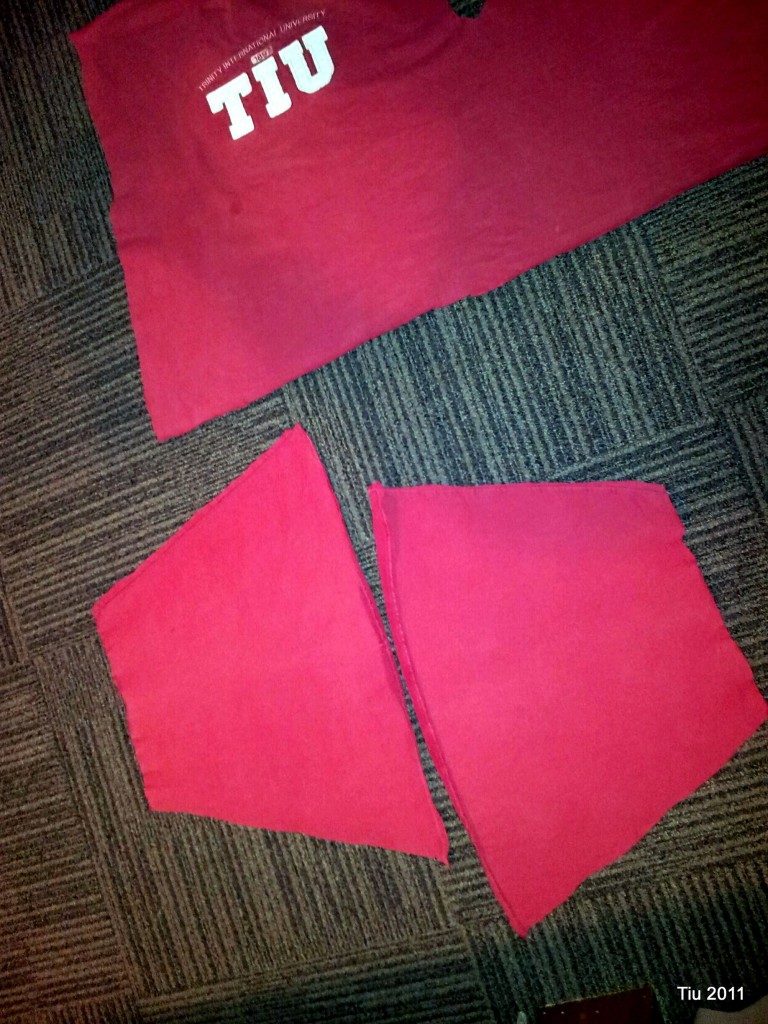
    Sweatshirt sleeves cut open

  6. For a 16 x 16 pillow, you will need three pieces of fabric: (1) 16-1/2″ x 16-1/2″ for the front, (2) 12-1/2″ x 16-1/2″ for the back. (See my fancy sketch below.) I needed to use the extra sleeve material for one of the back panels. Just piece together if you need to.
  7. Try to center your focal point. I didn’t have too much choice – just went as high as I could.
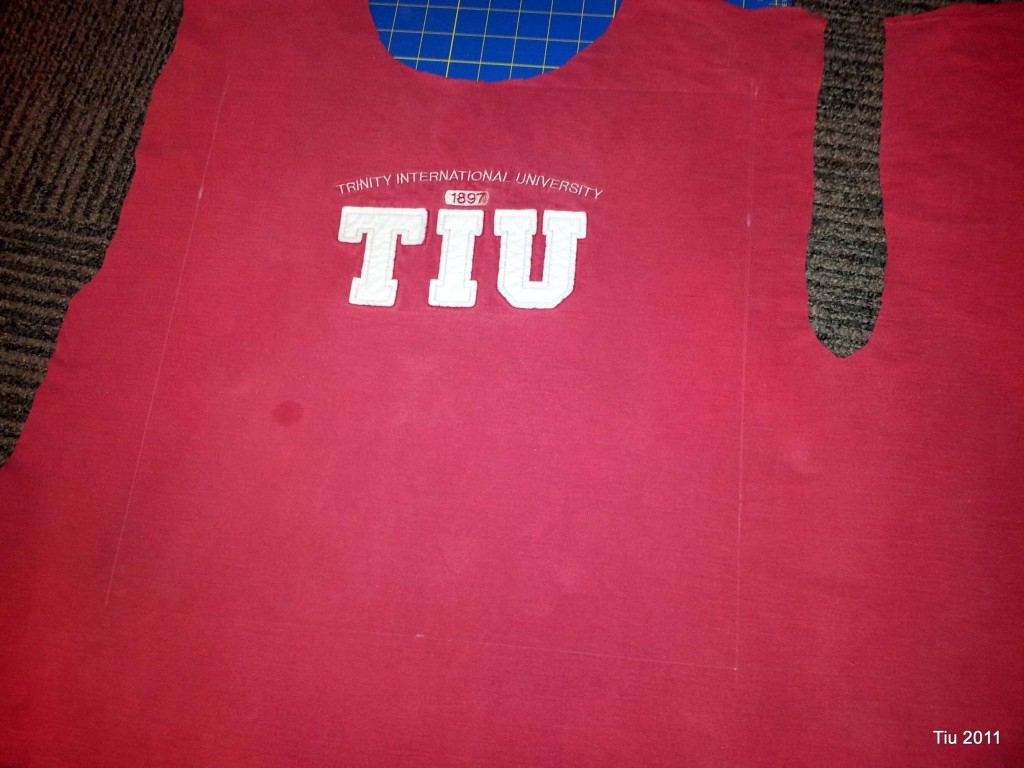
  8. Prepare the back pieces first. Fold along the length (16-1/2″) and press 1/2″, then fold 1/2″ again, pin and edgestitch. Do this to the other piece. Press both pieces. Note: I found the zig-zag stitch easier to do with the stretchy sweatshirt material.
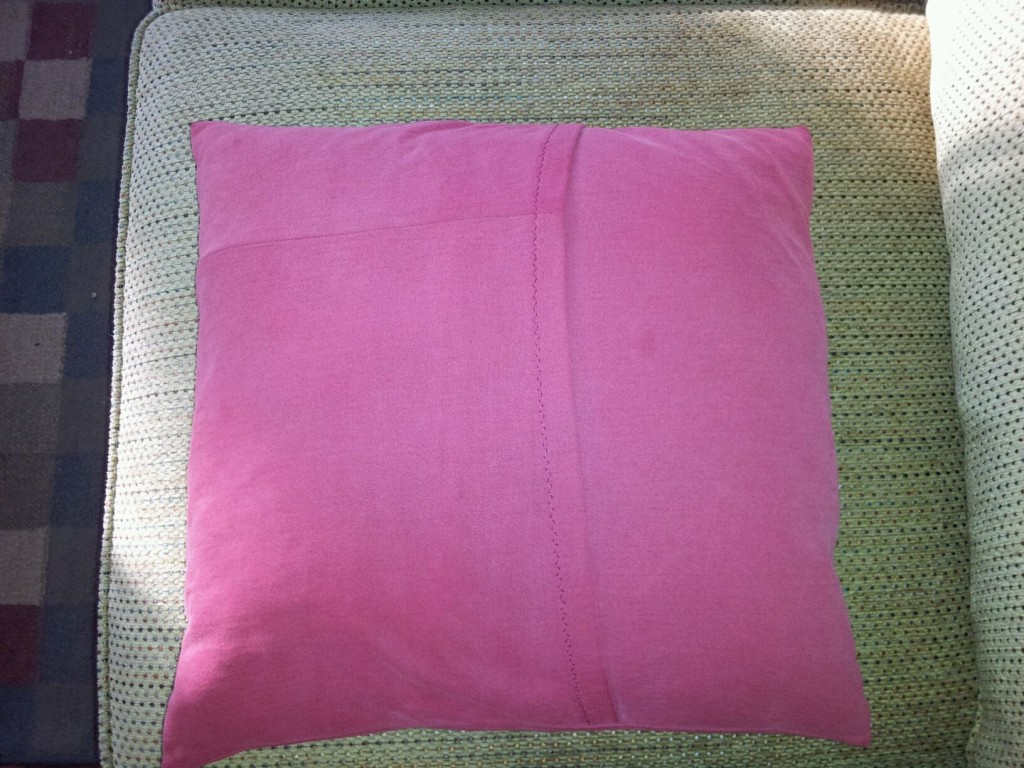
  9. Lay the front piece down, right side up. Next lay one of the back pieces, wrong side up, matching the raw edge with your front piece. The finished edge should be somewhere in the center area. Lay the other back piece with its raw edge along the other side of the front piece. Now the finished edges of your back pieces should be overlapping one another.
  10. Stitch around the perimeter with a 1/2″ allowance. Backstitch as you start and finish. When complete, remove and clip your corners, and turn rightside out.
  11. Stuff your pillowcase!

So here’s the thing – you can adjust the size of your fabric for any size pillow by just adding 1/2″ to your finished size. The back pieces take a little math.

16″ x 16″ pillow – cut 16-1/2″ x 16-1/2″ (front) and 16-1/2″ x 11-1/4″ (two pieces for the back)

14″ x 14″ – cut 14-1/2″ x 14-1/2″ (front) and 14-1/2″ x 9-1/4″ (two pieces for the back)

12″ x 16″ pillow – cut 12-1/2″ x 16-1/2(front) and 12-1/2″ x 11-1/4″ (two pieces for the back)

12″ x 12″ pillow – cut 12-1/2″ x 12-1/2(front) and 12-1/2″ x 7-1/4″ (two pieces for the back)

Valentine’s Day: Cards and Projects

With only four (or five) more days to Valentine’s Day, there’s still a little time to craft a personal card or gift. Sadly, my children picked some cards from the store and while cute, just isn’t the same as making your own like my daughter did a few years ago.

If you have a few minutes to spare, check out all these wonderful projects! So many to choose from!

Picture courtesy of Craft Critique

An entire list of Valentine crafting is at Craft Critique in the 2010 and 2011 Carnival

Easy-to-Make Valentine’s Day cards at Better Homes & Gardens

A Vintage Typewriter Tin Valentine on Design*Sponge

At The Purl Bee, try your hand at these Valentine Heart Barrettes

Post-Valentine’s Day gift inspirations

Why should we limit giving cards and greetings to our loved ones to Valentine’s Day? We shouldn’t, right? Here are some inspired projects that you might enjoy and I plan on sharing with some of my friends this year in my quest to stay in touch better and bring a little happiness to other lives.

picture from Merriment Design

Vintage Silhouette Embellishment from Merriment Design

Antique Style Valentine at Martha Stewart

Rough and Ready Recycled Notebooks from The Lucky Ladybird Craft blog

With Valentine’s Day and Chinese New Year behind us…

  • We’re looking forward to celebrating Mardi Gras at our church tomorrow night at a fundraiser dinner for the children’s religious education program,
  • We’re also getting ready to celebrate my daughter’s birthday this coming weekend. Get ready for birthday crafts and stories.
  • Update on my exercising! Spinning 1st week – 4x, last week – 2x (shoveled 3 days out of the week and was exhausted!). Also went to yoga class and added pilates to the mix. Feeling good, a day at a time.

Happy Monday, my friends!

Related Posts with Thumbnails