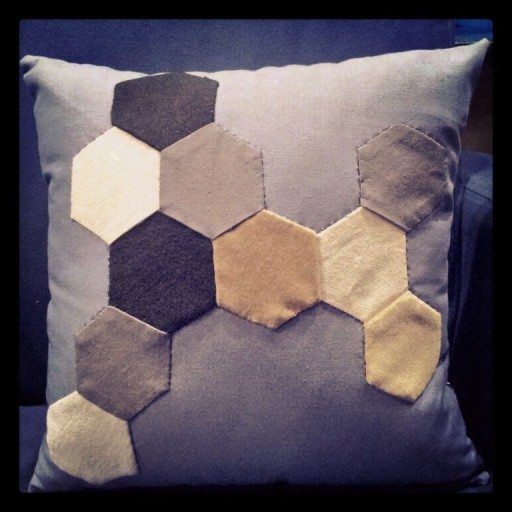
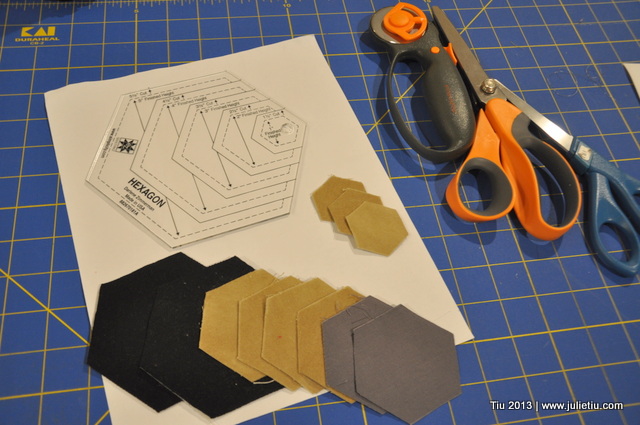
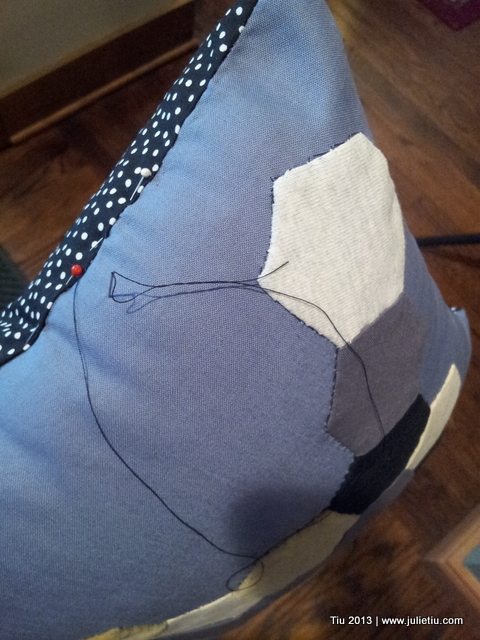
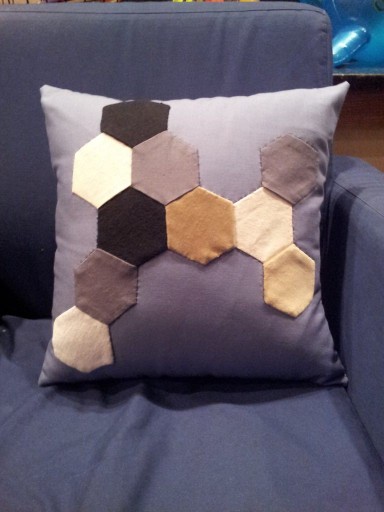
Here it is! My pillow evolved from practicing and messing around with hexie shapes. (I posted yesterday how I cut my hexies.) Maybe it should be called “Molecule pillow” or “The Game Board pillow”, because that’s what I think of when I look at it. And, I’m not a gamer by any means, but I know that hex shapes are found in a lot of board games.
By the way, if you’ve played Settlers of Catan (or other similar games), then you know what I’m talking about. Check it out if you haven’t.
So… how are hexies put together anyway? I researched on Google for some answers. It all boiled down to : By hand, and carefully.
I found a few websites that show machine-pieced hexagons. Then I found a lot of information about paper piecing techniques, but I was looking for something that wouldn’t require cutting paper shapes for each fabric hex. Finally, I stumbled upon a tutorial for piecing hex shapes without paper. It worked for me, even if I didn’t print on my fabric. I’m pretty good at eyeballing distance and level lines.
I kept with neutral colors so I could gift the pillow to anyone – male, female, kid, adult. (In the middle of sewing the hexies together, I learned about some fabric printed with grass and rock graphics. Could be so awesome for a “Settlers of Catan” inspired project.)<
What You Need for this pillow:
- Hex shapes, 2-1/2″ cut for 2″ finished size
- 12″ x 12″ pillow form
- (2) 11-1/2″ x 11-1/2″ fabric (pillow front and back)
- Needle, all-purpose thread for applique (I don’t go through applique techniques here…)
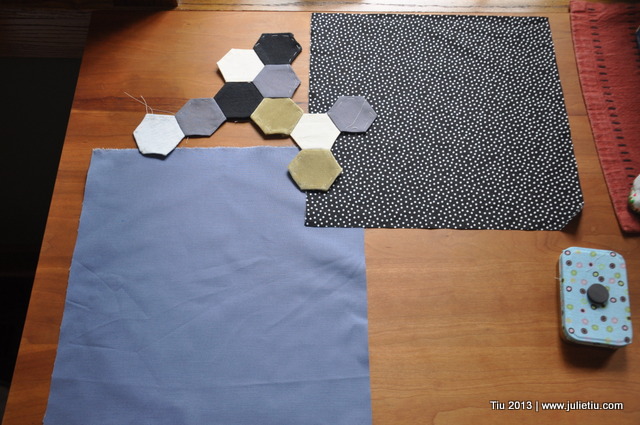
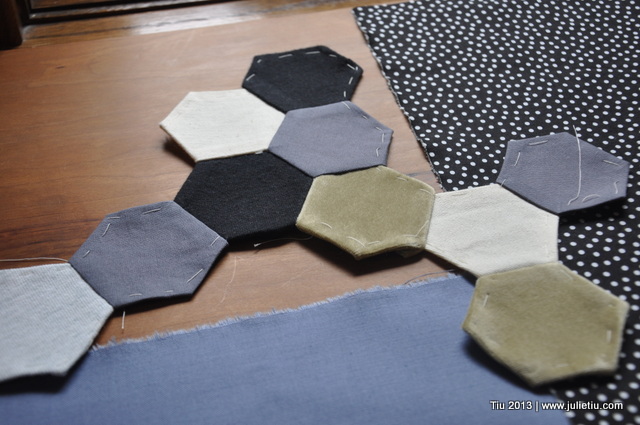
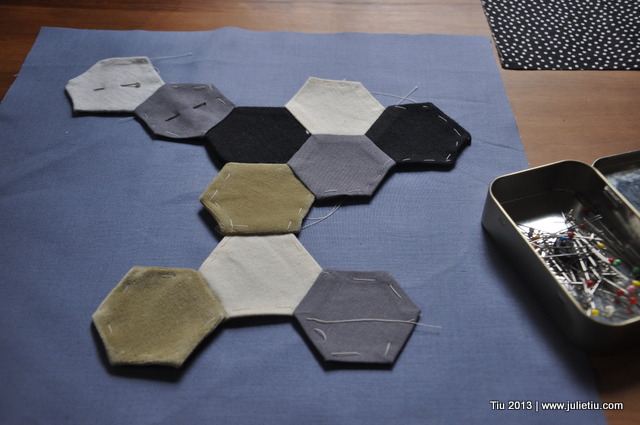
Lay out your hex pieces in random order, and I suggest taking a picture of it when you’re happy with your design. Using your preferred method, sew the hex pieces together.
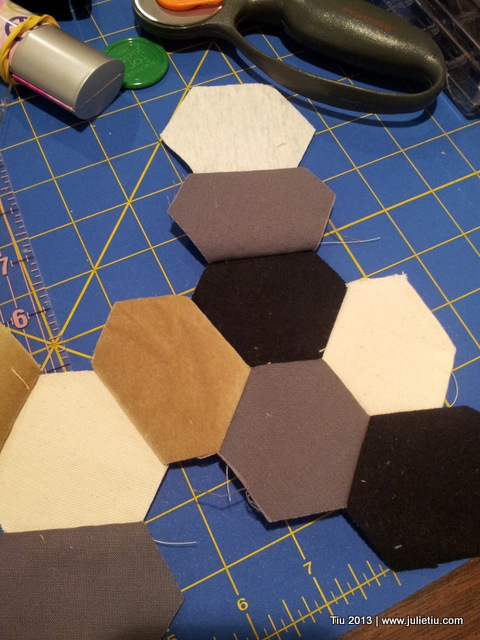
You can see my basting stitches in the light colored thread. These were pulled out after I completed sewing it onto the pillow front.
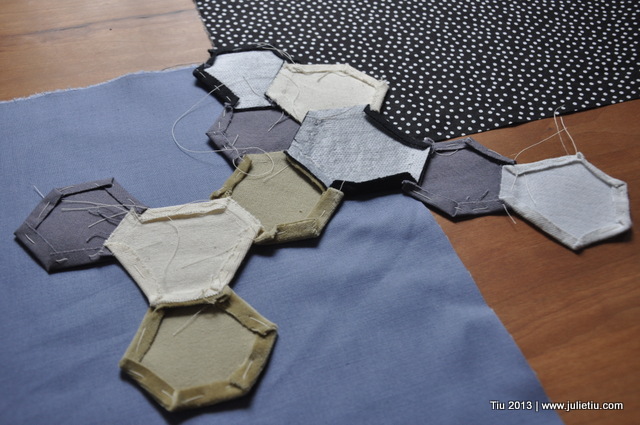
Here’s what the back looks like.
When you have your shape, and you’re sure that it fits within your pillow front (leave 1/4″ on all sides for seam allowance), pin it…
…and begin appliqueing. Sorry, that’s a whole other tutorial for another time. At this point, you could also run this through your sewing machine to apply the hexies to the pillow front. When your design is completely sewn on, press your design to set all the stitching and then remove the basting stitches.
Place your pillow front and back fabrics right sides together, sew with a 1/4″ seam allowance on three sides, and leave the fourth side open with an 8″ opening. Turn right side out, and press again. Stuff your pillow from through the opening you’ve left for yourself, and then close up the seam with a ladder stitch, or overhand stitch.
Ta da! Enjoy!
