Dimensions Felt Applique Stocking Kit Giveaway

Two weeks until Christmas. I imagine lots of scurrying, baking, wrapping. That’s me. No matter what I do, there’s always something else I want to get done, another project, another DIY gift – which brings me to this. This stocking is so cute! And I can’t wait to pull this together with my daughter… a little gift for our newest niece who will be spending Christmas with us.

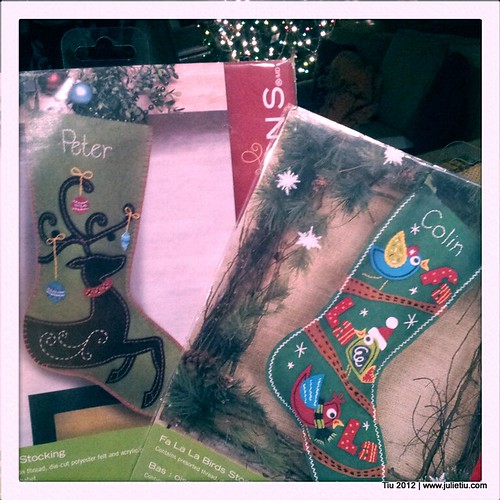
Polka Dot Stocking Kit

Love that the kit comes with presorted thread, die-cut felt and a needle. It almost goes without saying that there are easy-to-follow instructions.

Felt Stocking Kit

Felt Stocking Kit

Would you like to give these stockings a home?

Dimensions felt applique stocking kits

Two readers will be chosen at random to receive one stocking kit. Just follow below and do leave a comment. Let me know which stocking kit is calling your name… however, no promises if the two of you like the same one. I know, I know, so difficult. This is a quick raffle so I can mail out the kit as soon as the giveaway is over. Of course, after I verify winners. Good luck!!

**UPDATE** If you would prefer NOT to enter through Rafflecopter, just e-mail me at jtiu(at)comcast(dot)net with “Stocking Kit” in the subject line. Good luck!

a Rafflecopter giveaway

Snowflakes Paper Punch Mini Review and Stamps-Stickers Giveaway

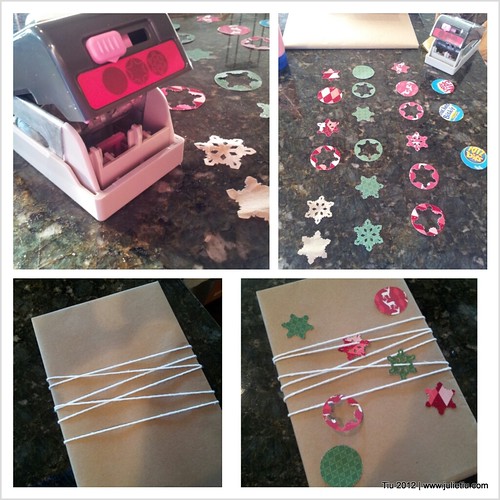
Last week I was playing around with EK Success Snowflake Layering Punch. It’s a dream to use on cardstock, scrapbook paper, even cardboard cereal or snack boxes. I tried it on thin kraft paper and while it punched out a shape just fine, I found the paper too thin and some paper ripped. No fault of the punch. I wouldn’t use it on tissue paper or crepe paper for the same reason. The snowflake punch is available online and in most craft and hobby stores.

EK Success Snowflake Layer Punch

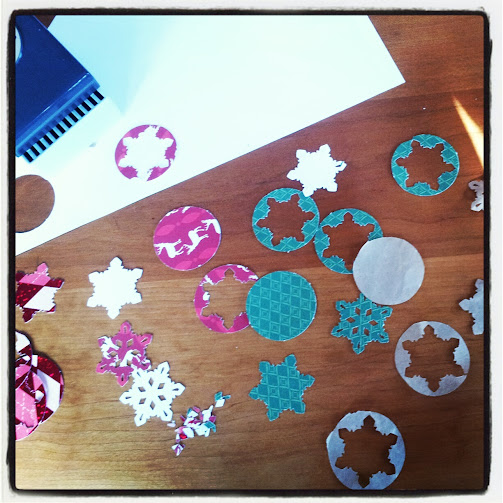
The great thing about the paper punch is that you get three different shapes from one punch. You slide a lever for the shape you want. Why would you want all those shapes? You could layer them and get a nice dimensional doo-dad to stick onto a card or scrapbook page.

In my case, I dressed up a plain wrapped gift for my nephew with the punches… I’m trying a minimalist look with kraft paper and yarn. I don’t knit or crochet, but somehow I’ve dug up a few skeins of yarn around here. Weird. But, look, it’s simple and festive. Make your wrapping thematic with any paper punch, or color of yarn.

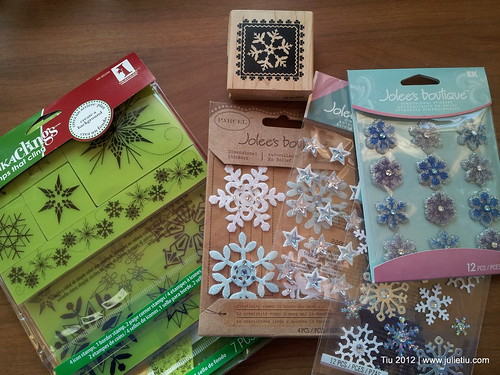
Along the lines of snowflakes, how would you like to win this gift pack?

Snowflake stamps and stickers

It’s from the same fine company who makes the snowflake paper punch… and I really appreciate EK Success for giving me the opportunity to share these cool supplies with you. (Approx. value $45) Just follow the instructions below. You’ll have to comment for a chance to win, and entries will be taken until midnight, 12/15/12. Thanks!

**UPDATE** If you would prefer NOT to enter through Rafflecopter, just e-mail me at jtiu(at)comcast(dot)net with “Snowflake Stamps and Stickers” in the subject line. Good luck!

a Rafflecopter giveaway

Monogrammed Glass Tile Ornament Tutorial

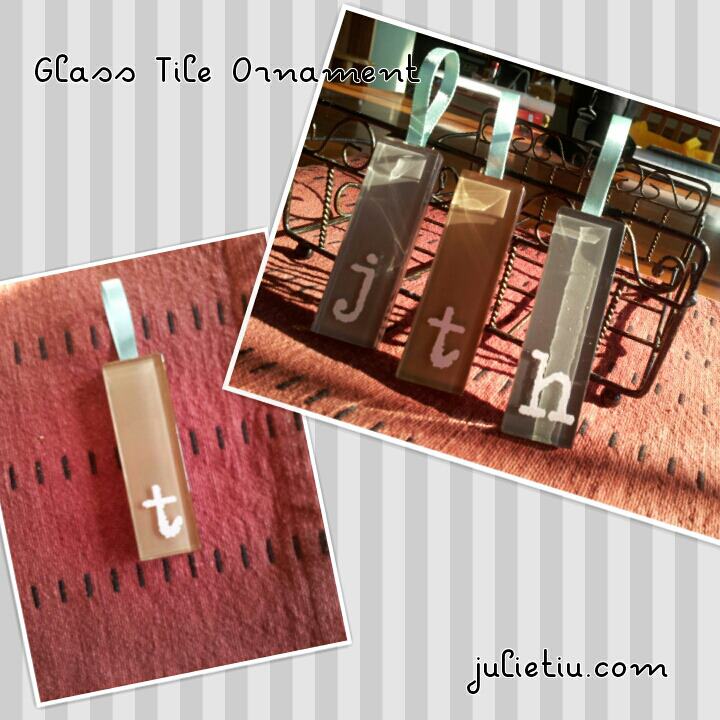
I love making handmade ornaments to hang on the tree, to use as gift decorations… but I never seem to make enough time to do many. A year ago, I came across an etched glass ornament and thought there could be a less messy option… rub-on letters makes this possible!

Glass tile comes in sheets, and if you’re lucky, you can find a bunch in the clearance section. One sheet can cost about $4 which is inexpensive considering you can make 16-18 ornaments. But I recently found some tile going for under $2! Now a few pieces were chipped, so you have to make sure you check the sheet before you purchase.

What you need
• Glass tile from the home improvement store
• Glass cleaner of choice
• Scissors
• Rub-on letters
• Burnishing tool (popsicle stick will do)
• Ribbon (I used 1/8” and cut into 4”-5” segments)
• Glue (appropriate for glass)
• Optional: decoupage glaze (like Mod Podge or clear acrylic medium), fine-tipped brush

Before you begin, dust off and clean your glass tile. (Materials from the store always come home with a nice layer of dust.)

The tiles are bound together by a mesh and it’s not difficult to cut with a regular pair of scissors. I wouldn’t necessarily use a fancy pair – any office pair will do. The cool part is you can just cut apart what you need and store the rest if you aren’t making a big batch of ornaments.

Cut a pair of matching tiles, or unmatching. I like a matching “sandwich”. After cutting, you’ll need to peel off the mesh. Thankfully, it comes off easily.

Prepare your rub-on letter. I centered the monogram on the very bottom of the tile then when I was happy with the placement, I rubbed (burnished) the letter onto the tile.

No need for drying time at all… you’re done. However, if you’d like, this is when you would use a fine-tipped brush to go over the rub-on letter with a little clear sealer to prevent scratches and “erasing” the letter.

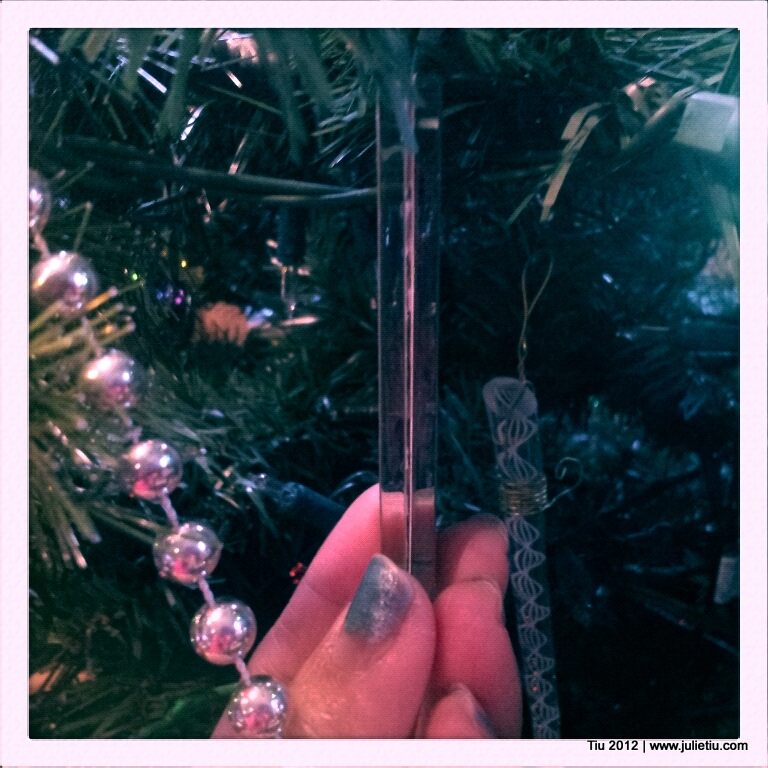
For the hanger take your ribbon, and fold in half. Center it at the top of the tile, and stick in place with a dab of glue. Spread more glue, like you’re dressing a sandwich, then top with another glass tile. Gently press (so you don’t get glue smooshing out) together for a few seconds. Let the glue set at the manufacturers recommended time.

Hang on your tree! Or adorn someone’s gift!
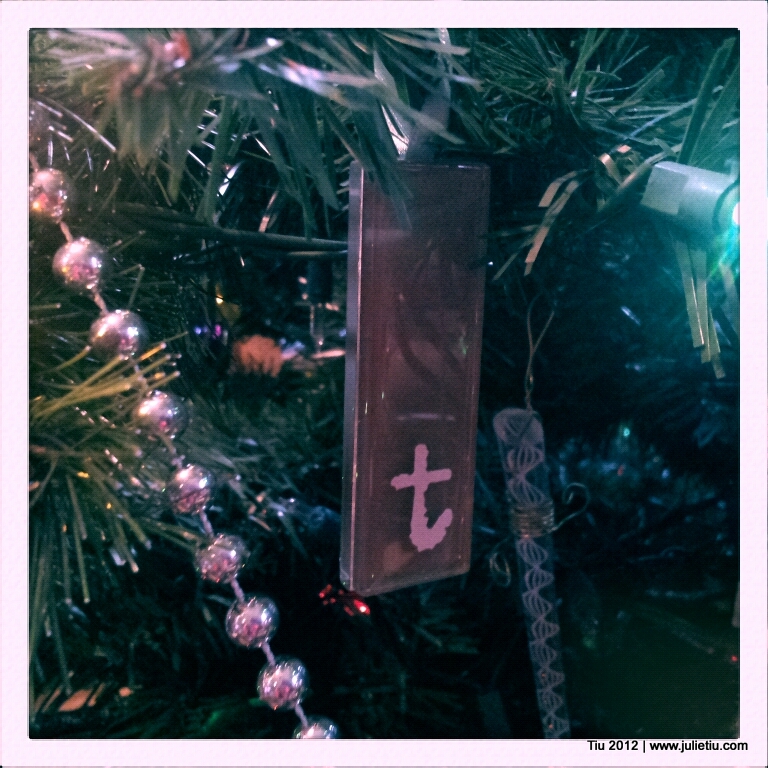
Would love to know about your favorite handmade ornaments… want to share? Two of you will be randomly chosen to receive some fun Jolee’s stickers (the top group and bottom group). Leave a story, a comment (and a link, if you have one) by Tuesday, Dec. 4, 10 PM (central time). Thanks!!!
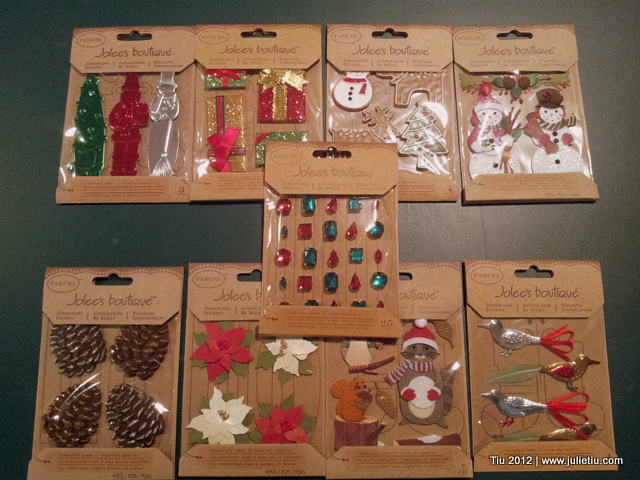
Jolee’s Boutique Stickers Giveaway

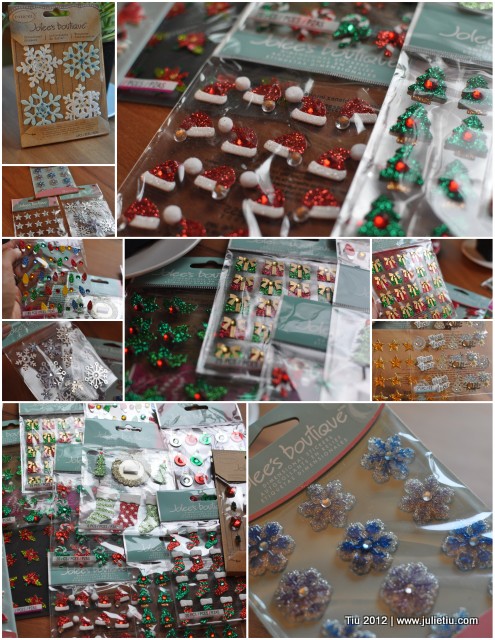
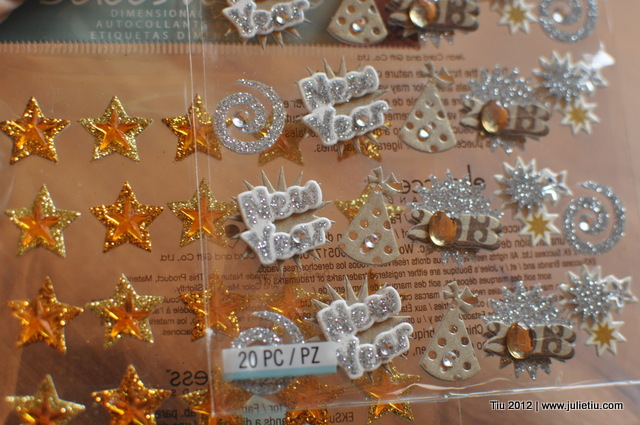
Jolee’s Boutique Christmas dimensional stickers

When I was a little girl, I could not have enough stickers. I would save the stickers off of fruit and produce from the grocery (you know, I’m talking about Chiquita bananas). And, now that I’m all grown up, I still love stickers and they’re also very grown up… Jolee’s Boutique has the cutest and some of the most elaborate stickers I’ve ever seen. They give some great dimension craft and paper projects.

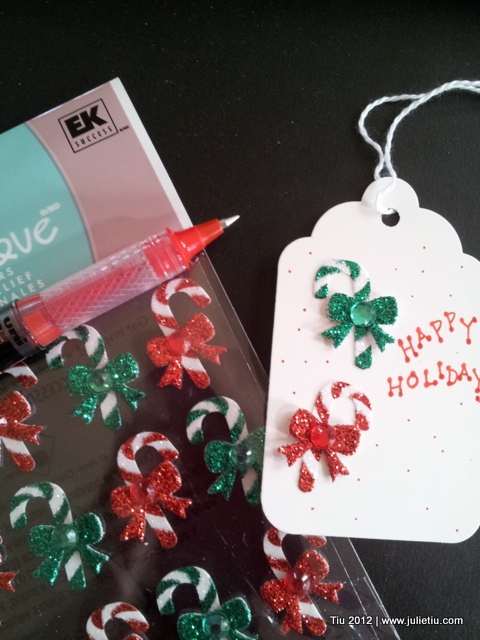
Plain paper tags get dressed up so easily. And, since I’ve been doing some bottle cap art lately, how cute would some of these be in a little bottle cap frame?

So happy to offer three sampler packs, friends… just follow instructions and don’t forget to leave a comment! Good luck!

a Rafflecopter giveaway


  • This giveaway is in no way affiliated, administered or endorsed by Facebook.
  • Please provide your email address so that I can contact you if you win.
  • Three separate winners total, and will not be the same person. No specific sticker or sample requests will be honored.
  • Winner(s) will be notified by email on 11/19/2012 and will need to respond within 48 hours to claim their prize or another winner will be chosen.
  • Winner(s) must be 18 years of age or older and a US citizen in order to win.
  • International shipping charges may apply.
  • Winner(s) are responsible for paying any necessary taxes on winnings.
  • Alternate entry email: jtiu@comcast.net with entry information.
  • All prizes will be mailed by Julie Tiu and eksuccess/Jolee’s Boutique will not be held responsible if the prize is not fulfilled.
  • A list of winners may be requested after the giveaway has ended. Questions and additional information can be requested by emailing: jtiu@comcast.net.

Making Bottle Cap Magnets: a Mini-Tutorial

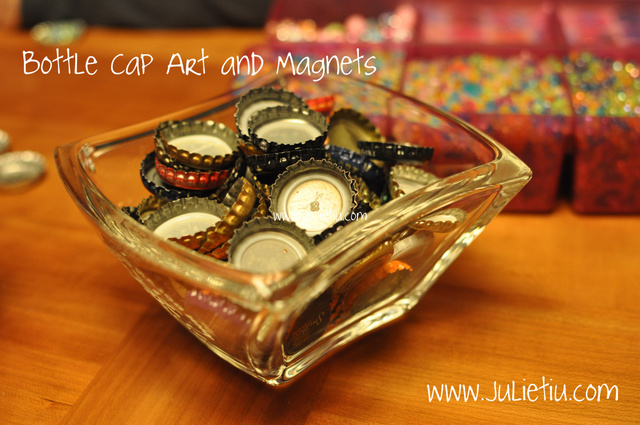
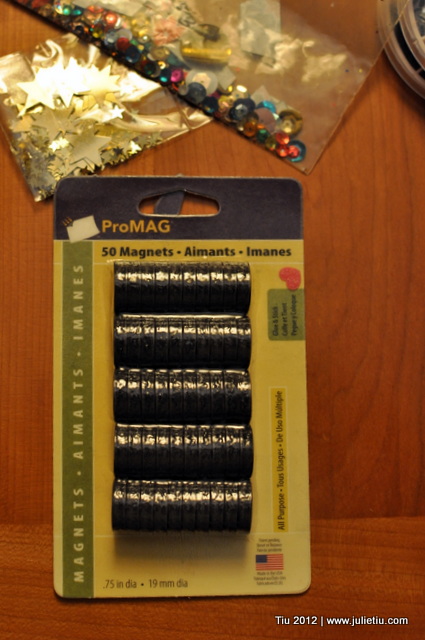
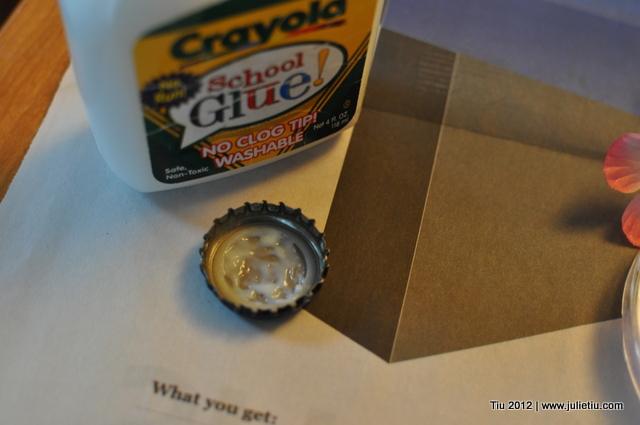
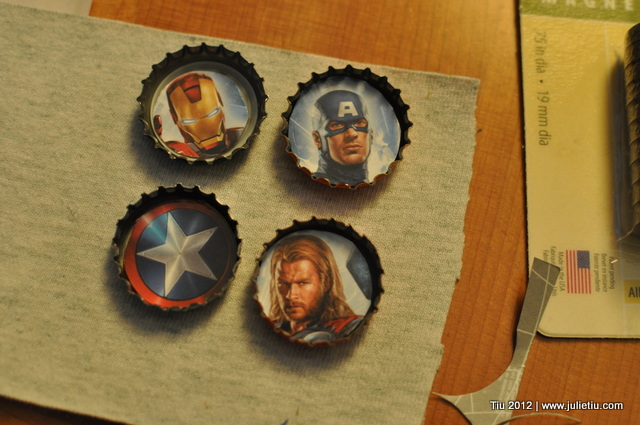
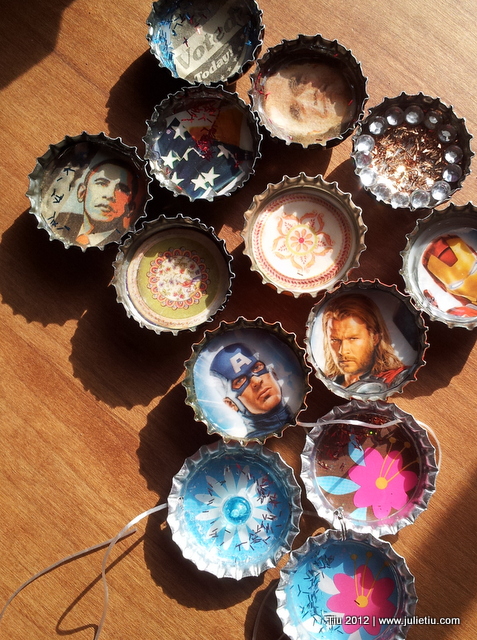
Last week my daughter and I were having fun on Election Night. Here’s the long version of what we were up to. I only call this a mini-tutorial because there’s not a whole lot of science that goes into this. You can make all sorts of miniature art using regular bottle caps… clearly, you can see how much we’ve been holding onto. Stores carry blank bottle caps and bottle cap kits for art and jewelry, too. We gathered all sorts of supplies like sequins, confetti, rhinestones, glitter, scraps of cardstock and patterned paper, newspaper, glue, Mod Podge and magnets.

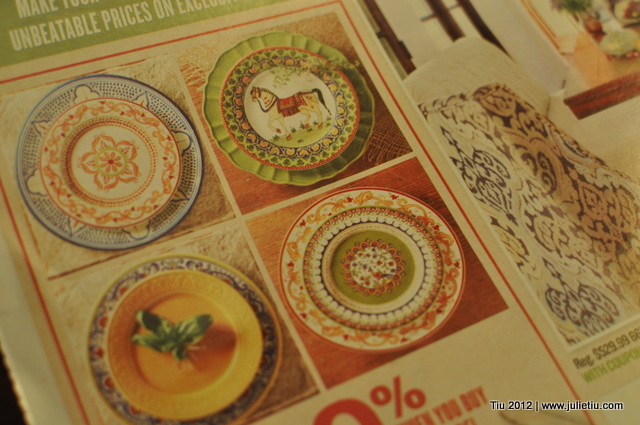
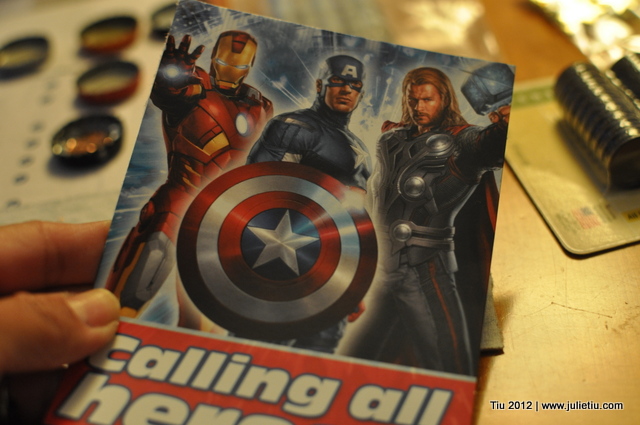
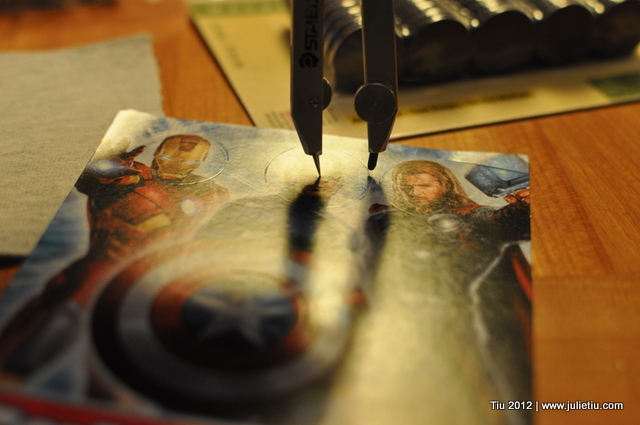
Just glue and stick your doo-dads… recycle cards, even newspaper ads! They all start to look like potential mini-magnets. (It’s probably easier cutting out circles with a round punch, but I went old school and used my engineering compass.)

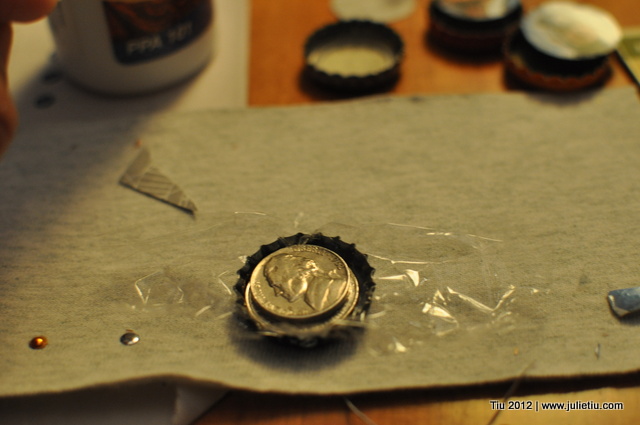
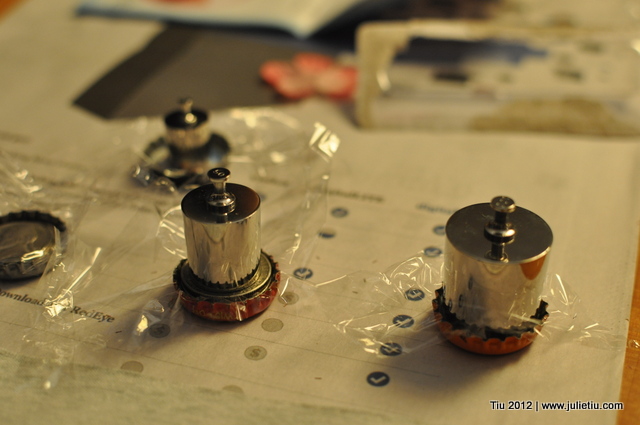
While your art is drying, it’s a good idea to weigh them down if the paper starts curling up. Just use a little plastic wrap and coins or, if you’re nerdy like me, little scale weights.

We let our bottle caps dry overnight, then added some Mod Podge dimensional magic to get them glossy and pretty. Glue your magnets and you’re done! You could package a little set as a gift or party favor… I really like this tutorial on glass magnets for packaging.

Related Posts with Thumbnails