Work-in-Progress Wednesday: Prepping for Paint

My son's wooden toy shield with Chinese name

This past weekend, my son asked An-kong (Grandpa) if he would draw his Chinese name on his wooden shield. It turned out better than I could’ve imagined. Now it’s up to me to paint it. Wish I gesso-ed* before my father-in-law drew the characters, but no worries. I’ll make it work… (Hehe, “make it work”. I’ve been watching too much Tim Gunn and Project Runway! HA!)

Work in progress: gesso layer on brown paper bag

I’ve also started a brown paper bag journal – made it with three lunch-size paper bags from our take-out dinner the other night. (Upcycled product project, yay!) This has been something I’ve been meaning to do for a long time. I totally want to break out all my paint… and if you’d like to follow the journal journey, hop over to the my Facebook page where I’m winging it, as usual.

*Acrylic gesso (jess-o), in case you’re not familiar, is a basically a primer you can use on canvas, fabric, paper, wood, etc. It makes the surface nice and smooth for painting or drawing.

Mugshot Monday: What I’m Reading

Monday Mugshots Collaboration

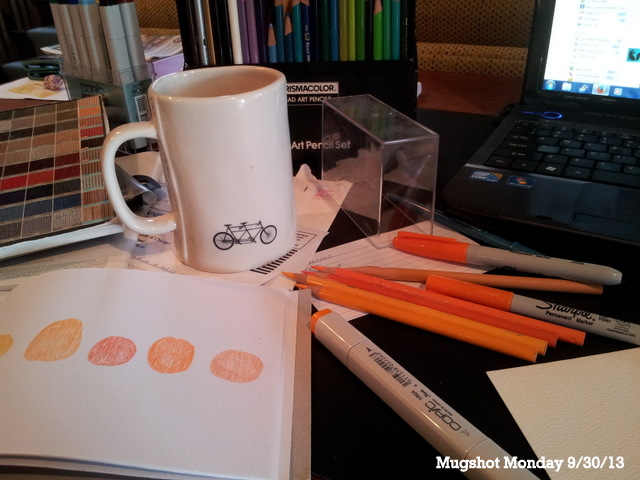
Here I am taking a break this morning from reading my neglected e-mail inbox. Actually the drawing is part of a draw-along I’m hosting on my Facebook page. Come and join me there if you’d like to see what these orange shapes will become.

I recently joined GeekMom as an occasional contributor. (Yay me, but I have yet to submit an article to them.) There’s so much talent in that group that it’s intimidating. And wow – the amount of group discussion that goes on behind the scenes amazes me. I realize now that I don’t have to keep up with absolutely all the messages, but still, I’m trying to figure out the ropes, so to speak. Looking forward to expanding horizons and sharing my own geekiness over there.

Update: My pillow tutorial was posted on GeekMom on Nov. 30. Enjoy!

Fun with Flashlights during a Blackout

A few weeks ago a storm rolled in and down went the lights. It wasn’t even a good, raging storm. I think it was all of 5-10 minutes with high winds – and I do count our lucky stars that there wasn’t much damage.

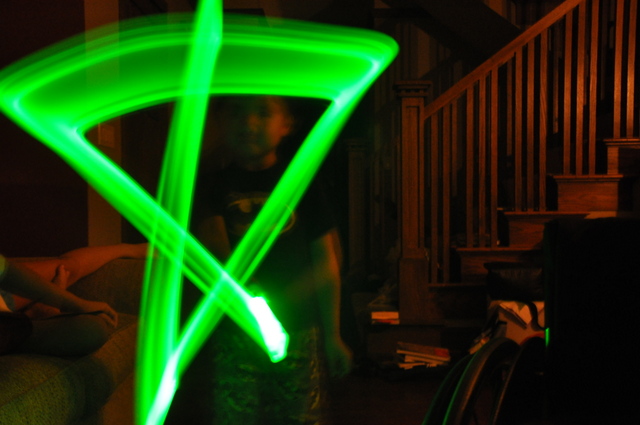
So in the dark for almost two hours, the kids were getting a little restless. Mind you, it was only 7 pm? It felt like midnight. I thought, OH, let’s have some fun with the camera! They LOVED it. So, here are a few tips for at least an hour of fun in the dark with your flashlights.

  • The only lighting in the room were candles and the flashlights.
  • I used my DSLR on the automatic setting, no flash.
  • Focus your lens on something dim first (you know, when you hold the button halfway first before taking the picture), and then take the picture.
  • Don’t worry about a shaky hand, but do try your best to stay still. The shutter will be open longer than normal.
  • If your photo subjects want to write something in the air, remember they have to write it backwards.

Writing in the dark with flashlights: star

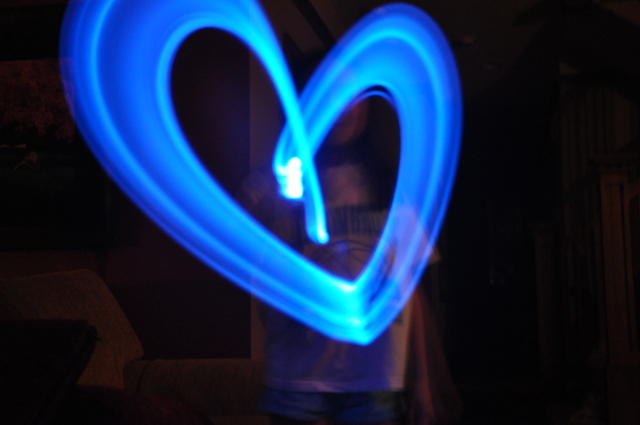
Writing in the dark with flashlights: heart

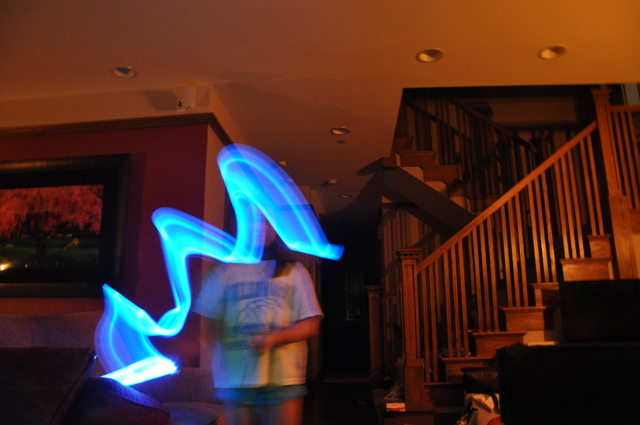
Writing in the dark with flashlights: squiggle

Writing in the dark with flashlights: spiral

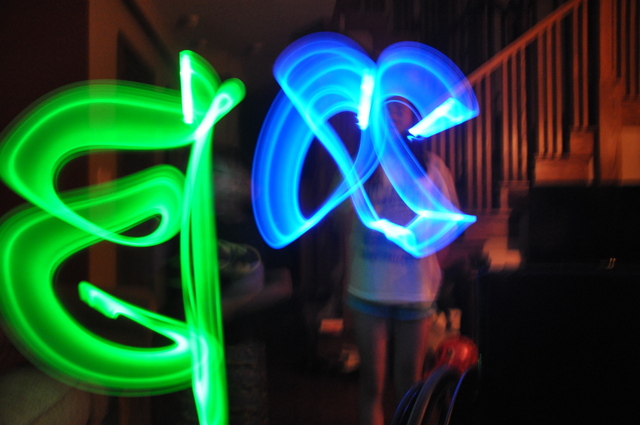
Writing in the dark with flashlights: 2013 (backwards)

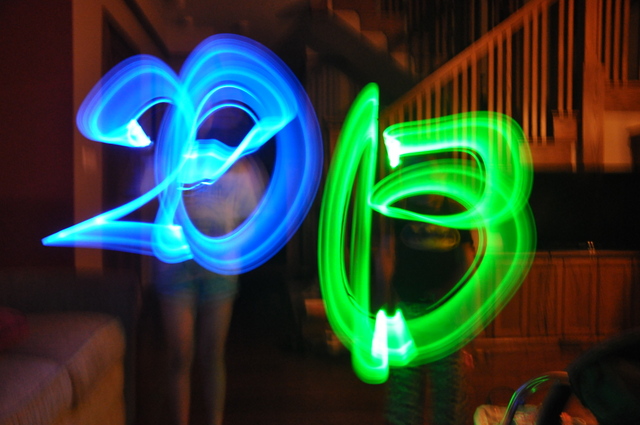
Writing in the dark with flashlights: 2013

Related Posts with Thumbnails