Halfway through May: Super Moon, Crafting, Teacher Appreciation
Hello, friends. I know I say this all the time – where do the days go?! Seriously, here we are in the middle of May, and it’s been forever since I’ve blogged. Thanks for staying connected with me on Facebook and Twitter. It’s truly appreciated. Those outlets have helped me stay in touch when I’ve come up for air.
Soccer and t-ball practices, class projects, teacher appreciation week, baptism, communions, weddings… Spring is in full swing.
More Resources
Birthday Party Ideas: Game Night
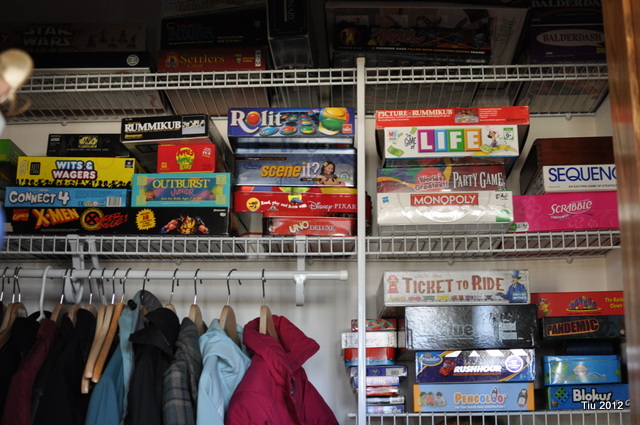
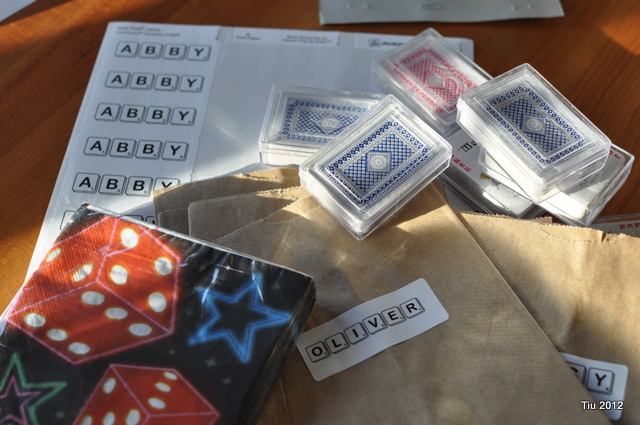
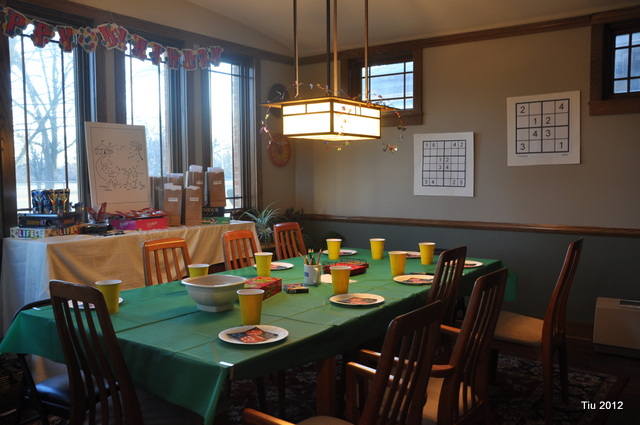
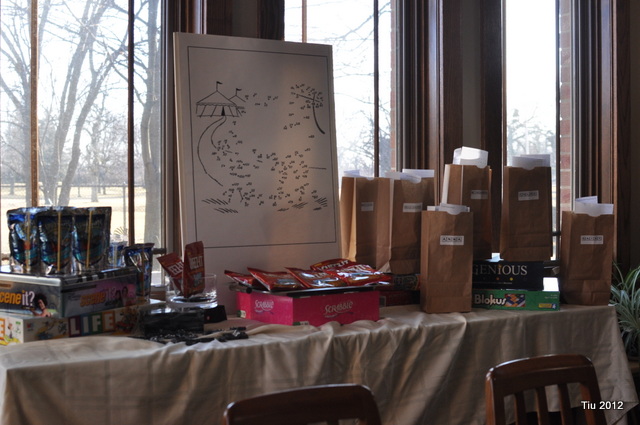
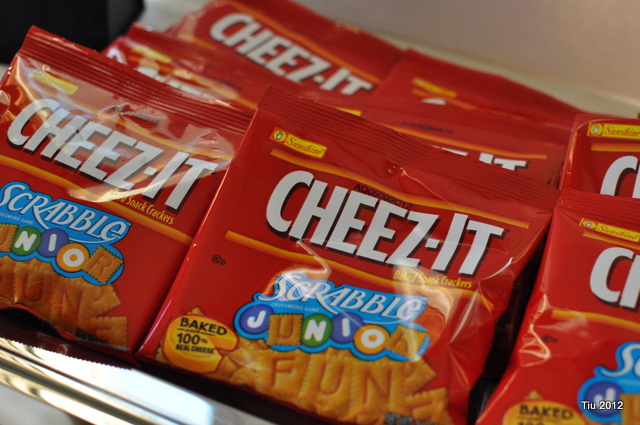
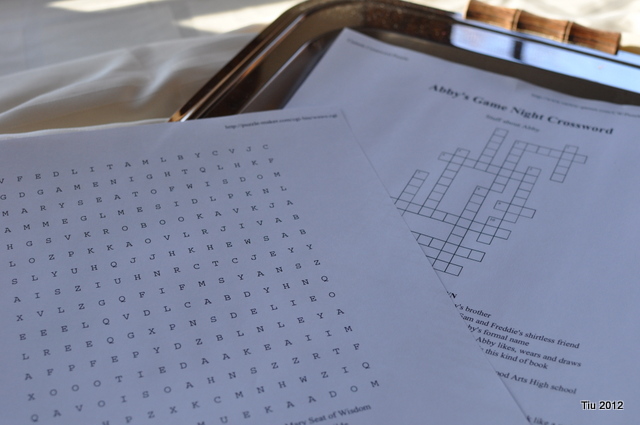
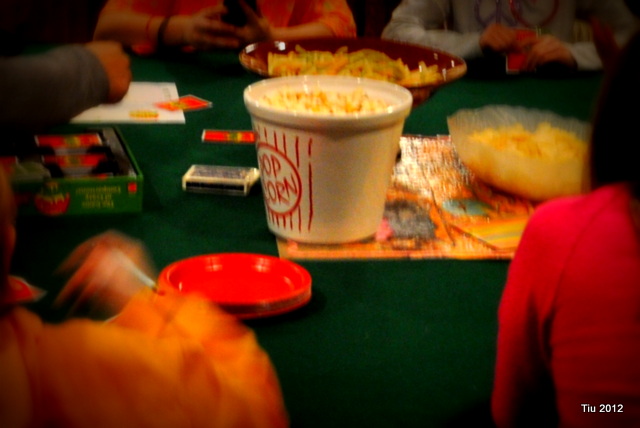
When my daughter turned ten (yeah – when did THAT happen?), we threw her a “Game Night Slumber Party” at home. She thought about having an art party at a local shop, maybe a dinner out, but the thought of a sleepover and plenty of games seemed to excite her. And for those of you who know her, she’s not that easily excited.
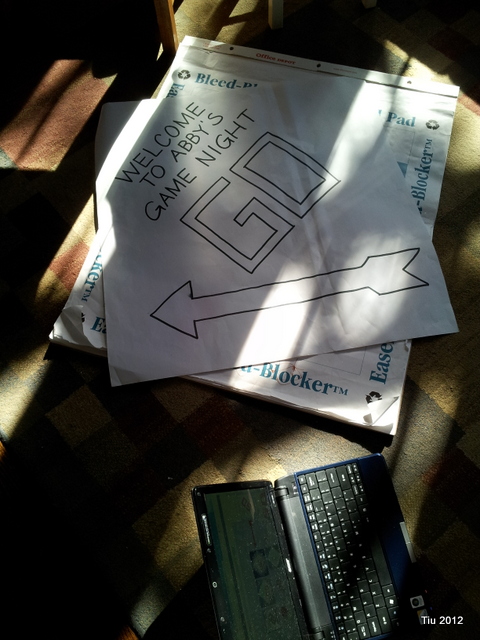
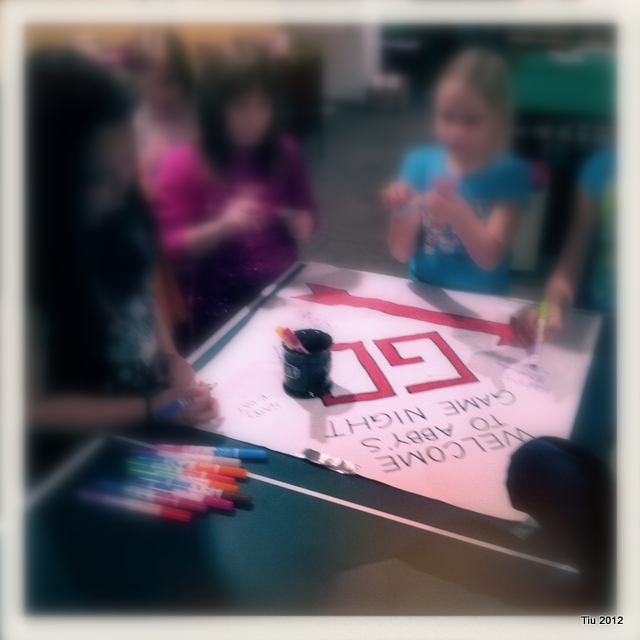
While I normally make cards, I opted to go easy on the invitations this time and went with evite. There are plenty of game night themed invitations there. That left a bit more time to work on a welcome sign – inspired by Monopoly. If you’re good with freehand, it’s not too hard to do. But, careful… those fumes from the Sharpies can get you good.
We broke out the plastic spoons and taught the girls how to play spoons the card game. Lucky us, we’re still “cool” enough to play games with our kids. 🙂
Yeah, remember that door sign? It can serve as a poster that friends can sign. Hang it up in your kid’s room after the party… fun memento.
Would you let me know if you’ve hosted a game night party or are thinking of having one? What games did you play?
Enjoy the weekend!
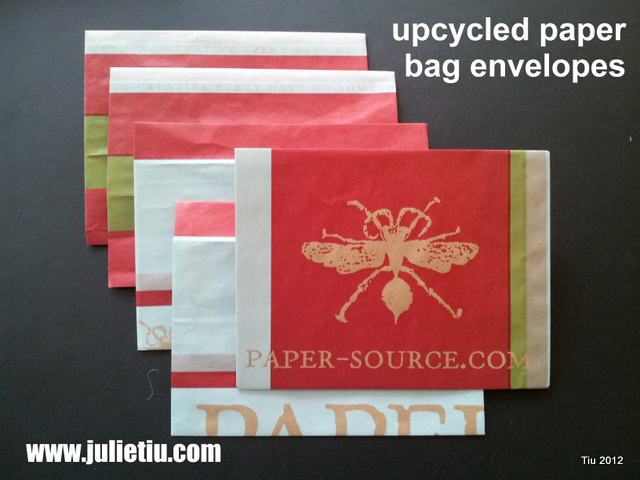
Upcycled paper bag envelopes tutorial
I hope everyone’s doing okay out there… Oh my goodness, so fun and busy around here! Baby shower party for my sister-in-law, trying to ride my bike every day, school and church events. I’ve completely neglected housekeeping, so once again, I have lots of catching up to do on so many levels. Teacher’s Appreciation Week is also coming up! Before you know it – Summer Vacation! EEK!
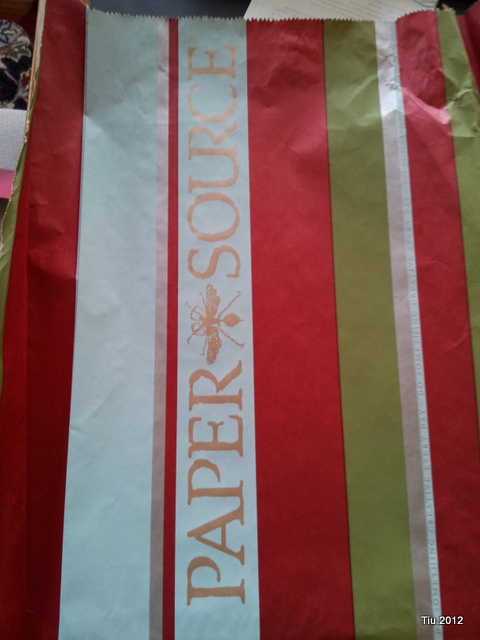
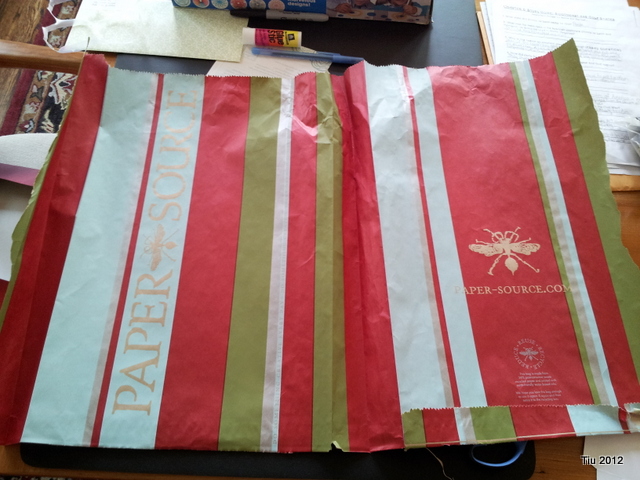
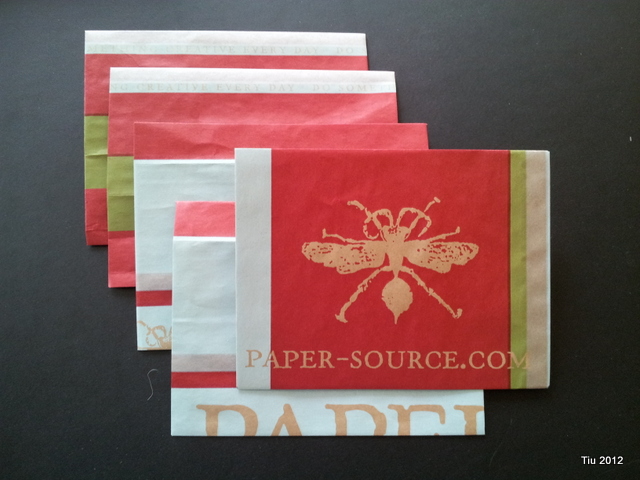
The other day I ran out of mailing envelopes, so what did I do? Made some of course. Yes, you can buy plain white ones, security envelopes, manila business envelopes – all sorts for so little cash. But, like the crazy girl I am, I had this paper bag in the stash and thought, what a pity to just recycle it. Let’s upcycle it!
Cut your bag open down one side and across the bottom.
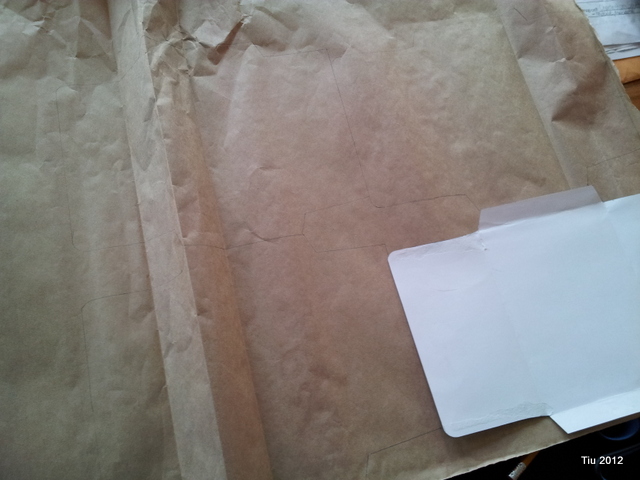
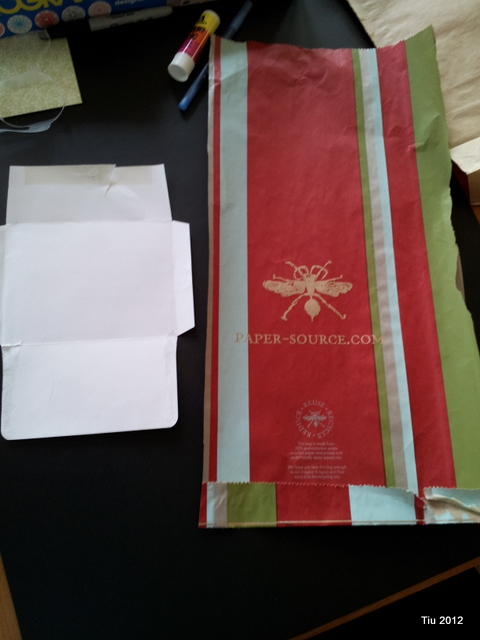
Find an envelope shape you like… from your day’s mail, from your recycling bin, from your stationery set. Whatever you have, it’ll work. Also, this way, you’ll know that the shape and size conforms to US Mail regulation. Just carefully open up your envelope which will serve as your template. I like to use a pencil to roll down the seams, opening up the envelope with little tearing. Then if you’re not to particular about the design, just start tracing onto your paper bag.
For this one side, I really wanted the logo to be in the middle of the envelope. After you’re done tracing and cutting, start folding per your envelope template.
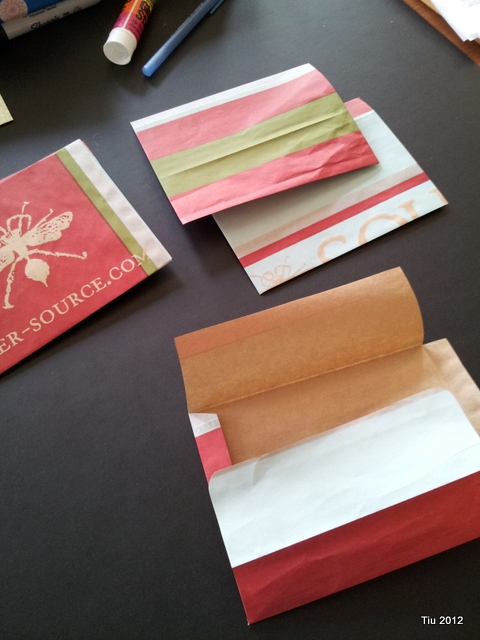
Here’s what they look like… use a glue stick to adhere all the sides in place and to later seal your envelope!
Who wouldn’t like getting mail in these envelopes?
Wordless Wednesday: 30 Days of Biking
Rice Krispie Sushi Recipe Tutorial
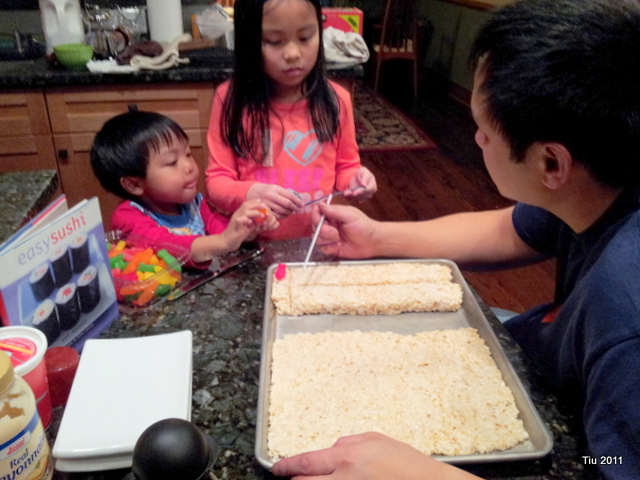
These are more like instructions rather than a recipe since you’re not going to cook a thing! We served these at a party where kids and grown-ups gave us great feedback about the rice krispie sushi. This might be something fun to do for a kids (heck, for adults, too) birthday party, a potluck? If you gave up sweets for Lent, this is a sugary way to break your fast.
What You Need
One batch of prepared Rice Krispie treats
Cooking spray (like Pam)
Candy: Swedish Fish, Fruit Roll-ups (fruit leather, preferably dark in color), cake decoration sprinkles
For the Nigiri (hand-rolled) Sushi
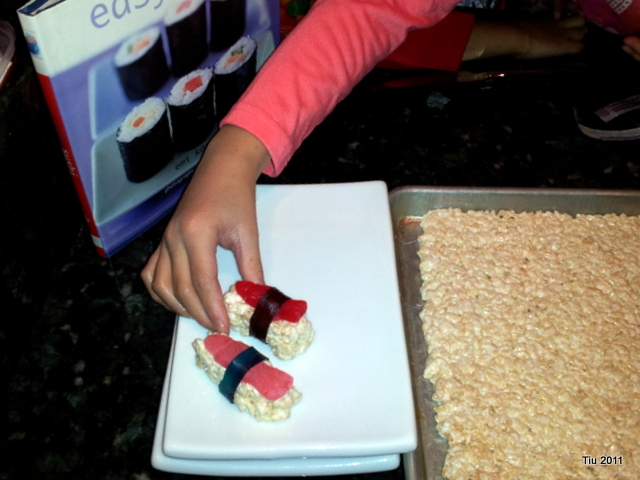
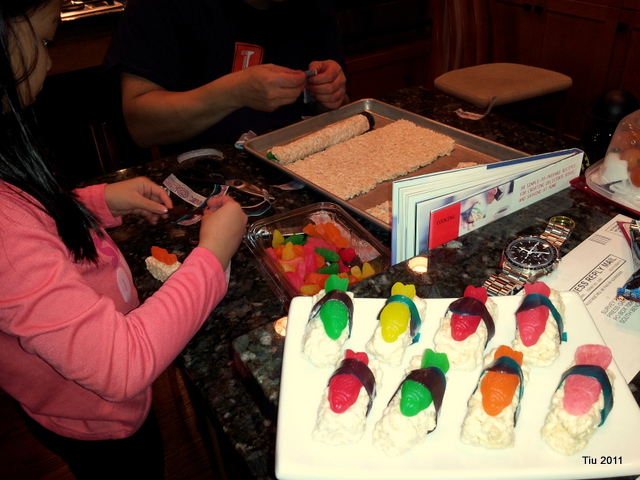
Spray or coat your hands lightly with cooking oil. Butter, magarine works okay too. Create an oblong mound of rice krispies in the palm of your hand. Top with a Swedish fish and wrap with a thin strip of cut fruit leather.
For the Maki (rolled) Sushi :: inside-out roll featured in first picture
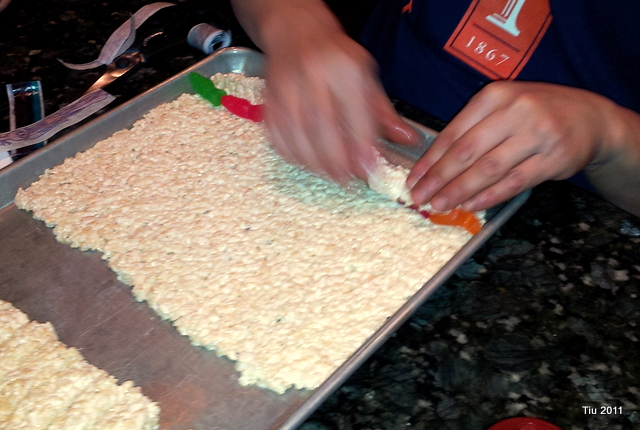
This one is a little trickier. Make sure your hands are well coated. Using your hands or a rolling pin, you will need to press or roll the rice krispie treats to a thin thickness. 1/4″ – 1/3″ inch should work. Swedish Fish in a row along one end of your prepared rice krispie treat. Roll the end of the rice krispie treat up and over the candy fish until they are covered.
(I have to say, at this point, we forgot to add strips of fruit roll-up for the “seaweed”. Lay down some fruit roll-ups before the Swedish fish. You can see it better in the very first picture of this post.)
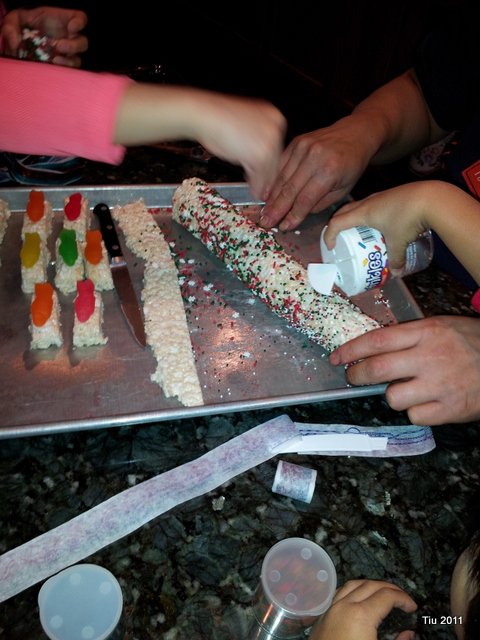
Trim away from the remainder of the rice krispie treat. Shake some sprinkles on the roll (like sesame seeds), and using a sharp, buttered knife, cut into circles – like you would cut cookies.
For regular maki
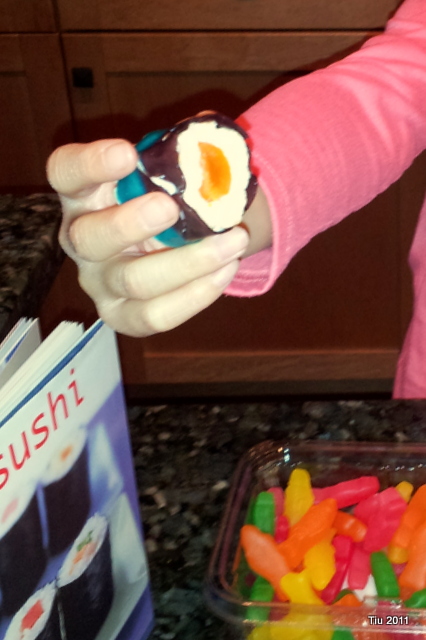
You’re going to follow similar directions as above, but save your strips of fruit leather, and roll it around the rice krispie treat after you’ve cut them into shapes.
If you attempt to make these, I love to hear how it turns out! Share your pics and links! Enjoy…
