Candied Orange Peels (Revisited)

Been sick as a dog for about one week… thought this might be a good time to look back at some favorite recipes like the time I made candied orange and lemon peels. I think I may do this for a baby shower favor next month – a cellophane bag, scrapbook paper in the party colors, some twine or raffia. Perfect.

(First posted March 26, 2009)

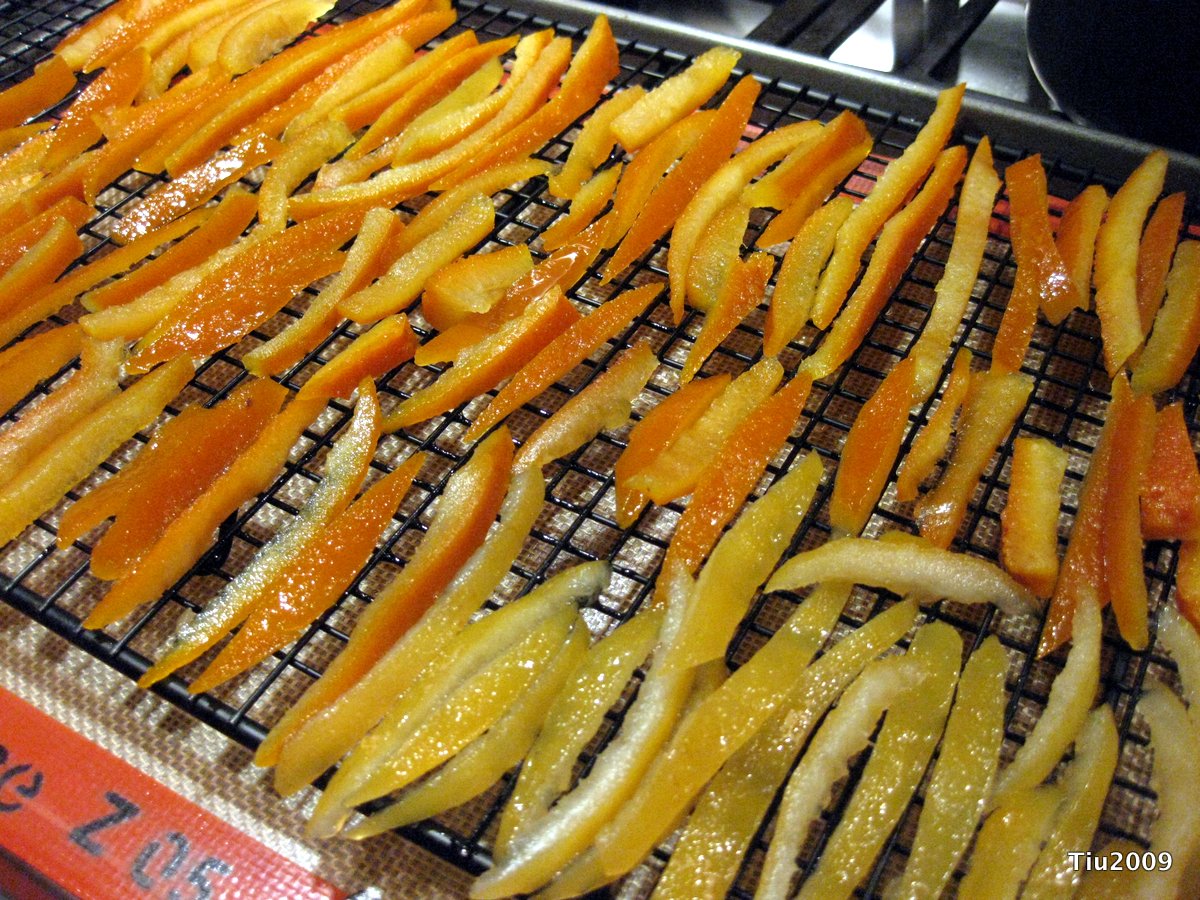
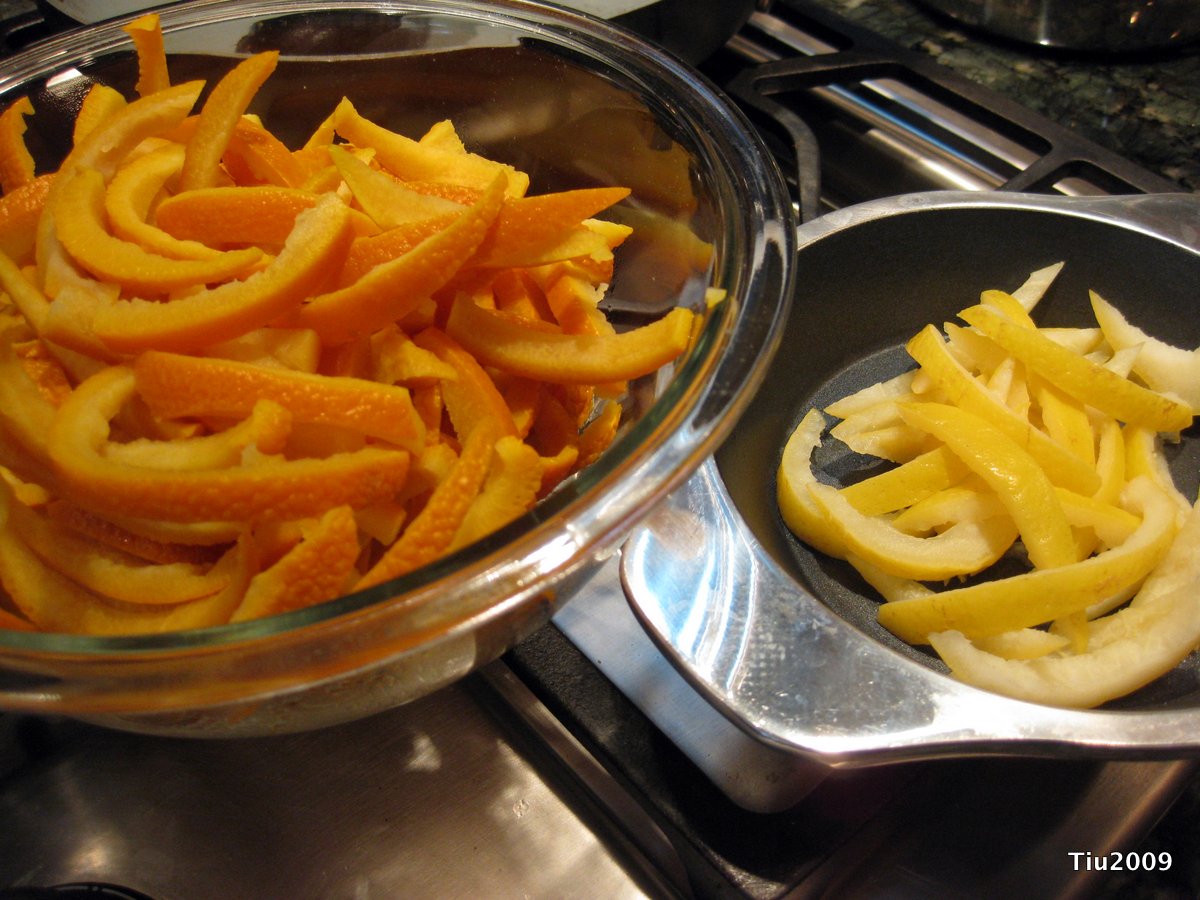
Lemon and Orange Peels Drying

Over the weekend, a friend brought over the most beautiful lemons from her parents’ lemon tree. Note, we’re in Illinois. Her parents’ tree is in Arizona. She was sharing because her folks had a bumper crop this spring. My friend was greeted by 3 dozen lemons… what to do, but share! She mentioned juicing the lemons and freezing the juice in ice cube trays. Then she mentioned saving the peels to candy them. Aha! Lemon, citrus, orange, citrus… helloooo?! I thought it’d be delicious, AND I was planning on making some candied orange peel this week. I’m experimenting with frozen peels; thawing them first and then continuing with the typical recipe.

Just type “candied orange peel” in your favorite search engine and there are tons! They’re all basically the same. Mine isn’t that different.

  • Peels from 4 – 6 oranges (this time around, I also had 2 lemons): The peels were in sliced sections and the pith (white) was already trimmed. You want very little pith, but I still leave a bit. I sliced these into 1/4″ strips. The lemon peels were smaller.

After 1st blanch

Using a 3-1/2 qt. pot, I filled it with about 4 cups of water. This should be enough to cover the peels. Heat until boiling, then add the peels. Blanch the peels for about 3-4 minutes. Turn off heat, drain/remove the peels (I just used a slotted spoon not a colander), discard water and repeat. You will blanch the peels 3 or 4 times. This is to soften the peels, but more importantly, to remove the bitterness. It sort of cooks out, cooks down any pith, too.

  • 4 cups water
  • 3 cups granulated sugar
  • Extra granulated sugar in a separate container for dipping

In your clean, empty pot, combine the water and sugar. Heat until you get a rolling boil. You can use a candy thermometer, and heat until 210 degrees. Add peels, boil for a couple minutes, and then lower heat to a simmer. Continue to simmer peels for 45-60 minutes, or until peels are translucent. (I’ve read recipes where they only simmer for 30 min.)

Newly candied, before sugared

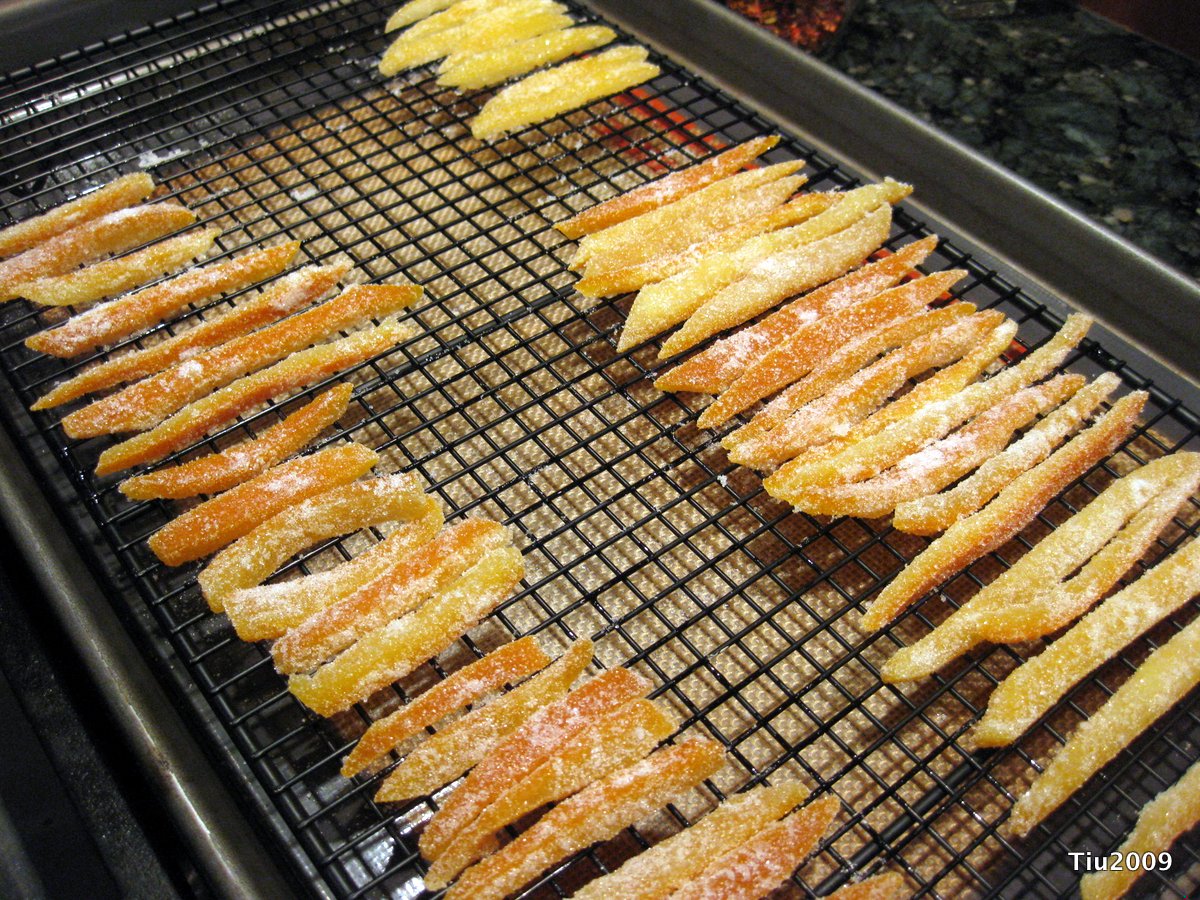
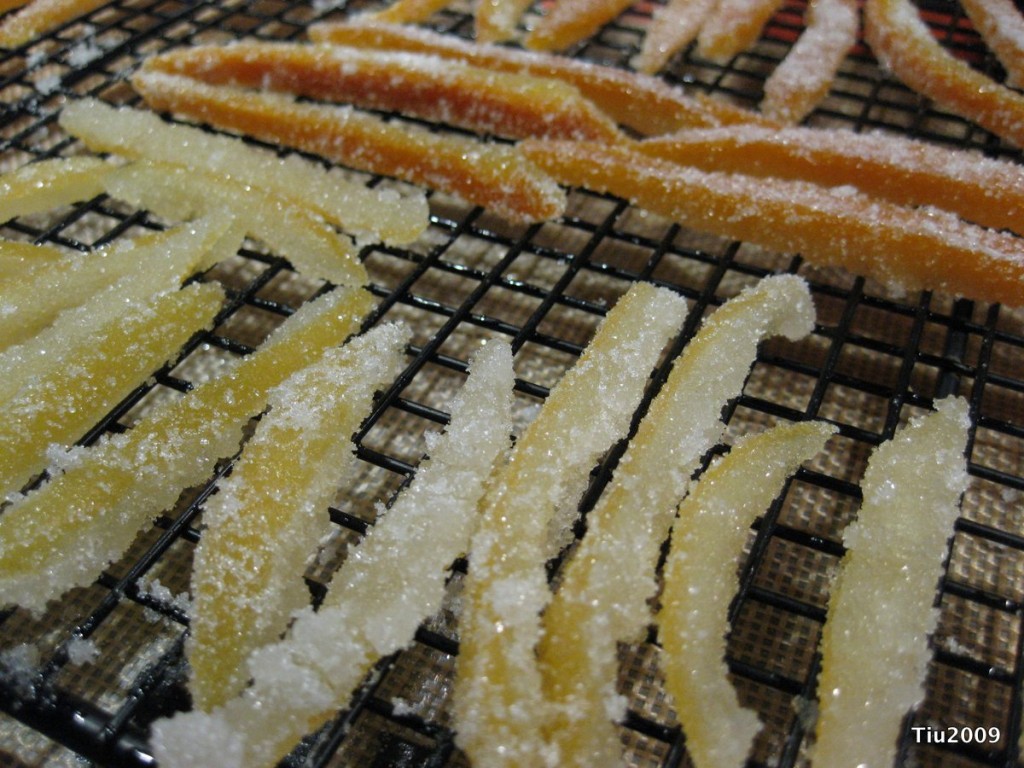
Remove peels after they are to your liking and dry on a cooling rack. While still warm, dip the peels in sugar and lay out on the racks to dry. I like to leave them out overnight. The next day you can take the dry candied peels and dip or drizzle with chocolate!

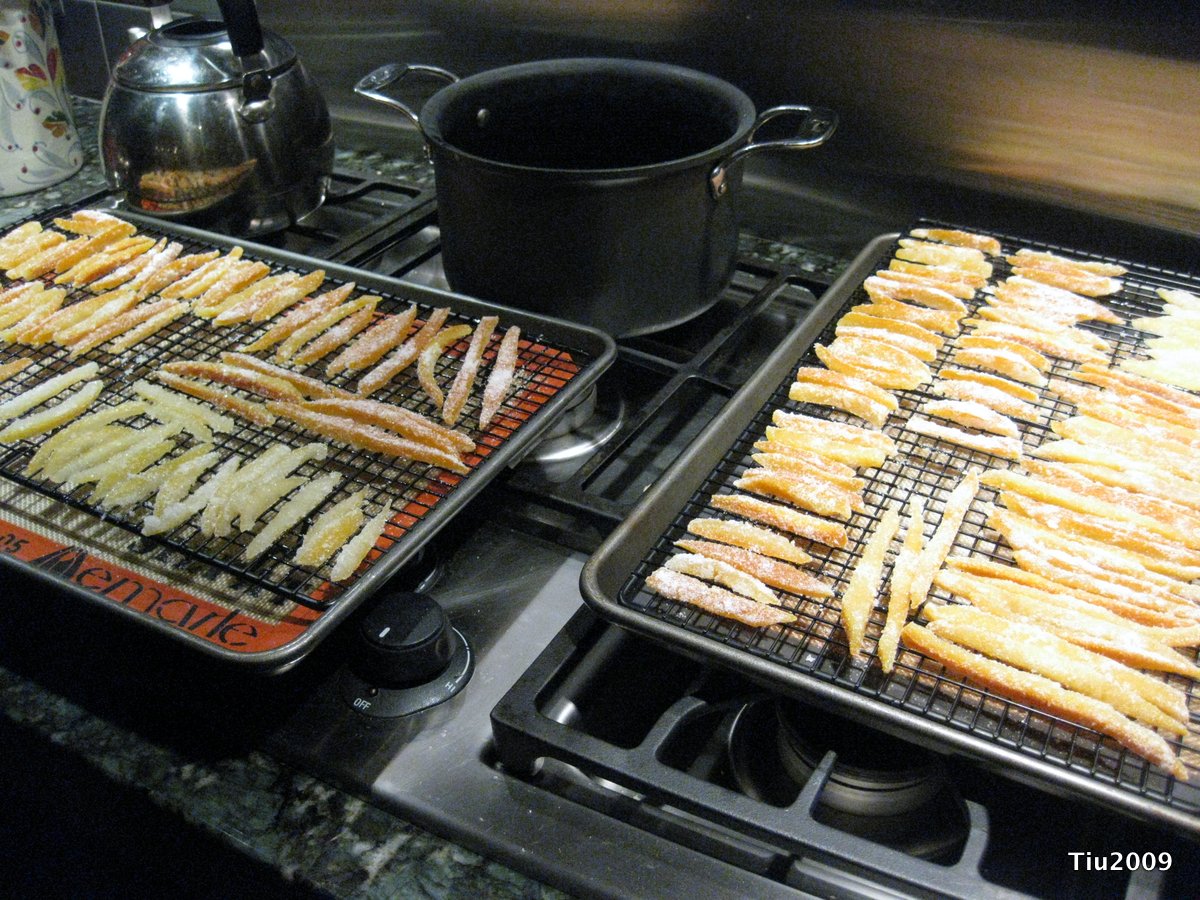
The workbench

After sugar dip

I love the blast of citrus flavor (not to mention the sugar), and it doesn’t take but just a couple pieces to satisfy your taste buds. This sweet treat is also gluten free, a big plus for friends with allergies!
Forget the Chores . . . Too Nice Outside

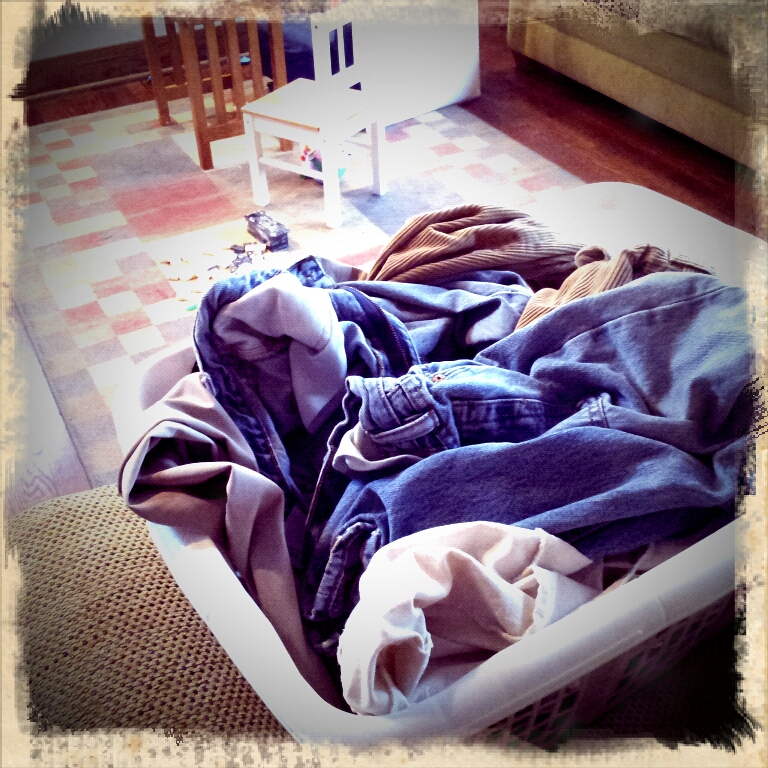
I want to know if there are more chore-challenged people out there besides me. Would it surprise you to know there are dishes in the sink, laundry waiting to be folded, mail piling up? It comes and goes in cycles around here. And, honestly, it kills me.


It’s the part of me I dislike the most… my procrastination. I just get exhausted picking up after everyone, and I blame myself for not teaching my kids better, for not having the picture-perfect “Better Homes & Garden” home that’s ready for guests at the drop of a pin.

Here’s the thing – there’s so much I’d rather do. Like, today. We’ve been blessed with the most ridiculous March weather in Chicago. I want to hop on my bike, I want to finish some sewing projects, start other projects, eat lunch and write outside… So, I’m trying to give myself a pass today to not feel guilty about enjoying the day. Give yourself one, too, won’t you?

Lately, I’ve been struggling a little with writing, and I’m not sure if it’s because I’m trying to be someone I’m not on the website, if I’m just REALLY overextended with things, if I’m horrible at time management. It’s time again for me to reevaluate things and find my voice. Might tweak the site a little, also. (OH, Sorry if anyone has had issues with the comment box. It’s fixed now.) I’m just glad my family and friends are super supportive. 🙂

I’m looking forward to sharing some more of our February and March: birthday party ideas, rice krispie sushi and more cooking and crafting ideas. Also, if you’re interested, take a look at 30daysofbiking.com. Can’t wait to journal about my adventures.

Irish Stout Coffee Cake with Chocolate Chips and Bailey’s Icing

With St. Patrick’s Day coming up, I thought it would be fun to cook with some Irish beer. I really wanted to try making something with a stout other than Guinness, and ended up with Murphy’s Irish Stout based on a recommendation from our local liquor store.  It’s dark, smooth, coffee-ish, sweeter than Guinness (if you’re into sweet). Made me want to eat some chocolate… seemed like dessert was in order!

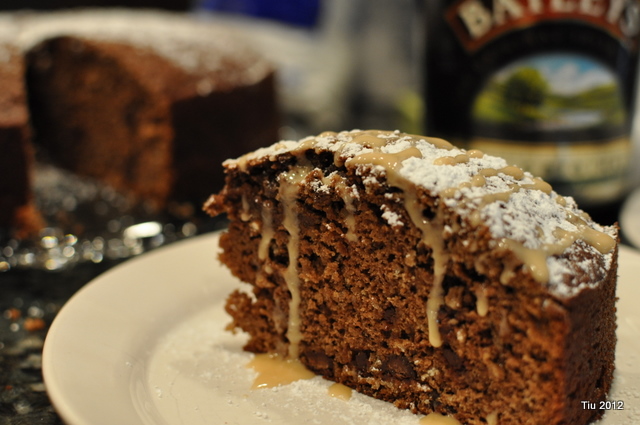
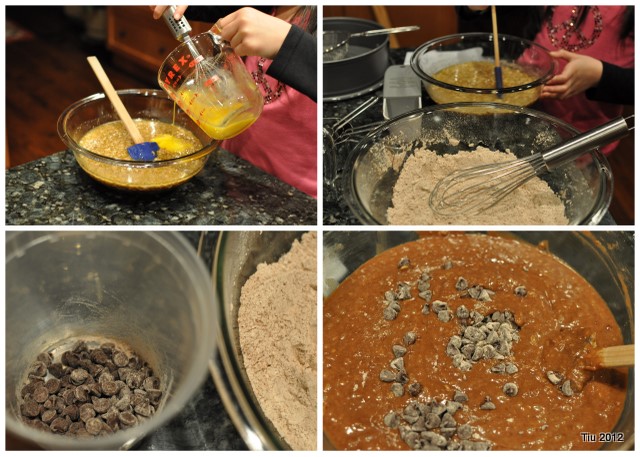
Here’s my take on an Irish stout coffee cake – it’s dense and moist, not like a birthday cake. The recipe below is exactly what you see in the picture. My daughter helped mix the gooey batter. She had some choice words about what it looked like. You can only imagine what a ten-year old might say. My finished cake lacked a little sweetness, but there was good malty flavor. I’m probably going to make it again next weekend, and will add 1/2 cup of sugar and a streusel topping. I think a little crunch on top would add some nice texture and sweetness. I’ll let you know how that goes.

The stout cake definitely went well with my morning coffee (good morning to you too), and it goes well with after-dinner coffee or drinks too. Well, it’s not that light so maybe hold off a little while after dinner. And, the Bailey’s Irish Cream icing – yum. When it came time to taste, my trusty assistant had a couple bites – no icing – and was done. Note: The cake may not be for the younger palate.

If you bake this, I’d love to hear how it turns out!

Irish Stout Coffee Cake with Chocolate Chips and Bailey’s Icing

1 stick (8 tbsp.) unsalted butter
1-1/2 c. stout beer, Murphy’s or Guinness
1 cup rolled oats, not quick cooking
2-1/4 cup sifted white whole wheat flour
1 tsp. baking soda
1/4 cup cocoa powder
1 cup granulated sugar
1 cup light brown sugar
1-1/2 tsp. kosher salt
3 large eggs, lightly beaten
1/2 cup chocolate chips

For Bailey’s Icing
4 tbsp. confectioners sugar
1 to 2 tsp Bailey’s Irish Cream

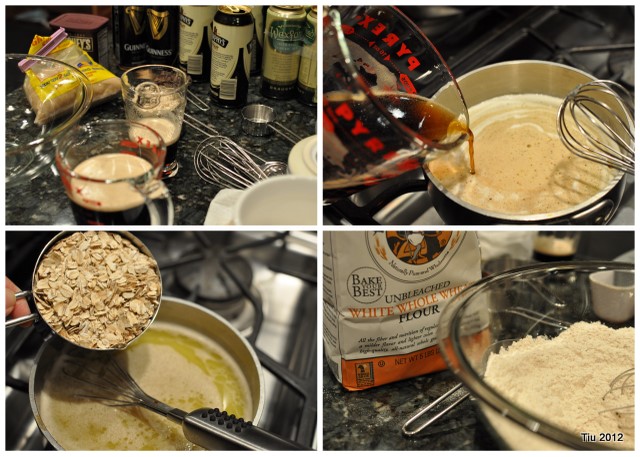
Preheat your oven to 350 degrees. Prep a 10-inch springform pan with non-stick spray or butter and flour, set pan aside. In a small saucepan, melt the butter over medium heat. Once the butter is melted, turn off heat and slowly pour the stout beer in the butter, whisking gently until the beer and butter are combined. It will foam slightly. Next, add the oatmeal and stir. Set this mixture aside while you prepare the cake batter.

In large mixing bowl, combine flour, baking soda and cocoa powder. In another bowl (medium size), mix the granulated sugar, brown sugar and salt. Add beaten eggs to sugar and salt. Take the stout and butter mixture from earlier and add to the egg-sugar mixture. Stir well. Now combine the wet mixture to the flour mixture and stir until dry ingredients are incorporated. The batter will be thick. Lastly, fold in the 1/2 cup of chocolate chips. (Tip: Lightly coat chocolate chips with your flour mixture (ahead of time) before adding to the batter. This helps the chips stay suspended in the batter when baking. They won’t fall to the bottom of the cake.)

Pour batter into your prepped springform pan and bake for 40-45 minutes, until cake springs back upon a light touch, or toothpick check in the center comes out clean. Remove from oven and cool completely. Dust with confectioners/powdered sugar and drizzle Bailey’s icing (optional).

For the icing: Combine sugar and 1 tsp. Irish cream. Add more liquor, 1/2 tsp. at a time, until consistency is like thick syrup and can easily be drizzled with a spoon or fork.

Another recipe you might like: Irish Soda Bread

30 Days of Creativity: Day 30 – A creative tool kit

Seems fitting to post this on the last day of the month and during a Leap Year, too. My bonus day…

Day 30: Make a Creative Tool Kit!  Compile your favorite words and phases of inspiration, swatches or fabric and color, drawings and doodles, and images into a little book you can pull out anytime you need to be inspired!

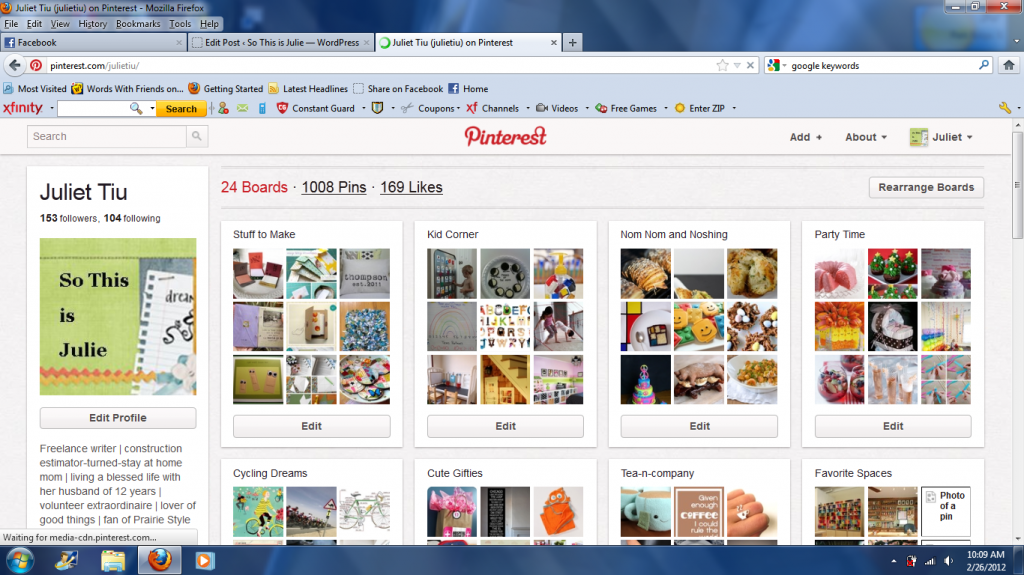
So there’s my virtual “creative tool kit” at Pinterest. Now, if you’ve been on for a while, have you noticed a lot more activity these days? Lots of people jumping on the Pinterest wagon, right? Would it overtake Twitter as a social network – I don’t know.

If you’re new to the Pinterest scene, I view it as a virtual bulletin board, or visual bookmark tool. Way easier for me than bookmarking within my web browser. It captures a picture from the website you’re bookmarking. (But shh…. let’s not get into the Pinterest copyrights and legal issues right now.)

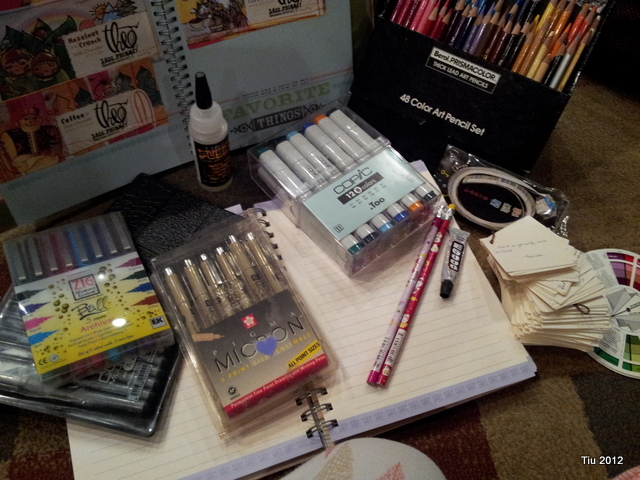
As for a tangible creative tool kit, my essentials are: good pens, pencils, glue stick, scrap paper, colored pencils, camera. Place a few things in your purse if you have some room, or maybe dedicate a tote bag. I switch a lot between a canvas tote and scrapbook paper-sized tote. If you run into me while I’m waiting for my kids in the school pick up line, you’ll probably see some of these items in the passenger seat.

You can never have enough journals. In the journal that’s shown in the upper left corner (happens to be my SMASH book), I actually have some swatches or fabric and color. In another journal, I have drawings and doodles, and layout ideas for greeting cards, drawings, and home improvement and sewing projects. And, my gardening journal! I have one of those too, great spot for pasting pictures from magazines, and dreaming of a spectacular yard and garden space. Sadly, it’s been neglected this winter.

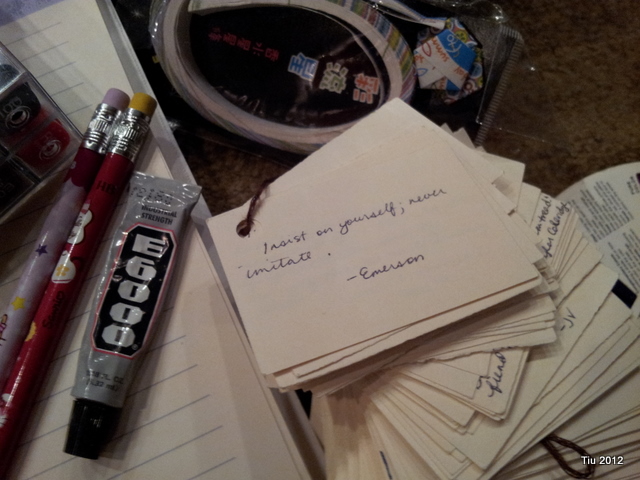
In the corner of the picture of my little pile of artsy-ness, you’ll see a stack of small cards. Here’s a close-up.

I would write out some favorite words if I came across something I liked. It’s still kept together by a small length of embroidery yarn, and it would hang in my high school locker. (Have you figured out that I’m a packrat?). It’s fun looking back at the quotes I was drawn to in my teenage and young adult life. And, gah, my handwriting was so nice then. With all this typing, my penmanship isn’t quite what it used to be – at least to me, it isn’t.

Funny, some things never change – I still love collecting quotes, words of hope, of inspiration and self-discovery. And, I think this whole challenge has helped me discover some passions that have been lying dormant.

Thanks for following me through this (very drawn out) 30 Days of Creativity exercise. I’d love to hear your stories, too. Feel free to leave a link in the comments, or just write if you’ve done any of the challenges – one of them or all of them!

First Visit to a Bed and Breakfast

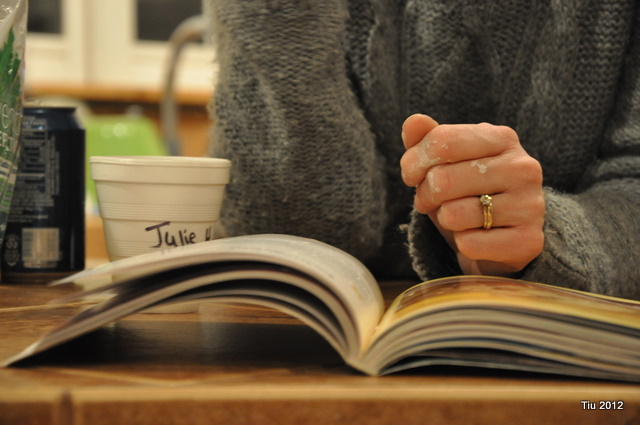
Our friend turned innkeeper - perusing a cookbook

What would you say if your friends called and said, “Hey! We bought a bed and breakfast! Who wants to come for a working weekend to help us get ready?”

We said, “Of course!” We had never been to a bed and breakfast before, but mostly because of accessibility issues. Luckily, there was a ramped entrance and we had a ground floor room. Perfect.

So two weekends ago, we packed up our bags, brought an air mattress, blankets and headed two hours out of Chicago to their bed and breakfast in Michigan. A possible snow advisory didn’t stop us either.

Doors and walls in the innkeepers home needed painting, furniture had to be moved, kitchen cabinets and appliances were waiting to be cleaned… and there were over ten adults (along with at least fifteen children – I lost count) willing and able to do jobs. Talk about a great greeting – having friends come out to your car with big hugs.

I stayed in the B&B where all the kids were. (Couldn’t leave them to their own devices.) Spent most of my time in the B&B kitchen catching up with other friends who had come to help. Oh, and I contributed – scrubbing out cabinets, finding miscellaneous kitchen gadgets and glassware left behind by the previous owners. Not your typical weekend activity but I loved it. The evening ended with wine, guitar playing, kids in the basement complete with pillow fights, and prepping for the next morning’s breakfast… awesome.

What a truly exciting adventure ahead – so proud of our friends, Julie and Eric.

Valentine’s Day 2012

Happy Valentine’s Day, friends.

I’m running around like the crazy girl I am. Valentine’s Day comes between my husband’s and my daughter’s birthday… and I tend to put Valentine’s Day low on the priority list. It’s not that I don’t care, I really like all the red, pink, flowers, candy, love-fest. I wish I could organize myself better so I could do all the crafts and projects I aspire to do. A crafty girl can dream, can’t she?

Well, I’m off to the store soon, and I have to finish a few things around the house. Last minute (story-of-my-life) pick-ups for the afternoon Valentine’s Day party at my girlie’s school. OH, and I ought to finish these cards… take a look. My little personal greetings to you:


Related Posts with Thumbnails