Collage Project: Flooring Catalog

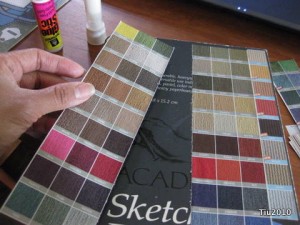
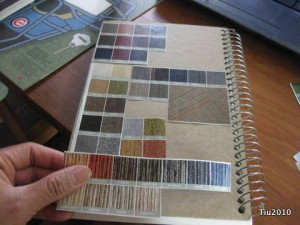
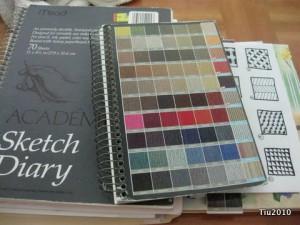
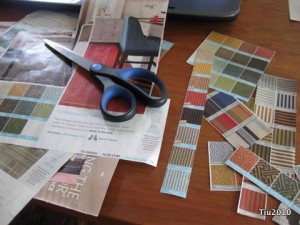
Magazines and catalogs are sometimes the best sources of inspiration, especially when I see tons of little colored squares in a particular carpet tile catalog (we actually used these tiles in our basement).  I was itching to do a collage project and finally broke out the scissors. The tiles would be perfect for covering up one of my sketch books.

Since the squares were all uniform in size, piecing it together was easy… like a cut-and-paste Tetris game! I’d like to do one coat of Mod Podge on the front and back covers soon, and I have enough cut-outs to cover my larger sketch book another time.

StampScrapArt Tour

picture featuring InkyAntics

It was sort of a fluke that I happened across an ad for the StampScrapArtTour in a crafting magazine a month or so ago, and even more a fluke that it wasn’t too far away from my home. So, a few weekends ago with eight-year old daughter in tow, a friend and her daughter, I was off to my very first craft show. Our entrance fee was $6.00… well worth the 2 hours I was able to spend there.

The tour featured 21 vendors at the Clock Tower Conference Center in Rockford, IL, and it was the perfect size to break in my novice-ness. I was FLOORED at the card samples and artwork posted – in amount and creativity! Paper, crafting supplies, embellishments – you name it, it was probably on the floor. And, the amount of rubber stamps in the place was astounding: unmounted, mounted, rubber, acrylic, and designs for every occasion to cover a huge spectrum of individual personal style.

One of our stops was Bugawumps, where Laura Jacobs was holding a demonstration on liquid masking and another demonstration using glass paint. She had these cute glass pebbles you could use for embellishments or maybe a cute magnet. We brought one home.


Actually, I was really impressed with the number of technique and product demonstrations at the show. This one from Darcie showed their Shrink Plastic Project Kits. Passers-by were mesmerized, but who wouldn’t be? It reminded me of the days of “Shrinky Dinks” and my mom burning my permanent marker and plastic creations in the oven because we didn’t have easy-to-use heat guns at back then, but these shrinkies are much prettier than the ones I ever made.

Ruthie from Darcie’s is showing the technique here.


There were plenty of opportunities to purchase wares, too, from markers and inkpads to industrial adhesive rollers. Polkadots and More! from Mukwonago, WI brought displays to inspire easy and thoughtful gift-giving, and brought stamp kits from Unity Stamp Company.

We found this non-stamping demonstration really interesting. Tessler Stamps and Stencils showed how to stencil using daubers with ink pads. Then our demonstrator spackled embossing paste to make the image come to life.

One of our last stops included InkyAntics, a company started in 1997 by Jackie Lewis. InkyAntics features over a dozen artists… trying to make “the world a cuter place”.


And just to mention the other vendors, because it was just such a fun time to meet them all:

Just for Fun and their blog, Rubber Cottage, Peddler’s Den, Repeat Impressions, Seaside Stampin’ Ink, Lost Coast Designs, Pretzel City Paper, Stamp La Jolla, Art Gone Wild, Stamp Camp, Stampers Anonymous, Designs Unlimited, Close to My Heart, Stampit Crazy, Altered Arts and ScrapHD.

Thanks for showing me a little peek into your worlds.

PS: Don’t forget to check Craft Critique for your chance at a Donna Downey giveaway! Tomorrow is the last day to enter!

UPDATE 5/15: Donna Downey giveaway is closed, and this article is also posted at Craft Critique.
Reconciliation, Glass Blowing and Friends

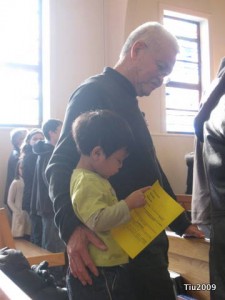
What a nice weekend. We celebrated Abby’s First Reconciliation at our church. The big celebration will be in April with First Holy Communion.

At Church with Abby

Ollie and Grandpa

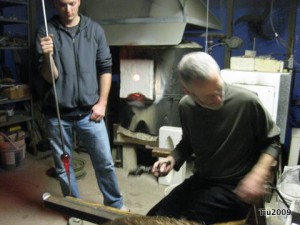
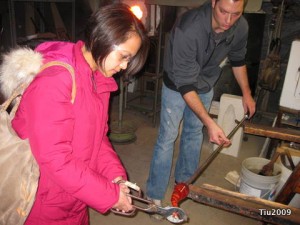
Then we visited our friend and glass artist, Robert Fritz. Bob (sitting) and Eastman used to work together, but now, Bob is a retired high school art teacher, and he can do what he loves. Bob hosts a holiday open house at his studio and home to showcase his work as well as other artists. We’re fortunate to have a few pieces by Bob; one was commissioned by Eastman for Christmas right before Abby was born. Talk about an emotion-evoking gift! Breathtaking work, really. Check out Bob’s gallery on his website. The highlight of the day is learning a little about pulling or blowing glass and being able to pull our own cane ornaments. We must have at least a dozen now.

Robert Fritz Freeblown Glass Holiday Open House

Eastman pulling latticino glass ornament

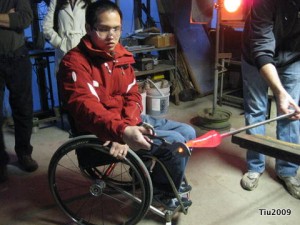
Pulling Hot Glass

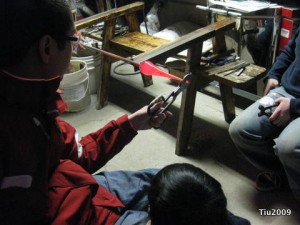
Julie's turn to work with hot glass

Looking a little wonky?!

Bored Kids at Holiday Glass Blowing Open House

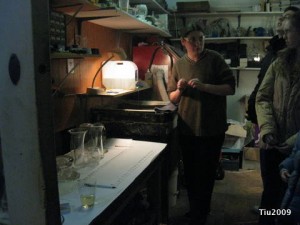
Bob's Assistant grinding glassGreg Colombe pottery

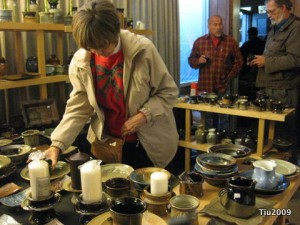
We were excited to see Greg Colombe again and his beautiful pottery work (he’s in the background in the red shirt). He’s doubled his color palate just by adding porcelain to his materials. We have a stoneware pillar candle holder and lidded jar. This year we bought a soap dish with the most amazing glaze, and Abby and Ollie both came home with the prettiest magnets our refrigerator will see. You just might fall in love with Greg’s work if you go to his site and check out his gallery.

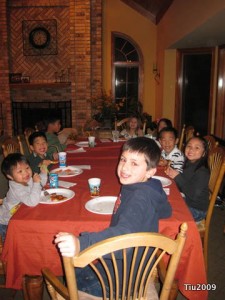
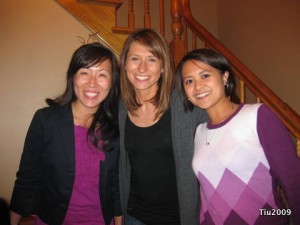
So, to continue the “visiting friends” theme of the day… we ventured a little further and met with some long time friends, one I haven’t seen since high school! I don’t know who had more fun, the kids or the grown-ups?

Kids TableOld Friends coming together

I couldn’t have asked for a better weekend to help me get out of my winter doldrum funkiness. I’m so blessed with amazing friends and family.

Christmas Banner Idea

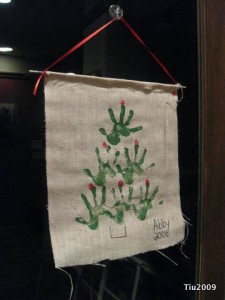
This is one of my favorite projects to come home with Abby. She was a mere four-years old when she made this, and I hang this up every year.

Preschool Christmas Project

Supplies:

canvas or burlap material (approx. 15″ x 19″), red and green tempera paint, sponge brushes (optional), permanent marker, dowel rod (3/16″ x 18″), hot glue gun or craft glue, 1/4″ ribbon (20″ to 21″)

Take your child’s hand and paint it green or dip in green paint that has been poured onto a paper plate. Stamp six handprints in a pyramid form, reloading paint on the hand as needed. Then have your child dip or paint one finger with red paint and “dot” the top of the third finger of each handprint. Let dry. Draw a little tree base and add your artist’s name and year, too.

After your banner is dry, place the dowel rod at the top of the banner and fold over the top 1/2″ inch (or whatever is appropriate) so that the dowel rod is within a “casing”. Using a hot glue gun or craft glue, glue down the canvas to secure the casing. If using craft glue, you may want to use clips or clamps to hold down the canvas as it’s drying. Tie your ribbon to the dowel rod on both ends, hang and enjoy!

Crafting Last Week

It was a great turnout at the Craft Social last Friday night! Special thanks to the Craft Social team! Lots of great women came by and doodled with me: Katie, Lindy, Jen, Susan, Karen, Sarah, Susie, Simone, Krissy… wish I had a sign-in sheet so I could remember everyone’s name. Well, there were at least 26 people at the table because I came home with only four handouts. These crafty colleagues were so fun to talk and brainstorm with. My head was spinning when I got home. Good thing I had yoga on Saturday morning. It helped calm me down. I think the future might hold some special projects – I’m checking into the possibilities and will report on them.

On another front, from my sewing table:

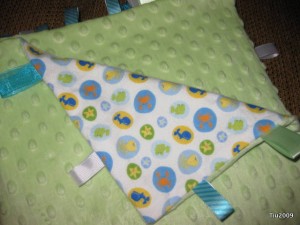
Baby Blanket with ribbon tabs

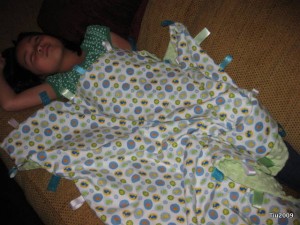
This baby blanket was shipped to my long time friend, Jen, and her husband. They had a new addition to the family, and I was finally able to sit down and sew this. It was my first time working with the cuddly, soft, “bumpy” fabric. Not too bad, but I did have a little trouble with it bunching every so often. The ribbon tabs are a fun add-on for babies, and not that difficult to do. I think choosing the ribbons was harder. At the time of this picture, I hadn’t finished the topstitching around the border, but you get the idea. Abby felt like trying it out for a minute before I washed it the final time.

Testing the baby blanket

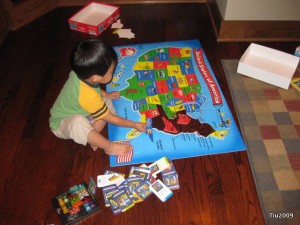
My little guy kept himself preoccupied with this puzzle while I finished up. I’m so proud of him.

Boy Genius

Crafting again at the Chicago Craft Social

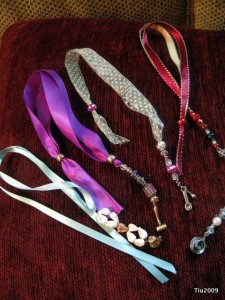
This past summer, I attended the second Chicago Craft Social and led a table with this craft, Beaded Book Marks (a.k.a. Book Thongs or Book Wedgies). I had no idea how busy I would be at the table, but it was a great showing. I took no other pictures that evening. I wish I did; it was tons of fun. I really ought to post a tutorial on these, eh?

Ribbon and bead book thongs or bookmarks

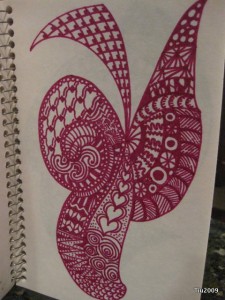
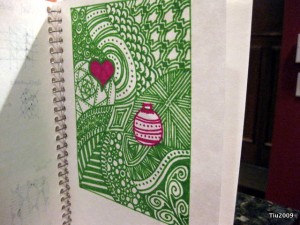
So, I’m leading a table at this Friday’s Craft Social (Holiday version)! I’m going to tailor my latest obsession, scribble art (or doodling), into something people can learn and take home. From this…

A magenta design

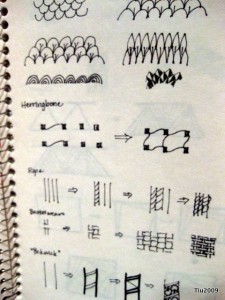
… I started documenting the different patterns I use. Sort of backwards, but that’s okay. Work in progress.

Doodling notes

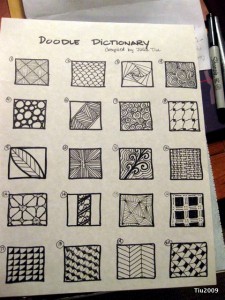
Tonight I took my notes, made a one page dictionary that I can hand out, and I’m planning on demonstrating the more complicated or complex designs on my daughter’s white board. None of them are really that difficult, but they might look incredibly intricate. Makes me feel like I’m brilliant.

Doodle dictionary

From twenty different patterns, you can mix and match (I’m bringing multi-sided dice, more than six sides), do little variations on them, and voila, you too can doodle crazy little things and maybe make a holiday card, gift tags, an iron-on t-shirt applique… the possibilities are endless. I’m working on our family Christmas card in black and white. This picture was a first attempt.

Christmas card idea

Hope to see you at my table!

Related Posts with Thumbnails