Designing gift tags and Chinese New Year cards

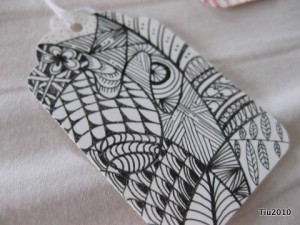
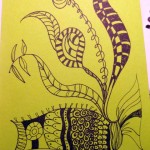
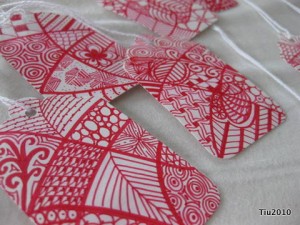
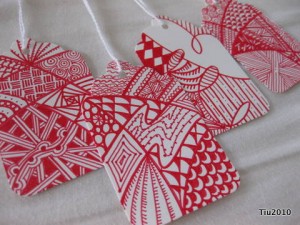
Color, pattern, texture, shine…So simple and brilliant. It’s my favorite design rule, and I’m still learning (since I’m not even close to having studied art design). The best part is it works for putting together an outfit, a room, a gift tag?! Actually, it didn’t start out that way, but when I looked at the final products it sort of jumped out at me: red, lots of patterns that give off lots of texture and the tag is shiny. Last week, I was scribbling and working on the last of this series of five when I accidentally spilled my tea on them. Ugh. After some quick blots and a night sandwiched in paper towel and phone book pages, they survived with little water scarring. Sharpies are awesome.

More scribble art

These tags were meant to be maybe a first offering on Etsy… maybe…with Valentine’s Day and all. But, with the slight water damage, I wouldn’t feel right about selling them. So, I started on some other ones. The third from the left isn’t quite done. Then I tried one with the new Copic Multiliners; that one smudged.

Scribble art turned gift tags

Shiny paper and Copic markers don't work as well

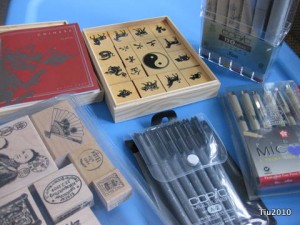
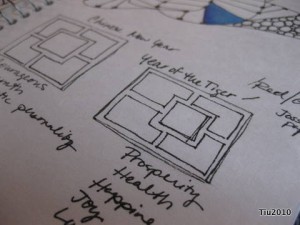
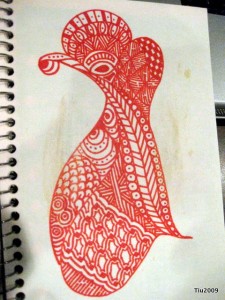
While I took a small break from putting away Christmas decorations, I started thinking about Chinese New Year, the next holiday we’ll be celebrating in this house. (I have Holiday A.D.D.) There are these Chinese zodiac rubber stamps and a variety of Asian themed stamps I want to use.

Let’s see how this pans out over the next week or so. I should have some time to work on them with the big snowstorm and freezing temperatures coming our way.
Christmas Card Display idea

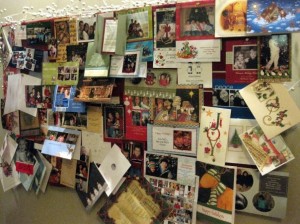
Christmas Card Display Idea

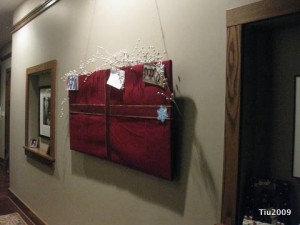
Maybe you tape cards to the back of the door. Maybe you string them up along the top of the wall, or maybe line the cards up along your fireplace mantle. Here is a fun way to display your holiday greeting cards if you want to try something new.

Supplies: 2 x 4 ceiling tile, fabric, ribbon, light duty staple gun, picture screw hooks, heavy twine or rope, push pins

Make sure you have enough fabric to cover your board. Place your fabric on the floor, right side down, and then the ceiling tile, also right side down. Wrap the fabric around the edges, and staple to the board. Turn right side up, and place ribbon horizontally and vertically to make board look like a present. I also stapled these to the board.  On the back side, I screwed hooks into the board a few inches in from the edges and then strung twine through them to create a hanger. I loved how it turned out last year.

Christmas Card Display Idea

Christmas 2008 Card Gallery

Crafting again at the Chicago Craft Social

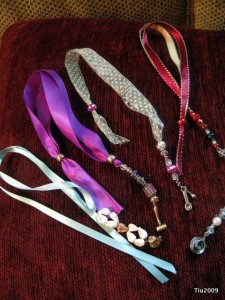
This past summer, I attended the second Chicago Craft Social and led a table with this craft, Beaded Book Marks (a.k.a. Book Thongs or Book Wedgies). I had no idea how busy I would be at the table, but it was a great showing. I took no other pictures that evening. I wish I did; it was tons of fun. I really ought to post a tutorial on these, eh?

Ribbon and bead book thongs or bookmarks

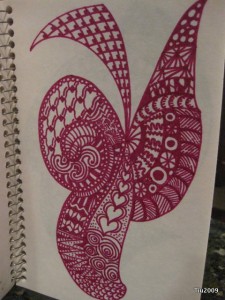
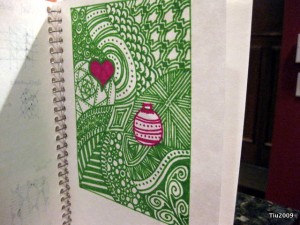
So, I’m leading a table at this Friday’s Craft Social (Holiday version)! I’m going to tailor my latest obsession, scribble art (or doodling), into something people can learn and take home. From this…

A magenta design

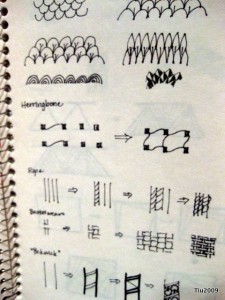
… I started documenting the different patterns I use. Sort of backwards, but that’s okay. Work in progress.

Doodling notes

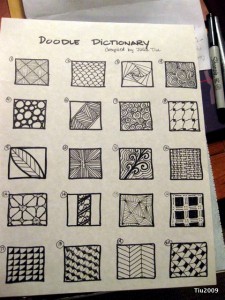
Tonight I took my notes, made a one page dictionary that I can hand out, and I’m planning on demonstrating the more complicated or complex designs on my daughter’s white board. None of them are really that difficult, but they might look incredibly intricate. Makes me feel like I’m brilliant.

Doodle dictionary

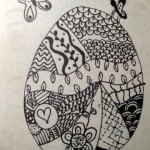
From twenty different patterns, you can mix and match (I’m bringing multi-sided dice, more than six sides), do little variations on them, and voila, you too can doodle crazy little things and maybe make a holiday card, gift tags, an iron-on t-shirt applique… the possibilities are endless. I’m working on our family Christmas card in black and white. This picture was a first attempt.

Christmas card idea

Hope to see you at my table!

Crazy Doodling (Scribble Art)

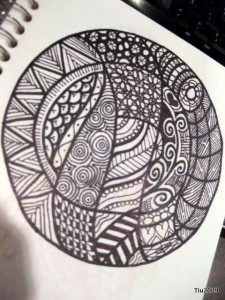
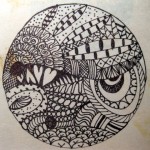
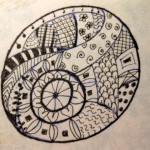
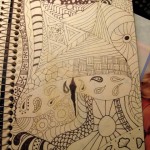
I’ve always loved doodling. I used to cover my textbooks with brown paper bags (way before the cool pre-printed book covers) and by the end of the school year, they’d be covered in swirls and all sorts of patterns. So here’s my re-entry into the doodling world… I’m armed with my Sharpies and sketch book that I’ve had since college. It’s the perfect technique for me too. I can draw for a few minutes and leave it, come back to it after a little bit, or the next day or whenever. Maybe I can turn some of this into a coloring book for the kids. Abby and I made one together and she thought it was cool.

Please, feel free to look at the whole drawing by clicking on it. The full page doodle had a funny blob in the middle of the paper, so I tried to just color it in. Not so sure I like it, but it’s okay. More doodling later.

Crafting with Leftover Paint Chips

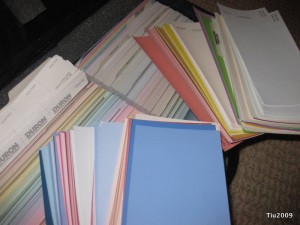
My stash of paint samples from my construction days

I’m sure we’ve all collected paint chips or paint sample cards from home improvement stores at some point. I’d pick some up just for inspiration when I was rubber stamping. The picture above is of a sample case from my days of working in construction… what a fun tool to have there. But more recently, I’ve collected paint chips for our home and didn’t realize that I doubled, or even tripled, up on some of the sample cards. Like the pack rat that I am, I thought that I might someday figure out how to use or re-use them in a crafty sort of way. So, for even more inspiration, I found these sites and now I can’t wait to make projects like these!

Paint Chip Card Holders at DesignVerb

Embroidered Paint Chip Cards by Lisa at Craftzine.com

Punched Dot Cards at Elegant Musings

Related Posts with Thumbnails