Quick Tip: Gift bag redo

Gift bag redecorated

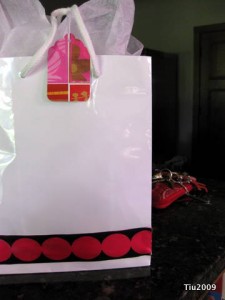
I had a gift bag that had a very prominent corporate logo on the bottom. It was from a promotional deal… I thought, what a waste of a perfectly good gift bag. How am I going to use this again? Break out the ribbon! I had some wide decorative ribbon, plugged in the glue gun and voila! Good as new. Try that the next time you’re running somewhere with a gift.

More (teacher) gift ideas

…and maybe something for you? Read on.

June just went by like a blur, and as the end of the school year approached, I was giving myself headaches thinking of small, thoughtful gifts for Abby to give to her teachers. As my husband so nicely pointed out, “We don’t have to give everyone a gift, you know?” I know, but at the same time, I think Abby really enjoyed every one of her teachers, the classes and everything she learned. And, I felt it was appropriate to give a little (let’s stress little) something.

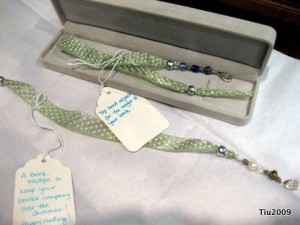
For the reader, reading teacher, librarian – a handmade book wedgie. Sounds a bit nicer than book THONG. Haha. Abby picked out the beads and the charm at the bottom says, “Inspire”.

Book Thongs or Book Wedgies

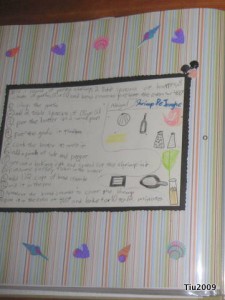
For her main homeroom teacher, (along with this) we compiled a cookbook with favorite recipes shared and handwritten by the students. A couple of parents and I did all the scrapbooking layouts, and it took a few hours. Each page is different and the recipes range from “chocolate milk (pour syrup until your mom says stop)” to “Greek lentil soup (you don’t have to be Greek to eat this)”. This page was my daughter’s. She picked shrimp de jonge. Surprised?

Excerpt from Class Cookbook

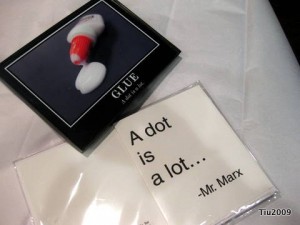
Abby would tell me about her art teacher and how he taught her class that a little glue goes a long, long way. “A dot is a lot, that’s what he says, Mom.” So for the art teacher, a custom print that my husband and friend did, and stationery to match (printed at home). I just printed the picture at home on photo paper. It’s intentionally made to look like those motivational business posters or the funny de-motivational posters.

Custom print and stationery for art teacher

I cannot take the credit for the card layout. My cyber-acquaintance, author and designer, Amy Karol at angrychicken made these great cards with sayings. Please, check it out!

So, this might be fun. Would you like to share your teacher gift ideas or end-of-school-year traditions? If you do, we’d like to share some craftiness with you! We’ll randomly select a someone on Saturday, July 11 to receive an Abby-Julie book wedgie or custom 8-pack of stationery with your own quote. Leave your comment between now and Friday night (7/10, 11:59 CST) with an e-mail or some way so I can contact you. Many thanks, friends!

UPDATE: As of 7/12/09, no comments on this post.

Creative birthdays

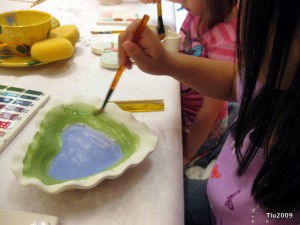
We love going to these places where you can paint your own ceramics. A creative way to spend some time, not too expensive, and you get your creation in a week, or so! It’s fun anytime, but imagine a birthday party with about 20 young ladies ranging from the ages of 5 to 8. They had a blast. From other birthdays and outings, Abby has a nice little collection of ceramic from this location. If you’re looking for a place near your home, try here, too. It’s a link to the nationwide Creative Ceramics Studio Association.

Painting Ceramics

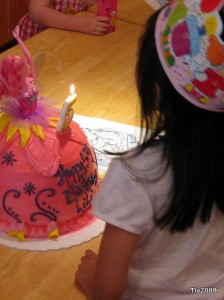
This is one of the cutest birthday cakes I’ve ever seen.

Birthday to Remember

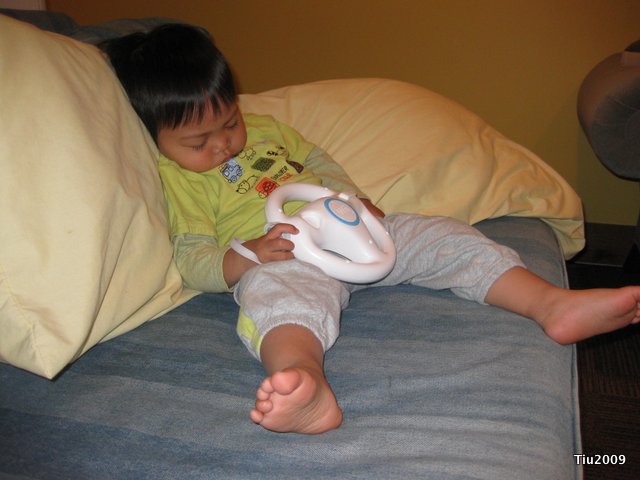
Asleep Again

Unfortunately, Ollie missed the whole thing. Poor guy.

Tutorial: Accordian Spine journal

The inspiration for this is actually from the “envelope accordion journal” in Decorative Journals by Donna Downey. I made this 12-page journal for Abby’s 1st grade teacher with envelopes decorated by Abby and some of her classmates. The other supplies I had on hand. Each envelope contained a card with a quote from students saying why they liked their teacher (i.e. “I like Mrs. Smith because…”).

So here we are, my first tutorial. It’s not too complicated, I hope.

What you need:

  • 6″ x 18″ cardstock (I took two pieces 6″ x 12″ and overlapped the ends, then cut to proper size)
  • (2) 6″ x 9″ pieces of bookboard or heavy cardboard (I used the end of a legal pad)
  • (2) 8-1/2″ x 11″ pieces of decorative paper/scrapbook paper (for cover)
  • (2) 5-3/4″ x 8-3/4″ pieces of decorative paper/scrapbook paper (for inside covers – I used black)
  • label holder/bookplate and hardware (optional)
  • 12 envelopes (Size A9 which is 5-3/4″ x 8-3/4″) (to be decorated however you like)
  • 12 pieces of plain cardstock, trimmed to 5-1/2″ x 8″ (also to be decorated)
  • Other supplies: glue stick, drill (hand or battery), twine, holepunch, ribbon

Take your 6″ x 18″ cardstock and fold back and forth like an accordion every 5/8″. It was easy using a scoring edge on my paper cutter, and marking every 5/8″ first. Make enough valleys for 12 pages, cutting off extra paper if you need to. Set aside. Cover your cardboard pieces with the 8-1/2″ x 11″ decorative sheets, folding at corners first and then edges.
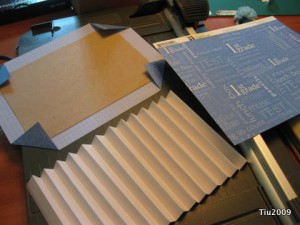
Accordian spine book

Before you attach the accordion spine and covers, place your label holder on the front cover… punching holes and using the appropriate fasteners.
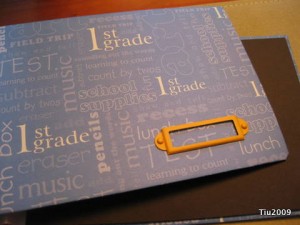
Front cover

Lay the covers backside up. Make sure you have them in the right position if your paper has a definite “direction”. Attach each end of the accordion to the covers… one at the front, one at the back, and then adhere your black cardstock to cover all edges and seams. Set aside.
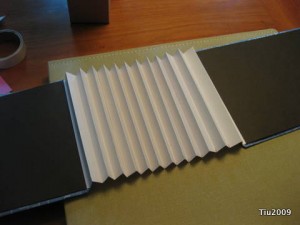
Attach accordian to covers

Prepare your envelopes by sealing the flap, and them trim 1/4″ off the right hand edge. My envelopes were already decorated, so at this point, you can draw, paint, rubber stamp all over your envelopes. Attach the envelopes into each valley with a little glue to keep in place. I tried to glue towards one side of the fold.
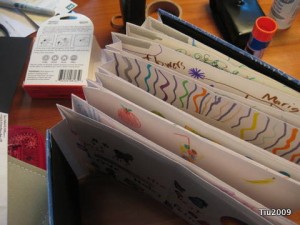
Attaching pages in valleys

Now for some fun…Drill two holes through the front cover, accordion and back cover. You might have a crafting hand drill… clearly, I do not. I’m using my power drill on low, and a block of wood underneath the book. (I love my Makita!) Use a drill bit that’s slightly larger in diameter than your twine.
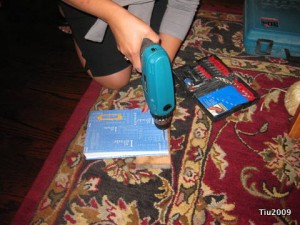
Drilling holes for binding

After drilling the holes, feed your twine through and tie into a knot in the front. It’s a little tricky, but twisting the twine while threading it through, will help.
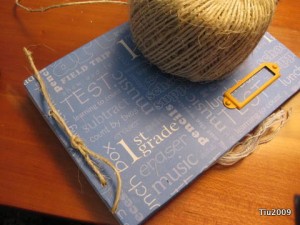
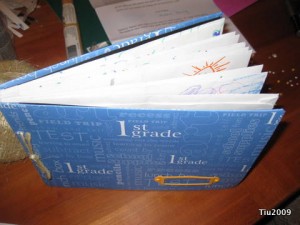
Twine binding

Looks like a book

Take the plain cardstock and decorate or embellish how you wish, or leave blank for you to fill in as you journal. The children’s quote were printed in one font and in similar styles. (Quote shown is for example only.) Punch holes in the cardstock on one side, middle-ish, and attach decorative ribbon or string. I fold ribbon in half, feed the folded side through the hole, which makes a loop, and then pull the “tail” end through the loop that was just made.

Inside pages

You can see one decorated envelope a little better here. Slide the finished cards into the envelopes, and your journal is done.
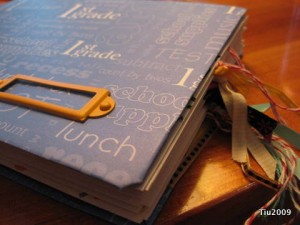
Completed journal

The envelopes were actually recycled. I had the students submit their favorite recipes which turned into the cutest scrapbook-cookbook for their teacher (other part of the class gift)! They sent their recipes back in the envelope which I provided for them. Basically half the class participated in this one and almost everyone participated in the cookbook. Such nice projects!
Summer sewing…

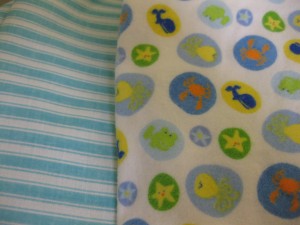
I’ve been trying to be good about not buying so much fabric “just because”. It’s SO hard when you see something cute and visualize a finished product! These are recent purchases… For a baby boy: I had the sea creatures, and was trying to find something to coordinate with it. Not sure if the stripes are too turquoise-y.

Sea Life

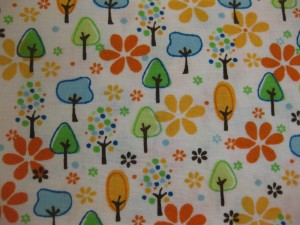
This one was the “it’s too cute to pass up, but not sure what to do yet” purchase. Although, I’m sad that I bought a small amount and when I went back to the store a few days later, the bolt was gone.

Trees

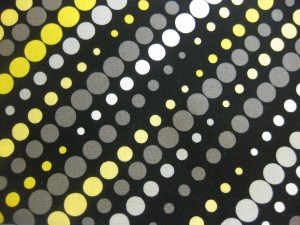
For a relative: I thought she might like a purse organizer out of this one.

Psychedelic Dots

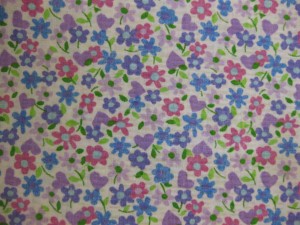
Something for a little girl: I haven’t ventured into making clothes, but I thought a little half apron, like the ones I made at Christmas, might be nice.

Spring Flowers

I also bought some red, white and blue fabric that isn’t pictured because it’s in the wash… more next time.

Slowly but surely: T-Shirt Quilt

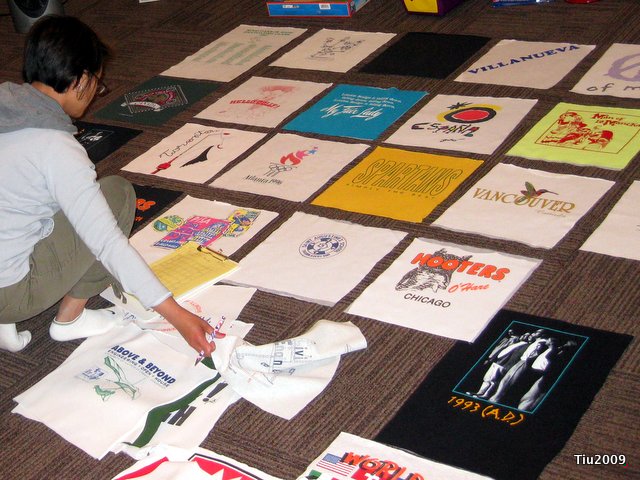
T-shirt quilt layoutThere I am with graph paper and pencil in hand as I’m trying to figure out where to place the squares. Stayed up a little last night and drew out a layout. Seriously, when was the last time I used graph paper? Probably when I was wearing one of those shirts from college. Hooters… haven’t been there in YEARS. Anyhow, this didn’t take too long.
I moved some shirts around, and I think it’ll be really nice when it’s all said and done. I decided to still use borders and sashing (Unlike the “toocool quilts“, which are still really interesting, I needed a little order), but the shirts won’t all be square. So, I’ll be sewing columns instead of rows. (Like this might mean anything to non-sewers?) Next steps: have to figure out sashing color, and trim all shirts to the “correct” size.

As I was totally engaged in this activity, Ollie was playing Mario Kart. He was also very engaged.

Asleep

Related Posts with Thumbnails