That Old Sweatshirt – A pillow tutorial

I get sentimental about things that other people would probably not even think twice about throwing away or donating. I have old ticket stubs, concert programs, newspaper clippings – those things I can put in a scrapbook. But I’ve been known to hoard be sentimental about clothes too, and only recently have I been purging all our closets. Sometimes there’s just that one article of clothing you want to keep. See this old collegiate sweatshirt…
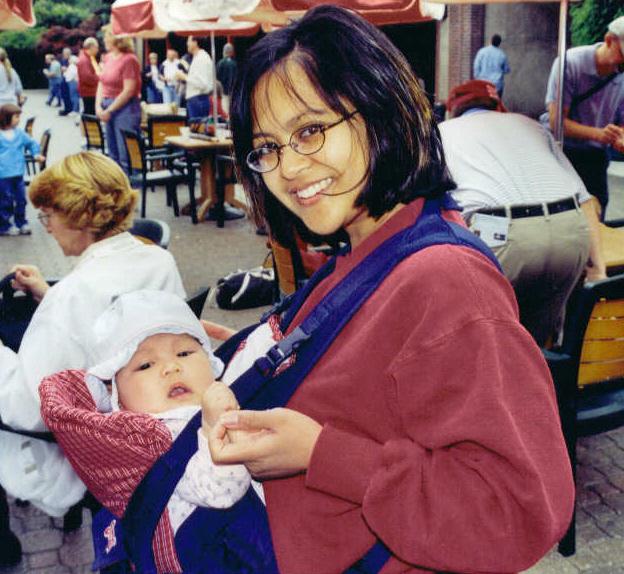
Julie Tiu in 2002

…Became this pillow. (I know, after 10 years, right?)

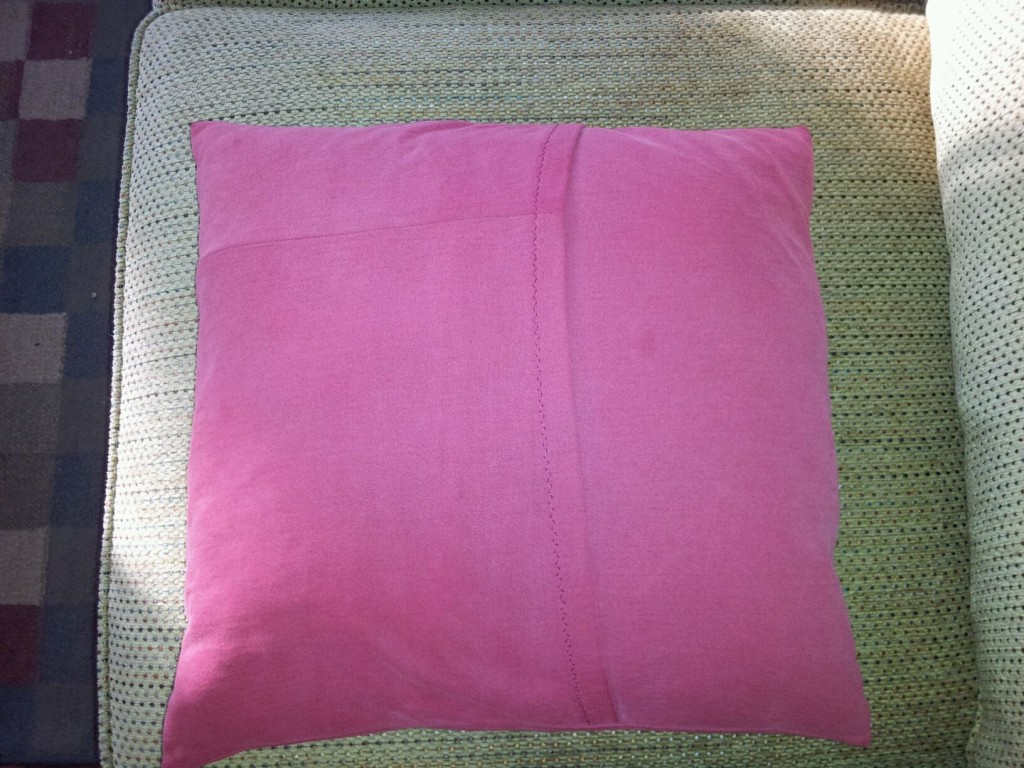
An upcycled sweatshirt made into an envelope pillow – meaning, you can slip the cover on and off. Very easy for washing. Could be a cute gift for Valentine’s Day, too.
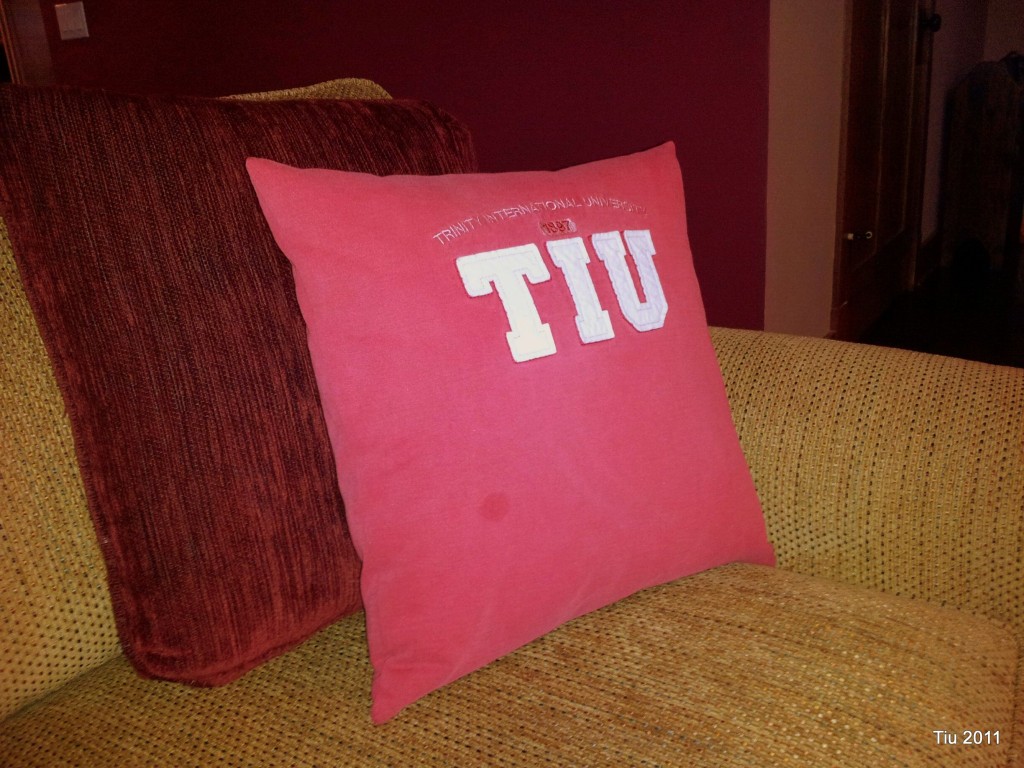
Recycle Your Favorite Sweatshirt (I didn't even attend this school. Got the sweatshirt because it had my last name!)

And here’s how I did it.

  1. Take your clean sweatshirt of choice and lay it on a table or on the floor.
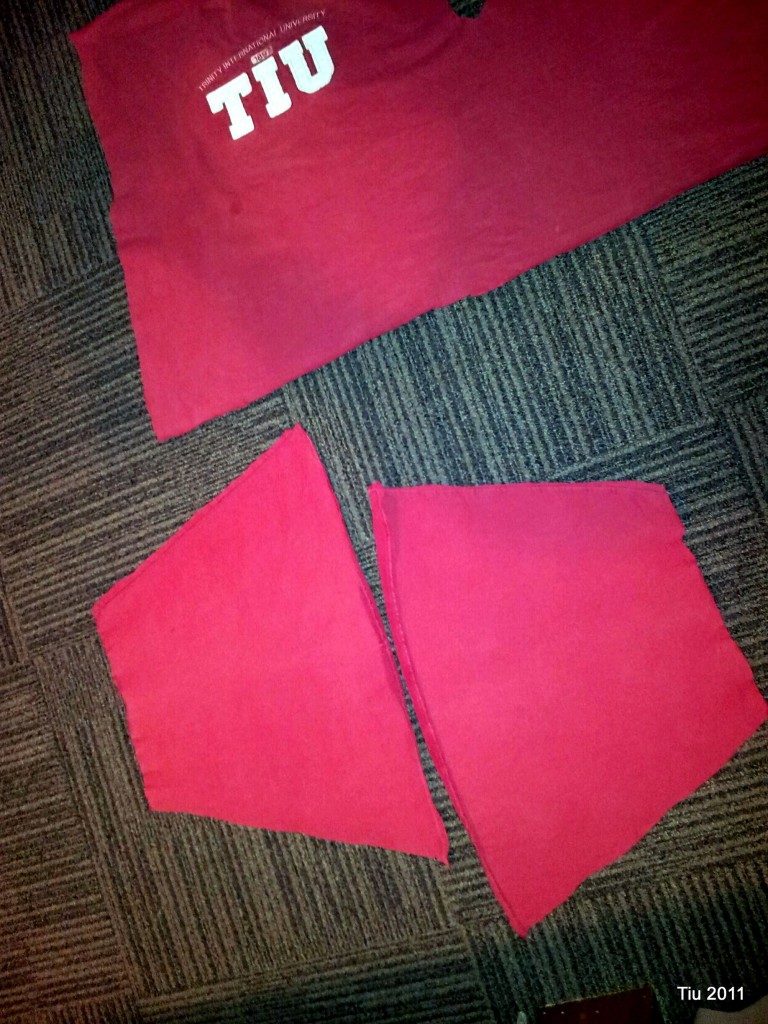
  2. I cut the sleeves off first. Then set aside.
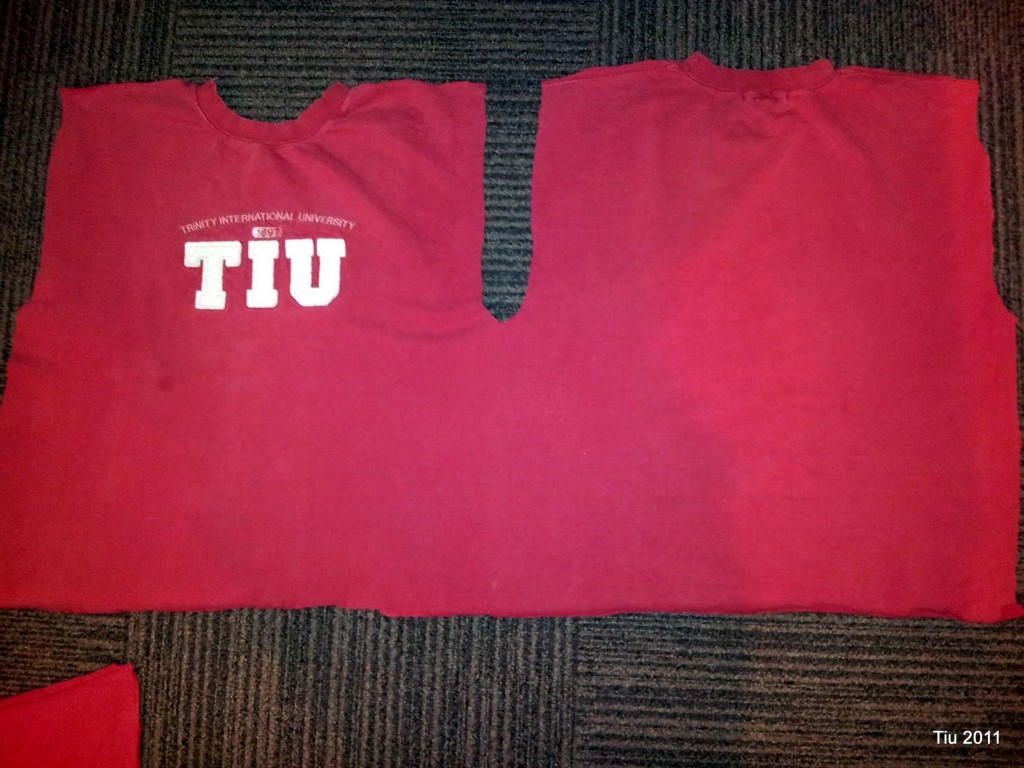
  3. Next cut along one of the side seams of your shirt and along the shoulder seams. This will open everything up. I did it this way to give the largest piece of continuous fabric.
  4. Cut off the bottom hem and collar (cuff material) also. At this point you may need to iron the shirt (highly recommended).

  5. You may need the sleeves for extra fabric. Cut off the cuffs and cut along either side of the seam.

    Sweatshirt sleeves cut open

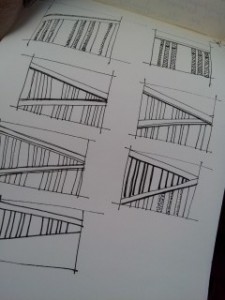
  6. For a 16 x 16 pillow, you will need three pieces of fabric: (1) 16-1/2″ x 16-1/2″ for the front, (2) 12-1/2″ x 16-1/2″ for the back. (See my fancy sketch below.) I needed to use the extra sleeve material for one of the back panels. Just piece together if you need to.
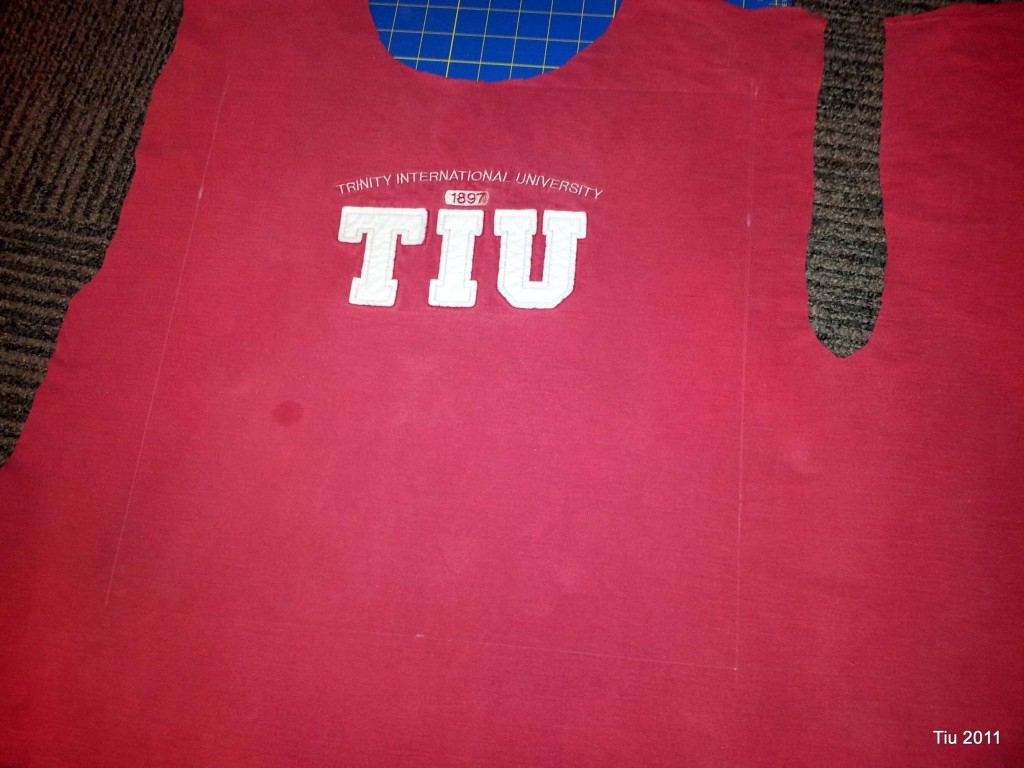
  7. Try to center your focal point. I didn’t have too much choice – just went as high as I could.

  8. Prepare the back pieces first. Fold along the length (16-1/2″) and press 1/2″, then fold 1/2″ again, pin and edgestitch. Do this to the other piece. Press both pieces. Note: I found the zig-zag stitch easier to do with the stretchy sweatshirt material.

  9. Lay the front piece down, right side up. Next lay one of the back pieces, wrong side up, matching the raw edge with your front piece. The finished edge should be somewhere in the center area. Lay the other back piece with its raw edge along the other side of the front piece. Now the finished edges of your back pieces should be overlapping one another.
  10. Stitch around the perimeter with a 1/2″ allowance. Backstitch as you start and finish. When complete, remove and clip your corners, and turn rightside out.
  11. Stuff your pillowcase!

So here’s the thing – you can adjust the size of your fabric for any size pillow by just adding 1/2″ to your finished size. The back pieces take a little math.

16″ x 16″ pillow – cut 16-1/2″ x 16-1/2″ (front) and 16-1/2″ x 11-1/4″ (two pieces for the back)

14″ x 14″ – cut 14-1/2″ x 14-1/2″ (front) and 14-1/2″ x 9-1/4″ (two pieces for the back)

12″ x 16″ pillow – cut 12-1/2″ x 16-1/2(front) and 12-1/2″ x 11-1/4″ (two pieces for the back)

12″ x 12″ pillow – cut 12-1/2″ x 12-1/2(front) and 12-1/2″ x 7-1/4″ (two pieces for the back)
30 Days of Creativity – Day 26

Another installment of 30 Days of Creativity – Day 26: Write, draw or paint something with your non-dominant hand.

It was funny explaining this exercise to my kids, and I found it somewhat easier than I expected. My little one told me a few times to switch hands to make drawing easier. He can be so logical. Drawing felt a little weird, and I had to think a lot more about how to form letters, which way my pen was going. Would this be like being in a reverse universe?

30 Days of Creativity – Days 21 and 22

Time to pull this all together! 30 Days of Creativity has turned into something like “months-and-months” of creativity. I’m wondering how many others have kept up with this challenge. And that’s exactly what it’s been… challenging.

Day 21: Find and photograph one object in your home and create something inspired by it.

Our stairwell. It greets me each morning – and when the sun is out, an amazing amount of light comes pouring in.

I’ve been sketching lines upon lines trying to capture the geometry, but I still want to incorporate some shadowing. So, the project isn’t done… yet.

Day 22: Take time today to thank your favorite creative people for their talents.  Comment on their blogs, Facebook and Twitter.

If you have a little time, visit these sites of goodness!

Mod Podge Rocks by Amy Anderson | Angry Chicken with Amy Karol | Ashley at Film in the Fridge | Architecture at Searching for Silsbee

Churchmouse Yarns & Teas | Share the world of tea with TeaLula

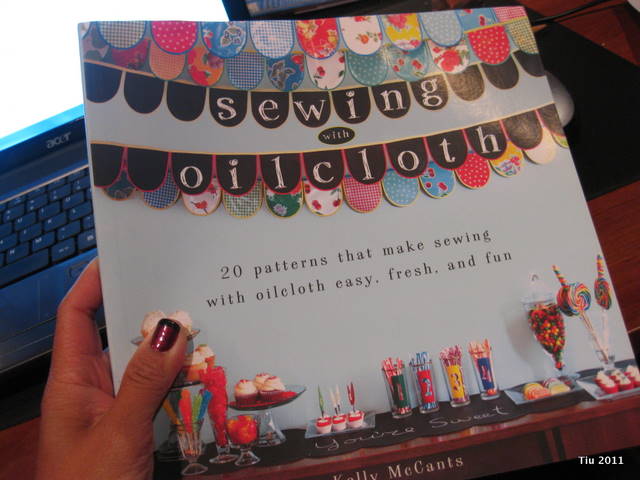
Craft Book Review: Kelly McCants’s Sewing with Oilcloth


Sewing with Oilcloth by Kelly McCants

I was excited to receive a review copy of Sewing with Oilcloth (Wiley) late last month! This is Kelly McCants’s debut book. She does a lovely job compiling 20 patterns of “fun and functional” projects. The projects aren’t complicated – their elegant simplicity shows off oilcloth. Actually getting and working with oilcloth is probably the bigger challenge.

It’s a thoughtful book for any crafter! (I just kept coming back to that word as I was reading the book.) McCants gives great advice starting with tools, tips and tricks to the “helpful, trouble-free instructions”. They are easy to follow with illustrated steps. The way that the book is organized – For the House, For You and For Kids – is also well thought out.

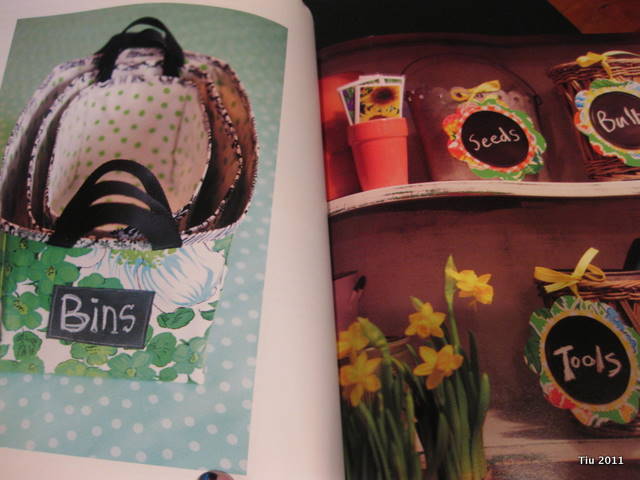
Bins and Tags from Oilcloth! Love it!

I’m thankful that she included a how-to-care for your material and sewn pieces, because I’m a newbie to oilcloth. And the introduction to laminated cotton – I didn’t know that material existed.

Now I have to go break out my roll of chalk cloth! I can’t wait to make a few bags, aprons and containers with the patterns!

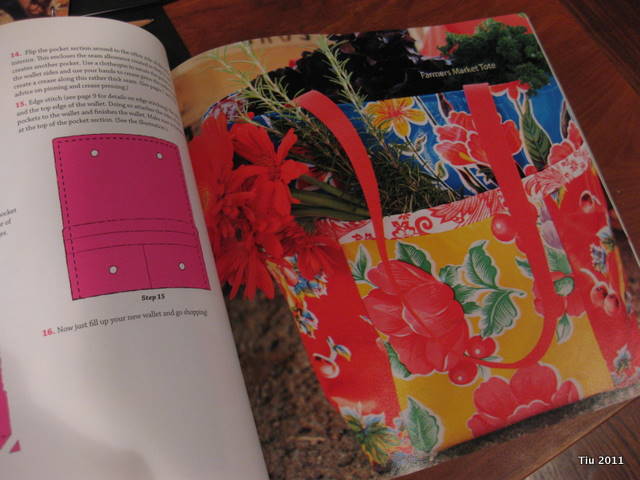
Market Tote - great project

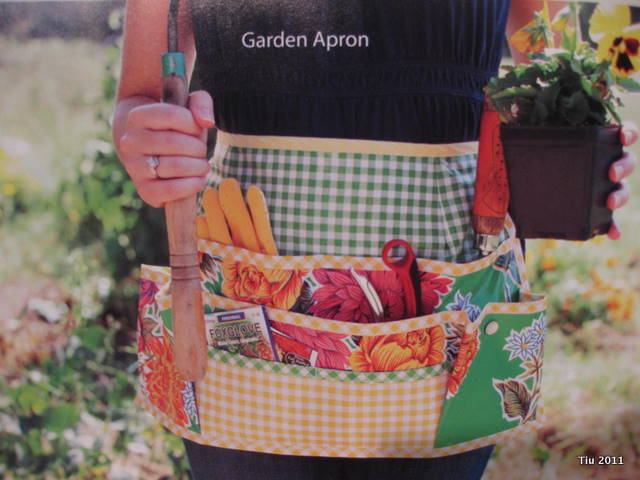
I cannot wait to make this Garden Apron

You can visit Kelly at her blogs, Modern June and Oilcloth Addict, and find out more about the Flick group dedicated to Sewing with Oilcloth.

Check out her book trailer – so cute!

Sending peaceful wishes

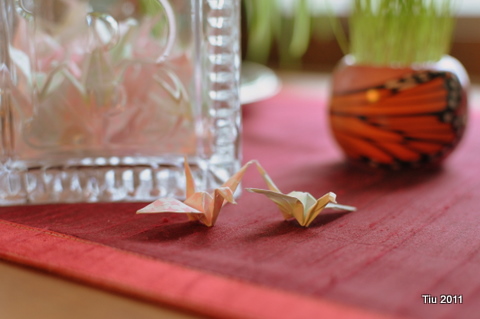
Origami cranes

You’ve seen these little paper cranes that grade school children might learn how to make in art class, or sometimes adorn a display case in an Asian gift store. A long time ago, I bought a package of 100 two-inch paper squares at an Asian art display with the intention of making 100 cranes for my, then, unborn child to decorate his or her room. The folklore around it was sweet, paper cranes for good luck and long life, and if you folded 1000 paper cranes, a wish would be granted.

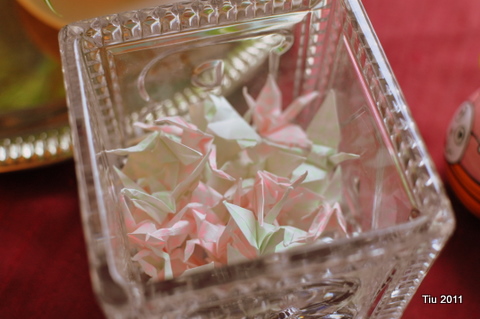
When my daughter was born, I spent many hours in my beloved gliding rocking chair nursing or rocking her to sleep, sometimes listening to music. I could have watched television. There was no e-reader then. Instead, I wanted to be crafty, and chose to skillfully fold origami cranes, mostly with one hand. The cranes in the picture are just a couple of them… they all live in a crystal container that we received when Abby was born. Now my daughter is nine years old, and she is every bit of what I could possibly wish for and more.

So the news of the horrific events in Japan came last weekend, and it keeps coming with mostly unfathomable scenes and situations but some uplifting stories. I was telling my husband about a local Japanese school, children and their parents worried about their relatives in Japan. Then he says to me, why don’t you make paper cranes? He comes up with some great stuff, doesn’t he? Crafting for a cause. Well, sometimes, we can’t always offer monetary support, but what about thoughts for heartfelt wishes of strength, rebuilding, renewal… I pledge to make at least one hundred cranes. And, if maybe some of you would like to join me and make some, I would love the opportunity to present a Senbazuru (one thousand cranes) to the local Japanese school to show our support. Leave a comment or e-mail me if you’re interested.

I’ll try to post my instructions for origami cranes as soon as I can.

Much love to all,

Julie

UPDATE

A Sparkly Wreath

I was inspired by the glittery garland wreaths in the Holiday issue of Martha Stewart Living magazine. My version is quick, easy and afforable: $3.50, courtesy of the bargain bins at Target. $1.00 for the garland, and $2.50 for the wreath. No need for glue guns or scissors, either!

At the store, I found red and green wreaths, and silver and gold garland. Choose the combination you prefer… I liked the green and gold which incidentally are my high school colors. (Shhh… my husband thinks I have a ridiculous amount of high school pride.) Red and gold would have been nice, too, for a bit of an Asian flair.

The How-To

  1. First, the wreath will be completely packed down. You will need to “fluff” or gently pull out the branches.
  2. Find the end of your garland and keep it on the cardboard (much easier this way).
  3. Wind the garland around the wreath, in between branches.
  4. When you reach the end, just tuck the end into the wire base or around a branch. It will be secure.
  5. Hang and enjoy!

This wreath is going on my son’s bedroom door since his big sister has a wreath on hers. I might use some ribbon and hang the wreath a little lower. Did I mention, they each have their own little tabletop Christmas trees in their rooms, too?

Related Posts with Thumbnails