Cookie Exchange Party: Haiku Poetry

We’re cleaning up from a great afternoon and evening. A John Hughes themed cookie exchange, complete with best theme, best decorated, best tasting, best cookie overall and best haiku. There was an amazing display of creativity. I loved it: Breakfast Club, Pretty in Pink, Ferris Bueller, Mr. Mom… The party is always a good way to help bring out more Christmas spirit, but this year, it was especially good since my family had another death in the family this past week. There were moments this week when I’d be fine, but then while preparing for our party, the smallest thing would remind me of my uncle (he loved parties and threw great ones, too) and I’d start crying. *sigh* I’m better now, really.

I promise to have a link to pictures soon, but for now here are our some haikus from our poetry wall.

Butter and some sugar.
Don’t forget choc’late. And then
Tasty bits of joy.
(A.O.)

Mrs. Fields is my friend.
We go way back, to my youth.
I don’t care what kind!
(S.S.)

Delicious cookies
Look so good to eat today
The cookie crumbles
(A.T. and J.T.)

A celebration
Winter cookies and close friends
My perfect evening
(E.T.)

Uncle Buck would be proud
Baking duties thrust on us
Must use everything!
(D.M. and Y.H.)

Pretty pink panties
Day off in windy city
We miss you John Hughes
(S.C. and M.S.)

cold milk fills my glass
warm chocolate chips and walnuts;
a cookie fixes everything!
(A.C. and S.R.)

John Candy outdoors
Bald bear knocked him on the floor
Too bad there weren’t S’MORES!
(J.M.)

Oh Ferris Bueller
I wish I had lived like you
Taking Ferraris
(J.H.)
Recycled Cardboard Box Notebooks

Recycled Cereal and Product Boxes

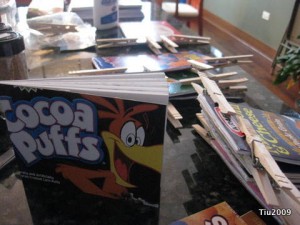
This is too much fun and too easy. I love making little gifts for little friends. These recycled cereal box (snack box, pasta box) notebook is just too cute. They’re all drying right now in my kitchen because my basement crafting table is completely cluttered with other projects in progress. (This is why I think I have crafting A.D.D. but that’s for another time.)

So… I was cutting and breaking down all these boxes and saving them in a container (not cluttered). I’m sure my husband thought I was nuts, becoming a hoarder. (See honey, I’m using them!!) I took all the scrap paper I was using for computer printer paper (like backs of school notes, school homework, junk mail with blank sides, etc.) and cut them down to the sizes I needed. I tried to stay with either half sheets (5-1/2″ x 8-1/2″) or quarter-size (4-1/4″ x 5-1/2″).

My dilemma was figuring out how I wanted to bind the books. I actually tried handsewing one book. There are tons of how-to’s online (like here or here), but in the end, it just didn’t look the way I wanted it to. I could have (COULD HAVE) just gone to the office copy place to have them bind the books with a comb, but I really wanted to stick with an all-recycled type of project and, dare I say, I’m frugal. Here’s how I chose to bind.

Just pick your covers, take your sheets of paper and clamp together. I kept these to 25-30 sheets each so clothespins are perfect. White glue is an amazing thing. Just squeeze some down the side you want as a spine, let dry a little, and then do a second application. The book is practically done at this point, and that’s where I am in the picture. What I have left to do is to make a nice, skinny spine cover with solid colored paper like craft paper or maybe even brown paper bag? We’ll see what I have in my paper bin.

Happy recycling.

Christmas Card Display idea

Christmas Card Display Idea

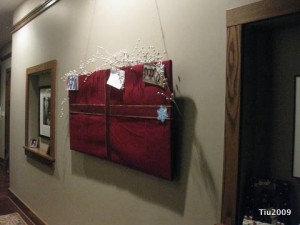
Maybe you tape cards to the back of the door. Maybe you string them up along the top of the wall, or maybe line the cards up along your fireplace mantle. Here is a fun way to display your holiday greeting cards if you want to try something new.

Supplies: 2 x 4 ceiling tile, fabric, ribbon, light duty staple gun, picture screw hooks, heavy twine or rope, push pins

Make sure you have enough fabric to cover your board. Place your fabric on the floor, right side down, and then the ceiling tile, also right side down. Wrap the fabric around the edges, and staple to the board. Turn right side up, and place ribbon horizontally and vertically to make board look like a present. I also stapled these to the board.  On the back side, I screwed hooks into the board a few inches in from the edges and then strung twine through them to create a hanger. I loved how it turned out last year.

Christmas Card Display Idea

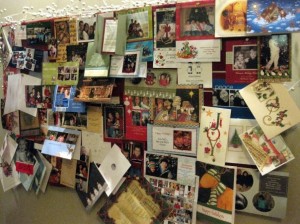
Christmas 2008 Card Gallery

One Fall Day

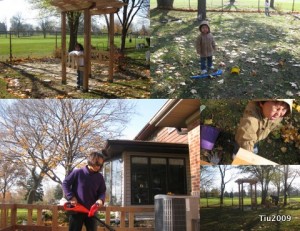
Hope you all had a nice weekend. We certainly enjoyed ours. I should have been getting ready for the Craft Social, but I had other projects in line.

Enjoying the Backyard

The boy is crying not because he was hurt. He tried to lock me up in the garden and I yelled at him. Needless to say, he went back inside the house for a while.

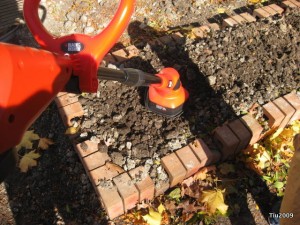
Black and Decker Cultivator

This garden tool was pretty nice to use once the hard clay was amended with peat moss.

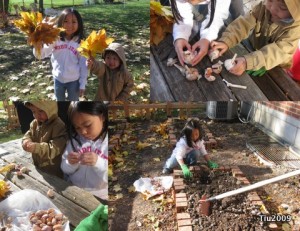
Planting Garlic

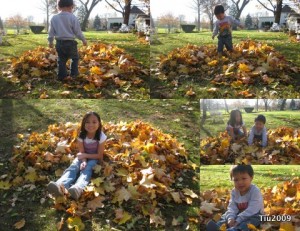
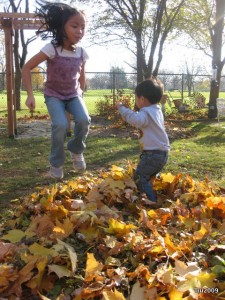
After planting the garlic, it was time to enjoy the leaves.

Fall Leaves

Life is Fun

**Updated: Wow! This is my 100th post – a great way to “celebrate”. Thanks to everyone who takes time out of their day to share time with us!

Extraordinary Family Blessings

Ines and Julie

We celebrated the wedding of my sister-in-law and her boyfriend of three years. So much love and happiness this past weekend, and we’re still recovering! My husband’s relatives are staying with us and we’re all having so much fun. There hasn’t been a lot of time to blog, but I’ll return next week.

Related Posts with Thumbnails