Halfway through May: Super Moon, Crafting, Teacher Appreciation

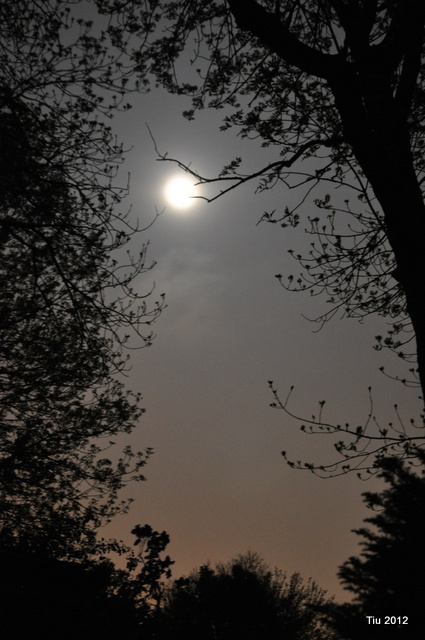
May started with a great Super Moon

Hello, friends. I know I say this all the time – where do the days go?! Seriously, here we are in the middle of May, and it’s been forever since I’ve blogged. Thanks for staying connected with me on Facebook and Twitter. It’s truly appreciated. Those outlets have helped me stay in touch when I’ve come up for air.

Soccer and t-ball practices, class projects, teacher appreciation week, baptism, communions, weddings… Spring is in full swing.

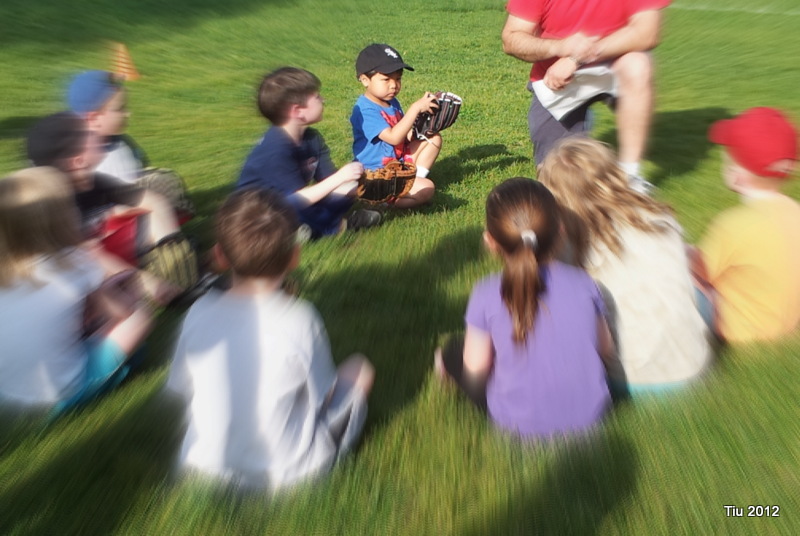
First T-ball practice: my son and his friends from preschool

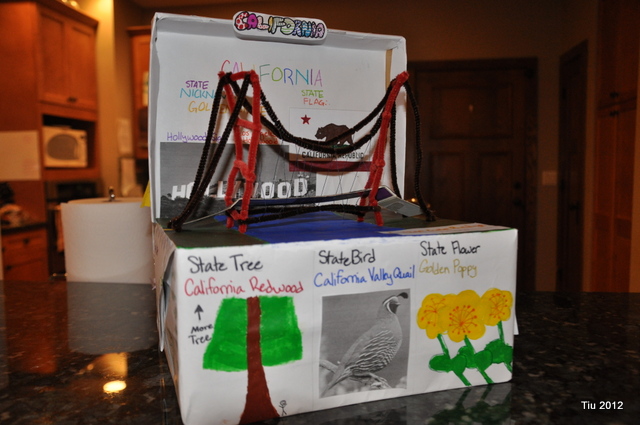
My daughter's class project - California on a shoebox float

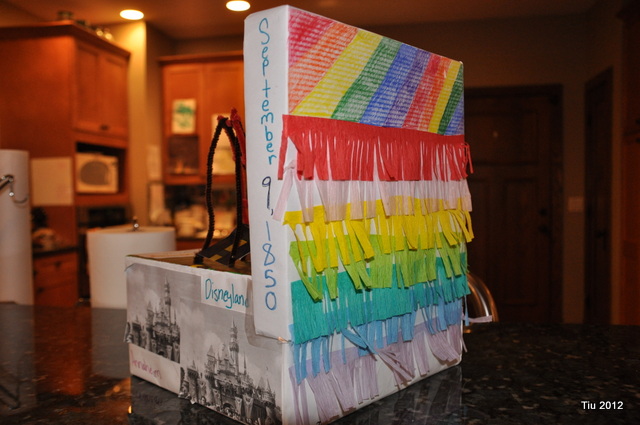
A shoebox float with fringed party streamer

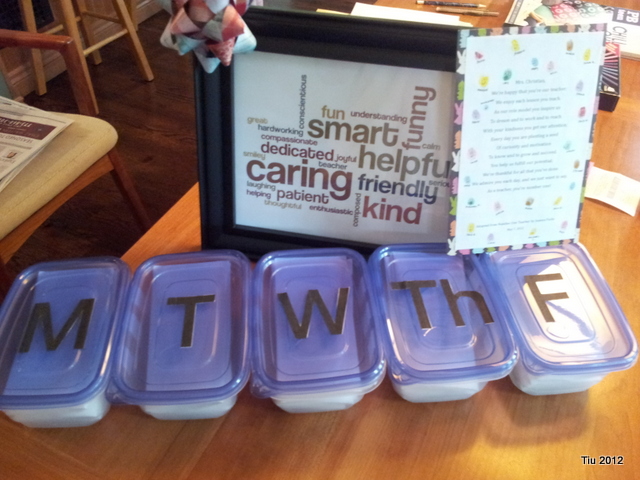
Teacher Appreciation Gift idea: notes in a giant "pill box"

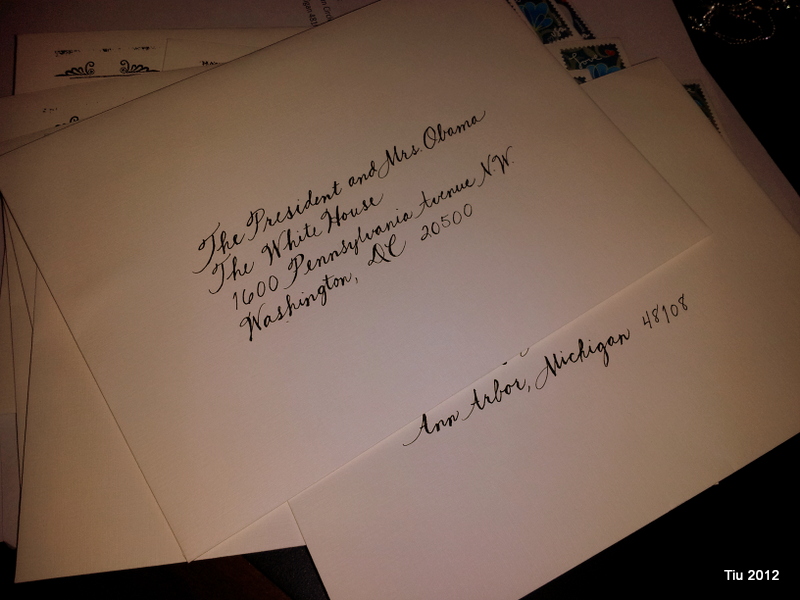
Been busy with envelope calligraphy

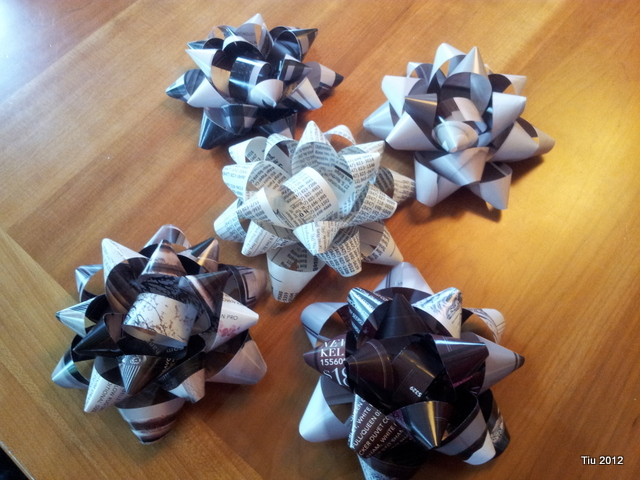
Daughter and I are addicted to making bows

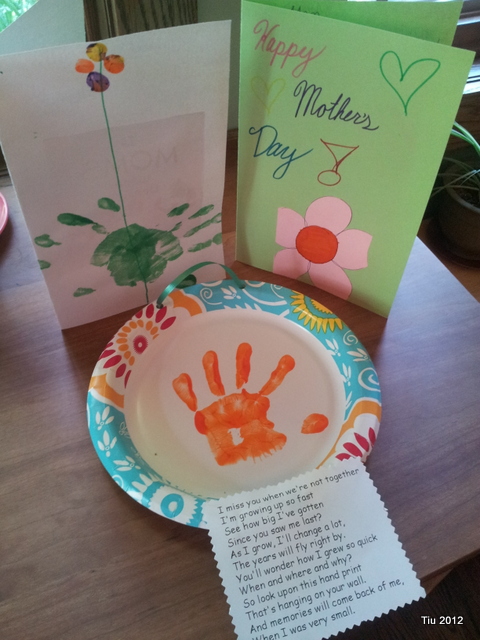
The perfect gifts on Mother's Day: handmade with love

More Resources

Super Moon news article

Shoebox Floats

More Teacher Appreciation ideas

Paper Bows, and more Paper Bows

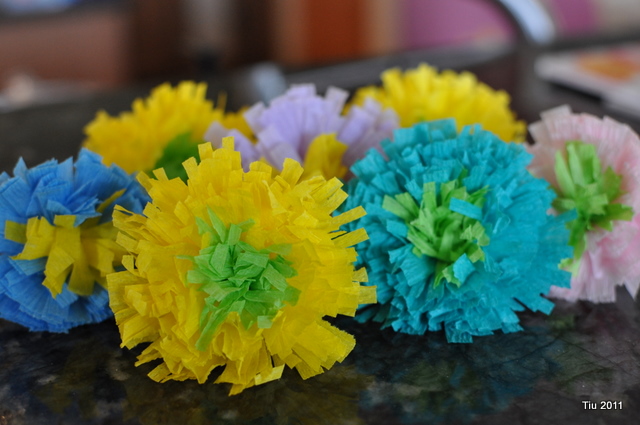
30 Days of Creativity: Day 10 with Crepe Paper Flower Tutorial

Day 10: Create something today inspired by nature!

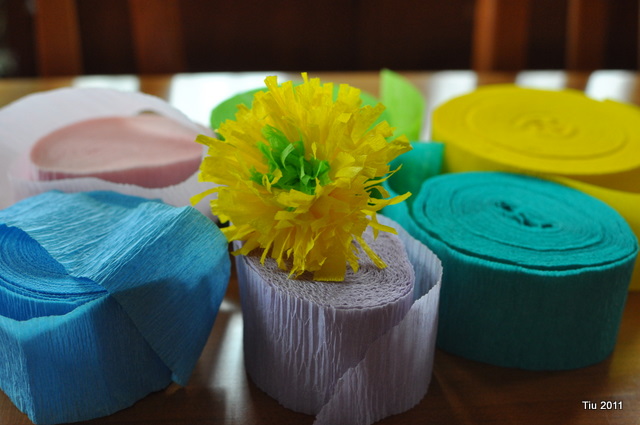
We had a few days of fantastic weather, but over the last few days, it’s been cold, damp and gloomy. April showers bring May flowers, right? Well, I thought I’d make my own with some party streamers from our stash of supplies. They’re easy and fairly quick to make!

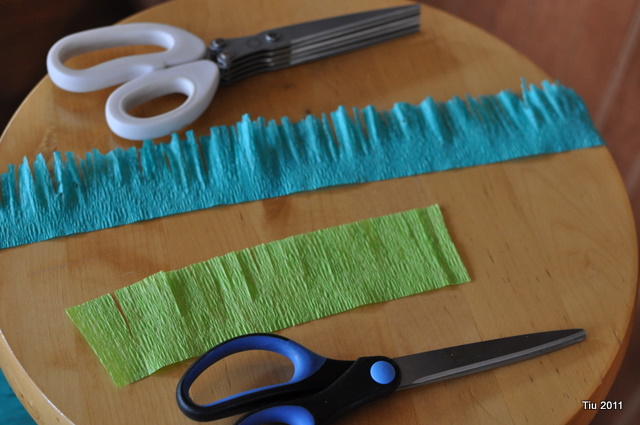
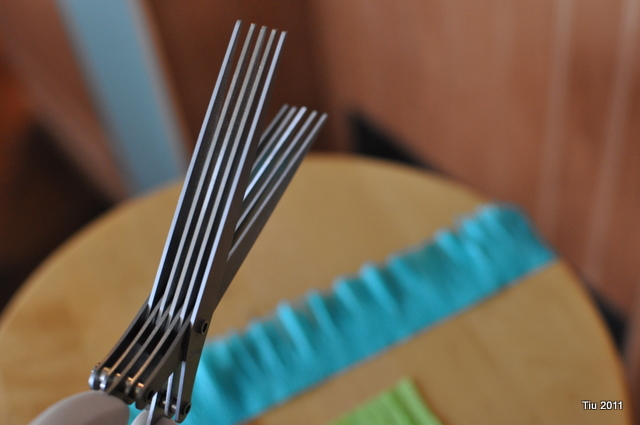
Supplies: Party streamers, pair of scissors and/or Martha Stewart fringe scissors

  1. Cut 6″ lengths of one color for the center of the flower, then cut 36″-40″ lengths for the main color of the flower.
  2. Using your fringe scissors or regular scissor, cut fringe about 2/3 of the streamer width. Crepe paper is delicate and difficult to work with. I found using regular scissors was quicker than the fringe scissors, but I like the texture of the fringe scissor cut better. If you cut the streamer from bottom up, you may have an easier time.
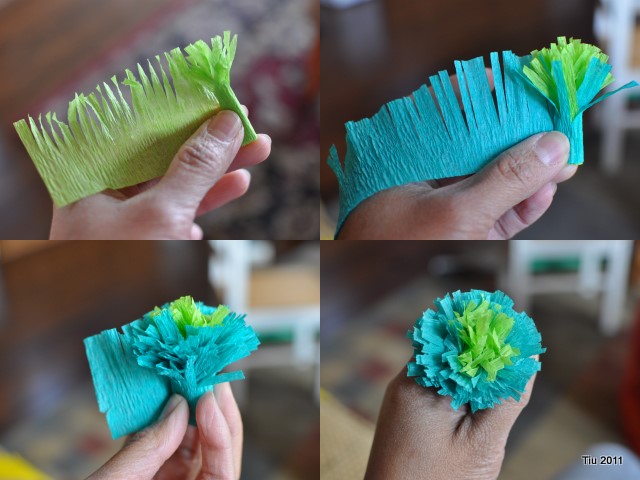
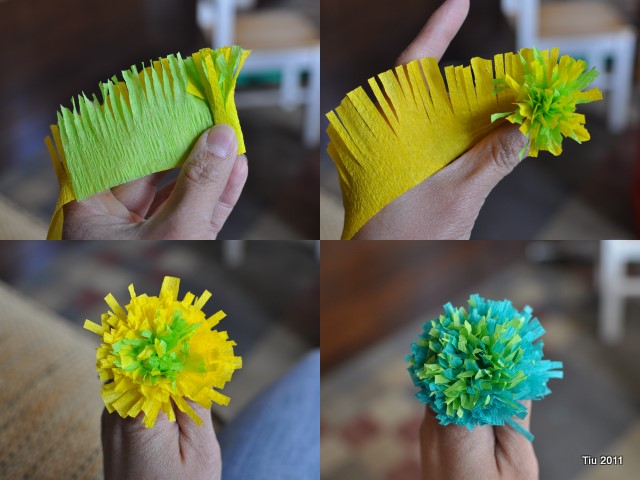
  3. After cutting the fringe, roll the inner section then add the outer section. Keep rolling until complete.

For a little variation, I like layering two colors.

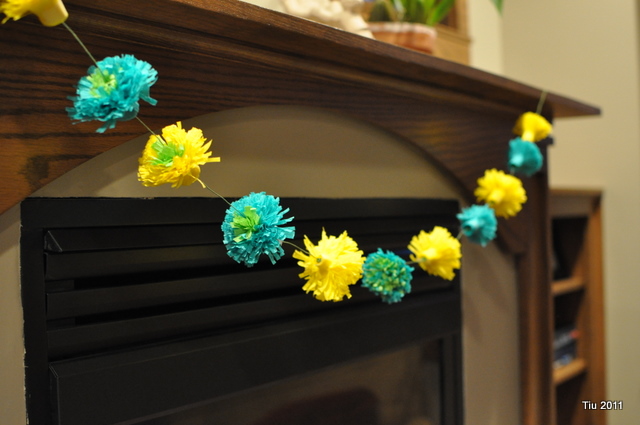
To finish them off, use floral tape or a little glue. You can either make into flowers with thick floral wire or even bamboo skewers. I strung them on some covered wire…

Happy crepe paper flowers from party streamers

Happy Spring!

Sending peaceful wishes

Origami cranes

You’ve seen these little paper cranes that grade school children might learn how to make in art class, or sometimes adorn a display case in an Asian gift store. A long time ago, I bought a package of 100 two-inch paper squares at an Asian art display with the intention of making 100 cranes for my, then, unborn child to decorate his or her room. The folklore around it was sweet, paper cranes for good luck and long life, and if you folded 1000 paper cranes, a wish would be granted.

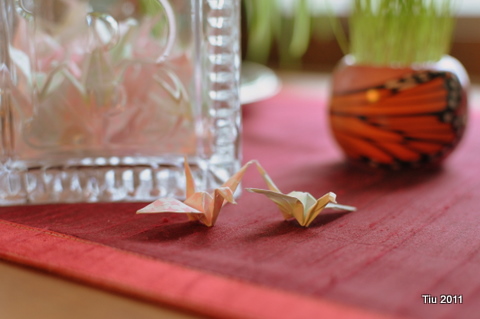
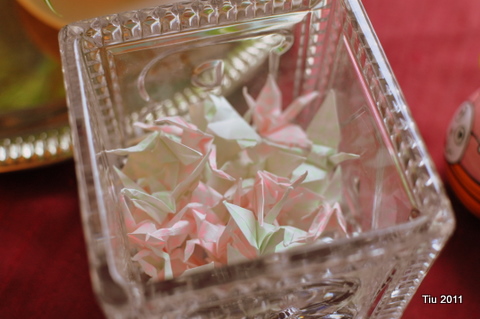
When my daughter was born, I spent many hours in my beloved gliding rocking chair nursing or rocking her to sleep, sometimes listening to music. I could have watched television. There was no e-reader then. Instead, I wanted to be crafty, and chose to skillfully fold origami cranes, mostly with one hand. The cranes in the picture are just a couple of them… they all live in a crystal container that we received when Abby was born. Now my daughter is nine years old, and she is every bit of what I could possibly wish for and more.

So the news of the horrific events in Japan came last weekend, and it keeps coming with mostly unfathomable scenes and situations but some uplifting stories. I was telling my husband about a local Japanese school, children and their parents worried about their relatives in Japan. Then he says to me, why don’t you make paper cranes? He comes up with some great stuff, doesn’t he? Crafting for a cause. Well, sometimes, we can’t always offer monetary support, but what about thoughts for heartfelt wishes of strength, rebuilding, renewal… I pledge to make at least one hundred cranes. And, if maybe some of you would like to join me and make some, I would love the opportunity to present a Senbazuru (one thousand cranes) to the local Japanese school to show our support. Leave a comment or e-mail me if you’re interested.

I’ll try to post my instructions for origami cranes as soon as I can.

Much love to all,

Julie

UPDATE

Paper Folding on the Airplane

On the return flight home, I was feeling a little fidgety. No crafting for about two weeks… but since I went to Urban Craft Uprising and saw lots of handmade goods around Granville Island, Canada, I was antsy. So, to pass the time, I started thumbing through the airline magazine. The semi-finished sudoku and crossword puzzles didn’t capture my attention that much, and I had read through the steakhouse directory too many times. Onward to the Sky Mall magazine! I enjoy virtual shopping as much as anyone else especially when one magazine has business books-on-tape, concrete garden fountains and pet gear under the same cover.

But that didn’t last too long either… without scissors, glue, knitting needles, or even a crochet hook, what was a girl to do? (Incidentally, these are all probably unsafe or inappropriate things to bring on a plane now.)

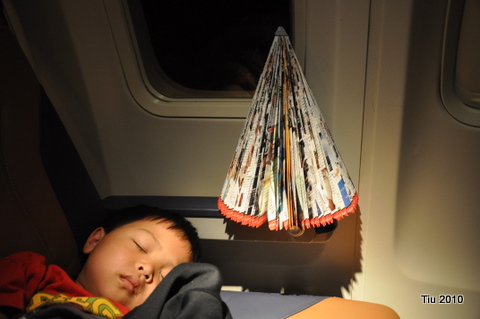
I made a paper tree! Actually I made two: one on the way to Phoenix and the one in the picture was on the way home. I both cases I left them on the plane. Someone (cleaning crew, probably) might have found it interesting, or at the very least, amusing? My husband called me the “(paper) tree bandit”. I thought of it as free art. Want to make some on your next plane ride? It’s really easy, and the instructions are here.

Some Festive Cards for anytime

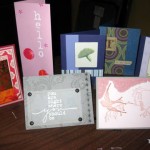
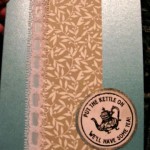
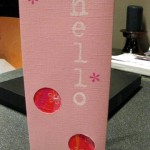
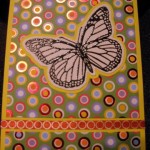
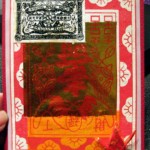
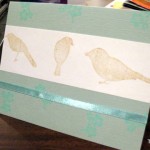
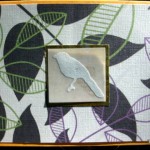
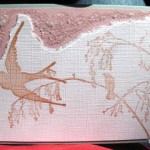
I was busy last week getting a pack of cards ready for a silent auction. I hope the winner enjoys these and actually uses them. (Click on the picture for a better look.) Now I need to get crackin’ on a few mother’s day cards and one birthday card for a friend’s daughter who turns one this weekend!

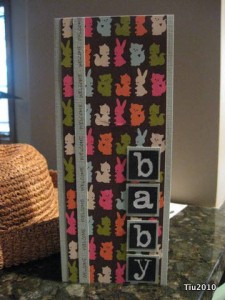
Baby Shower Card

It’s taken me this long to recover from Easter weekend. I ate too much. I exercised too little. The kids were delirious at the dinner table last Saturday night when we celebrated my uncle’s birthday at an Italian restaurant known for their incredibly generous portions. Then we had brunch Sunday morning after Easter mass. Glorious, isn’t it, especially when it’s good food? I felt okay up until Sunday night… when I put on my pj’s to sleep and felt like a blown-up beach ball about to burst at the seams. Sunday morning should’ve clued me in when I woke up and wasn’t hungry until 11:00 AM.

But, besides birthdays and Easter, it’s baby shower season! We have 11 pregnant friends, and they’re all delivering between May and August of this year. Quite the “Year of the Tiger“! And this card, no stamping needed!

  • 8-1/2″ x 11″ cardstock (Bazzill Basics: Hazel)
  • Four cardstock squares in a contrasting color 3/4″ x 3/4″ (I used black. Brown would have been nice.)
  • 3″ x 11″ piece of coordinating patterned paper (blue skies/so happy together by American Crafts)
  • Rub-on letters (close to 3/4″ tall)
  • Equipment: paper cutter, adhesive

1. Take your solid color cardstock, lay landscape and cut off about 1 centimeter. Save the strip. (Yes, I switched to metric.) Making the paper 27 cm wide makes it easier to measure evenly. Now cut 9 centimeters off. Save that scrap. With the remaining 18 cm, fold in half. The card should be 9 cm x 11″. This fits into a regular business size envelope.

2. From the large scrap, cut four 1″ x 1″ squares (a.k.a. inchies).

3. Use rub-on letters to spell “baby” on contrasting 3/4″ squares. Adhere to the 1″ squares.

4. Cut a 3″ x 11″ piece from the patterned paper. Center and adhere onto card front.

5. Place and adhere “baby” onto the cardfront.

6. Take the tiny strip of cardstock saved from Step 1 and glue that to the cardfront, also. In your own penmanship write the word “Welcome”. I repeated the word, separating it with a dot. (kind of like: welcome • welcome • welcome)

I’m thinking of featuring some bread recipes next week, but I might be a bit busy with Communion activities… only 10 more days!

Related Posts with Thumbnails