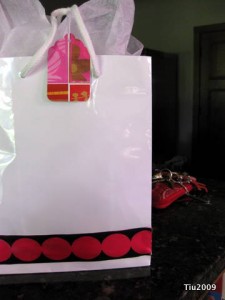
I had a gift bag that had a very prominent corporate logo on the bottom. It was from a promotional deal… I thought, what a waste of a perfectly good gift bag. How am I going to use this again? Break out the ribbon! I had some wide decorative ribbon, plugged in the glue gun and voila! Good as new. Try that the next time you’re running somewhere with a gift.
Tag Archives: recycled
Slowly but surely: T-Shirt Quilt
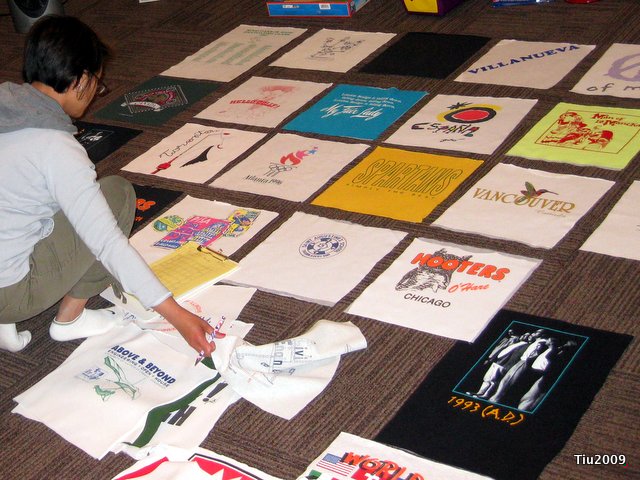
There I am with graph paper and pencil in hand as I’m trying to figure out where to place the squares. Stayed up a little last night and drew out a layout. Seriously, when was the last time I used graph paper? Probably when I was wearing one of those shirts from college. Hooters… haven’t been there in YEARS. Anyhow, this didn’t take too long.
I moved some shirts around, and I think it’ll be really nice when it’s all said and done. I decided to still use borders and sashing (Unlike the “toocool quilts“, which are still really interesting, I needed a little order), but the shirts won’t all be square. So, I’ll be sewing columns instead of rows. (Like this might mean anything to non-sewers?) Next steps: have to figure out sashing color, and trim all shirts to the “correct” size.
As I was totally engaged in this activity, Ollie was playing Mario Kart. He was also very engaged.
The Craft Social
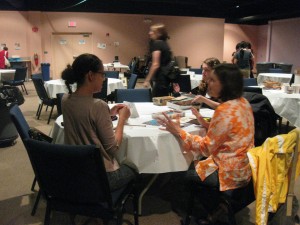
It might be intimidating to some to go all by yourself, not knowing anyone except for maybe through blogging, to a gathering of over 100 women (and one man) to craft for two hours.
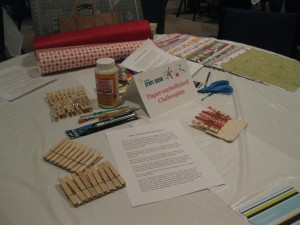
It was FABULOUS! Really, it was. This pic was at the beginning of the evening. Attendees either brought a donation or food, and a craft project to do on her own. There were also crafting stations where you could learn how to do a new project: duct tape wallets, decoupage bowls, paper-decorated clothespins, poloroid slide transfers, beading, and other various crafts.
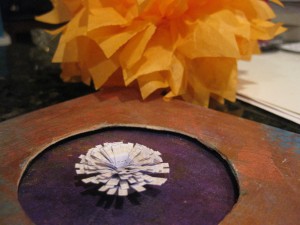
I brought a cross-stitch project to work on, but really, I socialized, made a magnetic bookmark, little paper adornments and a pom-pom flower.
Meeting so many talented people and watching them create these beautiful pieces, made me want to try more things! Hello to Toni at the refreshment area, Margaret, who was working on her applique, Kathy, who writes Merriment Design, Cindy, an event planner and crafter, Alexandra, who brought a scrumptious tart, Debbie and Rosemary, the stampin’ up ladies, Tripp Hudgins, the nicest husband and only man in the group (so enjoyed talking about paper and ink), Beth Engelman, blogger/writer, and Jess Jones, the social coordinator and blogger.
I can’t wait for the next one!
Cup of Tea While I Sew?
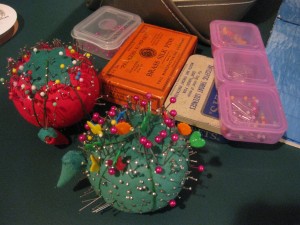
My little pincushions that resemble strawberries are starting to look a little frazzled. When I was sewing my Easter project, I had to turn the cushions upside down, and the things looked like porcupines. Actually, when I was younger, I thought they were tomatoes, with the green one looking like a not-so-ripe tomato. And then I thought, what is that dangling thing for?
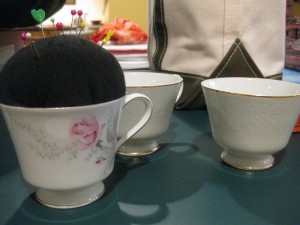
I’ve bought and collected more pins over the last year as I’ve cultivated my sewing habit. The vintage Sucrets box and Brass Silk Pins box are from an estate sale across the street, and are filled with more pins. So… I thought I’d make more homes for the pins and borrowed a little book from the library, “Pretty Pincushions”. There is an easy project that marries tea with sewing, and it happened to be designed by Amy Karol (author and blogger, see her blog here). Basically, it’s a teacup, stuffing, scrap piece of fabric and glue.
I went to a local Salvation Army store (There is a lot of stuff there! Holy cow!) and rummaged through the house goods and found these cuties (65 cents and 45 cents each for the pair). No saucers, at least none that I could find. They were all separated. Out of curiosity, I looked up the manufacturer of the all-white teacup which has a delicate, lacey pattern that goes around the cup.
A cup and saucer on a site similar to eBay was selling for $8.00, surprise! So, now, I’m not sure… do I try to resell these little teacups? Is it worth it? Or do I just make my pincushions?
Candied Orange and Lemon Peels…mmmm
Over the weekend, a friend brought over the most beautiful lemons from her parents’ lemon tree. Note, we’re in Illinois. Her parents’ tree is in Arizona. She was sharing because her folks had a bumper crop this spring. My friend was greeted by 3 dozen lemons… what to do, but share! She mentioned juicing the lemons and freezing the juice in ice cube trays. Then she mentioned saving the peels to candy them. Aha! Lemon, citrus, orange, citrus… helloooo?! I thought it’d be delicious, AND I was planning on making some candied orange peel this week. I’m experimenting with frozen peels; thawing them first and then continuing with the typical recipe.
Just type “candied orange peel” in your favorite search engine and there are tons! They’re all basically the same. Mine isn’t that different.
- Peels from 4 – 6 oranges (this time around, I also had 2 lemons): The peels were in sliced sections and the pith (white) was already trimmed. You want very little pith, but I still leave a but. I sliced these into 1/4″ strips. The lemon peels were smaller.
Using a 3-1/2 qt. pot, I filled it with about 4 cups of water. This should be enough to cover the peels. Heat until boiling, then add the peels. Blanch the peels for about 3-4 minutes. Turn off heat, drain/remove the peels (I just used a slotted spoon not a colander), discard water and repeat. You will blanch the peels 3 or 4 times. This is to soften the peels, but more importantly, to remove the bitterness. It sort of cooks out, cooks down any pith, too.
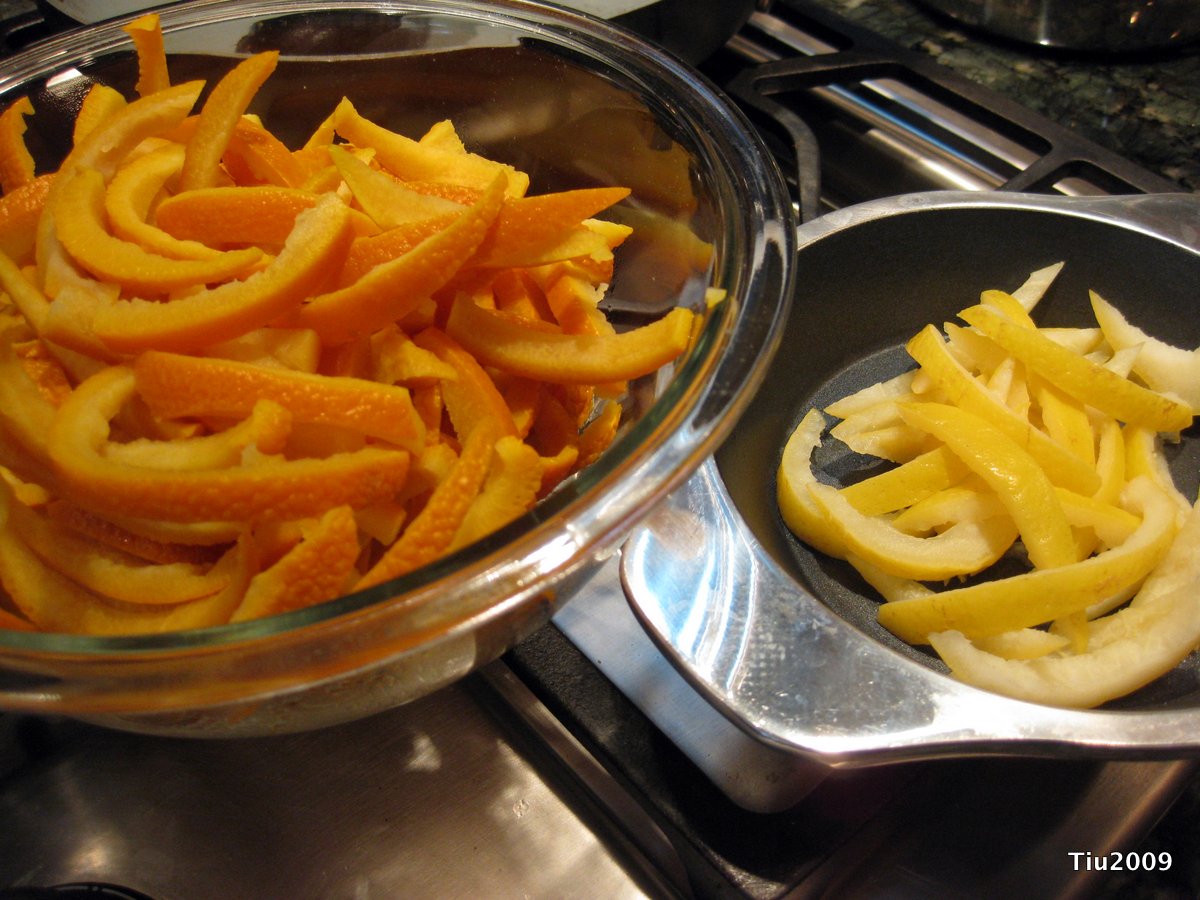
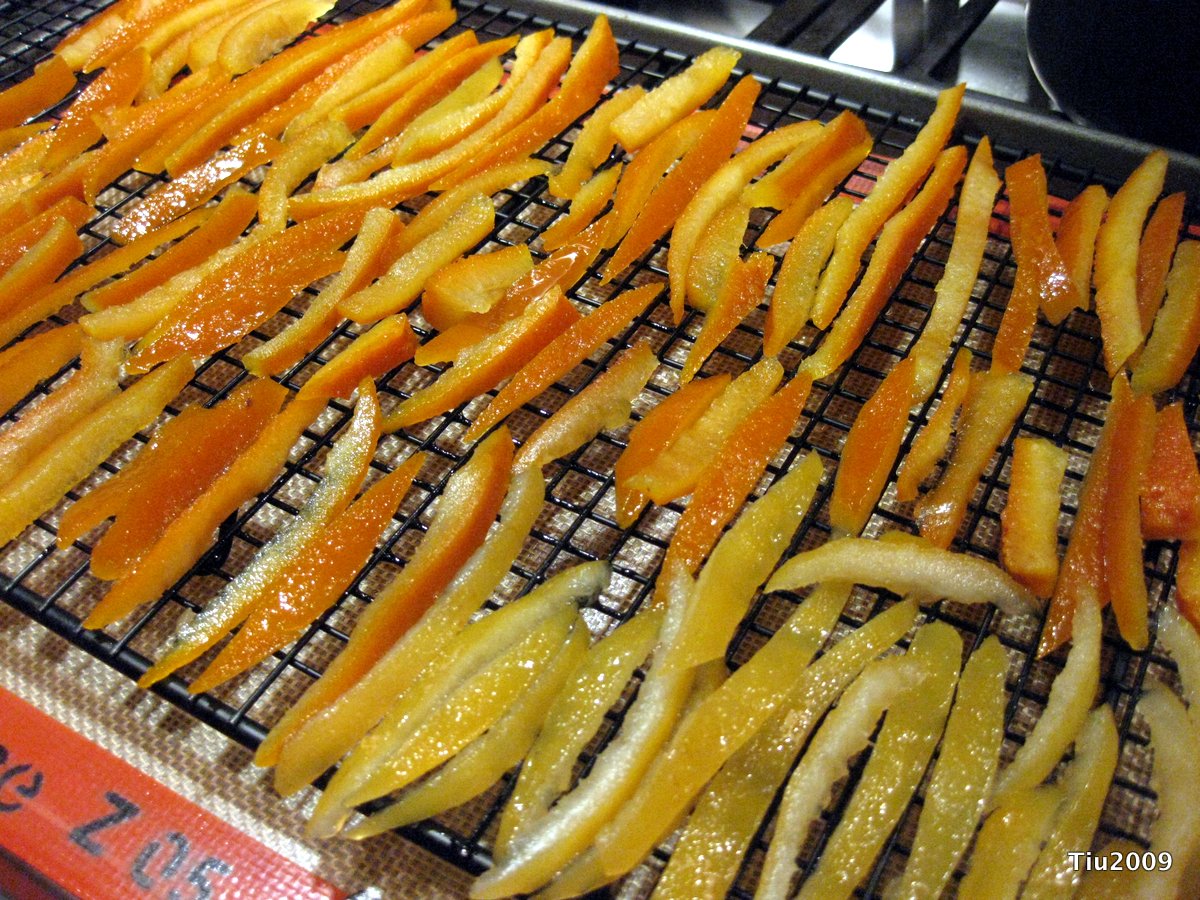
After 1st blanch
- 4 cups water
- 3 cups granulated sugar
- Extra granulated sugar in a separate container for dipping
In your clean, empty pot, combine the water and sugar. Heat until you get a rolling boil. You can use a candy thermometer, and heat until 210 degrees. Add peels, boil for a couple minutes, and then lower heat to a simmer. Continue to simmer peels for 45-60 minutes, or until peels are translucent. (I’ve read recipes where they only simmer for 30 min.)
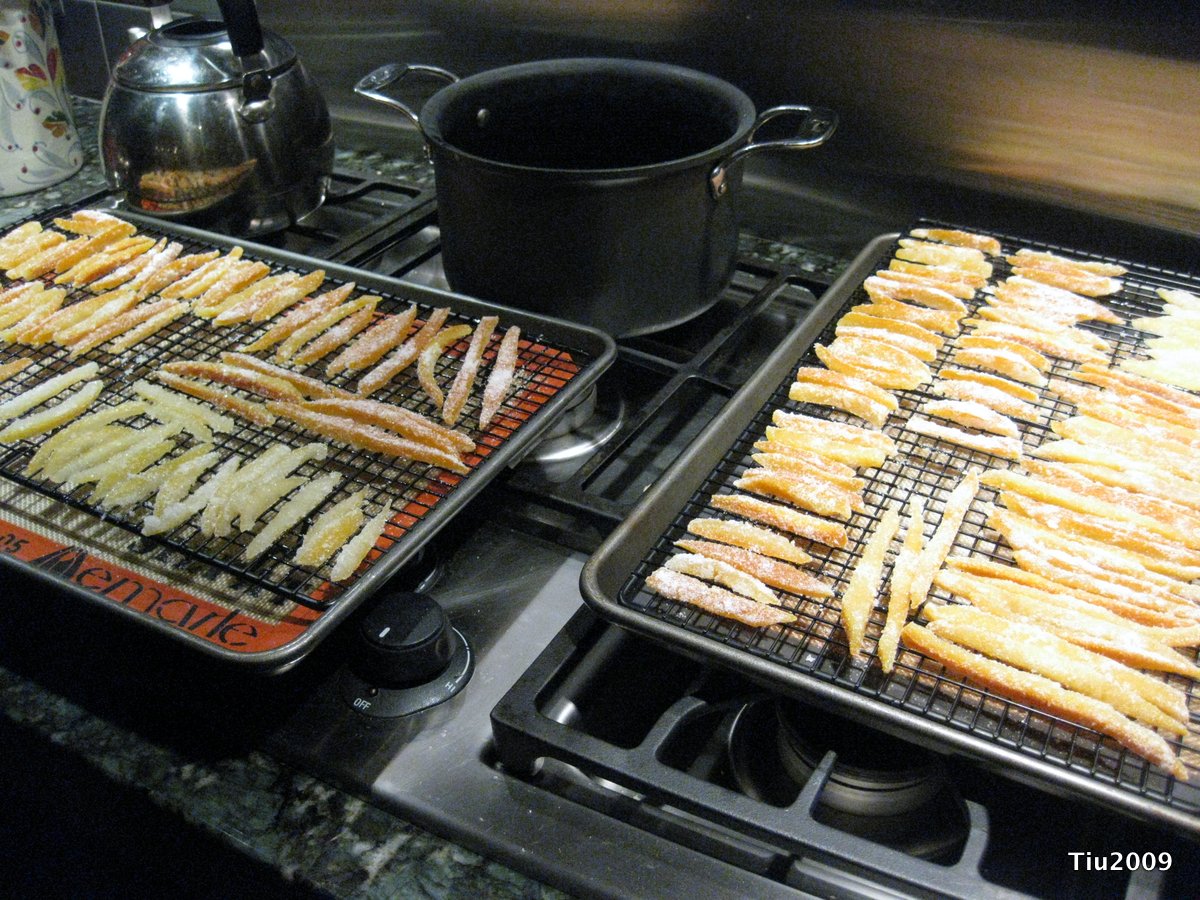
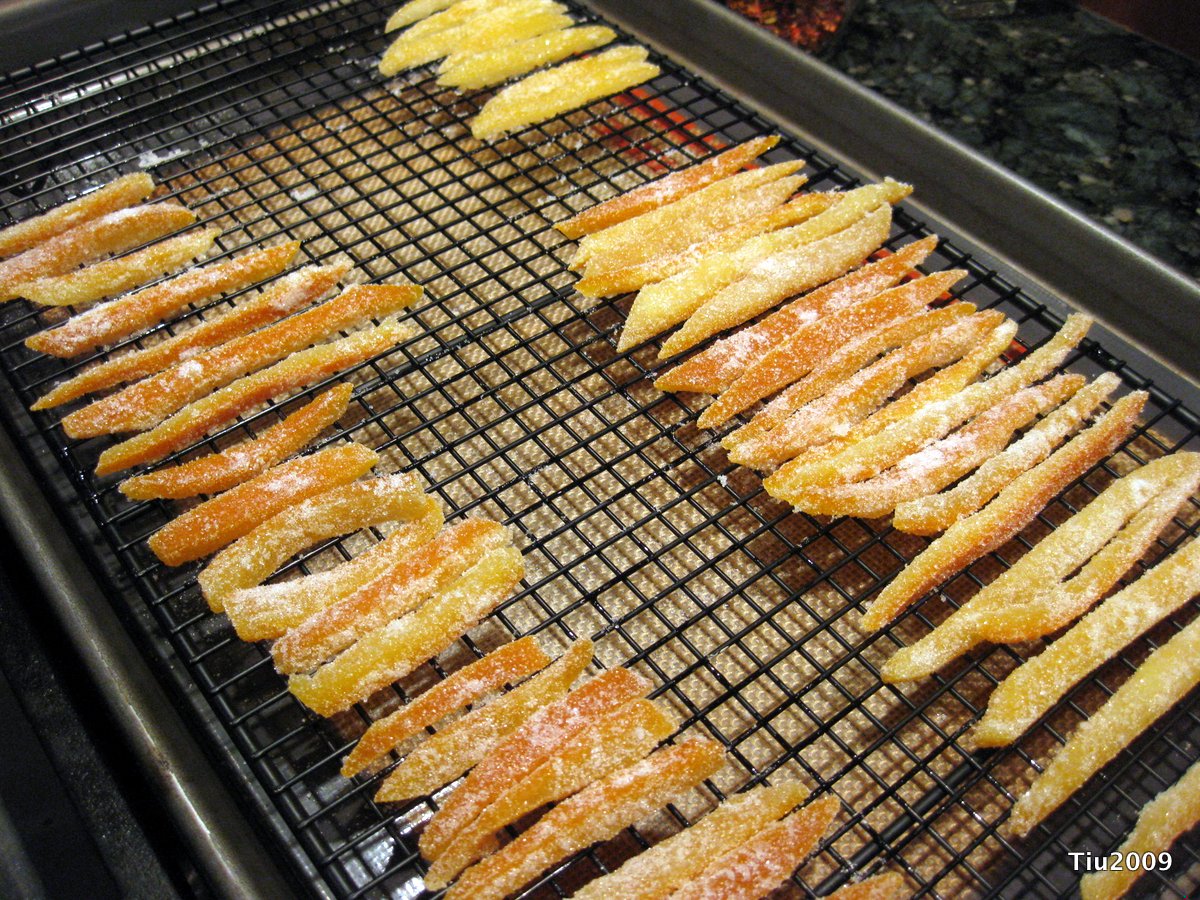
Remove peels after they are to your liking and dry on a cooling rack. While still warm, dip the peels in sugar and lay out on the racks to dry. I like to leave them out overnight. The next day you can take the dry candied peels and dip or drizzle with chocolate!
Don’t discard the simple syrup that is in your pot. Keep in the refrigerator and use for iced tea! Delicious!
(Note: The fresher the fruit, the softer the peel. I like thicker skin, but just make sure to blanch less if the peel is really young.)
- After 1st blanch
- The workbench
- Newly candied, before sugared
- After sugar dip
- Lemon and Orange Peels Drying
My Funny Valentine
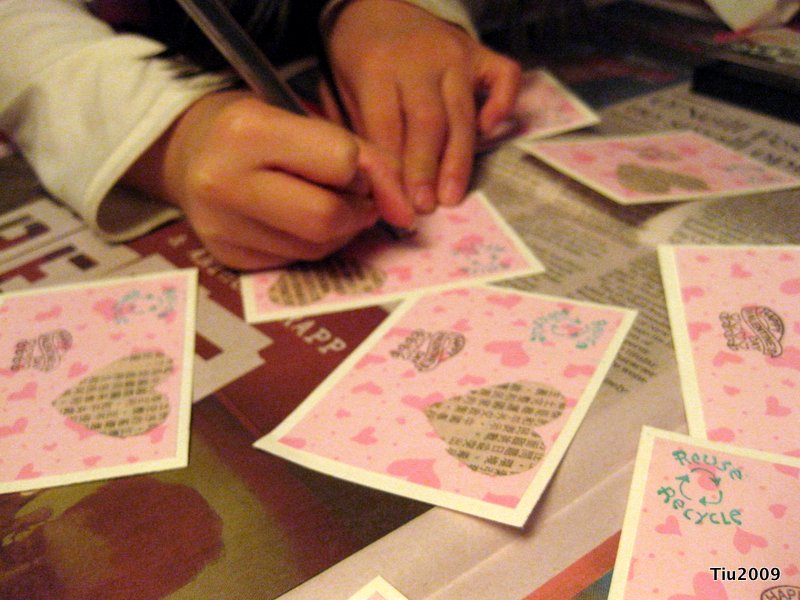
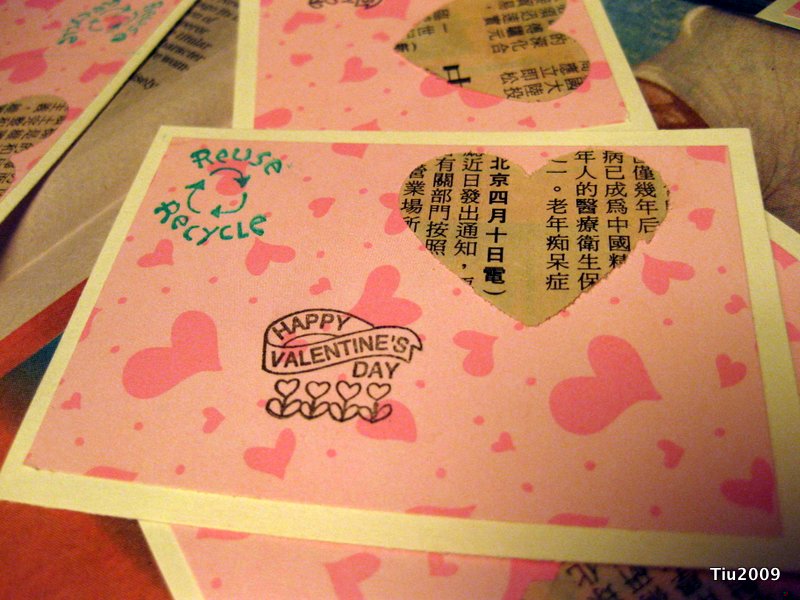
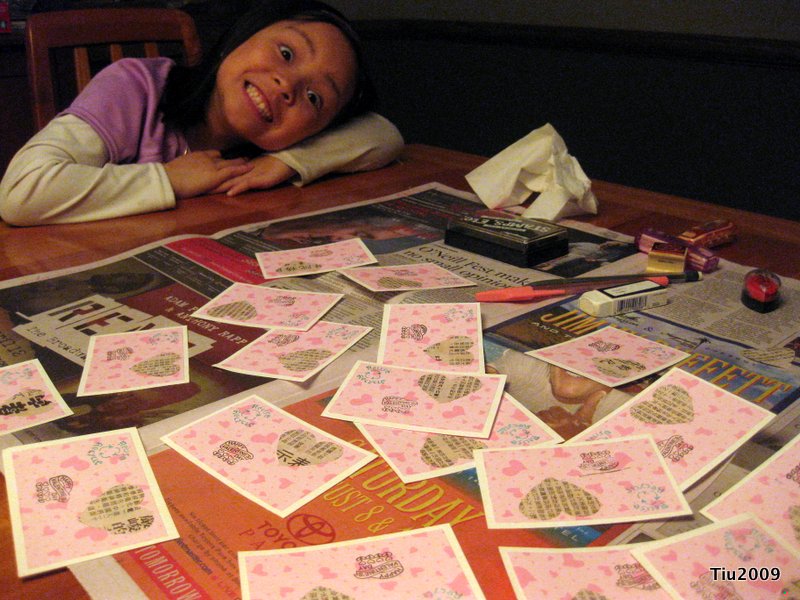
I just want to say, she’s so cute not wanting me to buy Valentine’s Cards at the local store, even if they were only a dollar! She made them all for her classmates and teacher. She also decided not to use her Chinese name stamp which might have been a nice touch. But that’s okay.
Like mother, like daughter…