Craft Book Review: With Fabric & Thread by Joanna Figueroa

You know the feeling when you’re waiting for a package in the mail, or waiting for Christmas Day? That was me a few weeks ago. John Wiley & Sons, Inc. published With Fabric & Thread by Joanna Figueroa this Spring – and I was thrilled to receive a review copy.  I’ve read this book twice since receiving it. How would I describe the book? Hmm… fabulous for every level whether you quilt or sew.

If the “by-project” pictorial table of contents isn’t enough eye candy for you, just thumb through the book and you’ll find plenty of reasons why you should pick it up. Ms. Figueroa opens with personal stories of discovery. I was so touched by her introduction; she reaches out to all of us. Her delivery is so personal that she made me feel like I was sitting across from her, having a cup of coffee with an old friend. More than that, her story resonated with parts of my own journey of reinvention and I have a feeling that other readers feel the same.

Figueroa includes two chapters on basics: quiltmaking and sewing. And for a beginner like me, it’s nice to learn about the differences – and not in a snooty way either.  The chapters are nicely thought out. Besides the projects, my favorite section is her chapter on color. I love that she says, “…throw out everything you have ever learned about the color wheel.” It’s not about completely reinventing the wheel, but rather, not to let yourself be bound by rules or theories. Time to break out your fabric stash and rearrange or just come up with new color combinations!

About the projects, there are twenty-two (patterns included in the back of the book) to tantalize you. She breaks it up in three parts, sewing, dual projects (both sewn or quilted), and quilting projects. In a way, they are broken into a basic difficulty level, but it may have been helpful to have some sort of written or drawn difficulty level associated with the projects. Like any project, read through the instructions all the way… Figueroa’s instructions are complete with illustrations.

Can’t wait to start on these projects! With Fabric & Thread is sure to inspire you, too!

Joanna Figueroa is a fabric designer, pattern designer, active quilt instructor and owner of Fig Tree & Co. Her beautiful blog, Fresh Figs, offers more quilty and fabric fun.

That Old Sweatshirt – A pillow tutorial

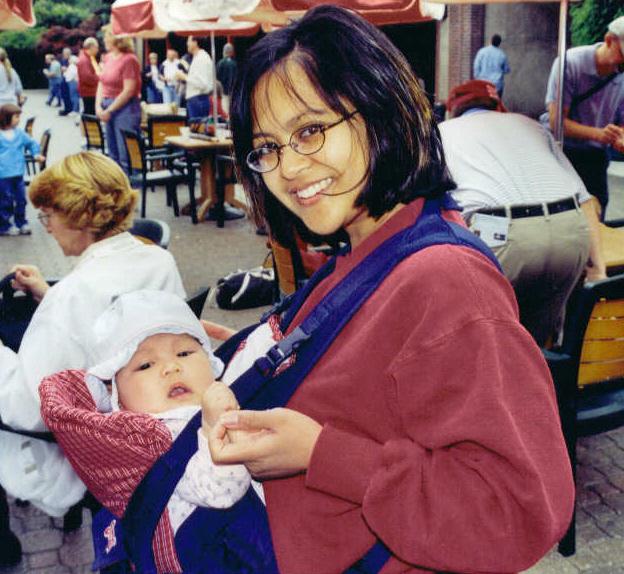
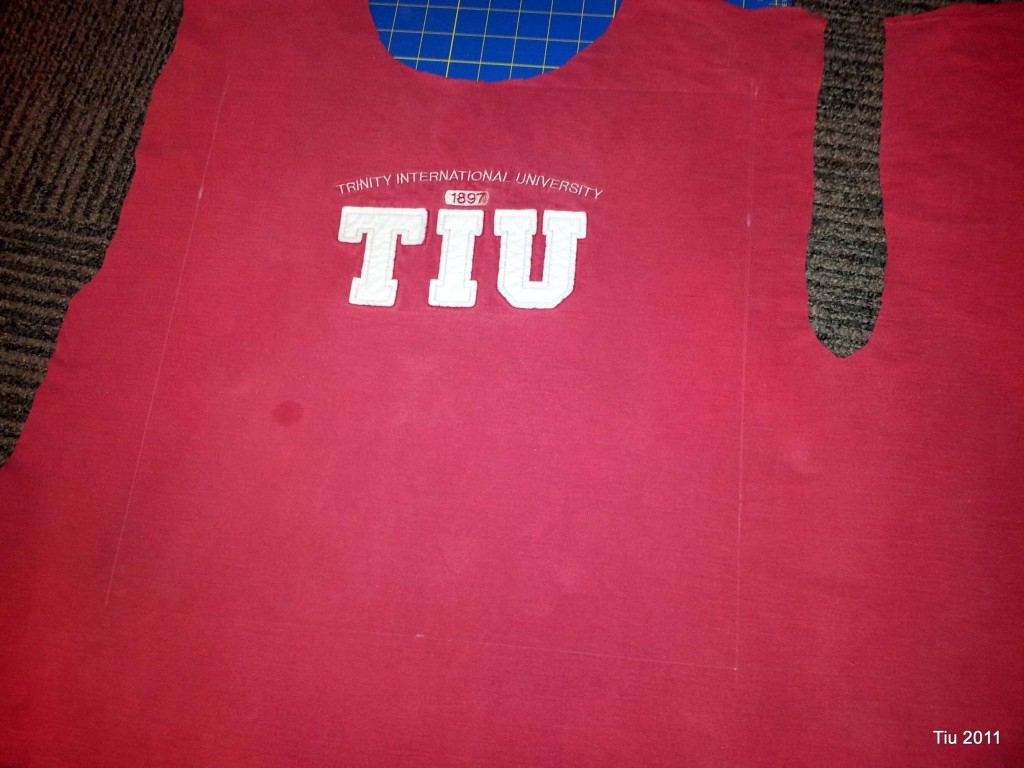
I get sentimental about things that other people would probably not even think twice about throwing away or donating. I have old ticket stubs, concert programs, newspaper clippings – those things I can put in a scrapbook. But I’ve been known to hoard be sentimental about clothes too, and only recently have I been purging all our closets. Sometimes there’s just that one article of clothing you want to keep. See this old collegiate sweatshirt…

Julie Tiu in 2002

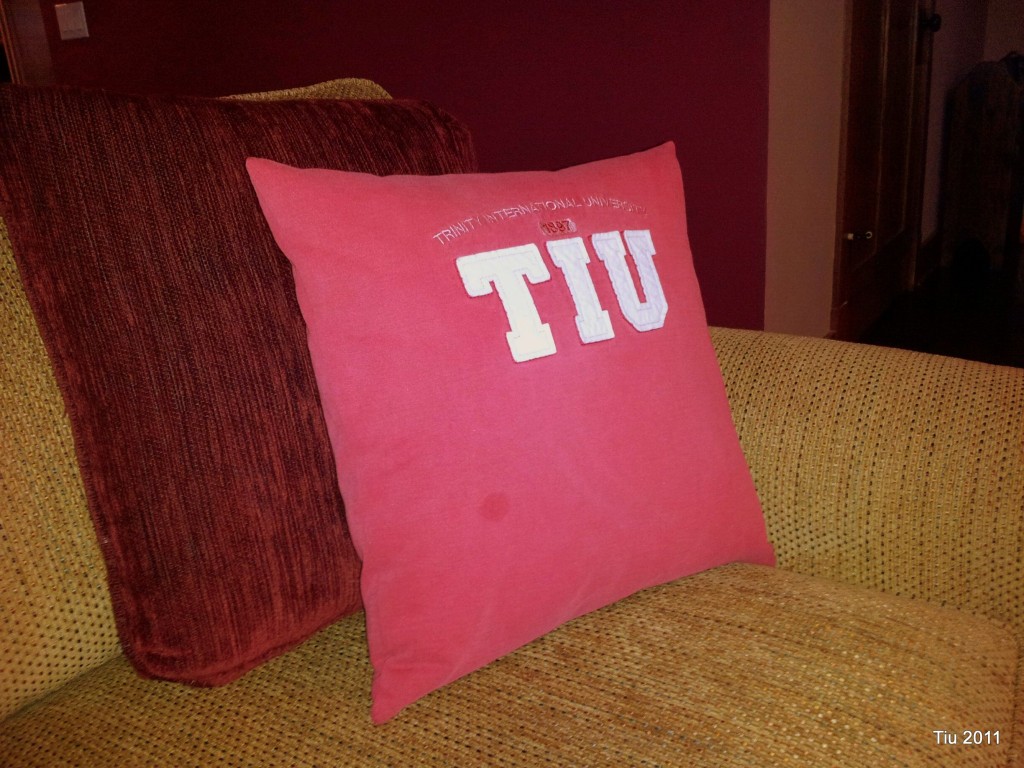
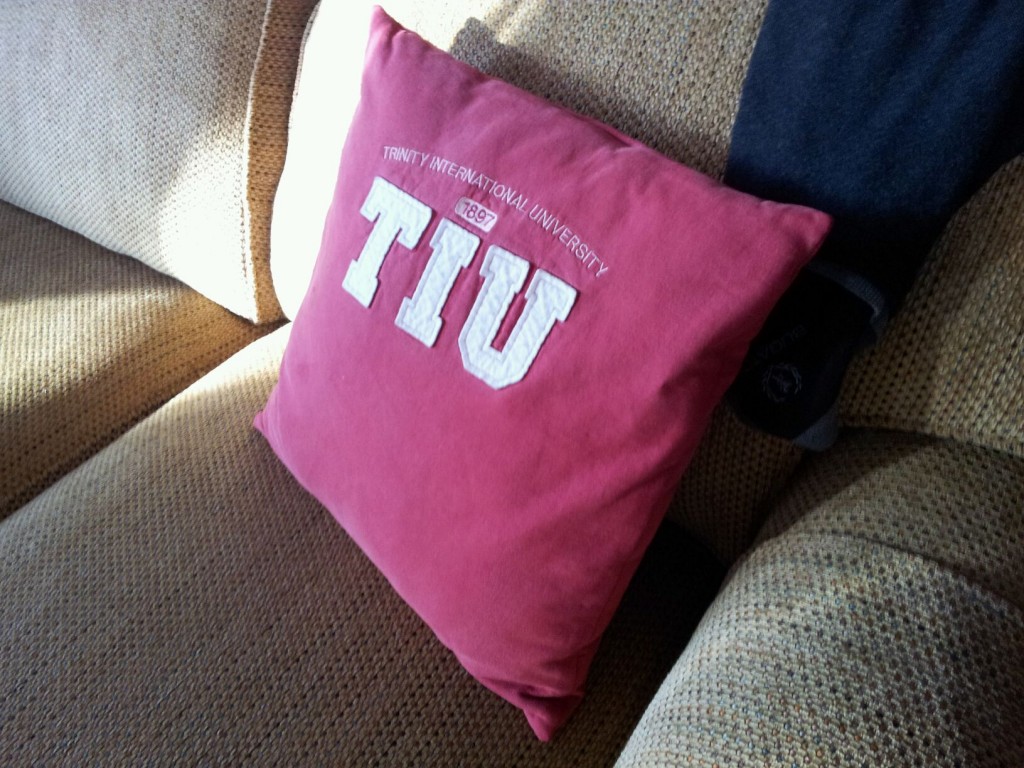
…Became this pillow. (I know, after 10 years, right?)

An upcycled sweatshirt made into an envelope pillow – meaning, you can slip the cover on and off. Very easy for washing. Could be a cute gift for Valentine’s Day, too.

Recycle Your Favorite Sweatshirt (I didn't even attend this school. Got the sweatshirt because it had my last name!)

And here’s how I did it.

  1. Take your clean sweatshirt of choice and lay it on a table or on the floor.
  2. I cut the sleeves off first. Then set aside.
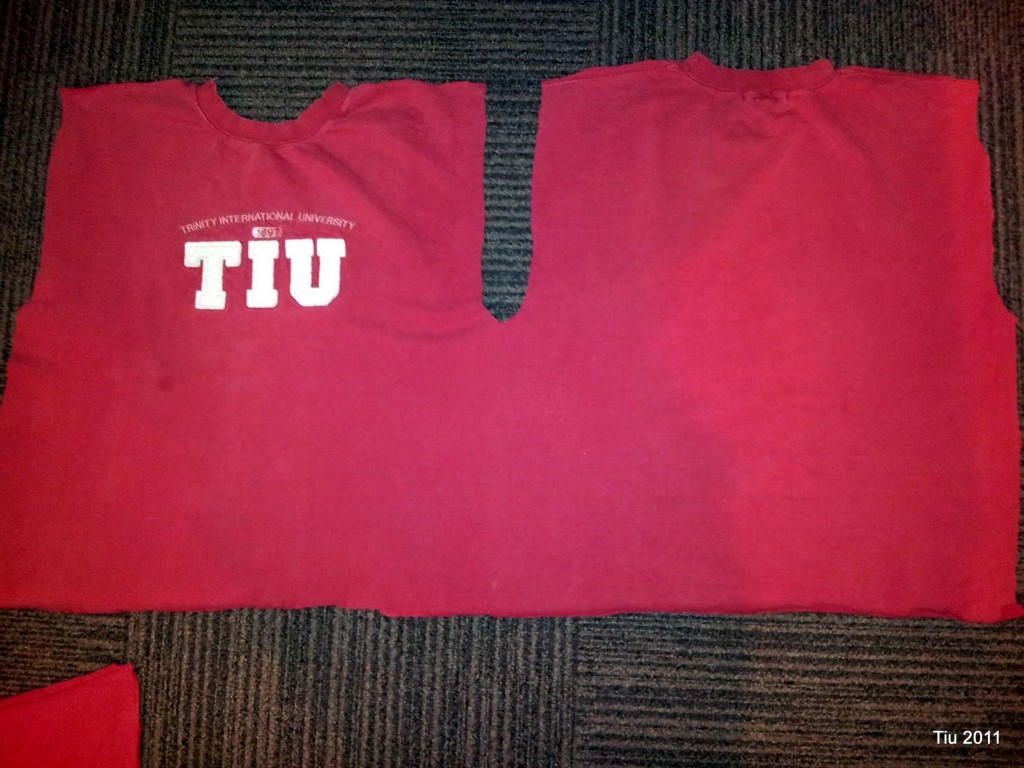
  3. Next cut along one of the side seams of your shirt and along the shoulder seams. This will open everything up. I did it this way to give the largest piece of continuous fabric.
  4. Cut off the bottom hem and collar (cuff material) also. At this point you may need to iron the shirt (highly recommended).

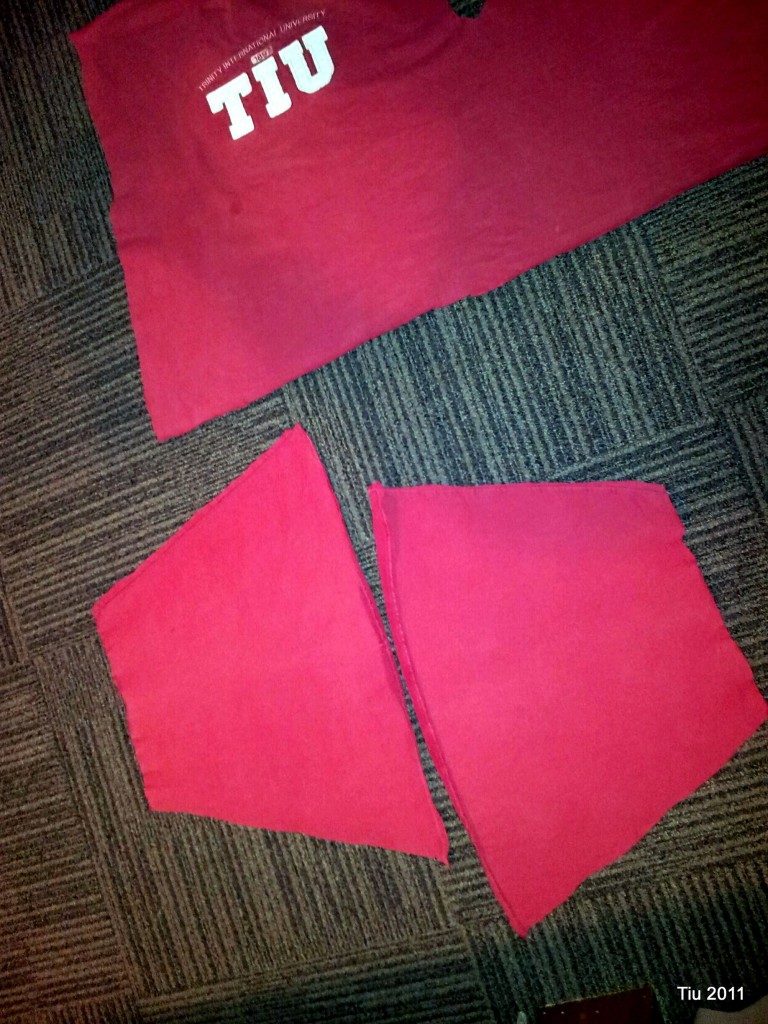
  5. You may need the sleeves for extra fabric. Cut off the cuffs and cut along either side of the seam.

    Sweatshirt sleeves cut open

  6. For a 16 x 16 pillow, you will need three pieces of fabric: (1) 16-1/2″ x 16-1/2″ for the front, (2) 12-1/2″ x 16-1/2″ for the back. (See my fancy sketch below.) I needed to use the extra sleeve material for one of the back panels. Just piece together if you need to.
  7. Try to center your focal point. I didn’t have too much choice – just went as high as I could.

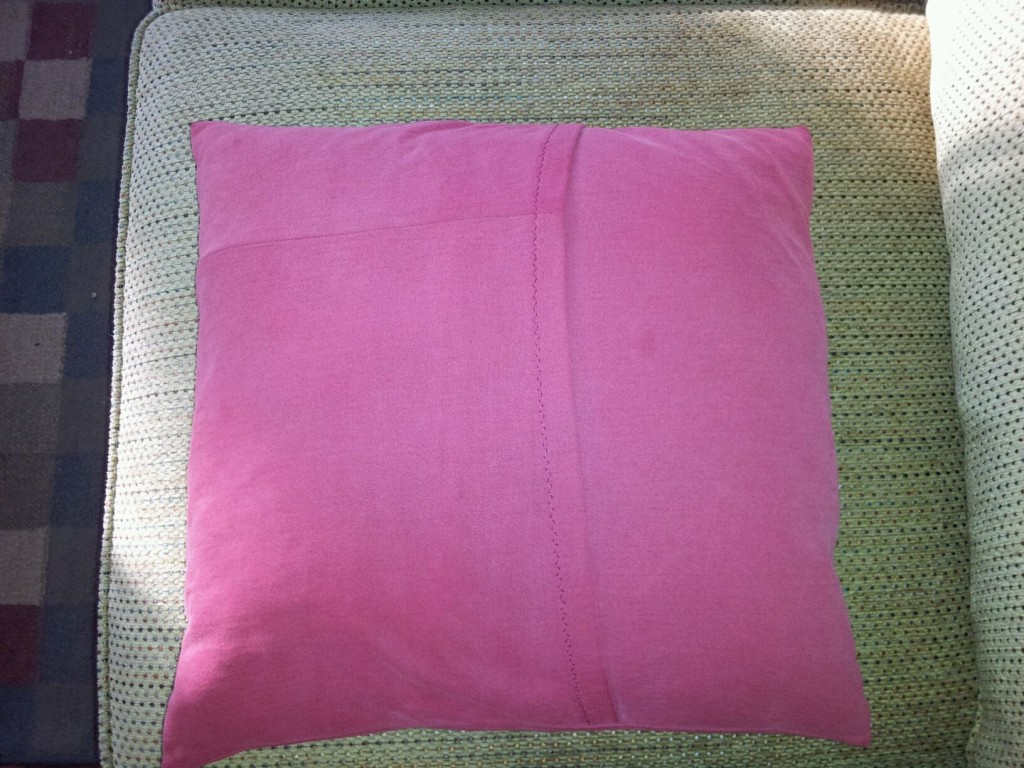
  8. Prepare the back pieces first. Fold along the length (16-1/2″) and press 1/2″, then fold 1/2″ again, pin and edgestitch. Do this to the other piece. Press both pieces. Note: I found the zig-zag stitch easier to do with the stretchy sweatshirt material.

  9. Lay the front piece down, right side up. Next lay one of the back pieces, wrong side up, matching the raw edge with your front piece. The finished edge should be somewhere in the center area. Lay the other back piece with its raw edge along the other side of the front piece. Now the finished edges of your back pieces should be overlapping one another.
  10. Stitch around the perimeter with a 1/2″ allowance. Backstitch as you start and finish. When complete, remove and clip your corners, and turn rightside out.
  11. Stuff your pillowcase!

So here’s the thing – you can adjust the size of your fabric for any size pillow by just adding 1/2″ to your finished size. The back pieces take a little math.

16″ x 16″ pillow – cut 16-1/2″ x 16-1/2″ (front) and 16-1/2″ x 11-1/4″ (two pieces for the back)

14″ x 14″ – cut 14-1/2″ x 14-1/2″ (front) and 14-1/2″ x 9-1/4″ (two pieces for the back)

12″ x 16″ pillow – cut 12-1/2″ x 16-1/2(front) and 12-1/2″ x 11-1/4″ (two pieces for the back)

12″ x 12″ pillow – cut 12-1/2″ x 12-1/2(front) and 12-1/2″ x 7-1/4″ (two pieces for the back)

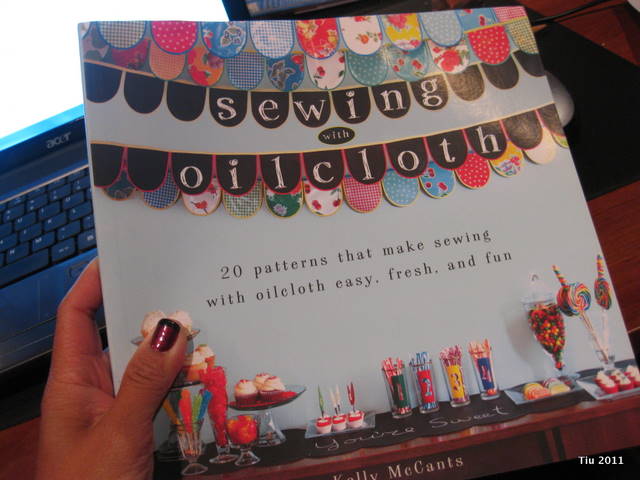
Craft Book Review: Kelly McCants’s Sewing with Oilcloth


Sewing with Oilcloth by Kelly McCants

I was excited to receive a review copy of Sewing with Oilcloth (Wiley) late last month! This is Kelly McCants’s debut book. She does a lovely job compiling 20 patterns of “fun and functional” projects. The projects aren’t complicated – their elegant simplicity shows off oilcloth. Actually getting and working with oilcloth is probably the bigger challenge.

It’s a thoughtful book for any crafter! (I just kept coming back to that word as I was reading the book.) McCants gives great advice starting with tools, tips and tricks to the “helpful, trouble-free instructions”. They are easy to follow with illustrated steps. The way that the book is organized – For the House, For You and For Kids – is also well thought out.

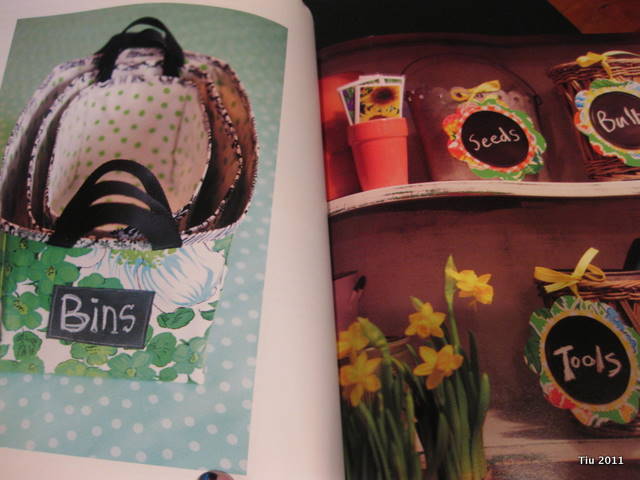
Bins and Tags from Oilcloth! Love it!

I’m thankful that she included a how-to-care for your material and sewn pieces, because I’m a newbie to oilcloth. And the introduction to laminated cotton – I didn’t know that material existed.

Now I have to go break out my roll of chalk cloth! I can’t wait to make a few bags, aprons and containers with the patterns!

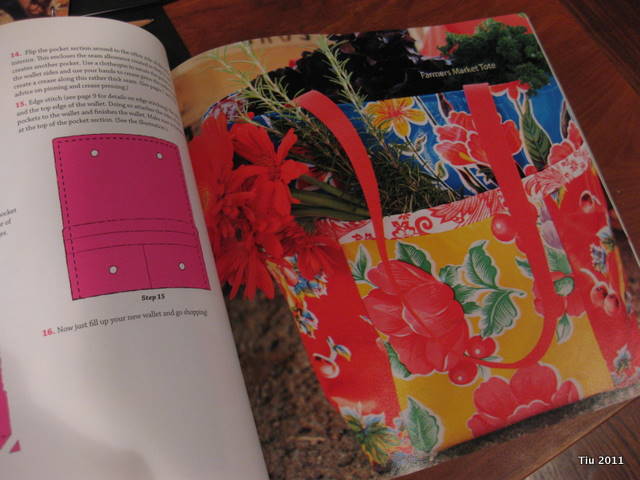
Market Tote - great project

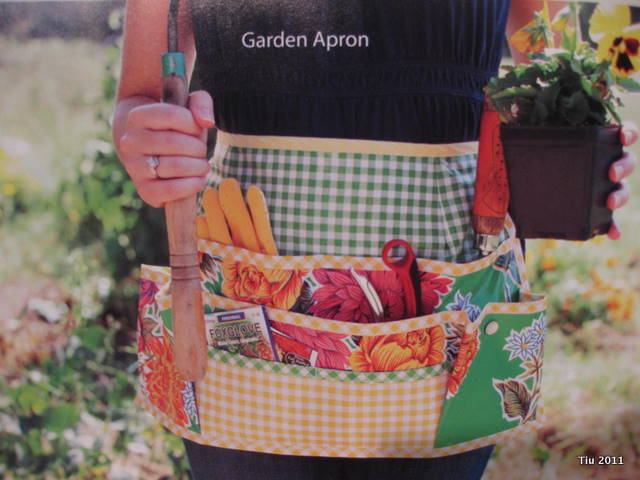
I cannot wait to make this Garden Apron

You can visit Kelly at her blogs, Modern June and Oilcloth Addict, and find out more about the Flick group dedicated to Sewing with Oilcloth.

Check out her book trailer – so cute!

Pillowcases for Gifts

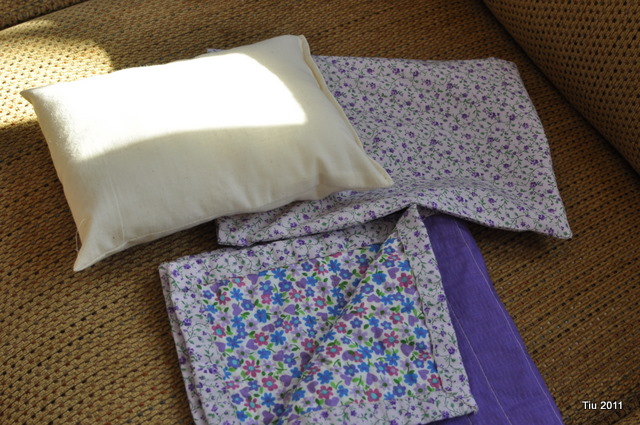
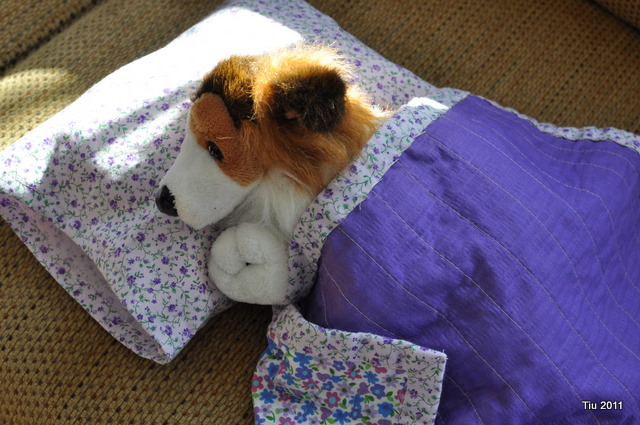
Amazing what can be done in a relatively short amount of time, and if you don’t have many interruptions. (I have lots, so it takes me much longer than I normally estimate.) I thought I might be over my pillowcase craze, but it’s hard to stop. This doll pillow and quilt for my goddaughter was made with just some muslin, scraps, a repurposed baby receiving blanket and essentially 1/2 yard of fabric.

The receiving blanket, the thin kind that comes in three-packs, became the quilt batting. After quilting, I threw the blanket in the washer and dryer, to get that vintage-y feel.

Perfect for that special doll or plushy… this one is Sally, the Webkinz collie.

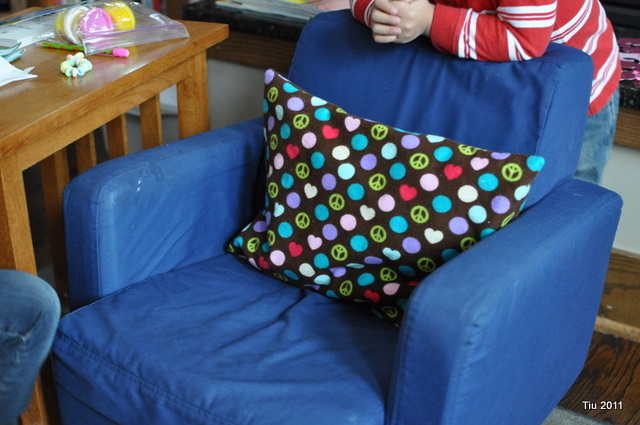
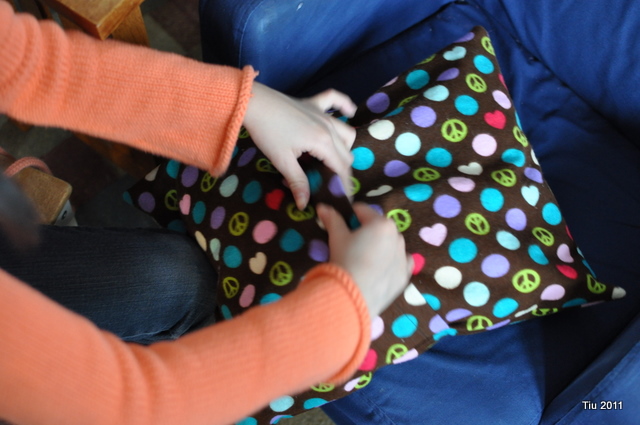
Made this cute Envelope Pillowcase for Valentine’s Day.

Jo-Ann Fabrics has some whimsy graphic prints. My girl is really into the peace sign

I’m considering the pillowcase project again for the local hospital, but this time, enlisting some help early on. Eventually, it might be something that could be a partnership and not just during the holidays. Just food for thought.

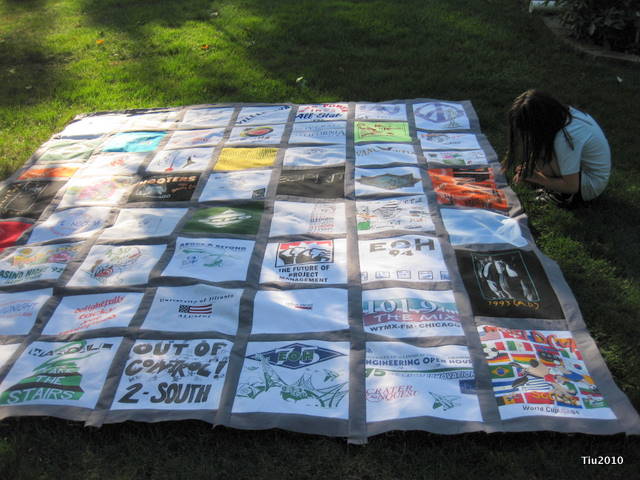
Project Progress: The T-shirt Quilt

tee shirt quilt

Remember this?

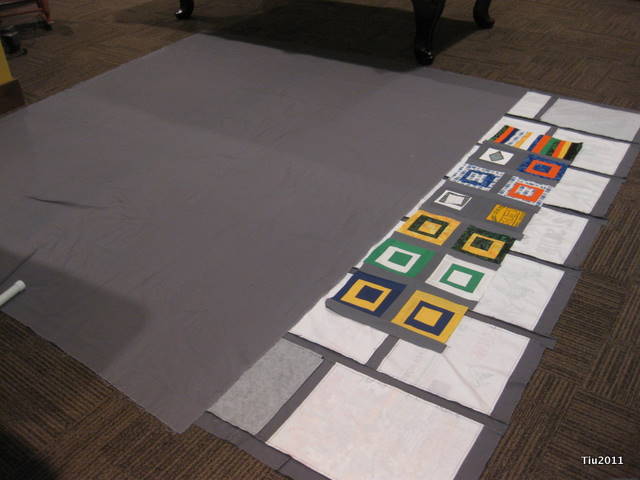
Now it has a backside.

It would’ve been finished a long time ago except for three things.

One – I miscalculated the amount of solid color fabric (Kona Coal) needed and bought too little.

Two – I usually wait until the sales to buy fabric, but Kona Coal is one of the most popular color at our local store which means it’s almost always out. I didn’t attempt to “special order” it, or comb the online stores either. So I waited. And then waited some more. Finally got the end of a bolt last week.

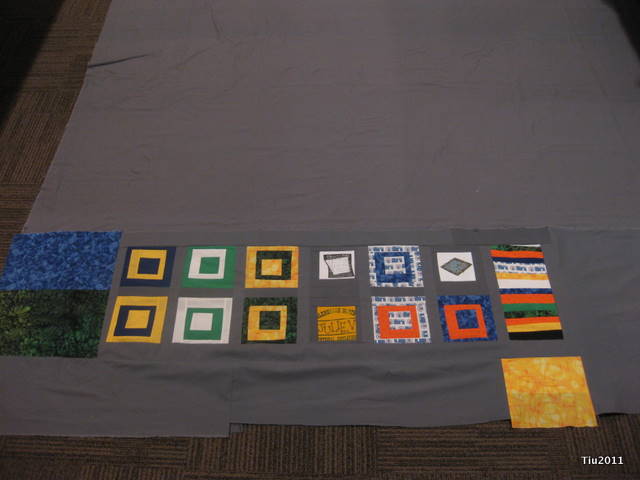
Three – I could’ve just made the quilt back all easy-peasy, but no. I had to get all fancy and try my hand at some wonky squares, and it was difficult just figuring out the final layout. Oh, the amount of sketches I did, and piecing things together on the floor. I told myself, “Sheesh, it’s just a blanket… just finish it already.”

quilt back

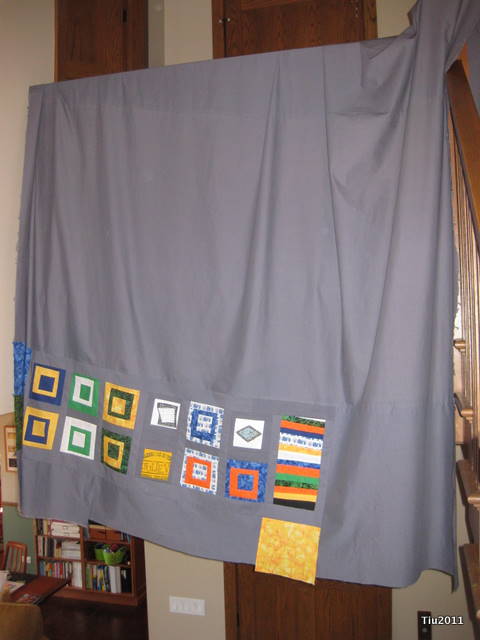
And now, it’s done!

quilt back

Going BIG with my first quilt.

Now it’s time to make the quilt sandwich… I have the batting, and a ton of safety pins to put it all together. As much as machine-quilting looks fun, my machine would probably explode if I even attempted to freestyle quilt. So, I think this one will be hand-tied the good old-fashioned way. My daughter really wanted to help out, and I think it’s something we can do together. Any tips on what sort of thread to use? Next time I go to our fabric store, I’ll be asking the ladies at the counter… they’re just as excited that my project is moving along, too.

Related Posts with Thumbnails