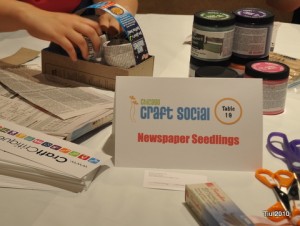
It was another awesome time at the Chicago Craft Social last Friday night! I’m writing about the event on Craft Critique, so here we’ll just focus on this cool, recycle/upcycle project.
(Update: The event review is posted on Craft Critique now.)
Leading this table was a lot of fun, and I promised some new crafty friends that I would have instructions posted on this very simple eco-friendly outdoorsy project. Though it may be a little late in the season, I might start some vegetable seedlings for late summer/early fall planting. What I love about the pots is that there’s no adhesive, and you can plant the whole thing in the ground once your seedlings are established.
The newspaper seedling pots: newspaper and scissors
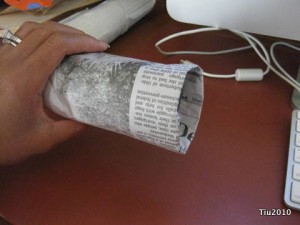
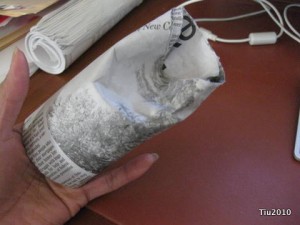
I didn’t use any forms or jars to form my pots, but there are certainly products out there that are sold at your local garden shop for not a lot of money. I took full sheets of newspaper and cut them in half, then half again (quarter-pages). Using two quarter sheets, roll them up like toilet paper roll size.
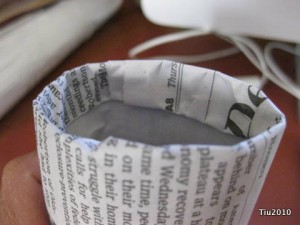
Fold one end of the tub into itself (about 1/4″ to 1/2″) and press. Repeat. Folding over a few times will give the pot some structure, a little collar of sorts.
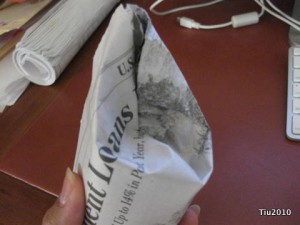
Now the tricky party: the bottom. I place the tube over my fingers like a puppet and just start folding the bottom into itself, as if I’m wrapping a cylindrical gift.
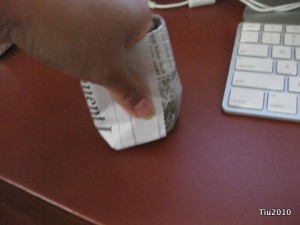
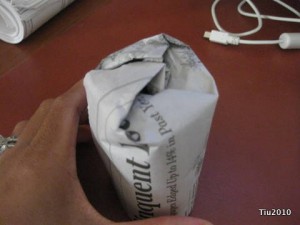
Eventually, you end up with a triangular little piece of paper, and that can get tucked in. Actually, I smash it onto the table to help get the folds to stay. No adhesives.
This isn’t going to look super neat, but I figure, after you’ve filled the pot with soil, and you’ve started watering your seedling, the paper is going to stick to itself after getting wet.
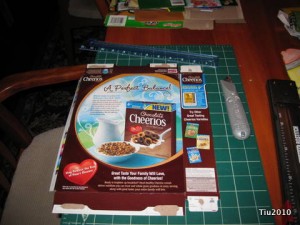
Now the tray: cardboard, cereal boxes, snack boxes, ruler, cutting mat, rotary cutter or utility knife, bone folder (optional)
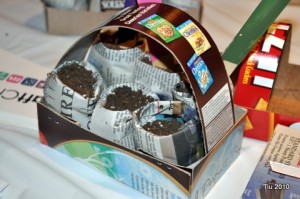
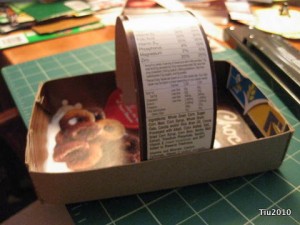
The tray was just something simple for crafters to carry their pots home, but think of the possibilities with kids and a little paint or stickers! You can use any cardboard box, like cereal and snack boxes. One box will make two trays. So, cut apart your box: front, back, two sides.
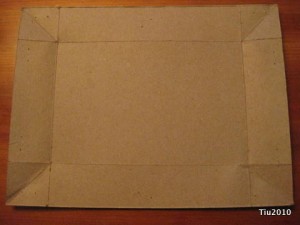
Take your large rectangular piece and measure 1-1/2″ to 2″ from each side – the width is up to you. Then using a straight edge, make a line from outside corner to “inside” corner. Score (not cut) on these lines.
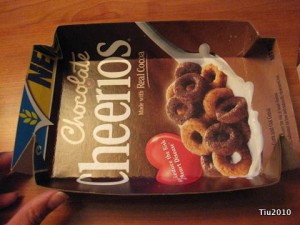
At this point, you should be able to fold the cardboard and start forming the tray. The diagonal lines can be “pushed” into the tray. This then gets stapled to the tray side (doesn’t matter which side).
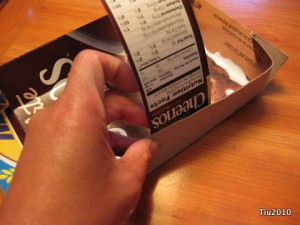
Use a box edge to create the handle… just staple onto the tray.
The tray below has a 1-1/2″ edge. The 2″ tray looks is shown at the beginning of this post and here at my friend’s blog, “Our Tiny Oak Park Bungalow“.
***
Looking for more crafting, my review on Xyron’s Creatopia machine is posted at Craft Critique (disclaimer). This machine is amazing! Check out all six articles, and there’s a great giveaway that ends on Saturday, June 26! Good luck!
Wow! What a great idea. A great way to reuse. My daughter and I love planting together lol she is 6 but it is a great and fun thing to do together. This would be like combining craft projects with gardening.
Thanks! It’s a good family project for sure. My kids, 8 and 3-yrs old, love using the trays for their toys, too, as spaceships and boats!