Mugshot Monday: Distractions

Mugshot Monday: Waiting for the Car

Weekend was good – hope yours was too. Sorry this mugshot comes late today. Definitely no crafting or creating was had. And sometimes you need those days. But…

Brought our car in for service. You hope it’s an easy fix, you think it’s a slam dunk-I’m gonna be out of here in an hour- sort of thing. Nope, nope, nope. *sigh* Money hemorrhage day. Life happens.

I think some therapeutic sewing or drawing is necessary.

Mugshot Monday: Catching My Breath

Mugshot Monday Catching Up

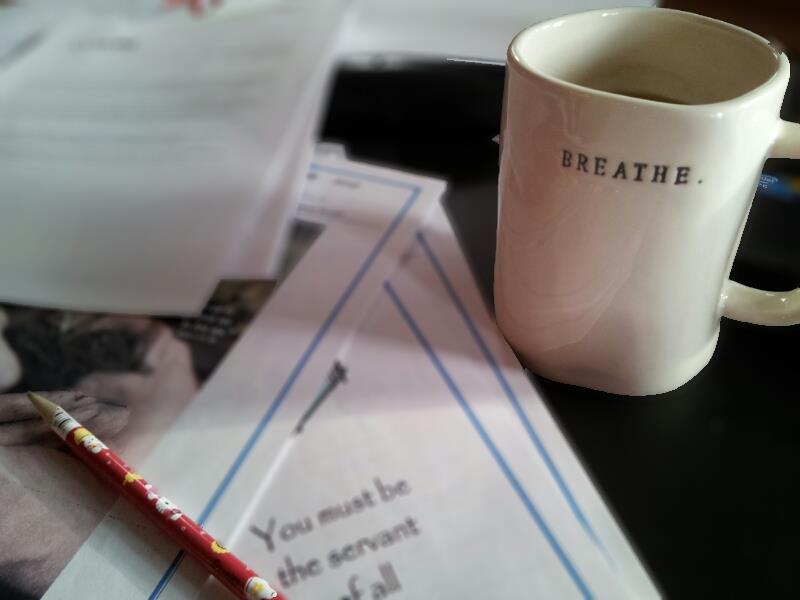
I’m joining this art journal collaboration and the leaders of this journal come up with prompts. You can either share pictures or your art journal book entries. Pictures are easier for me… let’s face it, not enough time to pull out my paint and supplies. So, while I’ve shown this mug before, it was perfect for their prompt today of “ONE WORD”.

I use this mug often. It was a Christmas gift from my brother-in-law (and probably with some help from my sis-in-law, ha.) Love, love the design; there’s a stamped picture of a tandem bicycle on the other side. It’s wonky, it feels like a handformed vessel, it’s imperfect and I dig that. The stamped letters that spell “BREATHE” are indented in and it makes me think of the artist who took the time to push each letter in. There are three other mugs in this set – one says TREK, the other says PEDAL and the last one, CYCLE. But, BREATHE… that’s a good word for me this year. So when you look it up in the dictionary you find:

To inhale and exhale freely.
To pause and rest before continuing.
To feel free of restraint.
(of wine) To develop flavor and bouquet by exposure to air.
To take in.

We should all try to breathe a little more deeply and relax, breathe and stay focused, breathe and enjoy.

Other stuff
At the top of the site, I’ve included a couple new pages for easier navigation. Now there are curated lists of projects, recipes and reviews. No need to be poking around and wandering aimlessly about the website. (Unless you want to. Don’t let me stop you.) I’ll post a list of “on location” entries in the next few weeks. Have a great week everyone!

So This is Julie screenshot

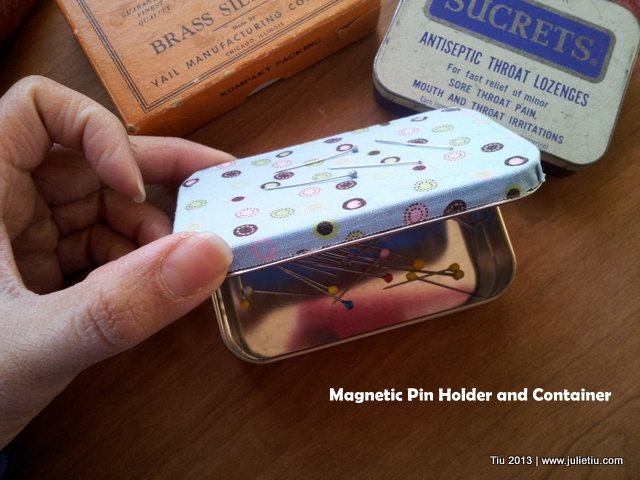
Making a Magnetic Pin Holder

20130116_094954

More decoupaging. This Altoids mint tin was stashed in a box waiting for its next life. Yeah, yeah, on the brink of hoarding here, but I LOVE recycling, or upcycling. Maybe this could hold some paper clips, safety pins, or thumbtacks if you’re not into sewing.

Here’s what I did to make this fun little box. I took an old refrigerator magnet (an out-of-date freebie sheet magnet), cut it to size and stuck it on the tin.
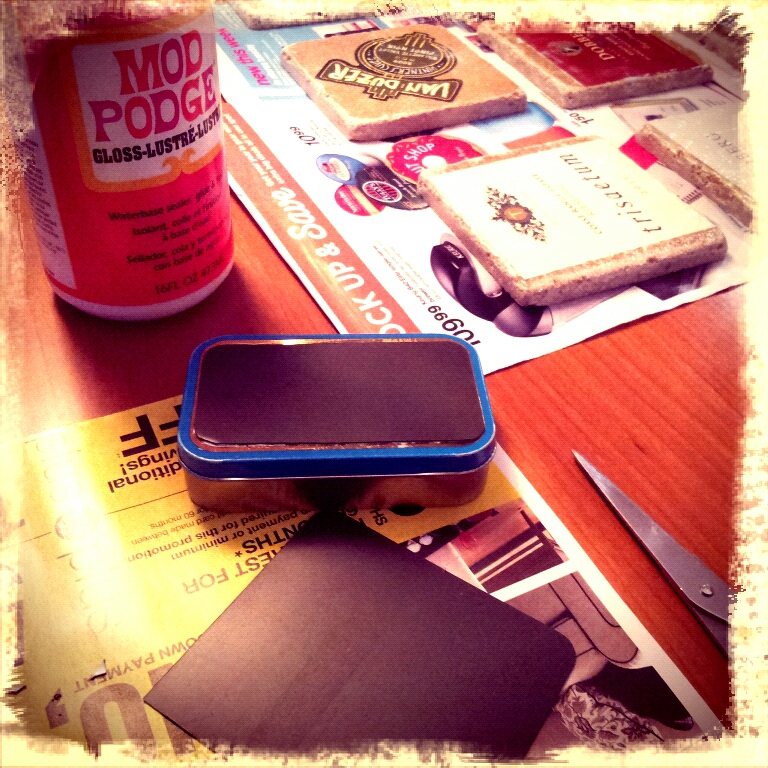
shot_1357944502777

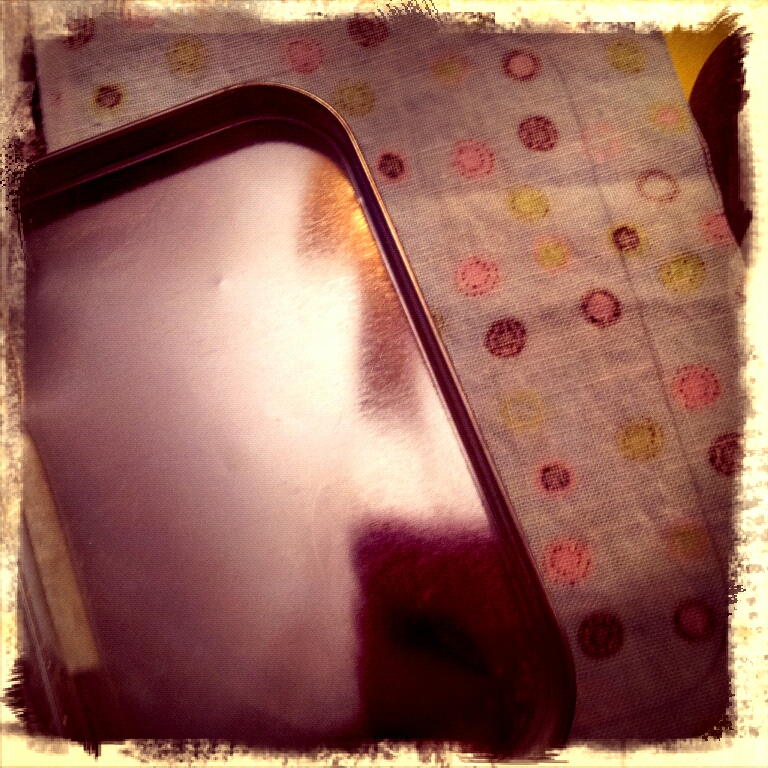
I dug up some scrap fabric and traced around the lid. Then I just cut around my traced line to make sure the fabric would completely cover the lid.
shot_1357945139881

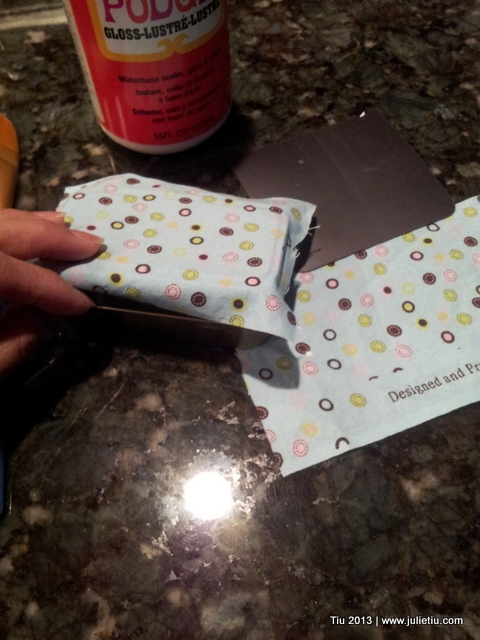
I lightly brushed Mod Podge on the top of the lid and flattened out the fabric. When the lid was dry I decoupaged two opposite sides down to cover the entire lid… like pick the front and back, or the other two sides. It’s the corners that demand your attention. I treated the corners like I would wrapping a gift box lid – nice, neat hospital corners. Then I “Mod Podge-d” the heck out them so they’d stay down.
IMG_20130115_070412

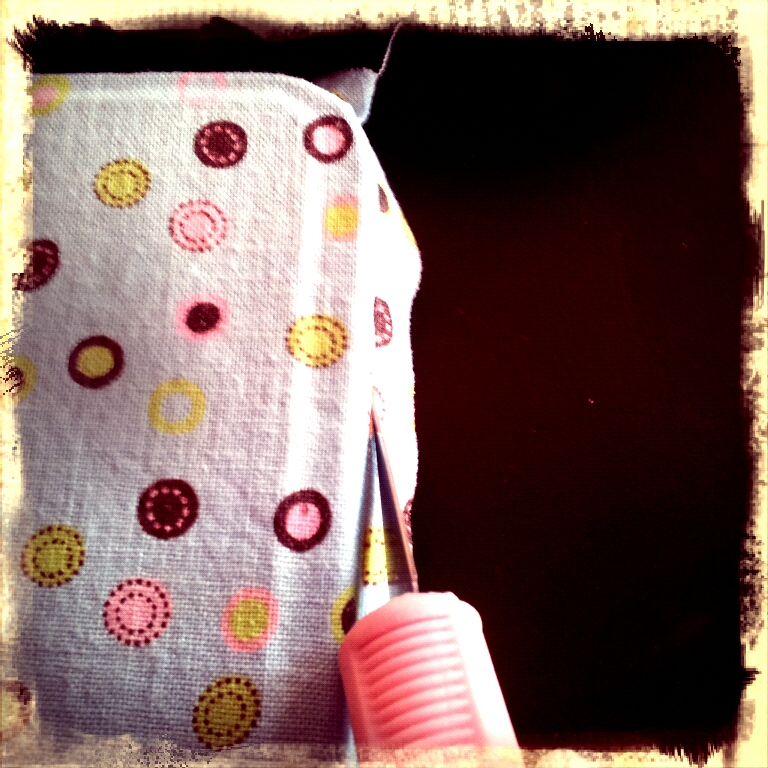
Used my sharpest craft blade (X-Acto knife) and trimmed around the lid when everything was dry. I let it dry for 24 hours (Mod Podge paranoia). Tip: Take your time with the cutting and trimming part. Mod Podge gets all crispy and tough to cut through. PLEASE be careful.
shot_1358348815034

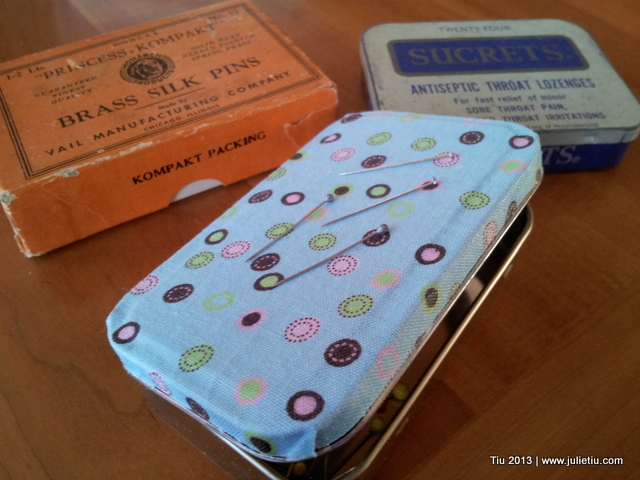
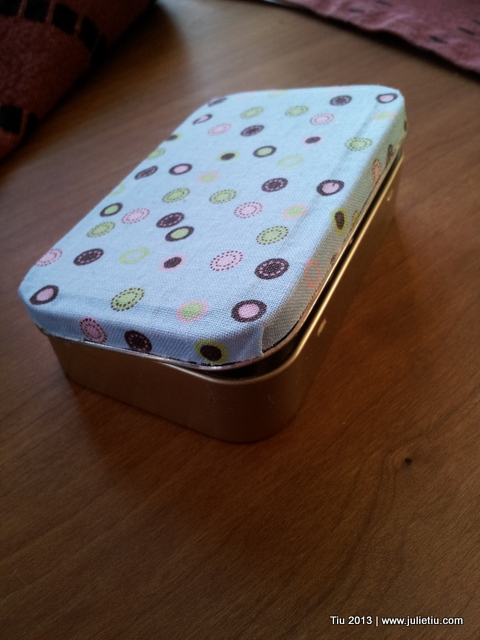
And here it is! My own little magnetic pin holder.
20130116_094255

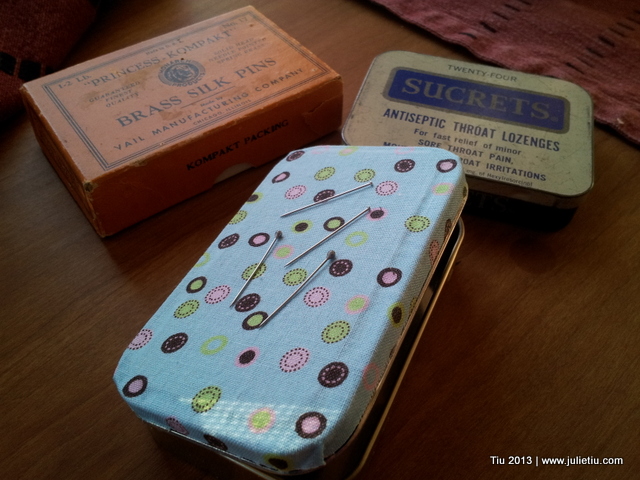
Look! The pins stick to the top!

20130116_094839

20130116_094922

Those are a couple of my other pin holders. Vintage, eh? I’m so looking forward to having the magnetic one next to my sewing machine… pins won’t get away from me so easily now. Maybe this means I have sewing projects coming up?? *grin*

Mugshot Monday: Deep Thoughts Mug

Monday Mugshots

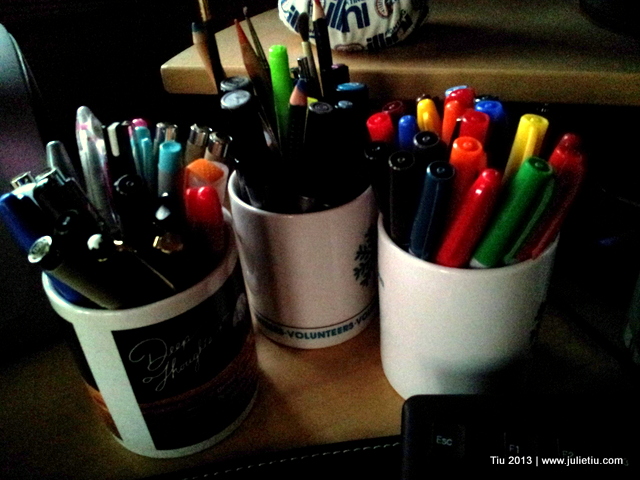
No coffee or tea shot today, but here’s another way I use my mugs. Hope to make some time to draw and color after the kids are at school. Valentine’s Day is just around the corner after all.

(Don’t get me wrong… I gotta start the day with a little kick. I’m drinking some lovely coffee from Intelligentsia today.)

20130114_071447

I’ve had this coffee mug since the 1990s. My best friend from high school (later my college roommate, then matron-of-honor) gave it to me. Who remembers “Deep Thoughts by Jack Handey” on Saturday Night Live? This one reads, “Better not take a dog on the Space Shuttle, because if he sticks his head out when you’re coming home his face might burn up.” Still makes me laugh! Yes, I’m geeky that way.

So perfect because my friend studied Aerospace and Aeronautical Engineering in college.

H, I’m thinking of you today. 🙂

Have a great Monday everyone!

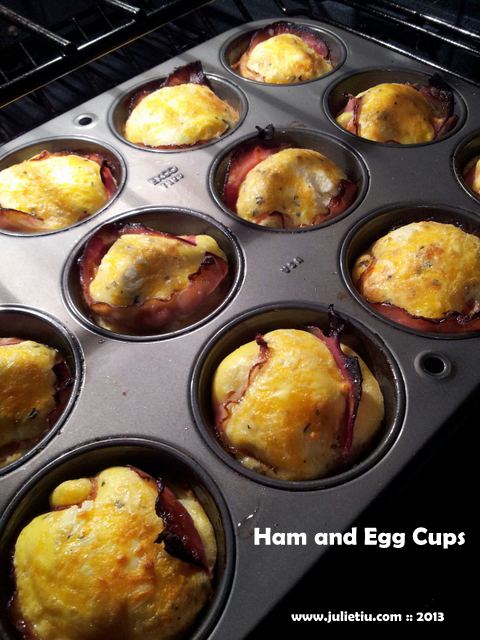
Recipe: Ham and Egg Cups

Ham and Egg Cups

Over the holidays there was a lot, A LOT, of baking and cooking over here – family here from out of town, friends coming over, gifting. Well, breakfast around here can get monotonous so I tried this one morning for my peeps. A recipe from Costco inspired me. Easy prep and yummy! I think it’d be a delicious brunch item… but I’d double the recipe if you have a bunch of adults around the table.

Ham and Egg Cups (serves 6)

Ingredients

12 slices of ham (medium thickness)
1/2 cup softened or whipped cream cheese
4-6 eggs
milk
1/4 tsp. salt
1/2 tbsp. dried basil or parsley
3/4 cup sharp cheddar cheese
1/2 chopped cherry or grape tomatoes (optional, my kids don’t like tomatoes so much)

Preheat oven to 400 deg. Prep 12-cup regular muffin pan with spray/oil/butter. Place each slice of ham in each cup forming to fit. It’s okay if the ham sticks out. Smear some cream cheese in the ham cups, evenly dividing among the cups.

Now prep the eggs… I say 4 to 6 eggs because you might want your cup more egg-y. I cracked 4 eggs in a glass measuring cup, whisked and then added enough milk to make just about 2 cups of liquid. I brought out our immersion blender and whipped it all frothy. Add the salt and herbs. Pour mixture evenly into the ham cups. Top with cheese (and tomato).

Bake for approximately 10-15 minutes. Check center with a toothpick. Should come out clean. Take out of oven and let set for a few minutes. Serve hot, warm.

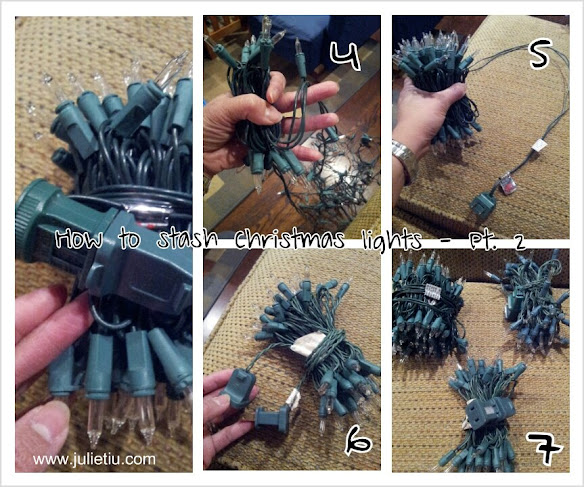
Putting Away Christmas Lights

I usually wait until the feast of the Epiphany to take down Christmas decorations in our house. It all goes smoothly, especially the Christmas lights. I learned this trick from my sister-in-law, who probably learned it from her parents. Guessing my father-in-law.

Stashing the Christmas lights doesn’t take fancy spools or contraptions. All you need to do is a little back-and-forth, alternating sides with the lights. This will create a nice bundle out of a jumbled strand of lights. The plug side of the strand will be long enough to wrap around your bundle… and then hook up with the other side of the strand. Voila!

How to Store Christmas Lights

How to Store Christmas Lights

Related Posts with Thumbnails