How much fun is it to hang out with people who love to wrap gifts as much as you do? Last week I headed up a gift wrapping workshop, craft class… gathering. Lots. Of. Fun! I prepared way more than the two hours would allow, but that’s okay for my first time teaching gift wrapping (HA, a teacher. Me.)! I definitely have learned some lessons now that I have taught two “craft” classes on my own.
So, here we are beyond “Beyond the Bow”. Sort of like Oprah’s “After the Show”. We could call this “Beyond the Bow: After Class”, and I am going to share what we talked about in class, and more.
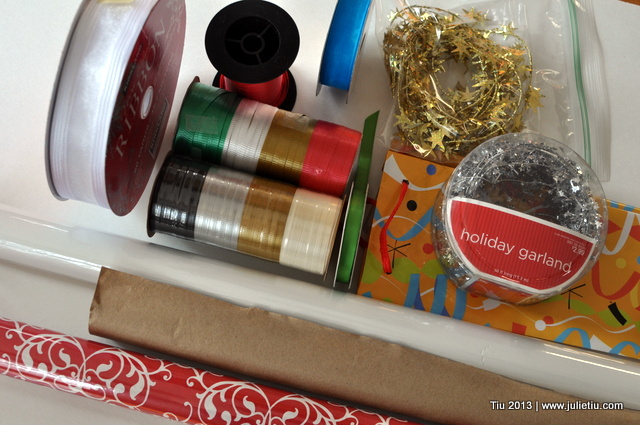
Let’s start with the basic supplies and tools of the trade. Gather your paper, ribbons and trim. (I’ll share some gift tag ideas around Day 11 or 12.) Maybe sooner.
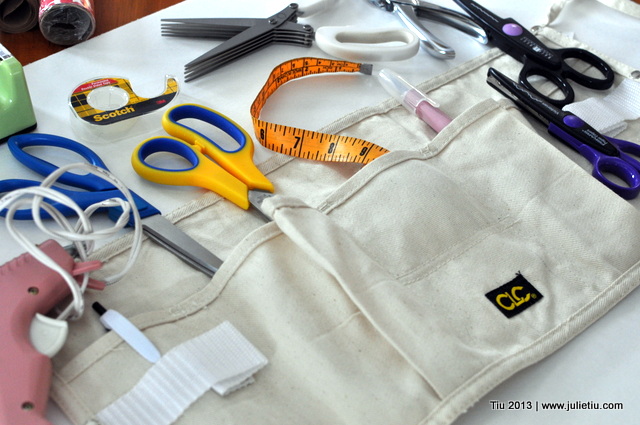
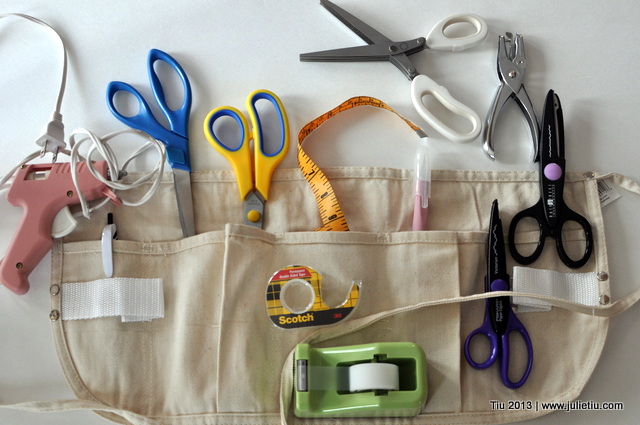
I wore a craft apron during the workshop – SO handy. And, no I did not sew it myself (just because you can, doesn’t mean you have to) but I’ll probably put that on the projects-to-do list.
Think of all the things you might use when you’re wrapping gifts: Sharp scissor for paper only, scissors for fabric only, tape measure, fancy-edge scissors, craft blade, hole punch.
Other things you should have on hand: tape (Scotch brand, double-sided and regular), glue gun (for embellishments, later in the week). Note: Do not put the glue gun in your apron.
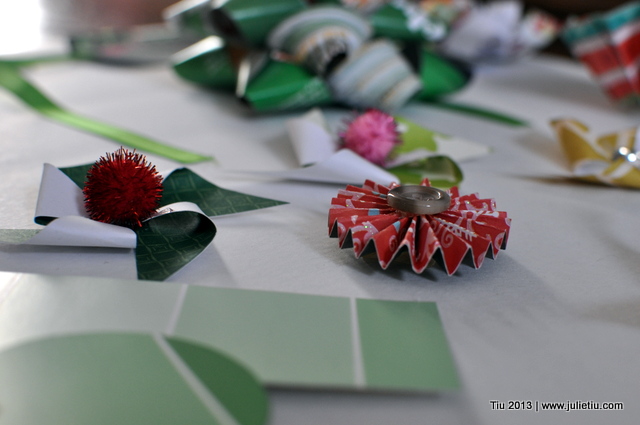
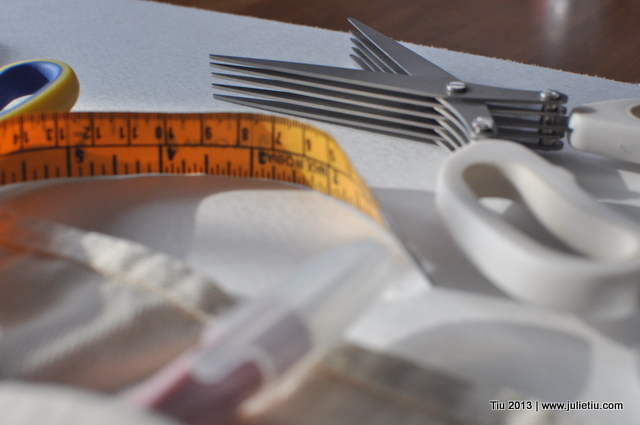
And here is my pair of multi-blade scissors (I made these crepe paper flowers with them last year.).
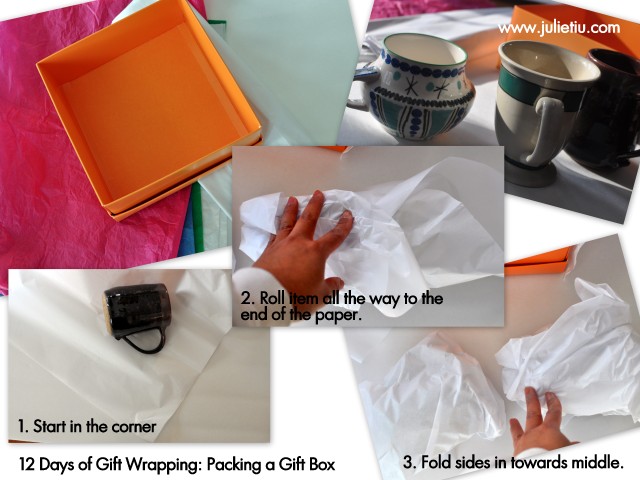
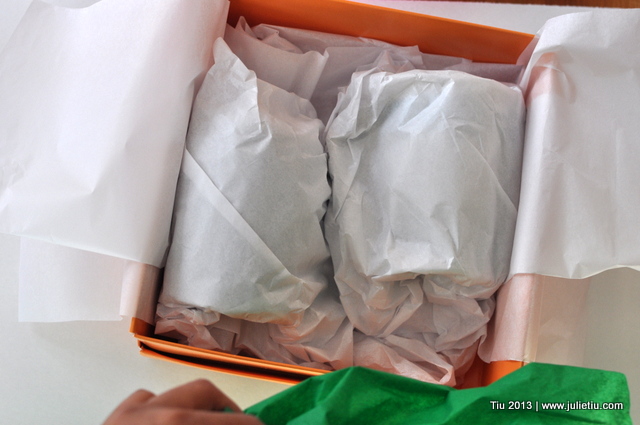
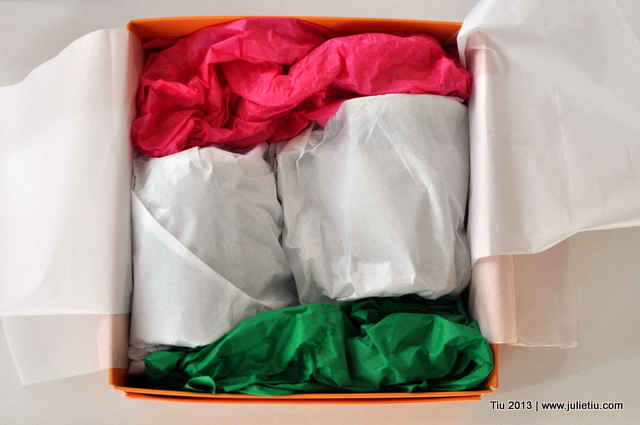
One of the things that I didn’t think of for the class is – how do you pack a gift box with fragile items? Here’s how I do it. Prepare your gifts and your gift box with plenty of tissue paper (see the following pictures).
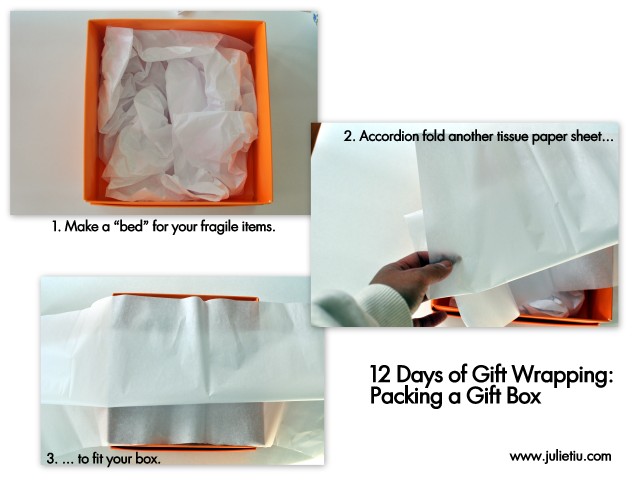
The bedding part of the box is great use of used tissue paper, and yes, I do save tissue paper whether it’s for gifts or crafting. If I was wrapping clothing or something non-breakable, I would leave out the bed of tissue paper.
Nestle your gifts in the box.
Fill empty spaces with more crumpled up tissue so that your gift is nice and snug.
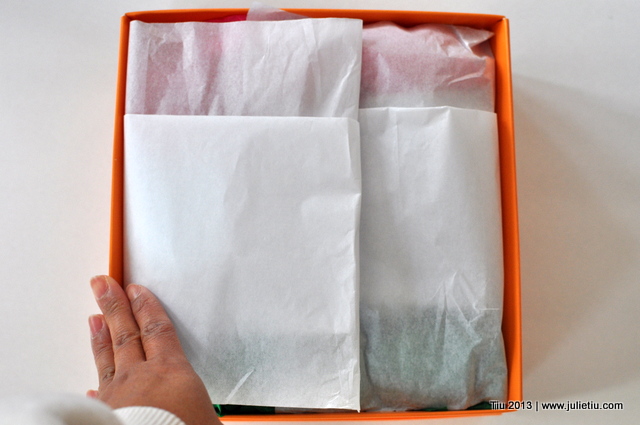
Fold over the outside tissue paper wrap, and I like to crease the outside flap for a finished edge. You can add a sticker to close everything up (remember Marshall Field’s?).
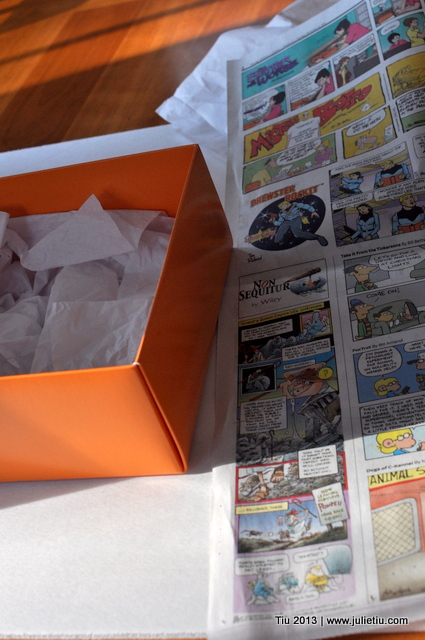
And what do you do if you don’t have tissue paper? Use newspaper!
Wad up small scraps of newspaper pages for your “bed”, or you can also grab shredded paper out of the shredder.
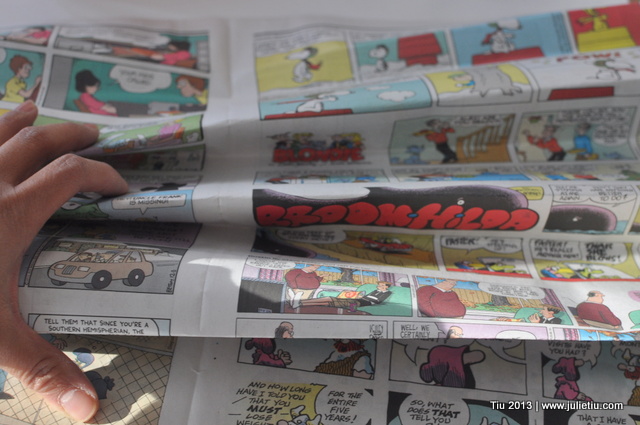
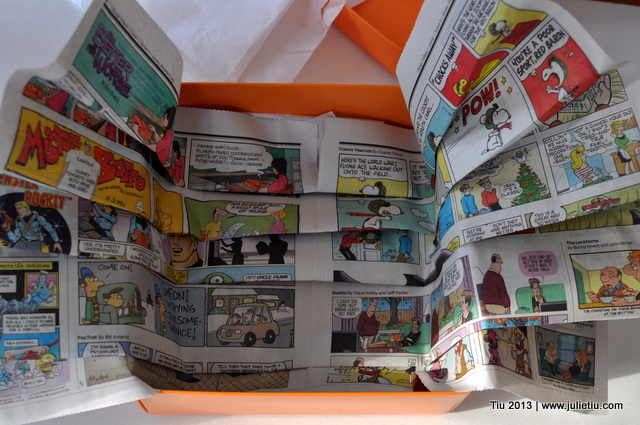
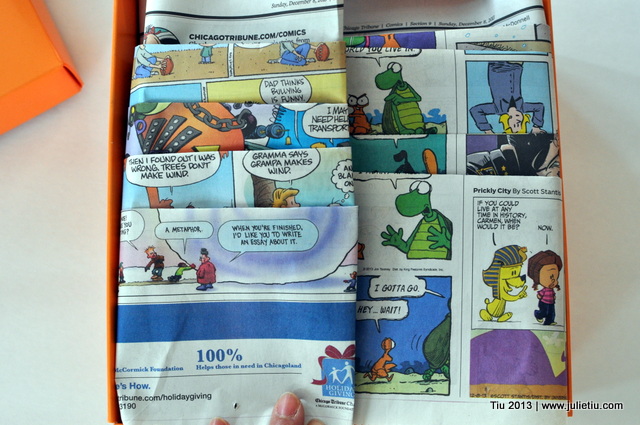
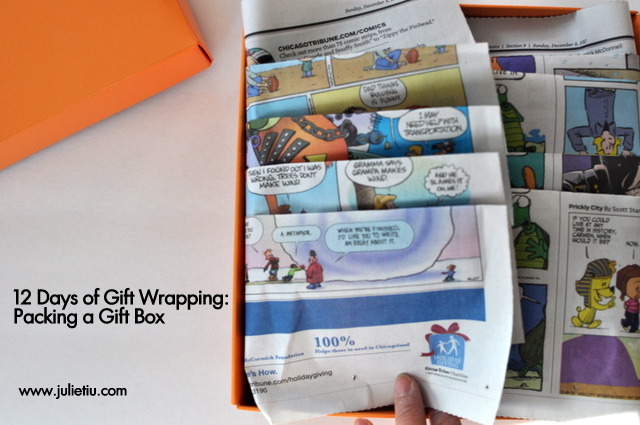
And for the cover wrap, take a page you like (I chose comics), and fold the paper like a Roman shade… Not like a paper doll fold where the edges match, see the picture?
The folds are not quite on top of each other. And you fold until you get the size you need. Place it in the box like before, and make a little crease on the edge, and you’re done.
Thanks for checking this out, and come back soon for more gift wrapping tips! In the meantime, check out my other gift ideas from previous gifting posts.
Pingback: So This is Julie » Blog Archive » Mugshot Monday: New Year 2014