One Way to Recycle Glass Jars into a Fun Party Favor

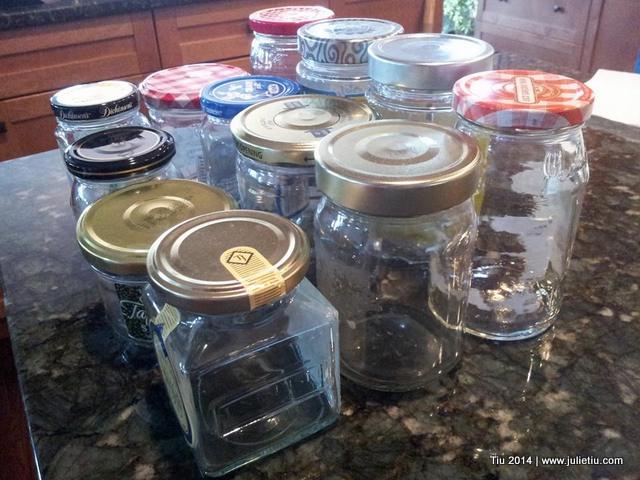
So I’ve established that I’m sort of a hoarder, and my poor husband was so nice turning the other cheek when he saw I had a crazy amount of glass jars stashed away… in the basement, under the stairs. I explained to him that I had every intention to use up the glass jars – well, I thought I had a craft for them. I just hadn’t gotten around to it. I’ve seen a lot of recycled glass jar projects around Pinterest, some of them leading to non-English tutorials, but pretty easy to figure out.

Recycle Glass Jars Fun Party Favor

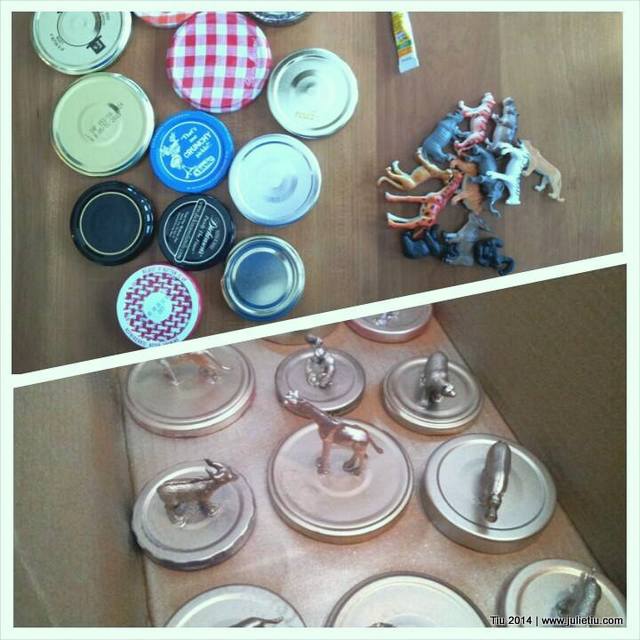
Friends, grab your glue gun (Note: Super Glue did not work well), miscellaneous plastic animals from the party store (or your kid’s collection from the dentist’s treasure box), and clean, empty glass jars. Get a can of spray paint. I have metallic silver, so that’s what I used.

Wash the lids well. After your lids are clean, you can swipe them with some rubbing alcohol on a cotton ball to make sure they’re really clean. Using your glue gun, adhere your little critters of choice to the lids. They should all be secure after a minute. If you’re a good crafter, you’ll wipe away the hot glue “strings” before painting, I didn’t bother since it didn’t look too bad.

Recycle Glass Jars Fun Party Favor Spray Paint

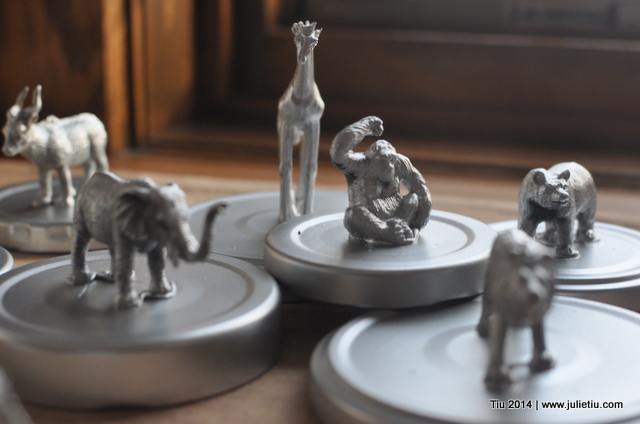
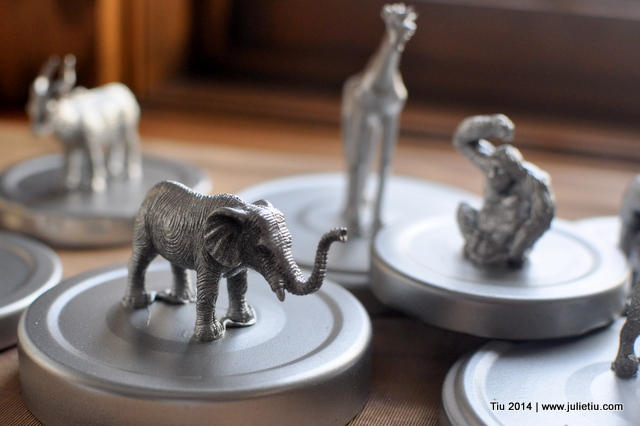
Now for spray paint… Make sure you have good ventilation and a spray box (optional). If you can head outside and spray them, kudos to you. It’s freezing here, so I ended up spraying them in my (heated) garage. I gave the lids and animals three coats, 15-20 minutes in between. And, I still have a little touch-up to do.

You could wash all the glass jars while you’re waiting for the lids to dry. I took the labels off the same way I take off wine bottle or beer labels. And if the label adhesive doesn’t come off easily, grab some Goo Gone (Just follow manufacturer’s directions on the bottle.).

Recycle Glass Jars Fun Party Favor Plastic Animals Recycle Glass Jars Fun Party Favor

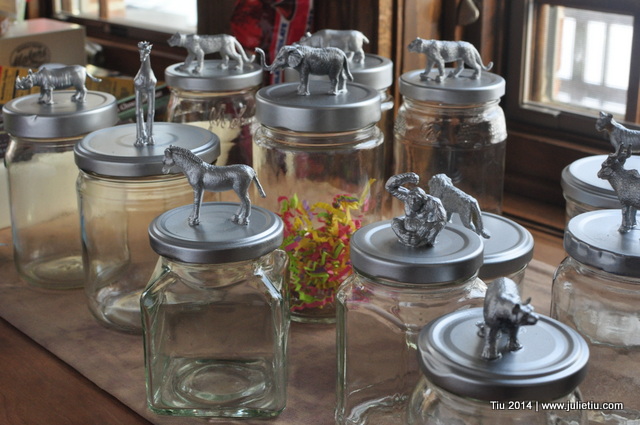
I let them dry overnight, and now my daughter will fill them up candy for her buddies.

Recycle Glass Jars Fun Party Favor Plastic Animals

I’d love to know if you end up making this project!

Click for more party ideas!
Birthday Part 2: Painting Pottery

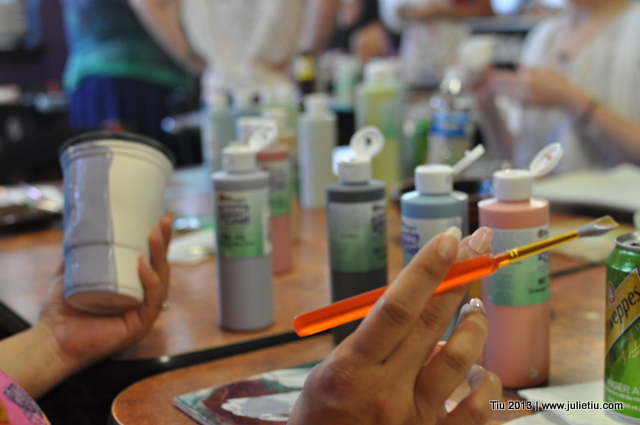
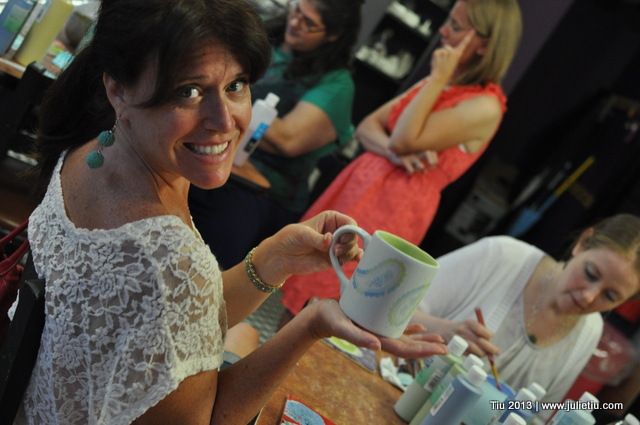
Really, this was “part one”. I kicked off my fabulous 40th birthday weekend with a ladies night out at our local pottery studio, If an Elephant Can Paint. What a treat to be able to sit and paint our own projects (not our kids’), and talk (uninterrupted).

I looked around the table at friends who span my childhood, grade school, high school, post-college and now, from my kids’ school. I am crazy blessed to have these people in my life.

If an Elephant Can Paint

If an Elephant Can Paint silkscreen

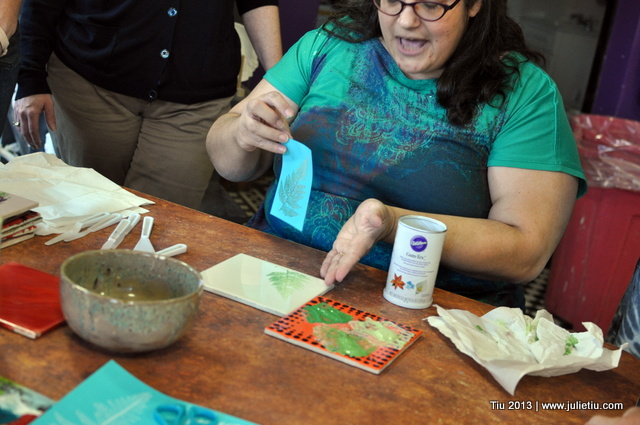
We even learned a silkscreening technique.

If an Elephant Can Paint

If an Elephant Can Paint

If an Elephant Can Paint

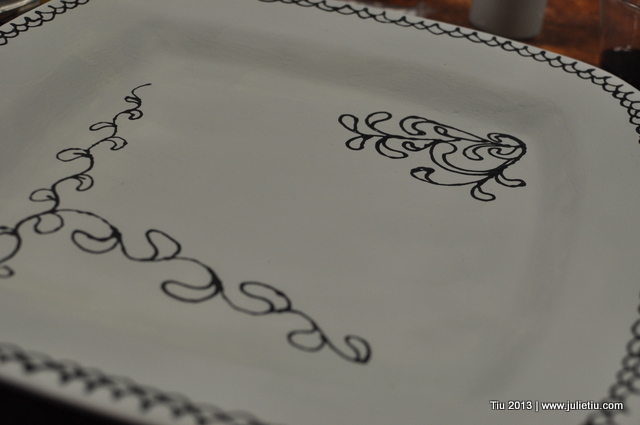
My painted platter in progress

If an Elephant Can Paint

Salt shaker in progress

Special thanks to Vicky and her crew at the studio!! You can check out our finished projects album, too. It’s at my personal Facebook page… until I transfer some pics here. Enjoy!

Mugshot Monday: My birthday

Our Monday Mugshots prompt on July 15 was “Freedom”.

Monday Mugshot: Birthday Bike Ride

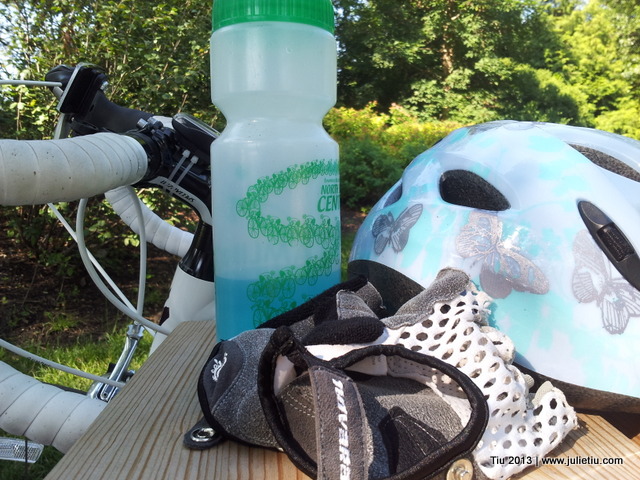
I celebrated my 40th birthday on Monday with a bike ride to the botanic gardens from my home and back (36.5 miles total). Now that’s freedom – to ride with the wind in my face on a bike path with woodland forests and prairies. (Nevermind that it was crazy humid and hot by noon.) Had pastry and fresh fruit for breakfast – hubby and the kids met me at the garden for a picnic.

Forest Preserve Bike Path | North Branch Chicago

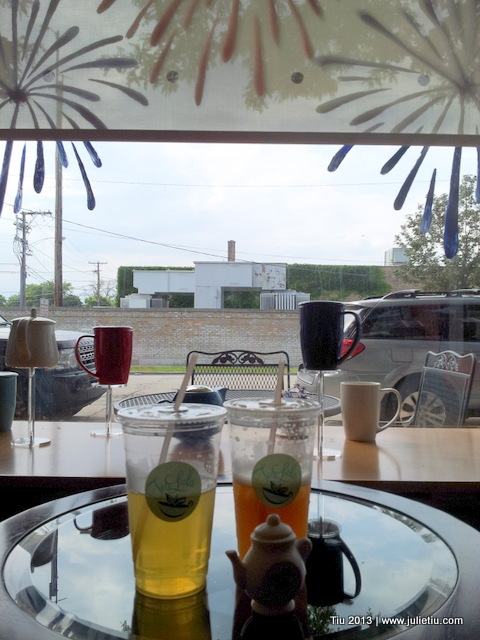
Later, we visited our favorite tea spot – way too hot outside for hot tea. We opted for some iced Samba de Rio (blended green tea with mango, pineapple and yellow rose buds) and an Arnold Palmer. The window decor from July 4th was still up with the red, white, and blue mugs in the background.

Monday Mugshot: Freedom

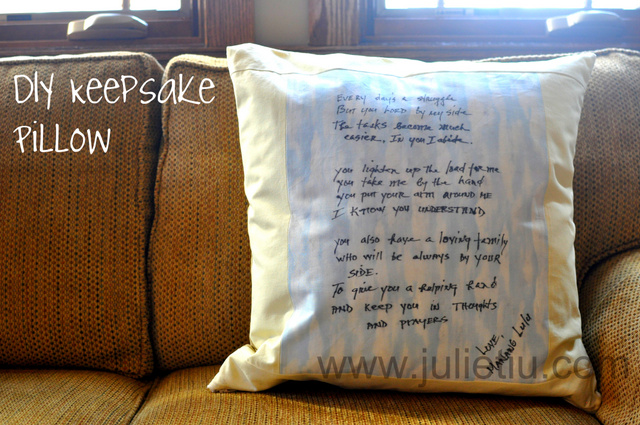
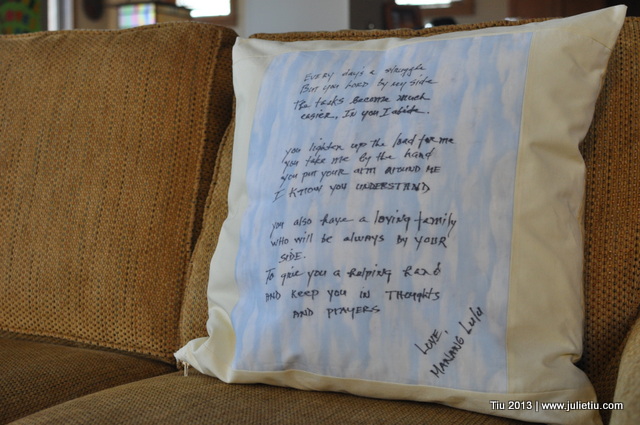
Making A Memory Pillow

… or you could call it a Keepsake Pillow.

Handcrafted Keepsake Pillow

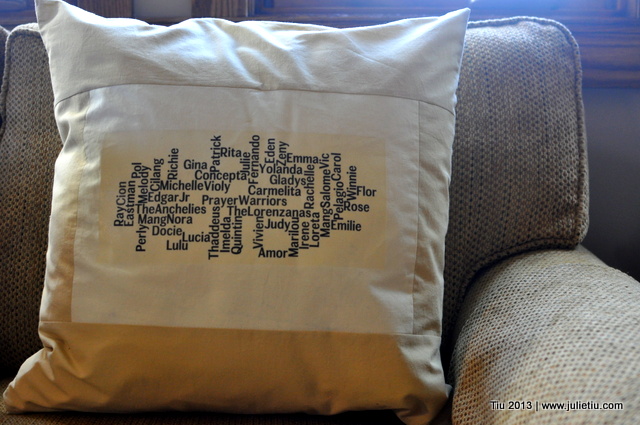
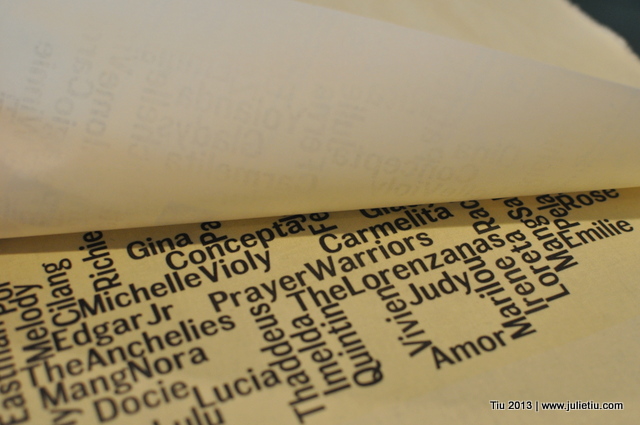
Word Cloud text on a pillow via Iron-On Transfer

Years ago, I wanted to make a memory quilt with prayers and well-wishes for my aunt and uncle. At the time, my uncle was battling an illness. Thankfully, he recovered – and then the project lay in my “to-do” pile. Fast forward to this year. We celebrated his 60th birthday. (Time has been very good to him. He stays active, keeps good company, and stays youthful with his 20-something-year-old kids.)

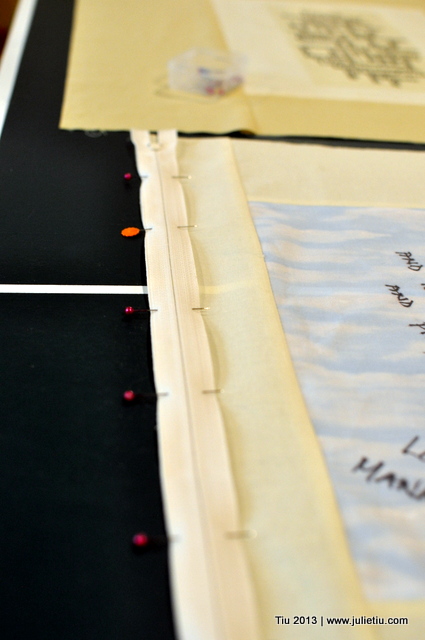
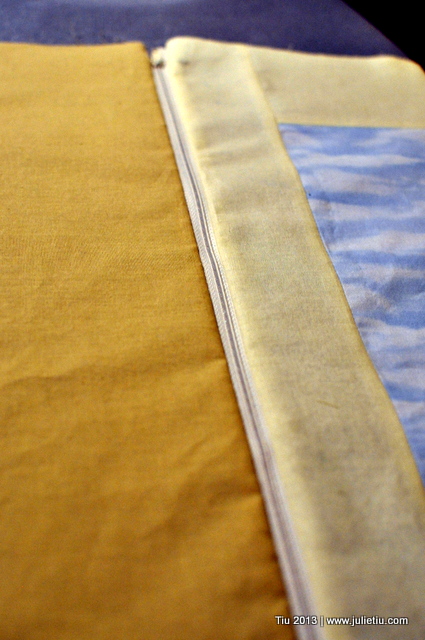
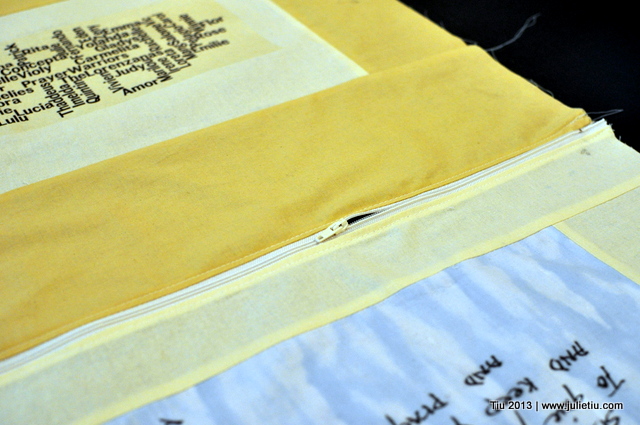
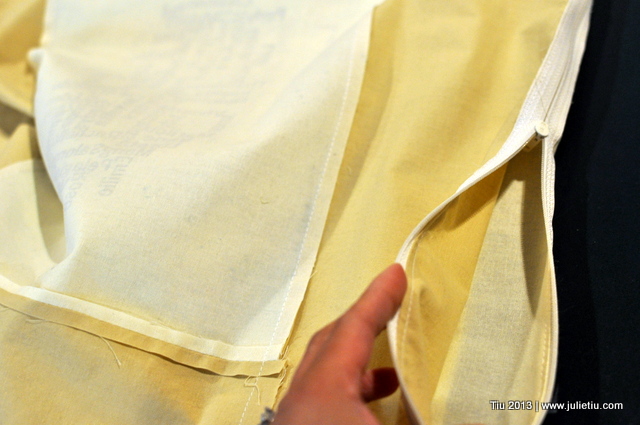
I resurrected the gift idea. You know, something thoughtful… but I downsized it to something manageable, like a pillow. A pillow cover, I could do; this time I added a zipper instead of doing an envelope enclosure.

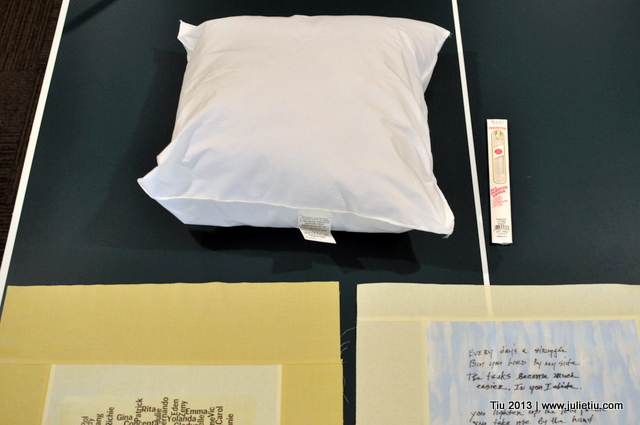
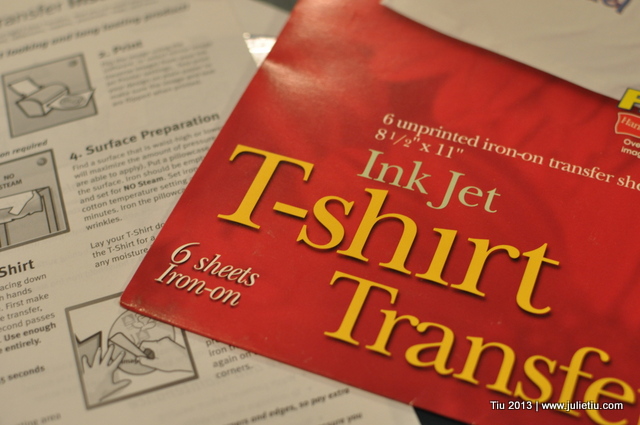
Materials used: 20 in. square pillow form, fabric, iron-on sheets for an ink-jet printer, 22 in. all-purpose zipper

Materials used in the memory pillow project

Handcrafted Keepsake Pillow

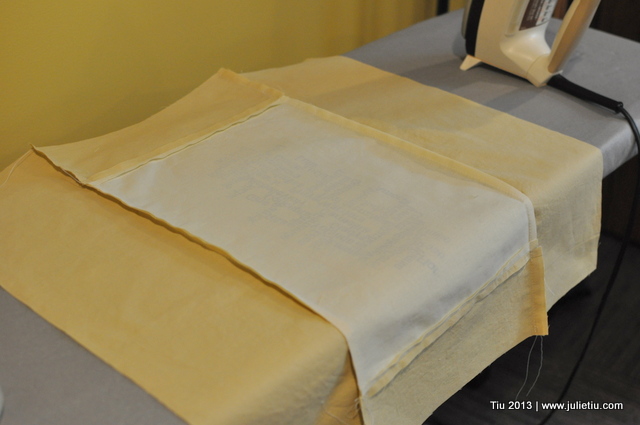
Wish I could say I documented all the steps, but this was really a free-flow, stream of consciousness project. No definite measurements, but I could probably go back and figure it out. Should I?

Handcrafted Keepsake Pillow

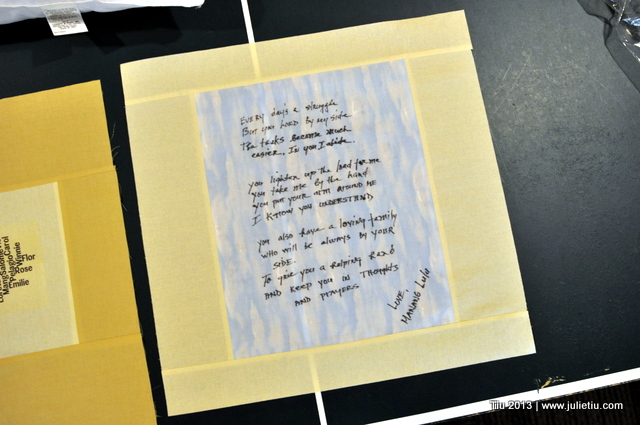
The front and back of the pillow cover are giant quilt squares. 20-1/2” square, to be exact. Something so heartfelt about handwriting on fabric. And, then to pair it with printed text… Kinda wonky, kinda cool. I worked out our family and friends’ names on wordle.net, and while I love color, I just ran out of colored ink for our printer. So black and white, it was.

Handcrafted Keepsake Pillow

Handcrafted Keepsake Pillow

(This zipper tutorial was really helpful.)

Handcrafted Keepsake Pillow

Hooray, it worked!

Handcrafted Keepsake Pillow

Handcrafted Keepsake Pillow

Handcrafted Keepsake Pillow

This is why you unzip before sewing

Keepsake Pillow makes a thoughtful gift

Another thoughtful project completed. On to the next one…

Birthday Party Ideas: Book Exchange Party and Printables

My daughter turned 11. Diapers one day… eye-rolling tween, the next. I joke. She’s a great kid, growing into her own person. How do they grow so fast? To celebrate her birthday, we hosted a simple evening with a few of her close friends and a book exchange. (I give her all the credit for choosing that.) Sharing books, swapping with everyone, tearing open the wrapped books… it was like Christmas all over again! The nice part: all gently used books. Bring one, leave with one; bring two, leave with two.

Keep going for the free printables!
Birthday Party Ideas: Game Night

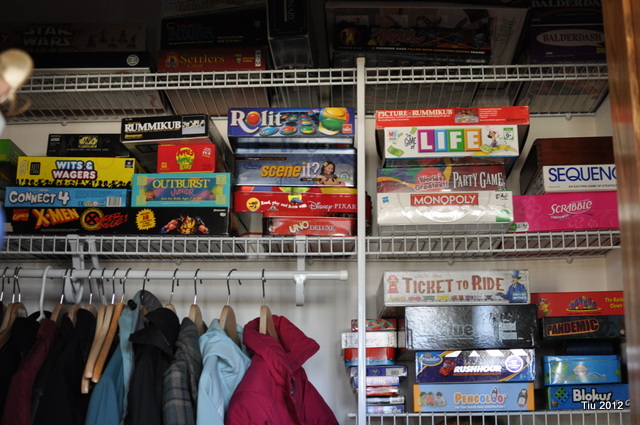
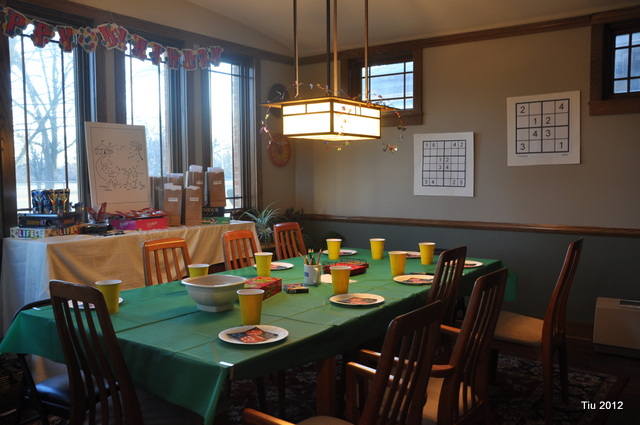
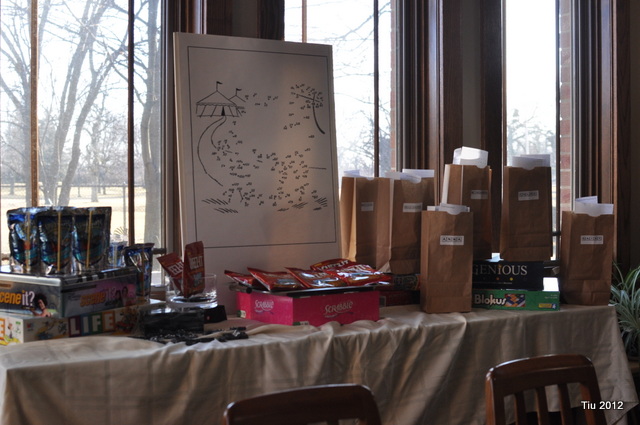
When my daughter turned ten (yeah – when did THAT happen?), we threw her a “Game Night Slumber Party” at home. She thought about having an art party at a local shop, maybe a dinner out, but the thought of a sleepover and plenty of games seemed to excite her. And for those of you who know her, she’s not that easily excited.

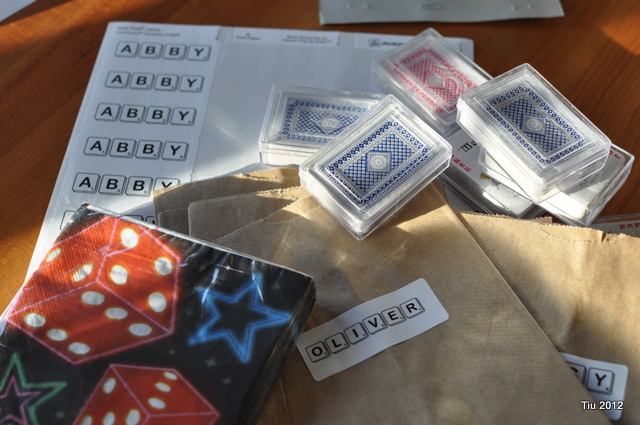
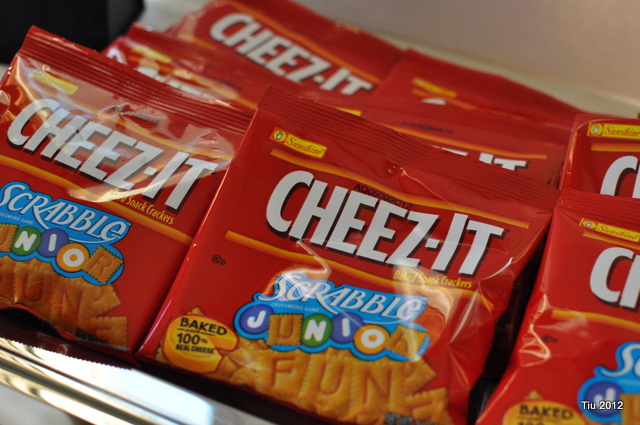
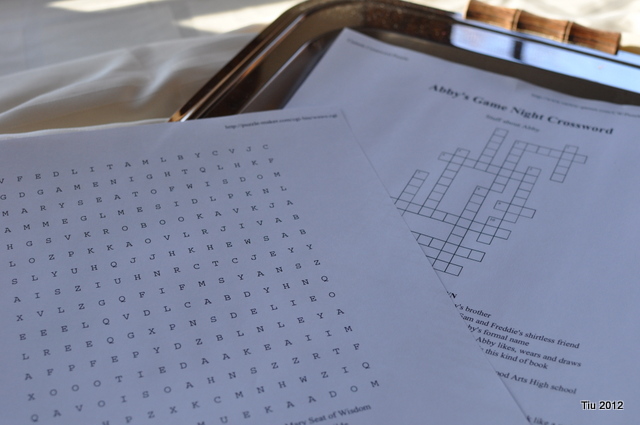
Favors and supplies for Game Night Birthday Party

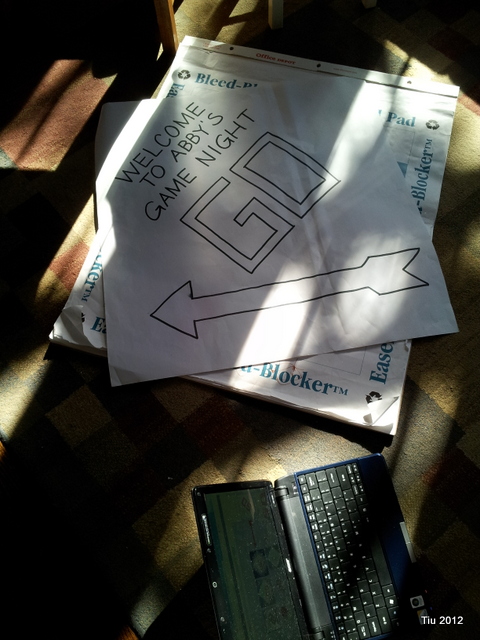
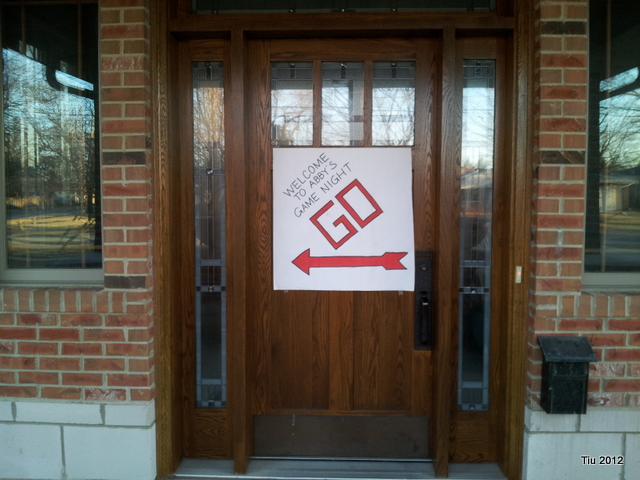
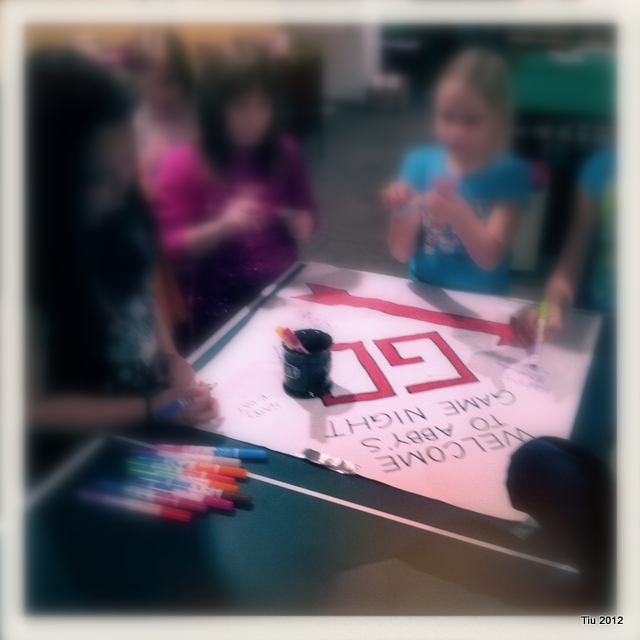
While I normally make cards, I opted to go easy on the invitations this time and went with evite There are plenty of game night themed invitations there. That left a bit more time to work on a welcome sign – inspired by Monopoly. If you’re good with freehand, it’s not too hard to do. But, careful… those fumes from the Sharpies can get you good.

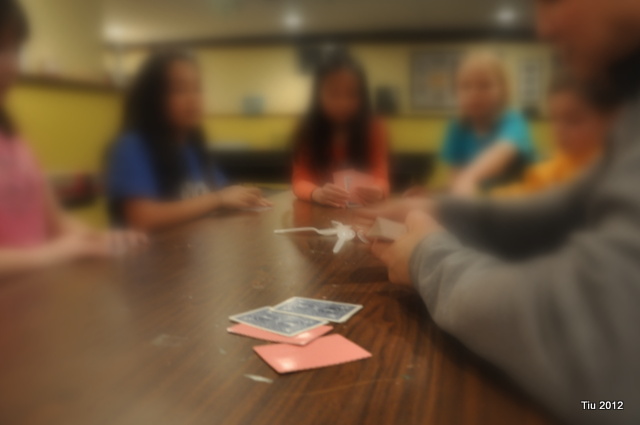
We broke out the plastic spoons and taught the girls how to play spoons the card game. Lucky us, we’re still “cool” enough to play games with our kids. 🙂

Yeah, remember that door sign? It can serve as a poster that friends can sign. Hang it up in your kid’s room after the party… fun memento.

Would you let me know if you’ve hosted a game night party or are thinking of having one? What games did you play?

Enjoy the weekend!
Related Posts with Thumbnails