Valentine’s Day: Cards and Projects

With only four (or five) more days to Valentine’s Day, there’s still a little time to craft a personal card or gift. Sadly, my children picked some cards from the store and while cute, just isn’t the same as making your own like my daughter did a few years ago.

If you have a few minutes to spare, check out all these wonderful projects! So many to choose from!

Picture courtesy of Craft Critique

An entire list of Valentine crafting is at Craft Critique in the 2010 and 2011 Carnival

Easy-to-Make Valentine’s Day cards at Better Homes & Gardens

A Vintage Typewriter Tin Valentine on Design*Sponge

At The Purl Bee, try your hand at these Valentine Heart Barrettes

Peace Day Tote Tutorial

My daughter loves the peace sign, ☮. So when I found this fabric at the local JoAnn Fabric store, I knew she’d like it. She asked if I could make it into a tote bag…uh, earlier this winter. *sigh* Fortunately, I made some time over the New Year weekend and was able to finish it.

What you need

1/2 yd cotton or canvas fabric – print
1/2 yd cotton fabric for lining
1/3 yd cotton fabric for handles
Tools: iron, ironing board, sewing machine (unless you’d like to sew by hand *grin*), large safety pin

What to cut

  1. Cut two rectangles, 12″ x 15″, out of the printed fabric
  2. Cut two rectangles, 12″ x 15″, out of the fabric for the lining.
  3. You’ll need (4) straps cut out of the handle fabric, cut 3″ x 34″.

Sew it up

  1. Put your printed fabric right sides together, pin, and sew up the sides at 1/2″ seam allowance. Press.
  2. Pin the bottom edge (12″ side), and sew 1/2″ seam along the pinned edge. Trim your corners at 45 degrees.
  3. Your tote should be looking tote-ish now, except inside out and the top edge is raw. At your ironing board, fold/flip back the top edge by one inch or so, so that the printed side is showing, press. Then tuck the raw edge in toward the fold. Press. You don’t have to edgestitch now.
  4. Repeat steps 1-3 with the fabric for the lining.
  5. For the straps: Pin two handle pieces, right sides together, and sew 1/2″ seam along the long sides. Press seams open and flat on both sides. Turn the straps right side out with the help of a large safety pin, or if you have a loop turner, that works well, too. Finish the other strap the same way. Press both pieces.

Put it together

  1. I attached the handles inside the bag. Take your printed bag, and turn it right side out. Press. Play around with the straps… Once you figure out where you want the handles, pin the bottom raw edge of your handle about 1-1/2″ below the top edge of the printed bag. Stitch in two locations to make sure the straps stay in place (see pictures?). Do this at each of the four ends.
  2. Now take your lining, turned inside out, and drop into the printed bag, so that the wrong sides of each bag are together. Your tote should look just about finished.
  3. Pin the bags together, lined up at the side seams. Be careful with the straps. If you have a free arm on your machine, this would be a good time to use it. Topstitch the bag 1/4″ from the top edge. This will attach the lining, secure the straps and finish the tote. Don’t forget to press to finish.

Winter Pillowcases

Ever take on a project that you think will be a piece of cake, but then it takes longer than you initially estimated? Happens to almost everyone I know. Happens to me all the time, but it’s always worth it. I’ve been busy crafting for a cause…

I delivered sixteen pillowcases tonight to children at a hospital in Chicago. I met all but three of the patients… a few were very young, others very much teenagers, some needed more help than others. In every patient, I saw a child who didn’t or would not be going home for the holidays. I met parents who spend countless hours by their child’s side.

Not knowing what to expect from my visit, I was overwhelmed exiting the building and a little teary-eyed.  I was happy to have been able to spread a little Christmas cheer, but it was just so humbling.

What’s your small gesture this season, your little random act of kindness?

Crafting or Cooking for a Cause

I read this article in the paper the other day about volunteer opportunities. This immediately caught my eye:

The Northern Illinois Food Bank needs 260 handmade holiday cards to include in boxes of food sent to senior citizens in December. Contact Tia Milne at 630-443-6910, ext. 130.

And, because my cookie exchange party is just around the corner, I thought this was timely, too. Eight dozen cookies in the house… it’s easy to share.

Advocate Hospice needs holiday decorations for its centers and homemade cookies to give patients and their families.

How many of you sew? There’s a need for you, and not just around the holidays!

Assist in making bed jackets, lap blankets and other items for patients – be a L.O.V.E. volunteer.

I’d love to hear about your favorite organizations or maybe you craft or cook for a cause… more to come.

Food and Gift Packaging

I was super excited to get these goodies from the offices of Martha Stewart Living via Craft Critique. If you’re getting ready for the holidays and looking for ways to wrap or package your baked goods, please take a look at my review on Craft Critique! Leave a comment at their site and you just might win your own set of treat bags and boxes!

Giveaway Monday: Craft Critique and Story Time for Me

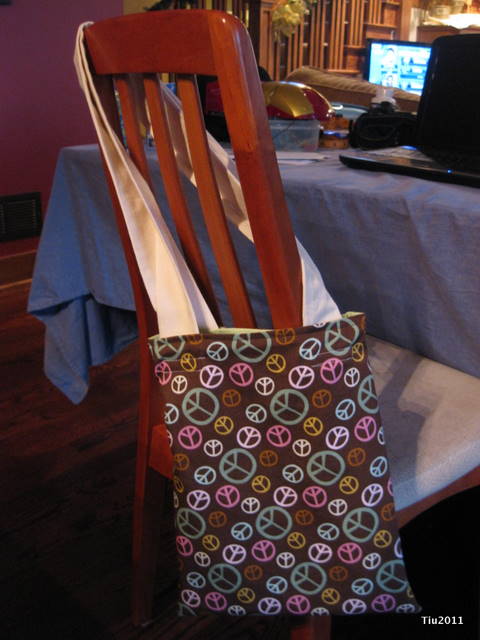
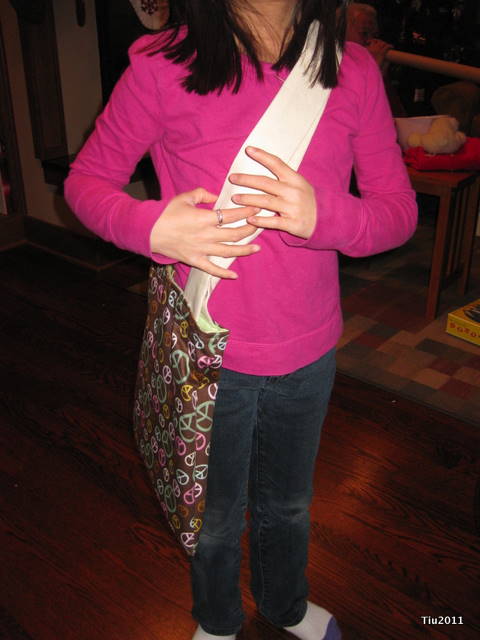
Ten days until Thanksgiving, and amazingly, my family will be eating our traditional Turkey dinner at my brother’s new home. In the meantime, I’ve been working on some gifts inspired by these selvage edge pincushions. We’re also preparing for our annual cookie exchange which is happening in less than a month!

On more exciting levels, I have two links to share. The first is Craft Critique… it’s Martha Stewart Week. Find out about the new products and follow the executive staff this week during their crafting adventure in the Carribean with the Martha Stewart Craft Department! Win your own Martha Stewart Scoring Board by checking it out today…

Picture courtesy of craftcritique.com

My second link  I’d like to share is Story Time for Me, a very unique  literary website with interactive picture books for toddlers and elementary school-age children. We’re big readers here at home so I was excited to have an opportunity to review two books, and I decided to try it out with my four-year old.

Picture Courtesy of storytimeforme.com

The site is easy to navigate and also includes an instructional video. While exploring the available book series, I appreciated that they included appropriate age levels, running time of stories and a chance to preview the books. However, when selecting one of my free stories, I accidentally chose one thinking I might be able to “remove” it from my cart. No such luck. The story itself was good (“Ben Celebrates Chinese New Year”) but my four-year old didn’t like it as much as “Ben’s New Friend”. For him, there was actually a “laugh out loud” moment during the story. I did like that the stories had good lessons, and while the stories are read out loud, the words are highlighted (an option you can turn on and off).

For my virtual neighbors, readers, followers, and friends… I’m excited that Story Time for Me is offering a product giveaway of two complimentary multimedia storybooks for kids ages 1-8. If you’re interested, check out the Story Time for Me site and leave a comment here sharing your thoughts (I’d appreciate it if you followed along via Google or Blog Frog). Most importantly, be sure to include your info so I can send you the code you need for your two free storybooks. This offer has no expiration date at this time.

There is also a Teachers Grant Program in which the company is providing every teacher nationwide two children’s books for each of their students.

Thanks everyone, looking forward to hearing about your experience and have a great week!

Related Posts with Thumbnails